Discover the step-by-step process of constructing a sturdy window frame and sill in this comprehensive guide, designed to help you achieve professional results even as a beginner.

Windows are an essential part of any home, providing natural light, ventilation, and a view of the outside world. But have you ever wondered how these beautiful windows are built? In this post, we’ll be discussing how to build a window frame and sill from scratch.
Whether you’re a DIY enthusiast or just curious about the process, this guide will provide you with all the necessary information to create your own window frame and sill. So grab your tools and let’s get started!
Key takeaways:
- Use high-quality lumber: Select straight, knot-free lumber like pine, oak, or cedar.
- Accurate measurements are crucial: Measure the height, width, and depth of your window opening.
- Choose the right lumber: Pine is affordable, cedar and redwood are durable.
- Cut the frame pieces accurately: Double-check measurements, use a carpenter’s square, and be mindful of material removal.
- Properly install and weatherproof: Attach the frame securely, seal any gaps, and consider painting or staining for added protection.
Tools and Materials

Here are some of the essential items you’ll need:.
Tools:
- Measuring tape
- Circular saw or miter saw
- Table saw or router (optional)
- Drill/driver with drill bits and screwdriver bits
- Hammer
- Chisel
- Materials:
- Lumber (pine, oak, cedar)
- Wood glue
- Screws/nails
- Exterior-grade caulk/sealant
Make sure to select high-quality lumber that is straight and free from knots. You can choose between pine, oak or cedar depending on your preference.
Exterior-grade caulk/sealant will help protect against moisture damage while wood glue will ensure a strong bond between pieces of wood.
Measurements and Dimensions
This step is crucial because any errors in measurement can lead to an ill-fitting frame that won’t function correctly. To get started, measure the height and width of your existing window opening using a tape measure.
Be sure to record these dimensions accurately as they will determine the size of lumber needed for constructing your new frame.
Once you have determined the exact measurements required for your project, it’s time to calculate how much wood you’ll need based on those dimensions. Keep in mind that different types of windows may require different sizes or shapes for their frames and sills.
Consider factors such as insulation requirements or local building codes when determining what materials are best suited for this project – some areas may require specific types or grades of lumber depending on climate conditions.
Selecting Lumber
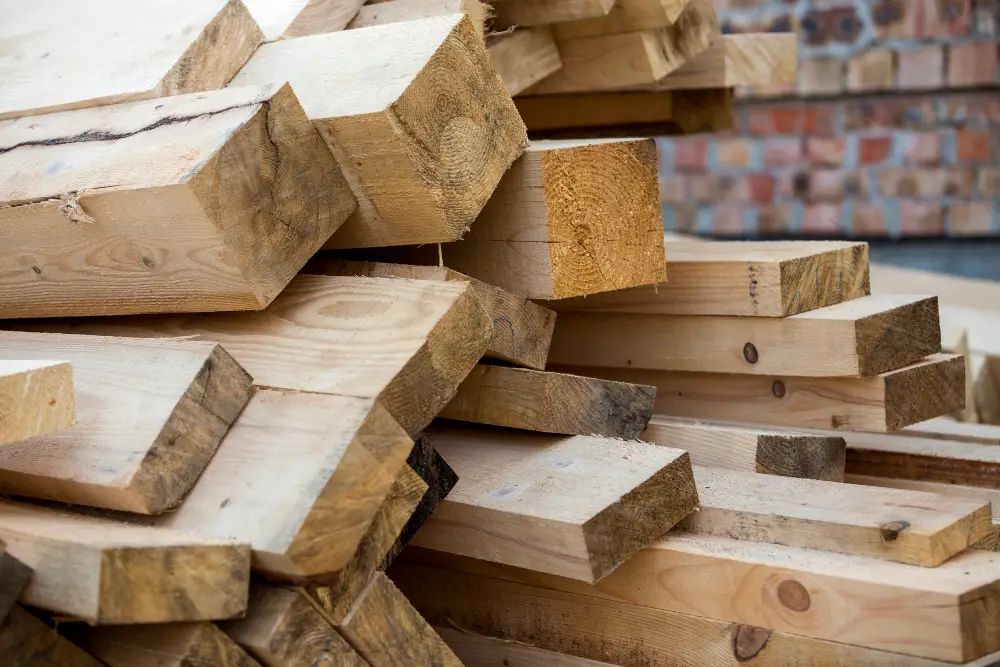
The most commonly used types of wood for this project are pine, cedar, and redwood. Pine is an affordable option that’s easy to work with but may not be as durable as other types of wood.
Cedar and redwood are more expensive but offer better resistance to rotting, decay, and insect damage.
When selecting lumber for your window frame and sill project, make sure it’s straight without any visible knots or cracks that could weaken the structure over time. Also consider the moisture content – ideally it should be between 6% to 8%.
This will help prevent warping or twisting after installation.
Measuring the Window Opening
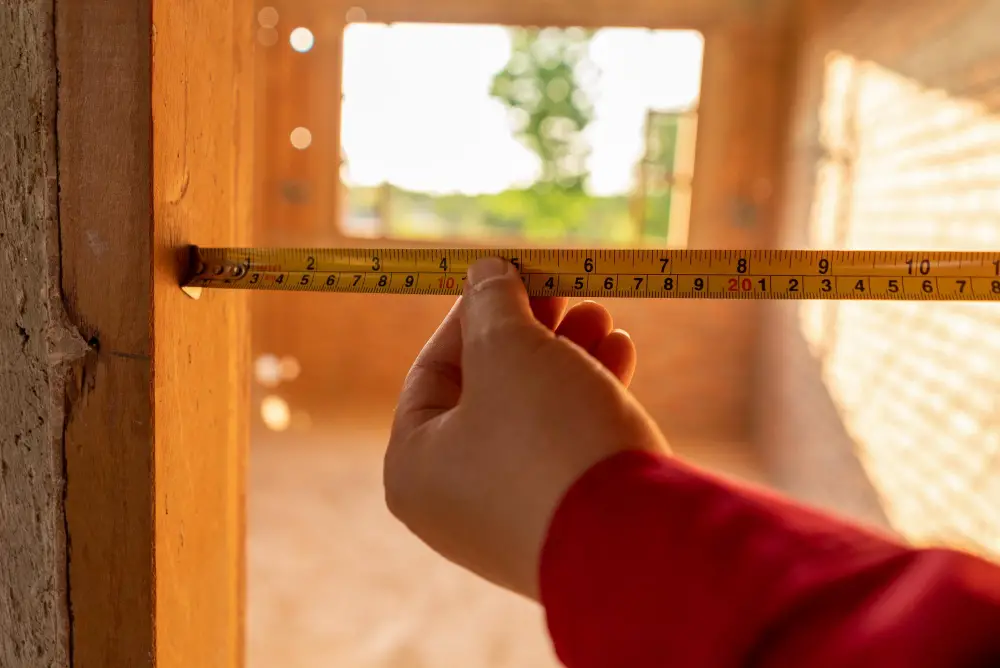
This step is crucial because it determines the size of lumber needed for your project. To get accurate measurements, use a tape measure to determine the width and height of the existing window opening from inside edge to inside edge.
When measuring for width, take three measurements: one at the top of the opening, one in the middle, and another at bottom. Use these three numbers to calculate an average measurement that will be used as your final dimension.
Similarly when measuring for height take three measurements: left side top corner down till right side top corner; left side center down till right center; finally left bottom up until right bottom corner then again calculate an average measurement that will be used as your final dimension.
It’s important not just rely on old or original dimensions since they may have changed due to settling or other factors over time which can lead you into trouble later on during installation process if there are any discrepancies between actual dimensions vs calculated ones.
Determining Window Frame Dimensions

The frame should be slightly smaller than the opening to allow for easy installation and movement. To do this, subtract 1/4 inch from both the width and height measurements of your window opening.
For example, if your window measures 36 inches wide by 48 inches tall, then you would subtract 1/4 inch from each measurement resulting in a final dimension of 35-3/4 inches wide by 47-3/4 inches tall for your frame.
It’s important to note that these measurements are just a starting point. Depending on how thick or thin you want your frames to be or any other design considerations; these dimensions can vary accordingly.
Cut the Frame Pieces

You will need a saw and a measuring tape for this step. Start by cutting two vertical pieces that will serve as the sides of your frame.
Then, measure and cut two horizontal pieces that will connect these sides at the top and bottom.
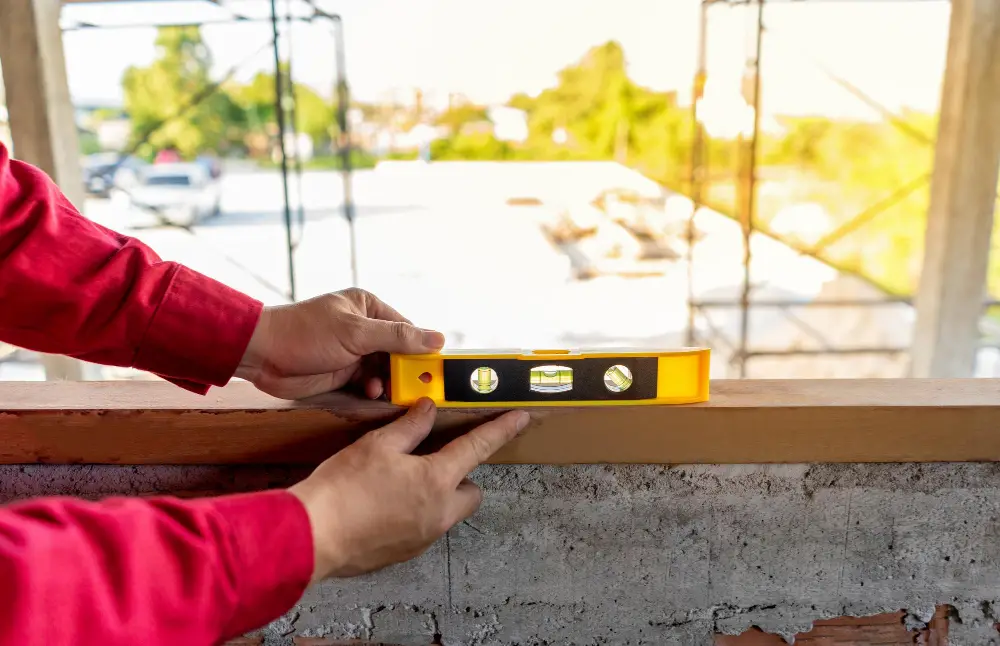
Make sure to double-check all measurements before making any cuts to avoid mistakes or wasted materials. It’s also important to ensure that all four corners are square by using a carpenter’s square or measuring diagonally from corner-to-corner.
When cutting each piece, be mindful of how much material you’re removing with each pass of the saw blade – it’s better to take off too little than too much since you can always trim more later if needed.
Assemble the Frame
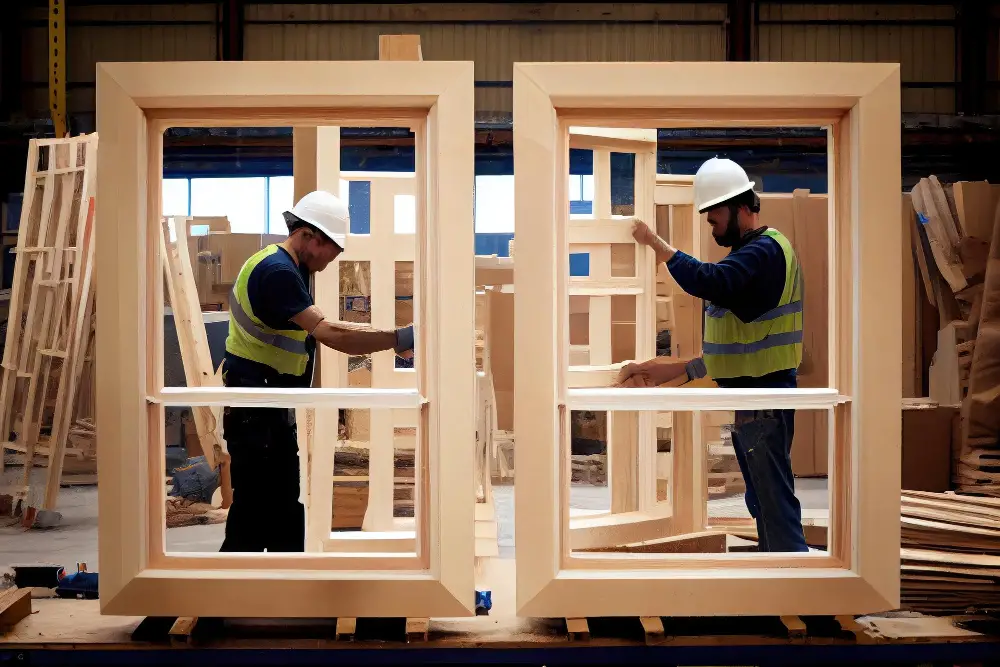
Begin by laying out the bottom and top pieces of your window frame on a flat surface. Then, attach the two side pieces to create a rectangular shape using wood glue and nails or screws.
Make sure that each corner is square before nailing or screwing them together. You can use clamps to hold everything in place while you work.
Next, add support blocks at regular intervals along both sides of your window frame for added stability. These blocks should be placed between each pair of vertical members (stiles) and secured with screws or nails.
Check that everything is level before attaching any additional components such as mullions (vertical dividers), transoms (horizontal dividers), or sashes (movable parts).
Create the Sill

The sill is a horizontal piece of wood that sits at the bottom of your window frame and provides support for your windowsill. To create a sturdy and durable sill, you will need to follow these steps:
1. Cutting the Window Sill Length: Measure and cut a piece of lumber that matches the length of your window opening.
2. Cutting Sill Ledge: Cut another piece of lumber with dimensions equal to or slightly larger than that used for creating frames’ bottom rail.
3. Install The Sill: Place both pieces together in an “L” shape on top of each other so they fit snugly into place within their respective grooves before securing them using screws or nails.
Cutting the Window Sill Length

To do this, measure and mark the length of your sill on a piece of lumber that is wide enough for your desired depth. Use a circular saw or handsaw to make an accurate cut along the marked line.
It’s important to ensure that all cuts are straight and precise as any inaccuracies can affect how well your window fits into place. Double-check measurements before making any cuts and use clamps or guides if necessary.
Remember that each side of the sill should be angled slightly downwards towards its outer edge so water can drain away from it easily. This angle is known as “pitch” and typically ranges between 1/8 inch per foot up to 1/2 inch per foot depending on local building codes.
Cutting Sill Ledge
The ledge is a small lip that protrudes from the bottom of the sill and helps support your window. To create this ledge, measure 1 inch in from each end of your sill and make a mark with a pencil.
Next, use your circular saw or jigsaw to cut along these marks at a depth of 3/8 inch. Be sure to keep your cuts straight and clean for best results.
After cutting out both ledges on either side of the window sill, test fit it into place by setting it onto its supports inside the frame opening. If everything fits snugly together without any gaps or wobbling then you’re ready for installation!
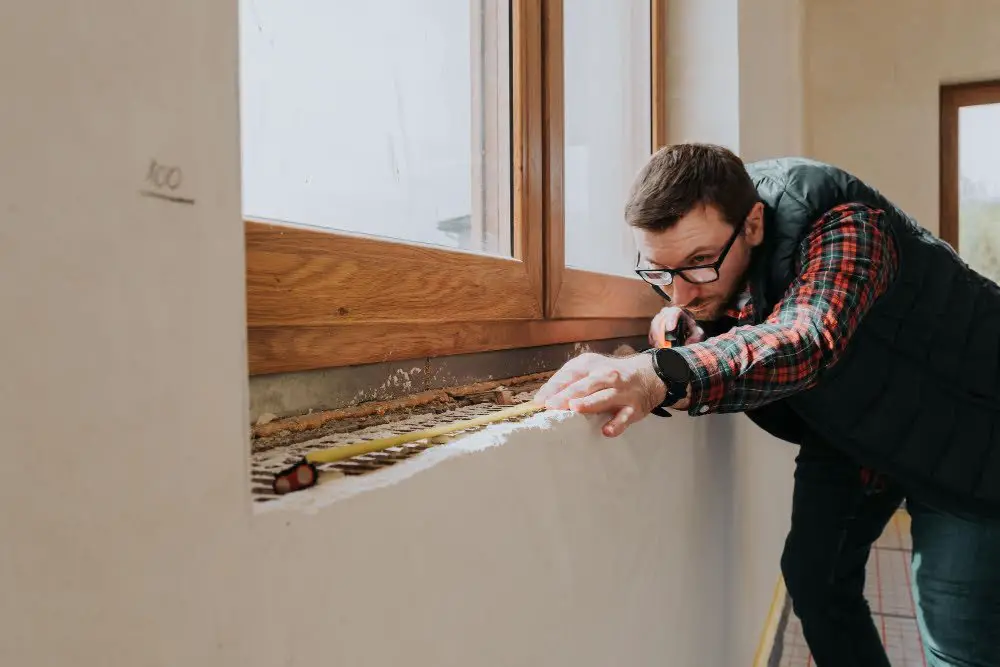
Install the Sill

The sill is an essential part of any window as it provides a ledge for water runoff and helps support the weight of the window. To install your new sill, first measure and cut it to length using a saw.
Next, position your new sill in place on top of your existing windowsill or framing lumber.
Make sure that there is enough space between each side of the frame and its corresponding wall opening so that you can slide in your new sills without any issues.
Once positioned correctly, secure each end with screws or nails through pre-drilled holes into framing lumber below (if available). Apply caulk around all edges where they meet walls or other surfaces for added protection against moisture infiltration.
Attach the Frame

Before doing so, make sure that your measurements are accurate and that the frame is level. This will ensure a proper fit and prevent any future issues with opening or closing the window.
To attach the frame, use screws or nails to secure it in place. Make sure that you drive them through both sides of each joint for added stability.
It’s important not to overdrive them as this can cause damage to your lumber.
If you’re attaching a larger window frame, consider using metal brackets for additional support at each corner of your framing structure.
Weatherproofing
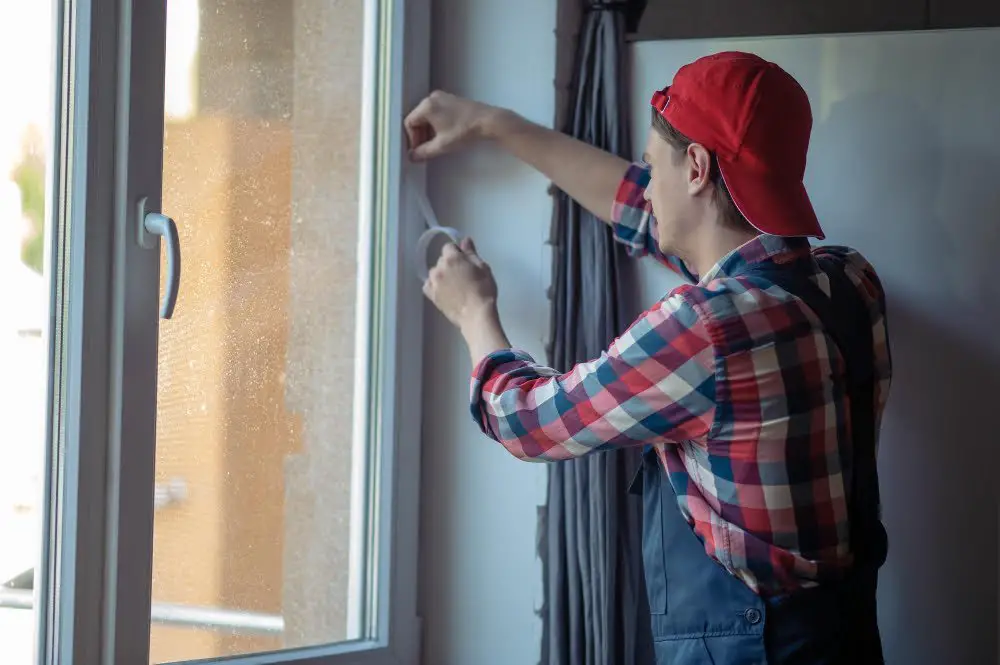
Weatherproofing helps prevent water damage, rotting, and warping of the wood over time.
To weatherproof your window frame and sill, start by applying a coat of primer or sealer to all surfaces. This will help seal any gaps or cracks in the wood that could allow moisture in.
Next, apply a layer of caulk around the edges where the frame meets with walls or siding.
For added protection against water infiltration through seams between pieces of lumber on your window frames use flashing tape which can be applied before caulking for extra protection.
Paint or stain your windows using high-quality exterior-grade products that are designed specifically for this purpose. These finishes provide an additional layer of protection against UV rays from sunlight as well as rainwater penetration into wooden parts such as sills which can cause swelling leading eventually to rotting if left unchecked.
Install the Window

This step requires careful attention to detail, as any mistakes can compromise the integrity of your hard work.
Begin by placing a bead of caulk around the perimeter of your opening. Then carefully place your new window into position, making sure that it is level and square with shims if necessary.
Next, secure the window in place using screws or nails through pre-drilled holes in both sides of each jamb. Be sure not to over-tighten these fasteners as this could cause warping or damage to your newly installed windows.
Add insulation between gaps around all four sides before sealing them with more caulk for added weatherproofing protection against drafts and moisture intrusion.
Trim Installation

Trim not only enhances the appearance of your windows but also helps seal any gaps between the window and wall. To install trim, measure each side of your window frame and cut pieces of wood accordingly.
Make sure to leave a small gap between each piece for expansion due to temperature changes.
Next, attach each piece using finishing nails or a nail gun at an angle towards the center of the wood so that they don’t split apart when nailed in place. Once all four sides are attached securely, fill any nail holes with putty or wood filler before sanding them smooth.
Filling Nail Holes and Sealing

This step is crucial for ensuring that your window is airtight, preventing drafts from entering your home. To fill in the nail holes, use wood filler or putty that matches the color of your frame.
Apply a small amount of filler to each hole using a putty knife or similar tool and smooth it out until it’s level with the surface of the wood.
Next, inspect all areas around where you’ve attached trim pieces for any gaps between them and caulk those areas as well as any other openings around windowsill edges or frames with silicone caulking material.
Painting or Staining

Painting or staining is an essential step in protecting your wood from moisture, rotting, and other environmental factors that can damage it over time.
Before painting or staining, make sure to sand down any rough spots on the surface of the wood. This will ensure a smooth finish and help the paint or stain adhere better.
When choosing a color for your window frame and sill, consider matching them with other elements of your home’s exterior design. You may also want to choose a color that complements the surrounding landscape.
If you prefer natural-looking wood grain instead of painted surfaces on your windowsill frames then opt for staining instead of painting. Staining allows you to enhance rather than cover up natural patterns in lumber while still providing protection against weathering agents like rainwater which could cause warping over time if left untreated.
Maintenance Tips

Here are some maintenance tips that will help keep your windows in top condition:.
1. Regular Cleaning: Clean the glass panes regularly with a soft cloth or sponge and mild soap solution.
2. Check for Damage: Inspect the frames, sills, and trim periodically for any signs of damage such as cracks or rotting wood.
3. Weatherproofing: Ensure that all weatherstripping is intact around the window frame to prevent air leaks.
4. Lubrication: Apply lubricant on hinges, locks, handles or other moving parts of the window as needed.
5. Repainting/Staining: If you notice peeling paint or fading stain on your windows’ exterior surfaces then consider repainting/staining them every few years depending upon their exposure level towards sunlight/rainfall/wind etc.
FAQ
What kind of wood do you use for window sills?
Types of wood used for window sills include oak, maple, mahogany, and chestnut.
How far does a window sill stick out?
A window sill typically sticks out around 1 inch (approx. 25mm) past the edge of the wall (plaster finish).
What is the difference between a window sill and a window ledge?
The difference between a window sill and a window ledge is that they are synonymous terms referring to the shelf-like, flat piece of the window trim found at the base of the window, typically on the outside of the home.
What are the steps involved in constructing a window frame and sill from scratch?
The steps involved in constructing a window frame and sill from scratch include measuring and cutting lumber, assembling the frame, installing the sill, and securing everything in place.
How can one properly maintain and protect wooden window sills from wear and tear?
To properly maintain and protect wooden window sills from wear and tear, regularly clean, sand, apply wood preservatives, and paint or varnish them as needed.
Are there alternative materials that can be used for window sills other than wood, and what are their advantages and disadvantages?
Yes, alternative materials for window sills include vinyl, stone, and aluminum, with advantages such as low maintenance, durability, and weather resistance, and disadvantages such as aesthetics, cost, and potential for condensation.
Read More
 Aluminum Window Latch Replacement: A Simple Guide to Security and Style
 Custom Aluminum Window Screens Buying Guide
 Aluminum Window Removal Tool: Easy Steps for a Hassle-Free Window Replacement
 Screw for Aluminum Window Frame: Your Ultimate Fixing Guide
 Replace Aluminum Window Glass: A Beginner’s Guide to a Clearer View
Recap