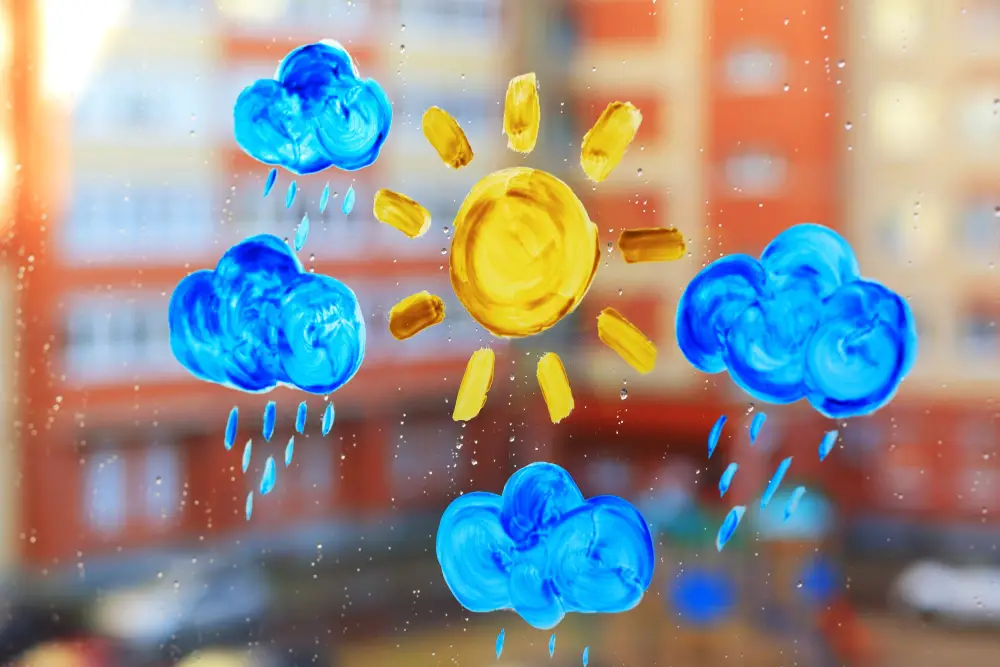
Discover the joy of transforming your windows with our easy-to-follow guide on creating stunning DIY window paint designs for an eye-catching home makeover.
Are you looking for a fun and creative way to spruce up your house windows? Look no further than DIY window paint! With just a few simple ingredients, you can create colorful and eye-catching designs that will add personality to your home. Not only is it a great way to express your creativity, but it’s also an affordable alternative to purchasing expensive window decorations.
In this post, we’ll go over everything you need to know about making your own window paint and some tips on how to use it effectively. So grab some supplies and let’s get started!
Key takeaways:
- Use acrylic or tempera paints for DIY window paint.
- Clean the window surface thoroughly before painting.
- Sketch out a design before starting the painting process.
- Experiment with different colors and application techniques.
- Clean your DIY window paint regularly for maintenance.
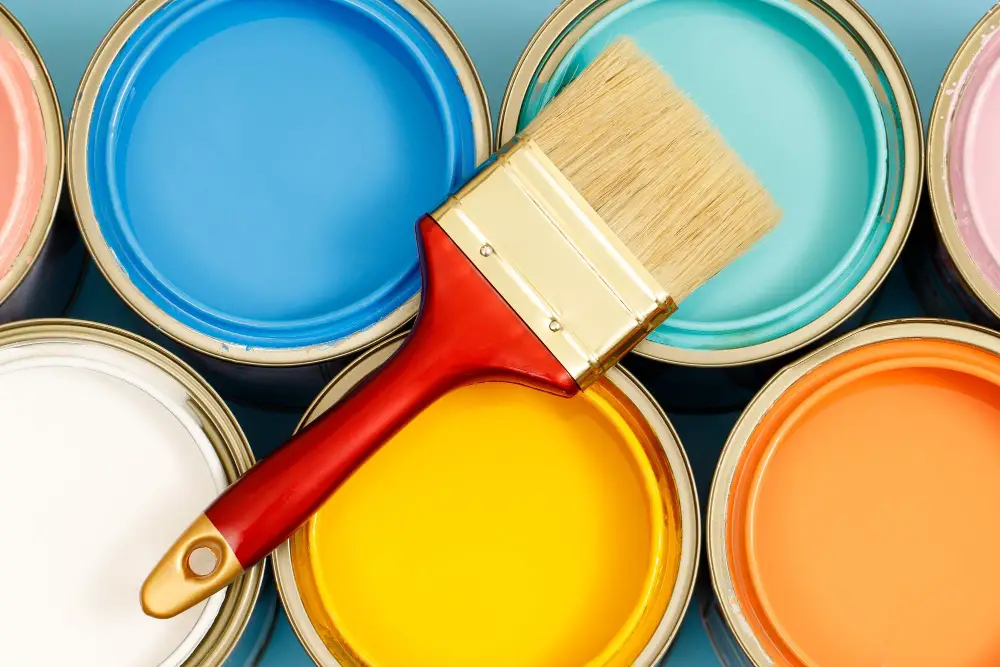
Choosing the Right Materials
Here are some things to consider:
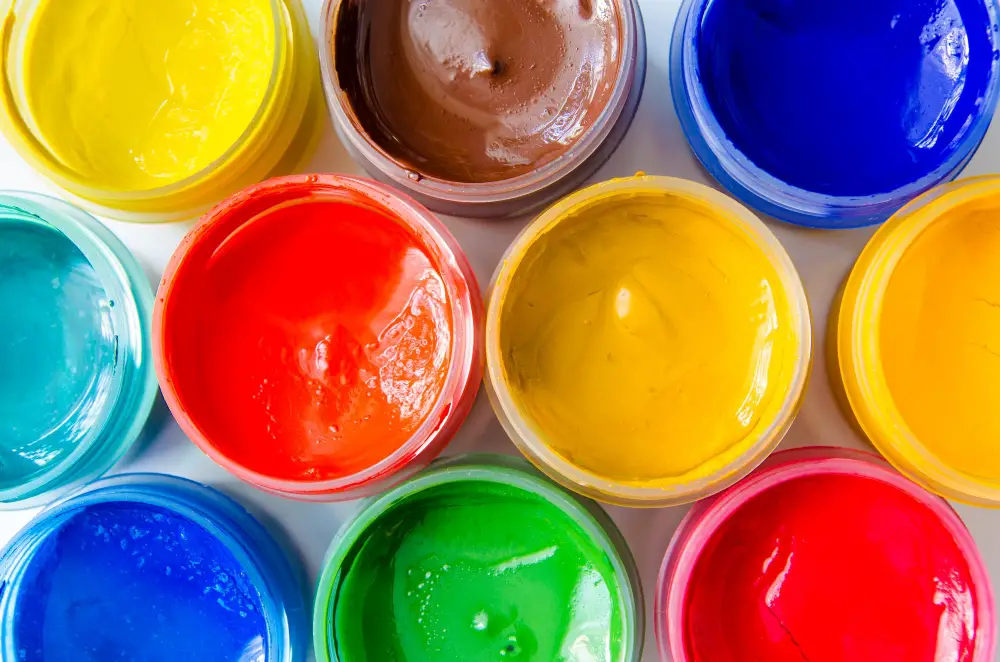
1. Paint: You can use acrylic or tempera paints for your DIY window paint project.
Acrylics are more durable and long-lasting, while tempera is washable and easy to clean up.
2. Dish Soap: Adding a few drops of dish soap into your mixture will help make it easier to apply and remove from windows.
3. Cornstarch: Cornstarch helps thicken the mixture so that it adheres better on glass surfaces.
4. Food Coloring or Liquid Watercolors: These provide vibrant colors that won’t fade easily over time.
5. Paintbrushes/Sponges/Q-tips/Toothpicks/Stencils/Masking Tape: Depending on what design you want, these tools will come in handy when applying paint onto windows.
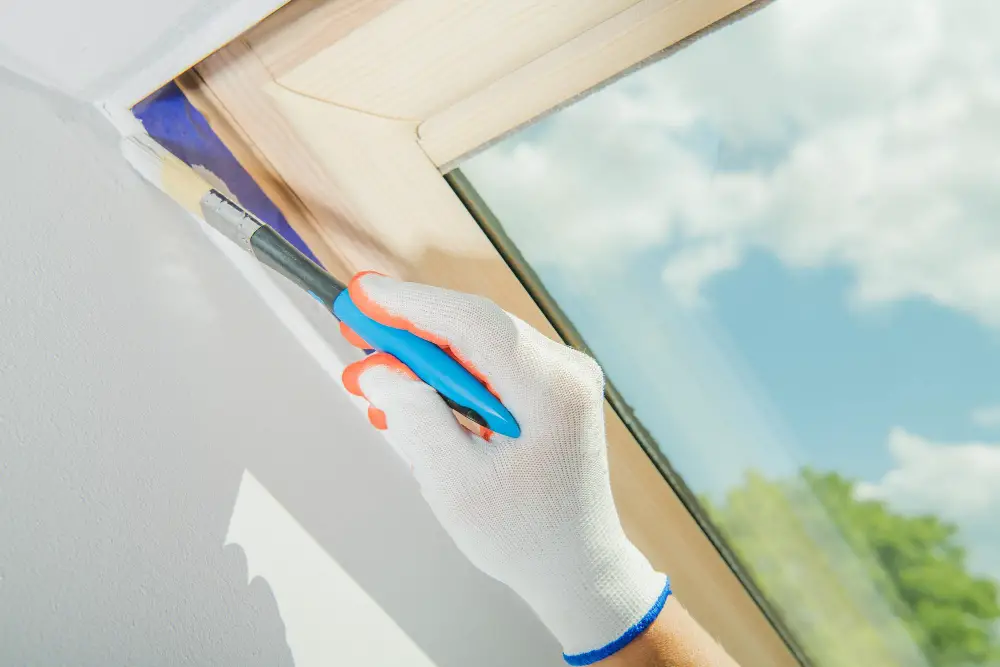
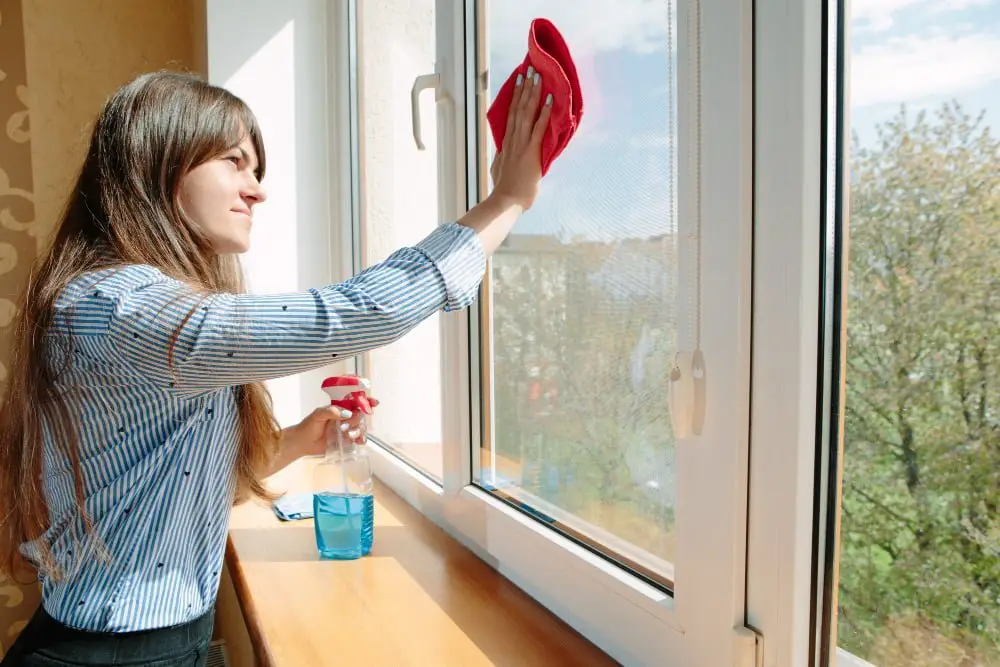
Prepping the Window Surface
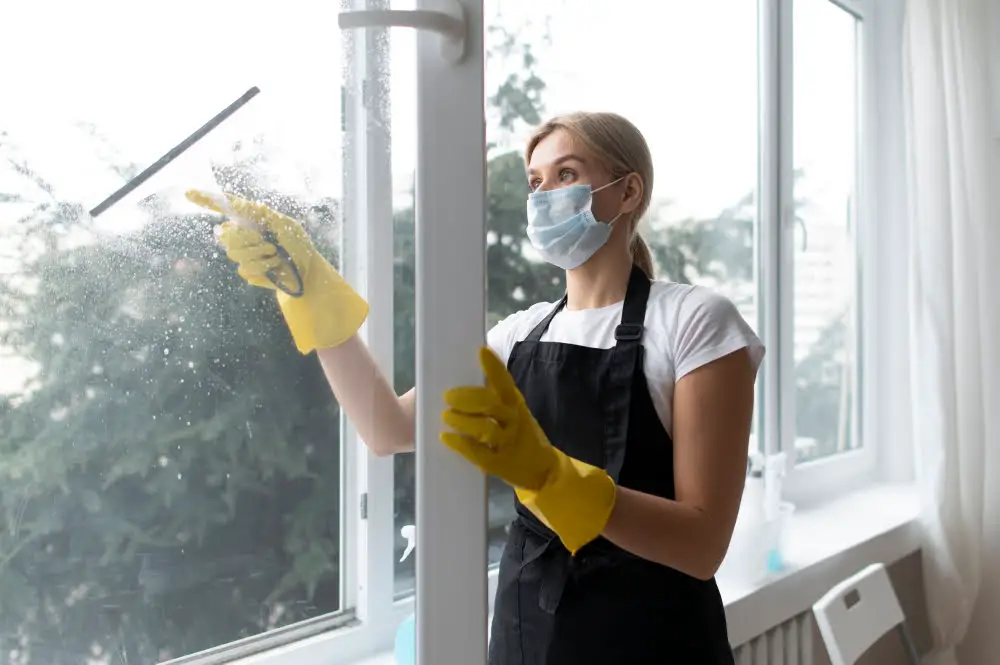
This step is crucial in ensuring that the paint adheres well and lasts longer. First, clean your window thoroughly with soap and water to remove any dirt or grime buildup.
Next, use a glass cleaner to wipe down the surface for a streak-free finish.
Once you’ve cleaned your window, make sure it’s completely dry before applying any paint. Any moisture left on the surface can cause bubbling or peeling of the paint later on.
If there are any cracks or chips in your window glass, fill them with putty and let them dry completely before proceeding with painting.
Lastly, cover up areas around where you’ll be working using painter’s tape so that no unwanted marks are left behind when removing excess paint from edges after application.
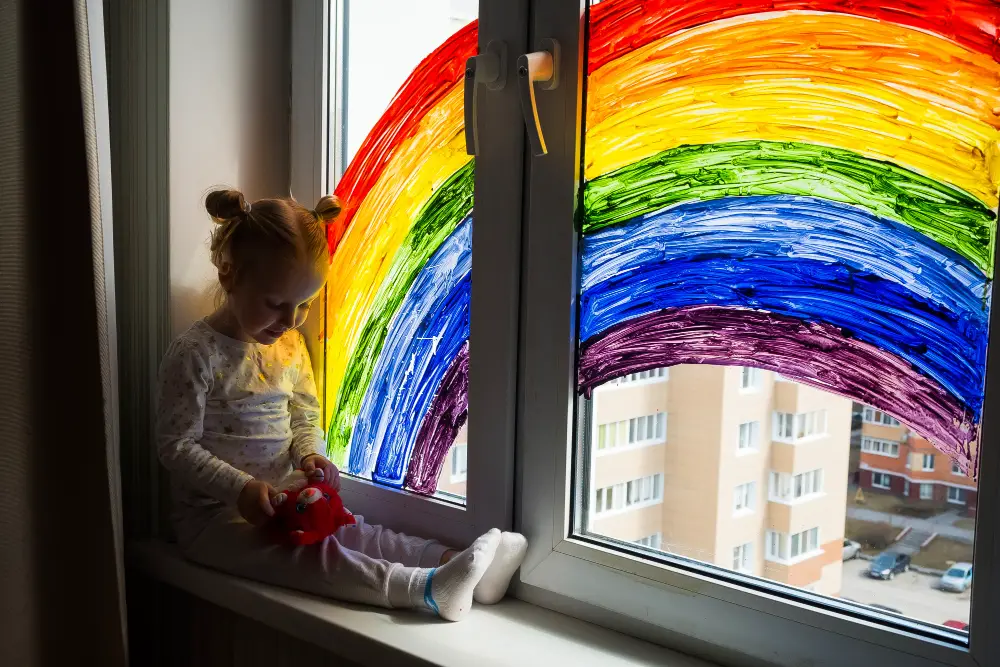
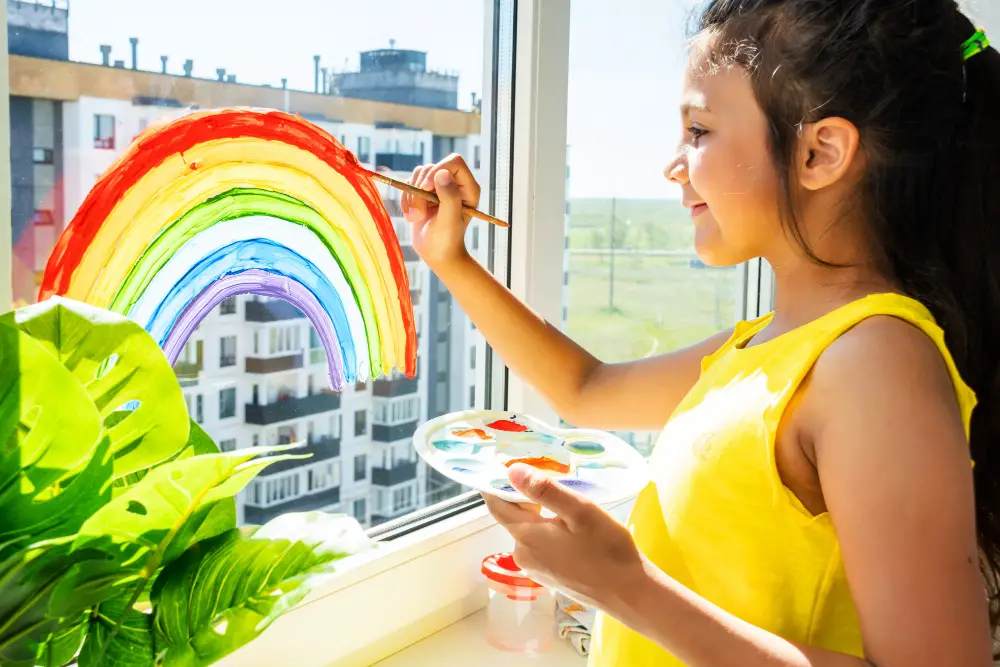
Creating Your Design
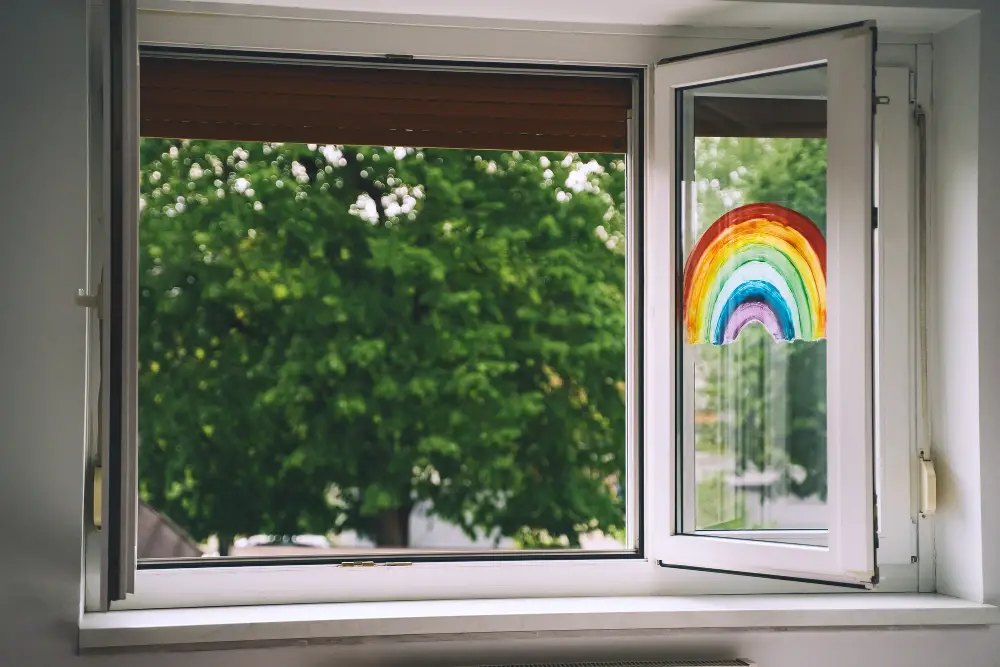
The possibilities are endless when it comes to DIY window paint designs, so let your creativity run wild! You can create anything from simple shapes and patterns to intricate scenes or even holiday-themed decorations.
Before starting on the actual painting process, consider sketching out a rough draft of what you want your design to look like. This will help ensure that everything is proportionate and in place before committing with paint.
When designing for windows facing outside, keep in mind that people will be viewing them from a distance. Therefore larger designs with bold colors tend work better than small details or fine lines which may not be visible at a distance.
If you’re feeling stuck for inspiration there are plenty of resources available online such as Pinterest boards dedicated solely to DIY window art ideas where one can find an array of creative concepts ranging from abstract geometric shapes through seasonal themes like Christmas trees or Halloween pumpkins up until realistic landscapes imitating stained glass windows.
Mixing Paint Colors
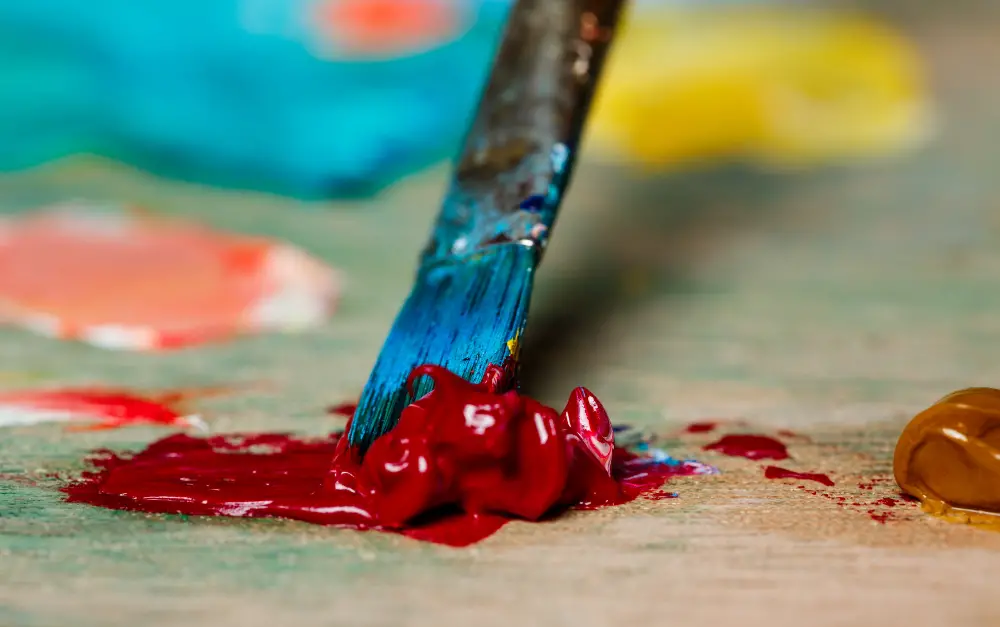
This is where the fun really begins! You can create any color you want by mixing different shades together. Start with a base color and add small amounts of other colors until you achieve the desired hue.
It’s important to remember that window paint dries darker than it appears when wet, so be sure to test out your mixture on a piece of paper or scrap material before applying it directly onto the window.
If you’re unsure about which colors will work well together, try using a color wheel as reference. Complementary colors (colors opposite each other on the wheel) tend to look great when paired together and can make for an eye-catching design.
Don’t be afraid to experiment with different combinations until you find what works best for your project. Mixing paints is all about trial and error – there are no hard rules!
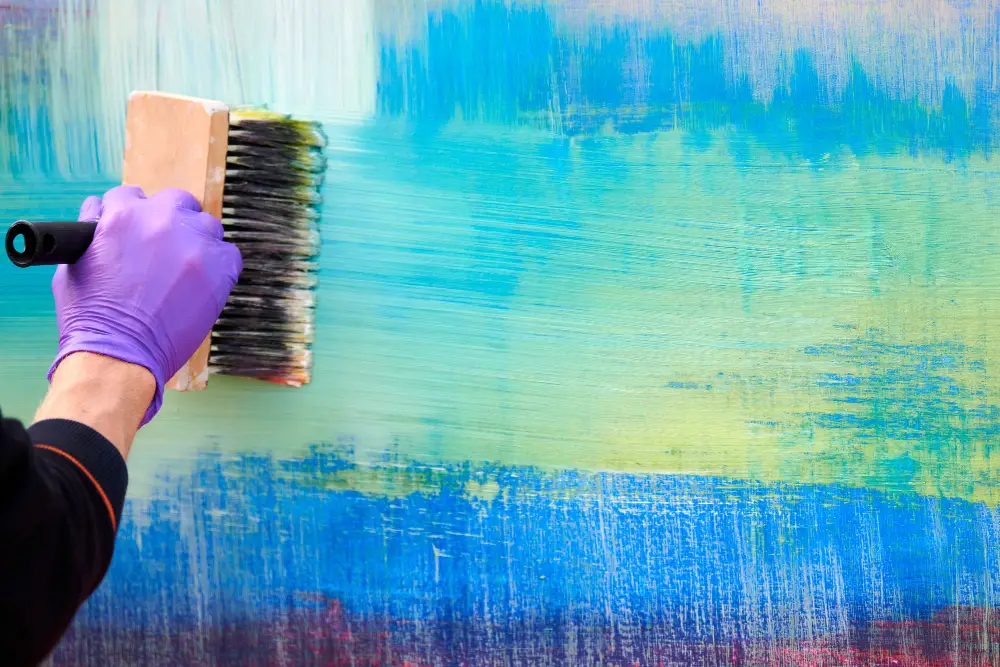
Application Techniques
There are several techniques you can use depending on the effect you want to achieve. One of the most popular methods is outlining your design with a thin brush and then filling in with color using a wider brush or sponge.
This technique works well for creating bold designs that stand out from afar.
Another technique involves using stencils or tape to create clean lines and shapes. Simply place the stencil or tape onto your window surface, apply paint within its boundaries, let dry completely before removing.
For more intricate designs such as flowers or leaves, try dabbing small amounts of paint onto a sponge and gently pressing it onto the window surface in layers until desired opacity is achieved.
Remember that less is often more when applying DIY window paints; too much pressure may cause smudging while too little will result in uneven coverage.
Layering and Blending
This technique can take your window paint from basic to beautiful in just a few simple steps.
To start, choose a color that complements or contrasts with the base color of your design. Using a small brush or sponge applicator, apply the second color over the first in areas where you want to create shadows or highlights.
For example, if you have painted flowers on your window pane using yellow as the base coat, adding orange around edges will give them more depth.
Blending is another way to create visual interest in your designs. To blend two colors together seamlessly use an almost dry brush dipped into both paints at once then gently stroke back and forth between them until they merge smoothly without any harsh lines.
Remember not all paints are compatible for blending so test before applying it directly onto windows.
Drying and Curing Time
Drying time will depend on the thickness of the paint layer, humidity levels in your home, and other environmental factors. Typically, window paint can take anywhere from a few hours to overnight to fully dry.
Curing time is equally important as this allows the paint to harden and adhere better onto the glass surface. It’s recommended that you wait at least 24-48 hours before touching or cleaning your newly painted windows.
To speed up drying time, consider using a fan or opening nearby windows for proper ventilation. Avoid exposing freshly painted windows directly under sunlight as this may cause uneven drying or fading of colors.
Finishing Touches
This step is crucial in making sure that your artwork looks polished and professional. One way to do this is by outlining the edges of your design with a contrasting color or adding details with a fine-tipped brush.
You can also use stencils or stamps to create patterns and shapes for an added touch of creativity.
Another great way to enhance the look of your DIY window paint designs is by incorporating lighting into them. Placing string lights behind painted windows will illuminate the colors and make them stand out even more, especially at night.
Don’t forget about framing! Adding a simple frame around your painted window can give it an elegant finish that ties everything together nicely.
Cleaning and Maintenance
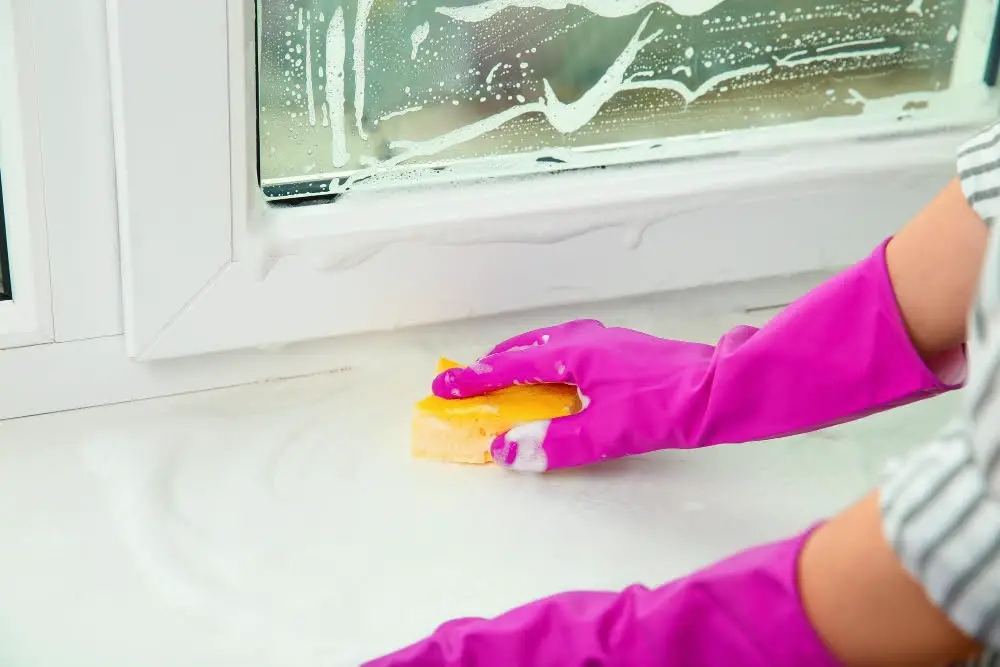
Cleaning and maintenance are crucial steps in preserving the beauty of your DIY window art.
To clean your painted windows, use a soft cloth or sponge with warm water and mild soap. Avoid using abrasive cleaners or scrubbers that can damage the paint.
Gently wipe away any dirt or grime from the surface, being careful not to rub too hard on any raised areas.
If you notice any chips or cracks in the paint over time, touch them up with additional layers of paint using a small brush. This will help keep your design looking fresh and vibrant for longer periods.
In addition to regular cleaning and touch-ups, consider taking extra precautions during extreme weather conditions such as heavy rainstorms or snowfall by covering up painted windows with plastic sheeting until conditions improve.
Troubleshooting Common Issues
Here are some common issues you may encounter while using window paint and how to troubleshoot them:
1. Paint smudging or running: This can happen if the paint is applied too thickly or if the surface isn’t clean enough.
To avoid this issue, make sure your windows are thoroughly cleaned before applying any paint, use thin layers of paint, and allow each layer to dry completely before adding another.
2. Uneven color distribution: If you notice that certain areas of your design have more pigment than others, it could be due to uneven mixing of colors or inconsistent application techniques.
Try mixing colors thoroughly before painting with them and experiment with different brush strokes until you find a technique that works for you.
- Peeling or flaking: If the painted area starts peeling off after drying up completely then there might be an issue with adhesion between glass surface & paints used on top of it which can occur due to poor quality materials used in making DIY Window Paints.
- Cracking: Cracks appear when either too much water has been added into the mixture causing shrinkage upon drying OR when multiple coats have been applied without allowing sufficient time for each coat layering process
Seasonal Designs
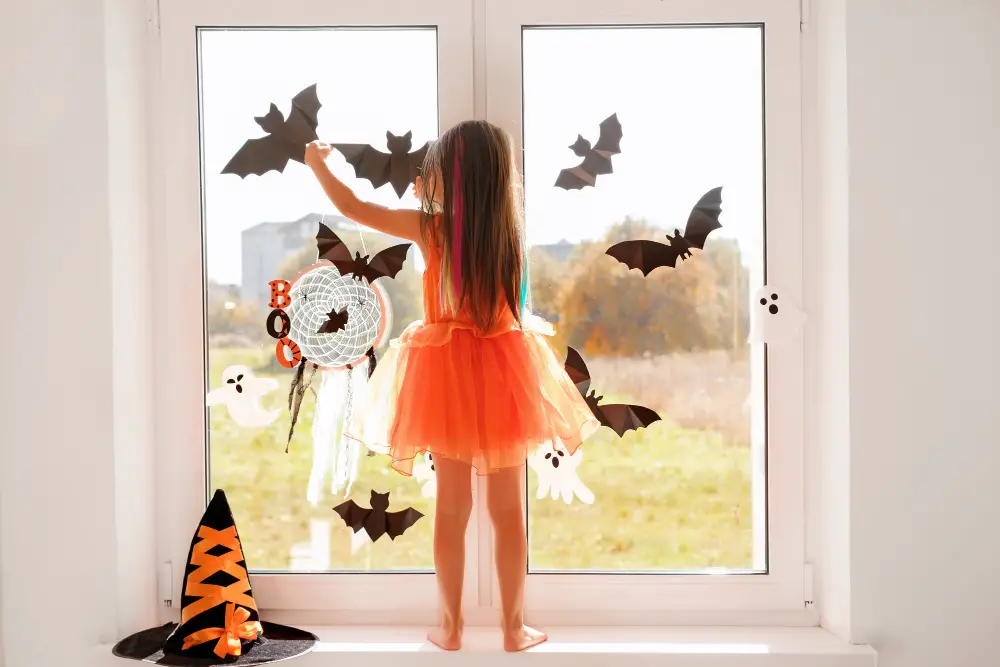
Whether it’s for Halloween, Christmas, or Easter, there are plenty of design ideas that you can create with DIY window paint. For example, you could make spooky spider webs and ghosts for Halloween or snowflakes and reindeer for Christmas.
To get started on seasonal designs with window paint, think about the colors associated with each holiday or season. For instance, orange and black work well together during Halloween while reds and greens complement each other during Christmas time.
You can also incorporate different shapes into your designs such as hearts for Valentine’s Day or flowers in springtime. Don’t be afraid to experiment with layering techniques by adding multiple colors onto one another.
Remember that seasonal designs don’t have to be limited only to holidays; they can also reflect changes in nature like leaves changing color in autumn or blooming flowers in springtime.
Themed Window Paint Ideas
Whether you’re celebrating a holiday or just want to switch up your decor, there are endless possibilities for themed window paint ideas. For example, during the winter months, you can create snowflakes and icicles with white and blue paint.
In the springtime, flowers in bright colors like pink and yellow can bring new life into any room.
For Halloween or other spooky occasions, black cats or ghosts painted on windows will give off an eerie vibe that’s perfect for setting the mood of any party. And if you’re feeling patriotic around Independence Day or Memorial Day weekend? Red-white-and-blue stars will show off your love of country.
Safety Precautions
While the materials used are generally safe and non-toxic, there are still some precautions you should take to ensure that your project goes smoothly.
Firstly, make sure you’re working in a well-ventilated area. This will help prevent any fumes from building up and potentially causing harm.
Wear gloves to protect your hands from any chemicals or irritants in the paint.
It’s also important to keep children and pets away from your work area while you’re painting. The last thing you want is for them to accidentally ingest or come into contact with the paint.
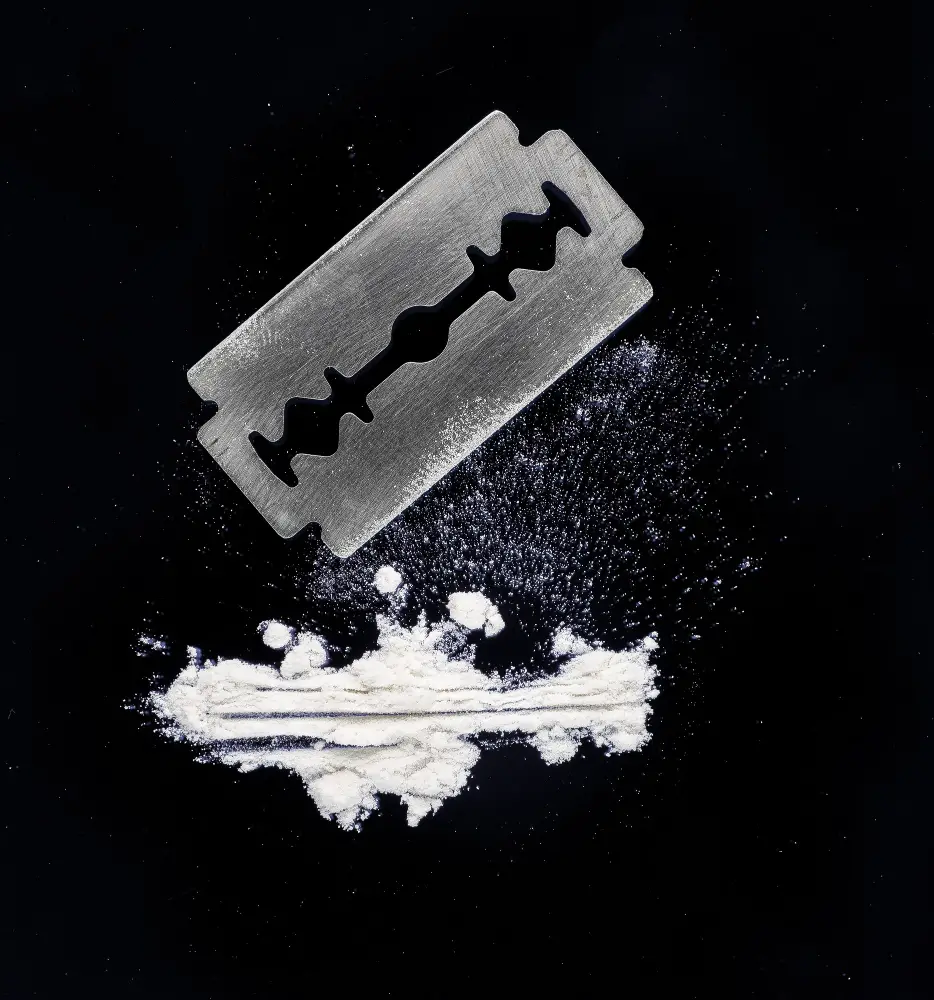
Be careful when using sharp tools like razor blades or scissors when cutting stencils or removing excess dried paint around edges of windows as they can cause injury if not handled properly.
Removing Window Paint
To remove your design, simply use a razor blade or scraper to gently lift the paint from the surface of the glass. Be sure to work slowly and carefully so as not to damage your windows.
If there are any stubborn spots left behind, try using rubbing alcohol or vinegar on a cloth or sponge and gently rub until they come off. Avoid using harsh chemicals like acetone which can damage both your windows and surrounding surfaces.
Stained Glass Window Imitation Art

With DIY window paint, you can create stunning stained glass designs that mimic the look of traditional leaded glass windows. To achieve this effect, start by outlining your design with black paint or a dark-colored marker.
Then fill in each section with different colors of paint, making sure not to overlap onto adjacent sections until they are dry.
To give your stained-glass design an authentic look, consider using metallic paints for added shine and dimensionality. You can also experiment with layering different shades of the same color for a more nuanced effect.
How to Make Washable Window Paint
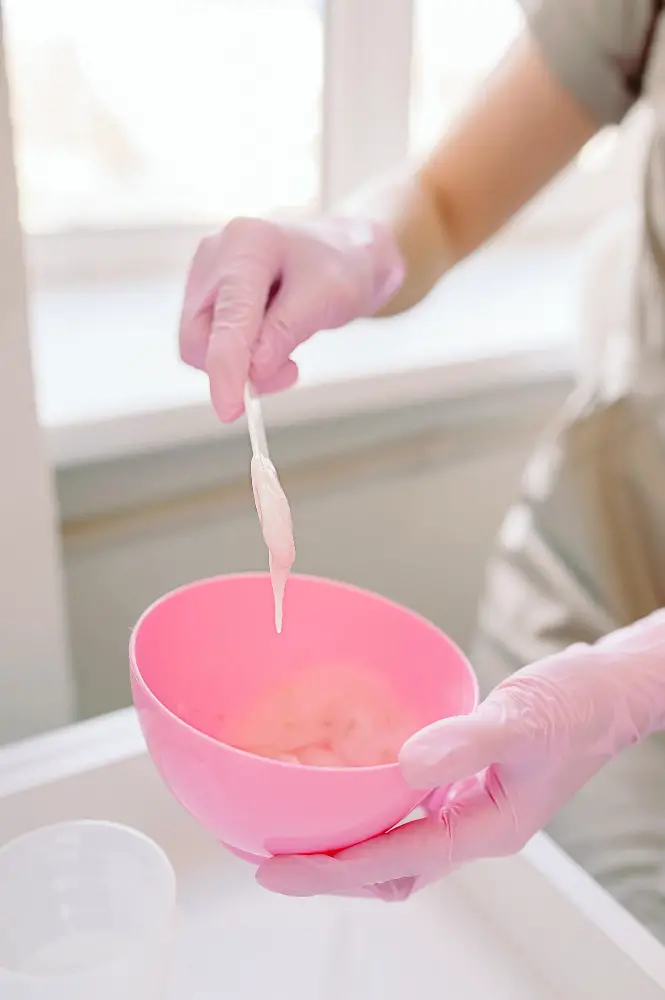
Not only will it make cleaning up easier, but it also allows for more flexibility when creating designs. To make washable window paint at home, all you need is some dish soap and cornstarch.
Here’s how to do it:
- In a bowl, mix equal parts cornstarch and water until smooth.
- Add a few drops of dish soap and mix well.
- Divide the mixture into separate containers depending on how many colors you want to create.
- Add food coloring or liquid watercolors until desired color is achieved.
And that’s it! You now have homemade washable window paint that can be easily removed with warm soapy water whenever needed.
How to Clean DIY Window Paint
Fortunately, cleaning it up is a breeze! All you need to do is use a damp cloth or sponge with warm water and gently wipe away any excess paint from the surface. If there are stubborn spots that won’t come off, try using a mild soap solution or vinegar mixture to help break down the residue.
It’s important not to use harsh chemicals or abrasive materials when cleaning your window paint as this can damage both the design and glass surface underneath. Avoid using paper towels as they can leave behind lint on your windows.
Regularly cleaning your DIY window paint will keep it looking fresh for longer periods while also preventing any buildup that may be difficult to remove later on.
Is DIY Window Paint Kid Friendly?
The good news is that making and using window paint can be a fun and educational activity for kids of all ages! However, there are some important safety precautions you should keep in mind.
Firstly, make sure your child wears old clothes or an apron to protect their clothing from any accidental spills or splatters. Secondly, supervise them closely while they’re mixing the ingredients and applying the paint on windows.
It’s also essential that you use non-toxic materials when creating your DIY window paints.
Another thing to consider is whether your child has any allergies or sensitivities towards certain ingredients such as food coloring or dish soap which are commonly used in making homemade window paints. If so, avoid those specific items altogether.
What Kind of Paint Brushes to Use
The type of brush you use can affect how your design turns out and how easy or difficult it is to apply. For best results, we recommend using soft-bristled brushes with a flat or angled tip for precise lines and smooth coverage.
Flat brushes are ideal for filling in large areas quickly while angled brushes work well for creating sharp edges and fine details. You may also want to consider investing in a set of different-sized round-tip brushes that can be used for outlining, shading, and blending.
It’s important to note that not all paintbrushes are created equal – some may shed bristles or leave streaks on your windows. Look for high-quality synthetic bristle options specifically designed for acrylic paints if possible.
By taking care when selecting your painting tools, you’ll be able to create stunning window designs with ease!
FAQ
What kind of paint can you use on windows?
The most common paint used for window painting is tempera paint, also known as “poster paint”, which is often mixed with liquid soap or soap flakes for easy cleanup.
How do you make window paint with soap?
To make window paint with soap, mix 2 parts paint with 1 part dish soap using a paintbrush, ensuring a ratio of roughly 2/3 paint to 1/3 dish soap.
What is the best temporary paint for glass windows?
The best temporary paint for glass windows is tempera paint, as it is water-soluble, fast-drying, and mixes colored pigments with a binder medium.
How do you remove DIY window paint without damaging the glass surface?
DIY window paint can be removed without damaging the glass surface by applying a mixture of warm water and dish soap, then gently scraping it off with a plastic scraper.
What are some creative window paint design ideas for holidays and special occasions?
Some creative window paint design ideas for holidays and special occasions include festive scenes, colorful patterns, seasonal characters, and event-specific motifs.
Can you recommend any eco-friendly alternatives to traditional window paint?
One eco-friendly alternative to traditional window paint is using a non-toxic, biodegradable and water-based chalk marker.
Read More
 Aluminum Window Latch Replacement: A Simple Guide to Security and Style
 Custom Aluminum Window Screens Buying Guide
 Aluminum Window Removal Tool: Easy Steps for a Hassle-Free Window Replacement
 Screw for Aluminum Window Frame: Your Ultimate Fixing Guide
 Replace Aluminum Window Glass: A Beginner’s Guide to a Clearer View
Recap