Discover the essential steps to construct a window from scratch, transforming your space with natural light and airflow while enhancing its overall aesthetic appeal.
Windows are an essential part of any home. They provide natural light, ventilation, and can enhance the overall aesthetics of a house.
But have you ever wondered how windows are made? Do you want to learn how to build a window yourself? In this blog post, we will dive into the process of building a window from scratch. From selecting the right materials to installing the finished product, we’ll cover everything you need to know about building your own window.
So let’s get started and explore the world of windows!
Key takeaways:
- Types of windows: double-hung, casement, awning, sliding, bay/bow.
- Materials required: wood, glass panes, screws/nails, paint/finish.
- Tools needed: saw, drill, hammer, measuring tape.
- Selecting glass: consider thickness, tempered vs laminated, coatings.
- Selecting frames: wood, vinyl, aluminum, fiberglass.
Types of Windows
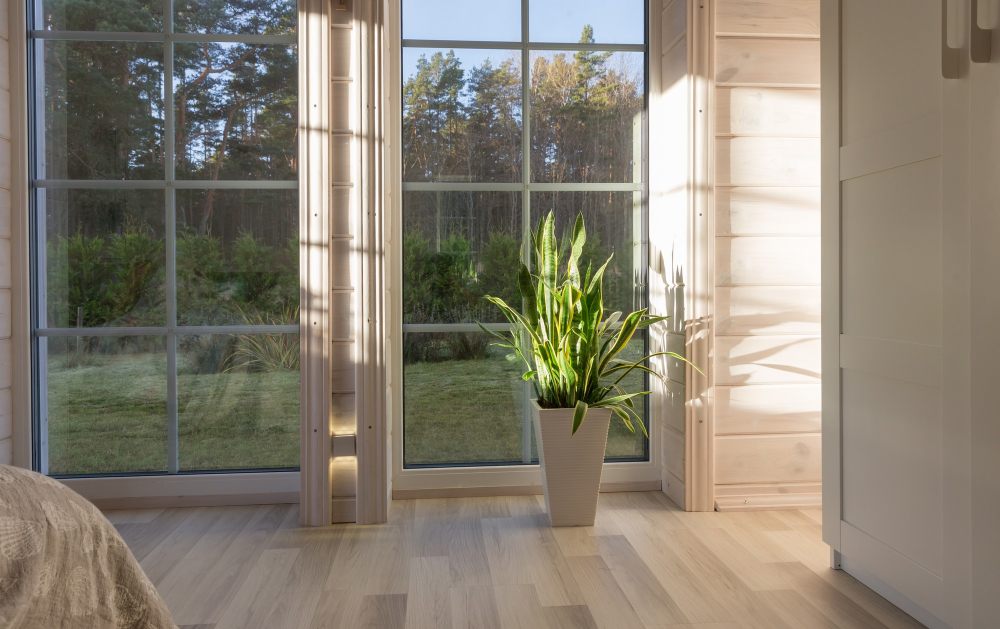
Each type has its unique features and benefits that cater to different needs and preferences. Some popular types of windows include double-hung, casement, awning, sliding, bay or bow windows.
Double-hung windows are the most common type found in homes today. They have two sashes that slide up and down within the frame allowing for ventilation from both top and bottom.
Casement windows open outward with a crank handle making them easy to operate even in hard-to-reach areas like above kitchen sinks or behind furniture.
Awning Windows hinge at the top allowing them to be opened outwards while still providing protection against rainwater entering your home.
Sliding Windows move horizontally along tracks which makes them ideal for spaces where vertical clearance is limited such as basements or attics.
Bay/Bow Windows extend beyond your home’s exterior walls creating more space inside while also adding an architectural element outside.
Choosing the right window type depends on various factors such as personal preference, functionality requirements (ventilation vs natural light), budget constraints among others.
Materials Required
The materials required for building a window may vary depending on the type of window you want to build and its size. However, some basic materials are needed for every type of window.
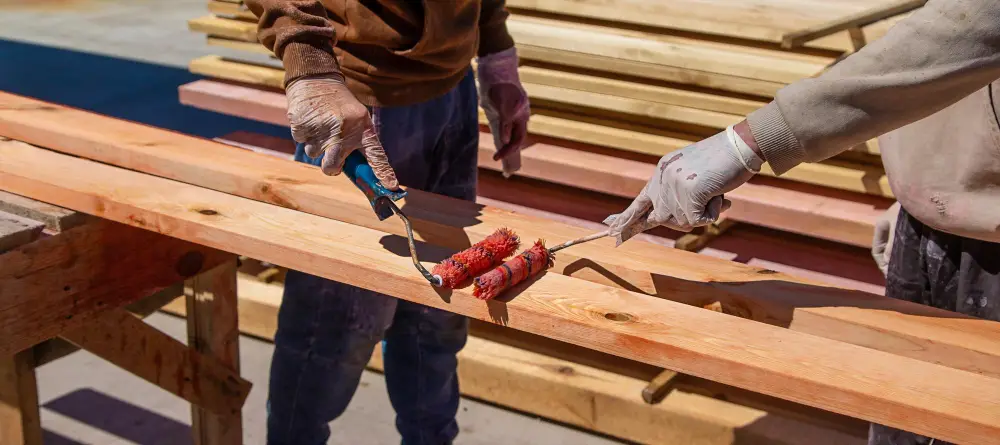
The first material that comes to mind is wood. Wood is an excellent choice for making windows because it’s durable and easy to work with.
You’ll need wooden boards or planks in different sizes according to your measurements.
Another crucial material required is glass panes; they come in various shapes and sizes too, so make sure you choose one that fits perfectly into your frame.
You will also need screws or nails (depending on what kind of fasteners you prefer), sandpaper, paintbrushes (if painting), primer/paint/stain/varnish/sealer (again depends on personal preference).
Lastly, don’t forget about weatherstripping! It helps keep out drafts by sealing gaps between the sash/frame when closed tightly together – this can be made from rubber foam tape or felt strips cut-to-size as per requirement.
Equipment / Tools
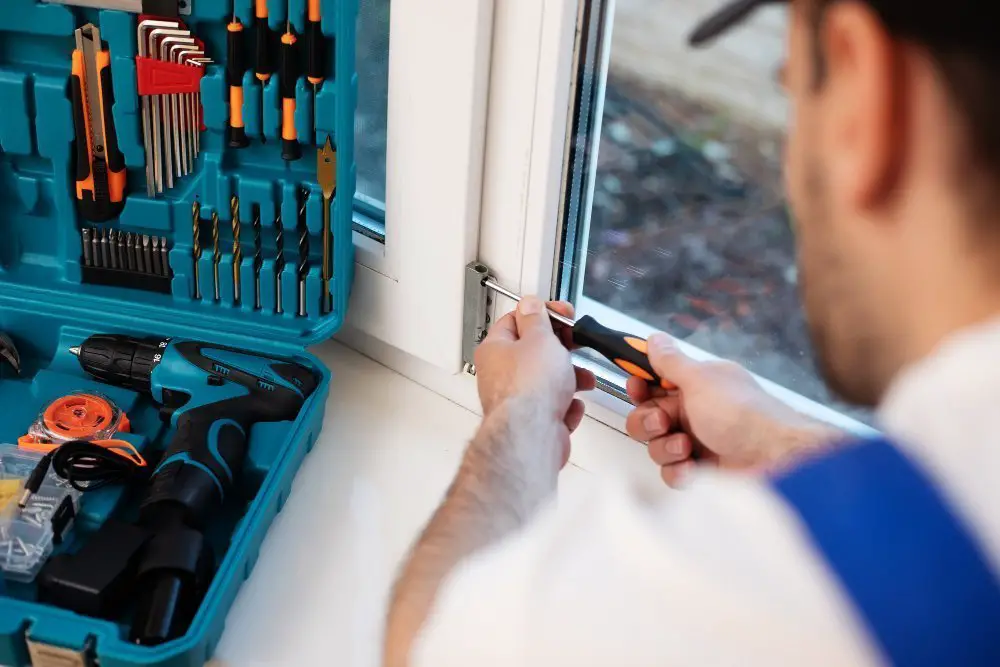
Some of the essential tools include a saw, drill, hammer, screwdriver set (flathead and Phillips), measuring tape or ruler, leveler or plumb line for checking verticality/horizontal alignment. You’ll also require safety gear such as gloves to protect your hands from sharp edges while cutting wood pieces.
It’s crucial to have all the necessary equipment before starting any project because it can save time and prevent frustration later on. If you don’t have some of these items already in your toolbox at home or workshop space – consider renting them from a hardware store instead of buying new ones that may not be used again after this project is complete.
Selecting Glass
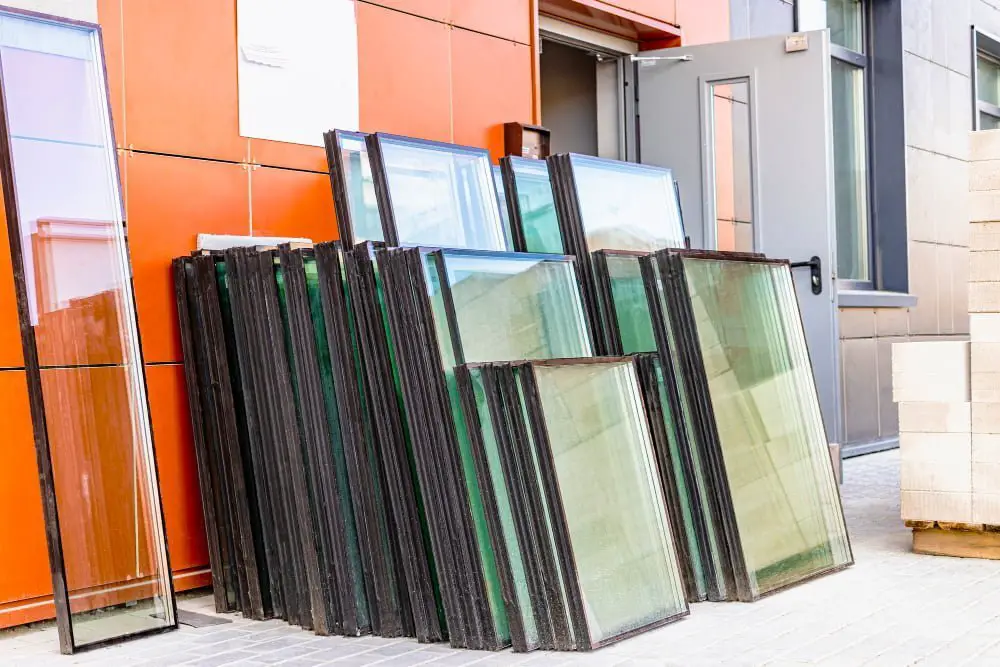
The type of glass you choose will affect the amount of natural light that enters your home, as well as its energy efficiency and overall durability.
One important consideration is the thickness of the glass. Thicker panes provide better insulation and soundproofing but can be more expensive than thinner options.
Another factor to consider is whether or not you want tempered or laminated glass. Tempered glass is stronger and shatter-resistant, making it a safer option for homes with children or pets.
Laminated glass consists of two layers with a plastic interlayer in between that holds them together if shattered.
You should also think about coatings such as low-E (low-emissivity) coatings which help reduce heat transfer through windows by reflecting infrared energy back into your home during winter months while allowing visible light through; this helps keep rooms warmer without sacrificing natural lighting.
Selecting Frames
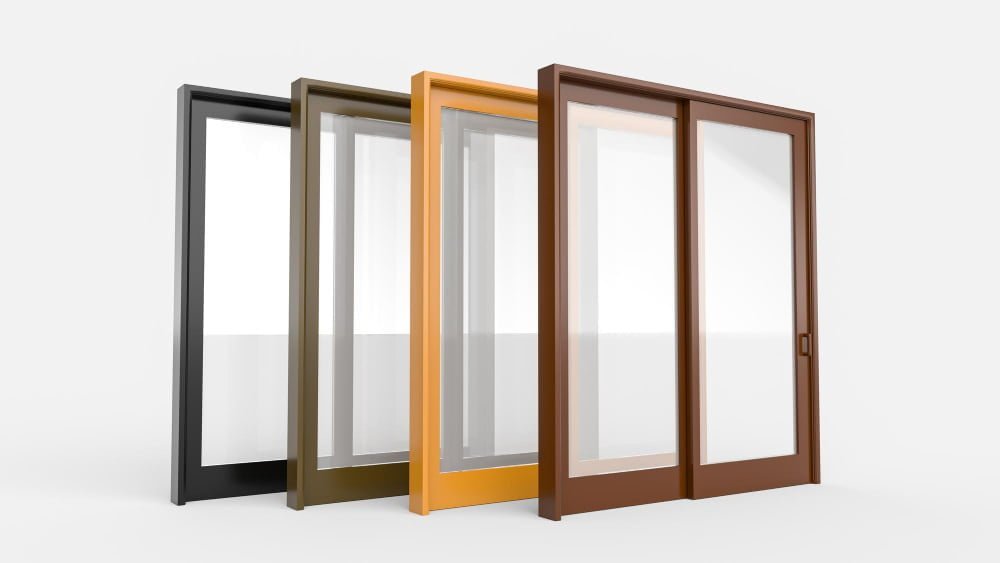
The most common materials used for window frames include wood, vinyl, aluminum and fiberglass. Each material has its own advantages and disadvantages.
Wooden frames offer a classic look that can complement any home’s design style. They are also energy-efficient as they provide excellent insulation against heat loss or gain.
However, wooden frames require regular maintenance such as painting or staining to prevent rotting.
Vinyl is another popular option due to its low cost and durability. It requires minimal maintenance compared to wood but may not be suitable for homes with extreme temperature changes as it tends to expand and contract in response.
Aluminum is lightweight yet strong which makes them ideal for larger windows where strength is required without adding too much weight on the structure of the house itself; however they conduct heat easily making them less energy efficient than other materials.
Fiberglass offers superior insulation properties while being durable enough even in harsh weather conditions; however this type of frame can be more expensive than others on the market today.
Measuring Dimensions
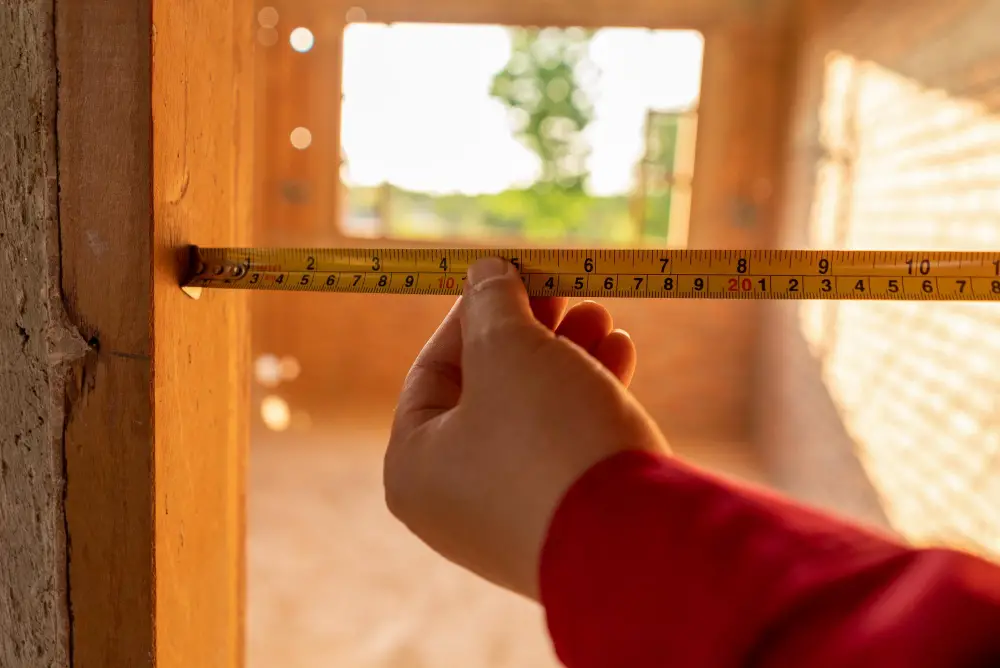
Measuring correctly will ensure that your window fits perfectly into the opening and functions as intended. To get started, measure both the height and width of the rough opening where you plan to install your new window.
To determine accurate measurements for height, use a measuring tape from top to bottom on both sides of the frame. Record these measurements in inches or centimeters (depending on what system you prefer).
Next, repeat this process for width by measuring from left to right at three different points: top, middle and bottom.
It’s important not just to take one measurement but several ones since windows can be slightly irregularly shaped due to settling or other factors over time. Once all measurements are taken down note them carefully so that they can be used later when cutting materials such as glass or frames.
Measure the Rough Opening
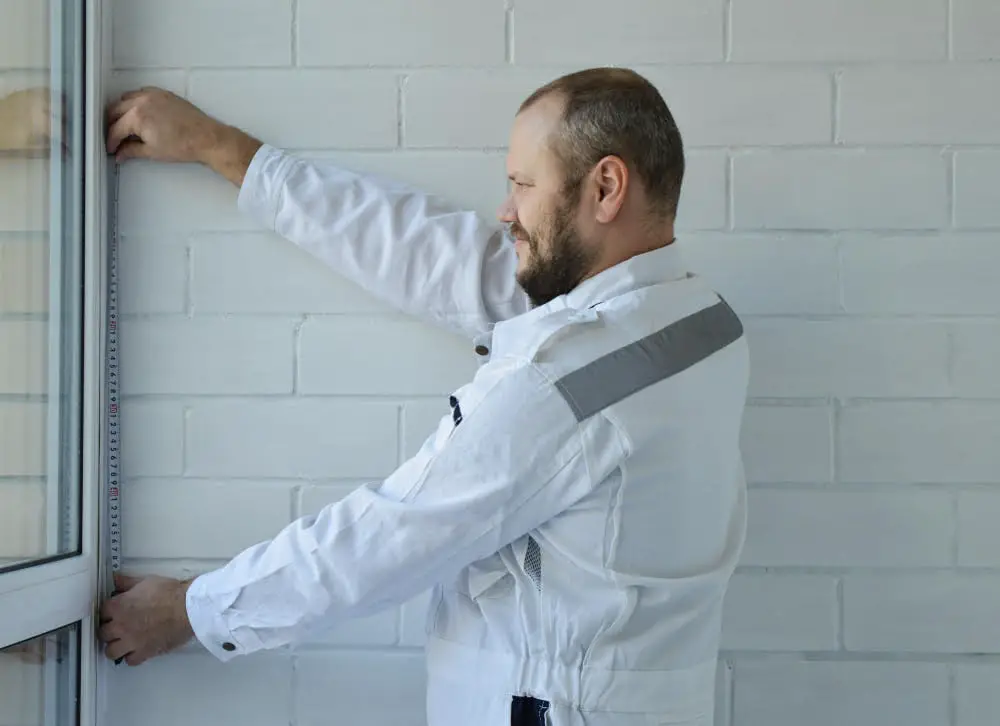
The rough opening is the space in which your new window will fit. Measuring this correctly is crucial to ensure that your finished product fits perfectly and functions as intended.
To measure the rough opening, use a measuring tape to determine its height and width accurately. Measure from inside edge-to-edge of each side of the frame for both dimensions, taking three measurements at different points along each side (top/middle/bottom).
Record these measurements on paper or in a digital format.
It’s important not only to take accurate measurements but also double-check them before proceeding with construction. A small mistake can lead to significant problems down-the-line when installing or finishing up work on-site.
Preparing Opening

The first step is to remove any old or damaged windows and clean the area thoroughly. Next, measure the rough opening of your window frame accurately.
This measurement should be taken from stud-to-stud and header-to-sill. Once you have measured the rough opening dimensions, check if they match with those of your new window frame.
If not, adjust accordingly by trimming or adding framing members as required. After ensuring that everything fits perfectly in place, make sure that there are no obstructions such as pipes or wires in between before proceeding further with installation.
Preparing an adequate space for installing a new window will ensure a smooth installation process without any hiccups along the way!
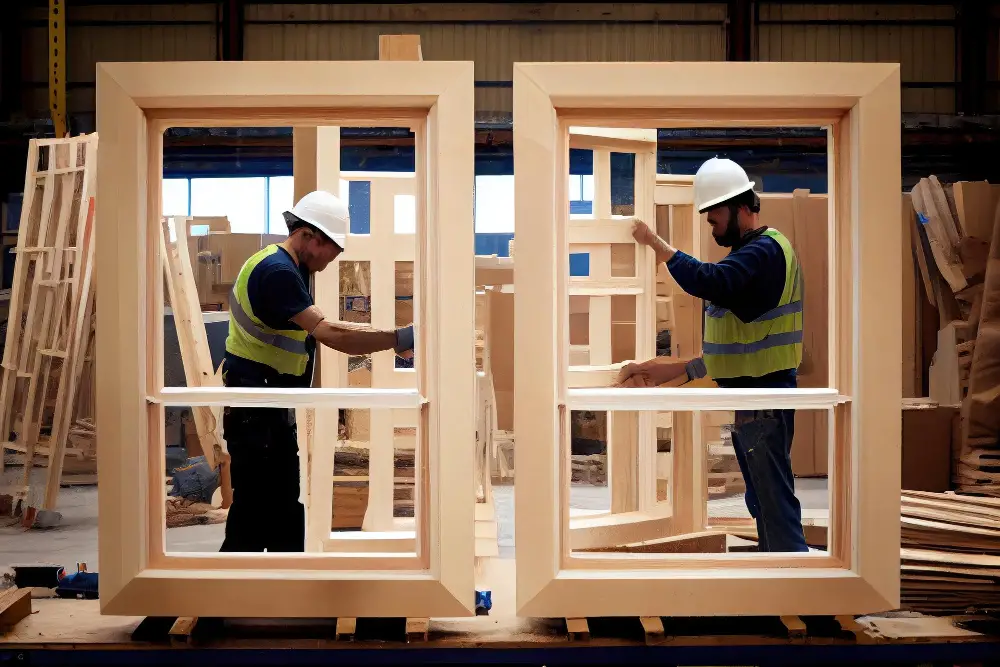
How to Build a Window Frame
The frame provides support for the glass and holds it in place. It also helps to keep out drafts and moisture from entering your home.
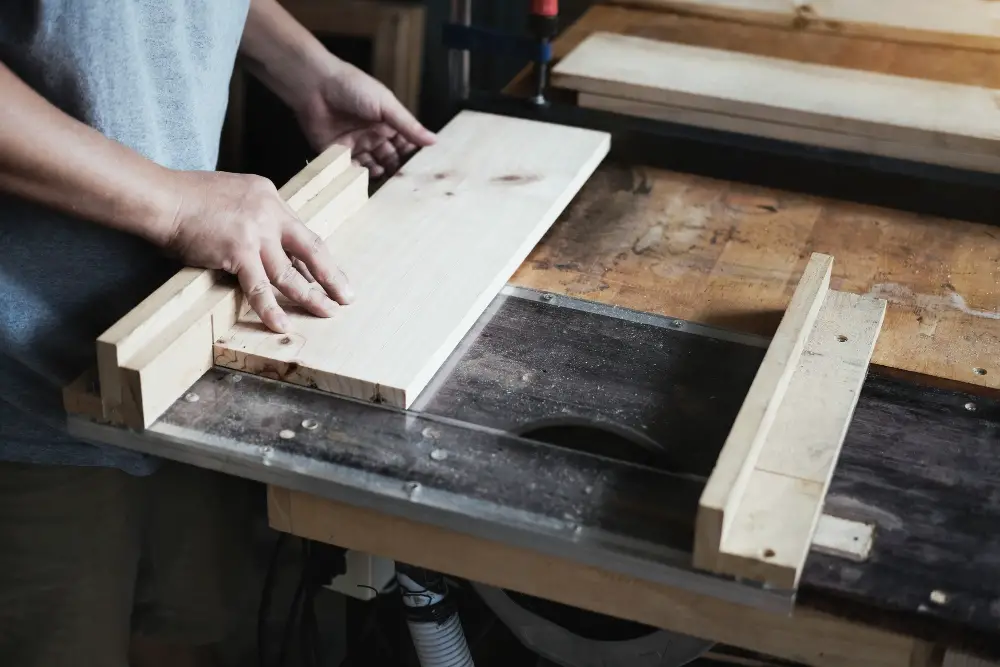
Start by selecting high-quality wood that can withstand weather changes and resist rotting over time. Cut four pieces of wood according to your desired dimensions using a saw or miter saw.
Next, assemble these pieces into a rectangular shape with two longer boards on top and bottom, connected by two shorter sideboards at each end. Use screws or nails to secure them together tightly.
Once you have assembled the basic structure of your window frame, cut out notches called rabbets along its inner edges where you will insert glass panes later on during installation.
Sand down any rough edges or splinters before painting or staining as per preference.
Cut Frame Boards to Length
This step is crucial as it determines how well your window will fit into its opening. To begin, take a measuring tape and measure each side of the rough opening where you plan on installing your new window.
Next, transfer these measurements onto your frame board using a pencil or marker. Make sure that all four sides are equal in length for square windows or follow any specific design requirements if building custom-shaped windows.
Using a saw (preferably circular), carefully cut along each marked line until you have four pieces of wood that match the exact size needed for your project.
It’s important to note that accuracy is key when cutting these boards as even small discrepancies can cause issues during installation and affect overall performance.
Cut Frame Boards to Width

This step is crucial as it determines how well your window will fit into its opening. To begin, use a saw to cut each board down to size according to your measurements.
It’s important that you take accurate measurements and make precise cuts for a perfect fit. Use a straight edge or square tool when marking where you need to make cuts on the wood.
Once all of the boards have been cut down, double-check their lengths against your original measurements before proceeding with assembly. If any adjustments are needed, now is the time for them.
Cut a Rabbet for Glass
One of the essential steps in constructing a window is cutting a rabbet for glass. A rabbet is simply an L-shaped groove cut into the edge of a board or panel, which allows another piece to fit snugly into it.
To cut a rabbet for glass, you will need to use either a table saw or router with an appropriate bit. First, measure and mark where you want your rabbets on each frame board using measuring tape and pencil marks.
Next, set up your saw or router according to manufacturer instructions and make sure that all safety precautions are taken before beginning work. Slowly guide each frame board through the blade until they are all complete.
It’s important not to rush this step as accuracy is crucial when fitting glass panes later on in construction.
Installing Window Frame
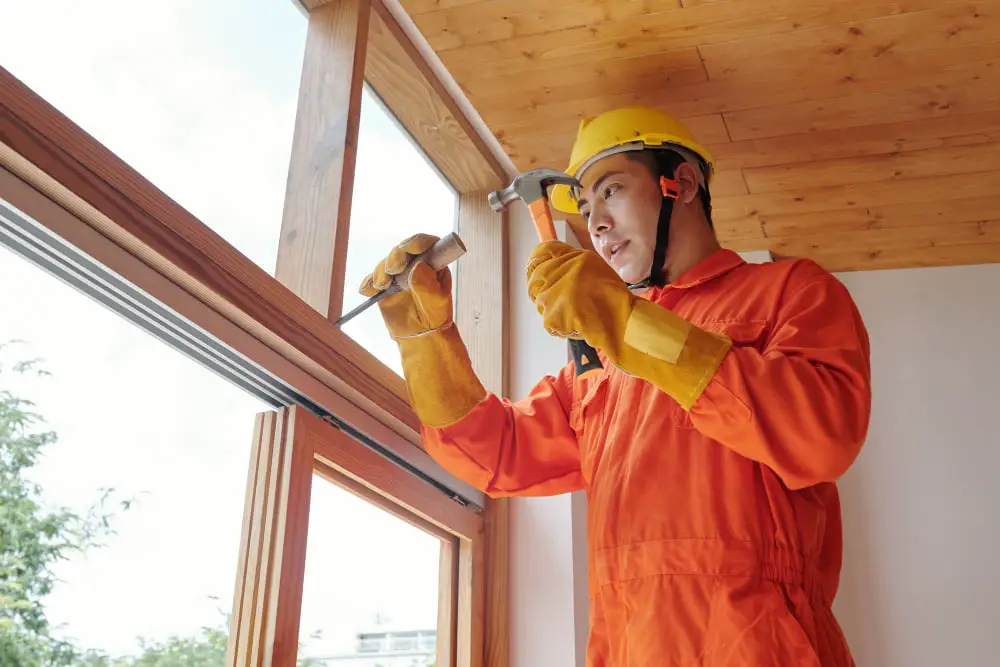
Begin by placing the bottom of the frame into position and then tilt it up into place. Make sure that it is level and plumb before securing with screws or nails.
Next, attach shims to keep everything in place while you secure each side of the window frame. Use a level again to ensure that everything is straight before attaching any additional screws or nails.
Check for any gaps between your new window and its surroundings. If there are gaps present, use foam insulation or caulk around all edges of your new installation for an airtight seal.
Installing Glass

The first step is to measure and cut the glass according to your window dimensions. Make sure that you wear gloves while handling glass as it can be sharp and dangerous.
Next, apply a thin layer of glazing compound around the edges of your frame where you will place your glass. Carefully place the cut piece of glass into position on top of this layer.
Press down gently on all sides until it sits snugly in its designated spot within the frame. Then use glazier points or small metal clips at regular intervals along each side to hold everything securely in place.
Add another thin layer of glazing compound over these clips or points before smoothing out any excess with a putty knife or similar tool for an even finish.
Sealing Edges

Sealing is an essential step in building a window as it helps prevent air leaks and water infiltration. To seal the edges, use a high-quality silicone caulk that is specifically designed for windows.
Apply a continuous bead of caulk around all four sides of the frame where it meets with both glass panes.
Make sure to apply enough pressure while caulking so that there are no gaps or bubbles left behind. Smooth out any excess caulk using your finger or a putty knife.
After applying silicone caulking, allow sufficient time for drying before painting over them if necessary.
Installing Window Sashes
The sash is the part of a window that holds the glass in place and allows it to open and close. Installing them correctly is crucial for ensuring your windows function properly.
To install a sash, start by placing it into position within its designated track on either side of the frame. Make sure that both sides are level before securing them with screws or nails.
Next, test out your new window by opening and closing each sash several times to ensure they glide smoothly along their tracks without any resistance or sticking points.
If you encounter any issues during this process such as difficulty opening or closing one of your windows’ sections, check for obstructions like debris caught in between tracks which can cause friction when trying to slide open/close panels together; if necessary clean these areas thoroughly before attempting again until everything moves freely once more!
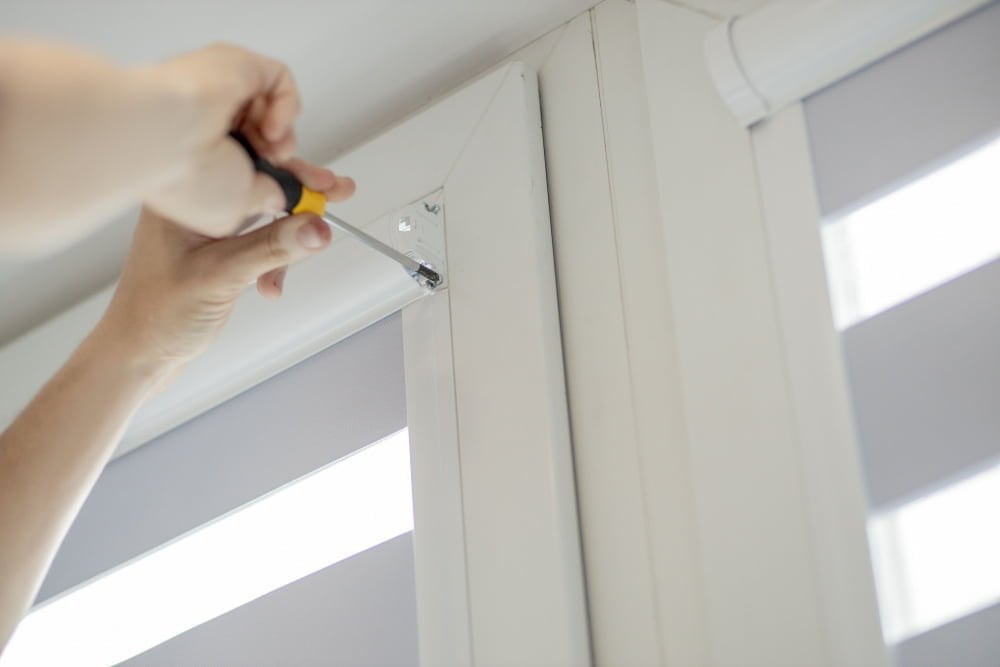
Attaching Hardware

This step is crucial as it ensures that your window functions properly. The type of hardware you choose will depend on the style of your window and its intended use.
For example, if you’re building a casement window, you’ll need hinges to allow for easy opening and closing. You may also want to consider adding a locking mechanism for added security.
If you’re building a double-hung or single-hung window, then balance systems are essential components that help keep them in place when opened or closed.
Weather Stripping
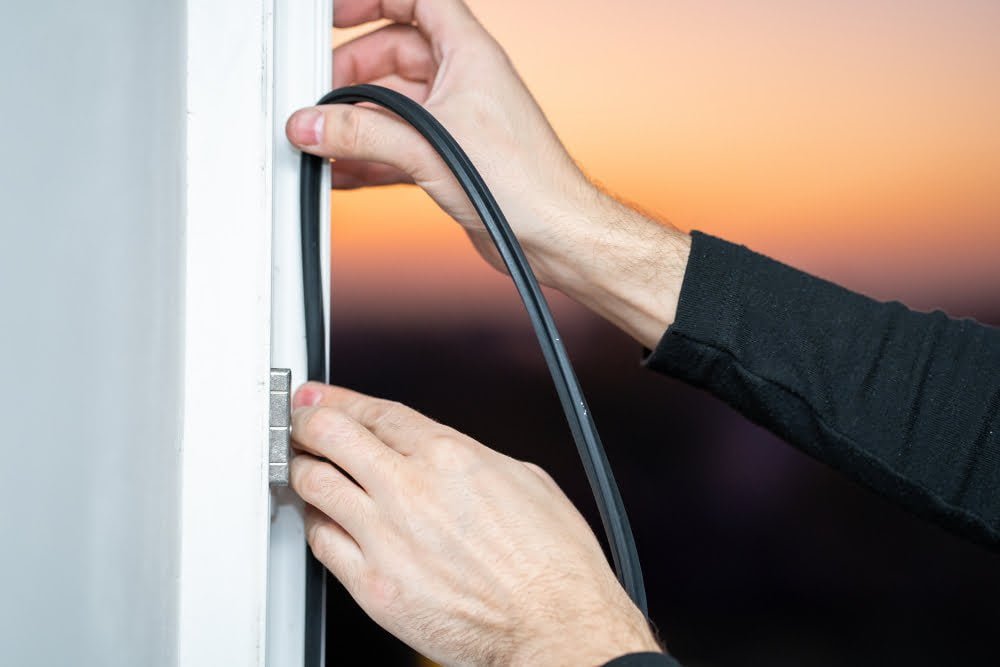
It helps to prevent air and water from entering your home, keeping it comfortable and dry. Once you have installed the glass and sashes, it’s time to add weather stripping around the edges of your window frame.
There are several types of weather stripping available on the market today, including adhesive-backed foam tape, V-strip (tension seal), door sweeps (bottom seals), silicone caulk or tubular rubber gasket. Each type has its own advantages depending on where you live or what kind of climate conditions you face.
To install weatherstripping properly:
- Clean all surfaces thoroughly before applying.
- Measure each side carefully so that there is no excess material hanging over.
- Cut strips according to measurements taken earlier
- Apply adhesive backing onto one side only
- Press firmly into place along edge(s)
- Repeat for remaining sides
Insulation
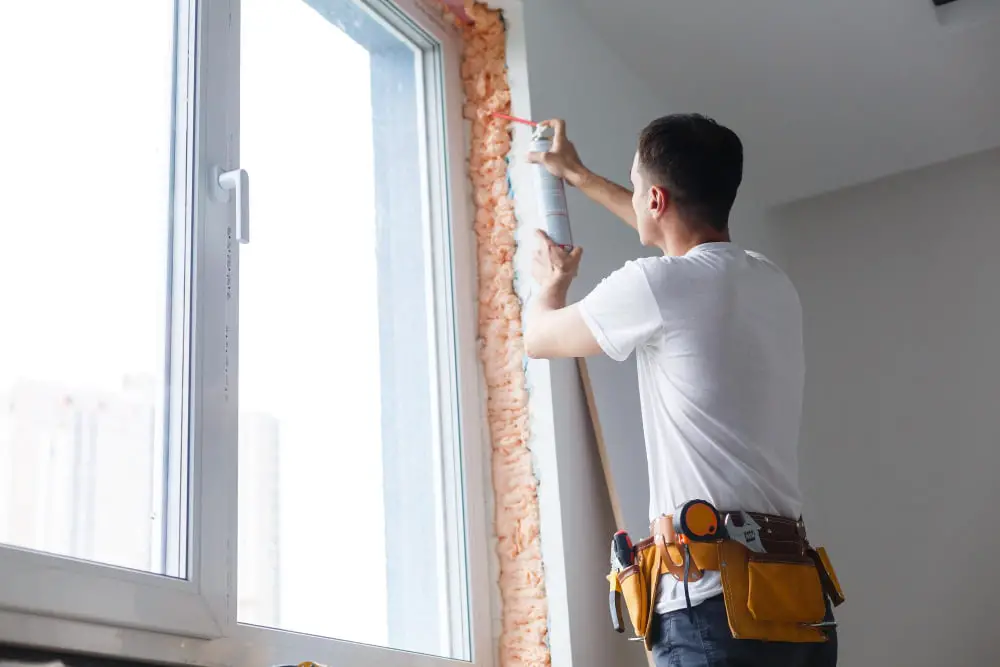
It helps to keep your home warm in the winter and cool in the summer, reducing energy costs and increasing comfort levels. There are several types of insulation materials available, including fiberglass batts, spray foam insulation, and rigid foam board.
When installing windows yourself, it’s important to choose an appropriate type of insulation for your specific needs. Fiberglass batts are easy to install but may not provide as much thermal resistance as other options.
Spray foam insulation can be more effective at sealing gaps around windows but requires special equipment for application.
Rigid foam board is another popular option that provides excellent thermal resistance while also being relatively easy to install. Whichever type you choose, make sure it fits snugly between the window frame and rough opening without compressing or leaving gaps.
Properly insulating your new windows will help ensure they perform efficiently while keeping you comfortable year-round!
FAQ
Can you DIY your own windows?
Yes, you can DIY your own windows if you have the necessary skills, experience, and time for the project.
What wood to build windows?
Cedar, fir, and pine are popular softwoods used for building windows due to their affordability and availability.
What are the essential tools and materials needed for building a window from scratch?
Essential tools and materials for building a window from scratch include measuring tape, saw, hammer, nails, wood or metal frame, glass pane, glazing putty, and weatherstripping.
What is the process of constructing and installing a window frame in a new opening?
The process of constructing and installing a window frame in a new opening involves measuring and cutting the framing materials, assembling the frame, creating the opening, and securing the frame in place.
How can you implement energy-efficient features when building your own windows?
To implement energy-efficient features when building your own windows, consider incorporating double-glazed glass, proper sealing, and high-quality insulation materials for optimal thermal performance.
Read More
 Aluminum Window Latch Replacement: A Simple Guide to Security and Style
 Custom Aluminum Window Screens Buying Guide
 Aluminum Window Removal Tool: Easy Steps for a Hassle-Free Window Replacement
 Screw for Aluminum Window Frame: Your Ultimate Fixing Guide
 Replace Aluminum Window Glass: A Beginner’s Guide to a Clearer View
Recap