Discover the steps to create a stunning bay window, enhancing your home’s architectural appeal and providing an inviting nook to enjoy natural light.

Bay windows are a beautiful addition to any home. They offer an abundance of natural light, provide extra space, and create a cozy nook for relaxation.
If you’re considering building a bay window in your home, it may seem like a daunting task. But fear not! With the right tools and guidance, you can easily build your own bay window and add value to your property.
In this blog post, we’ll walk you through the steps on how to build a bay window from scratch. So grab your measuring tape and let’s get started!
Key takeaways:
- Bay windows bring in natural light and provide extra space.
- Types of bay windows include angled, box, and bow.
- Choose the right style based on personal preference and home design.
- Measure accurately and select durable materials for longevity.
- Install the support system, frame, glass, and weatherproof for insulation.
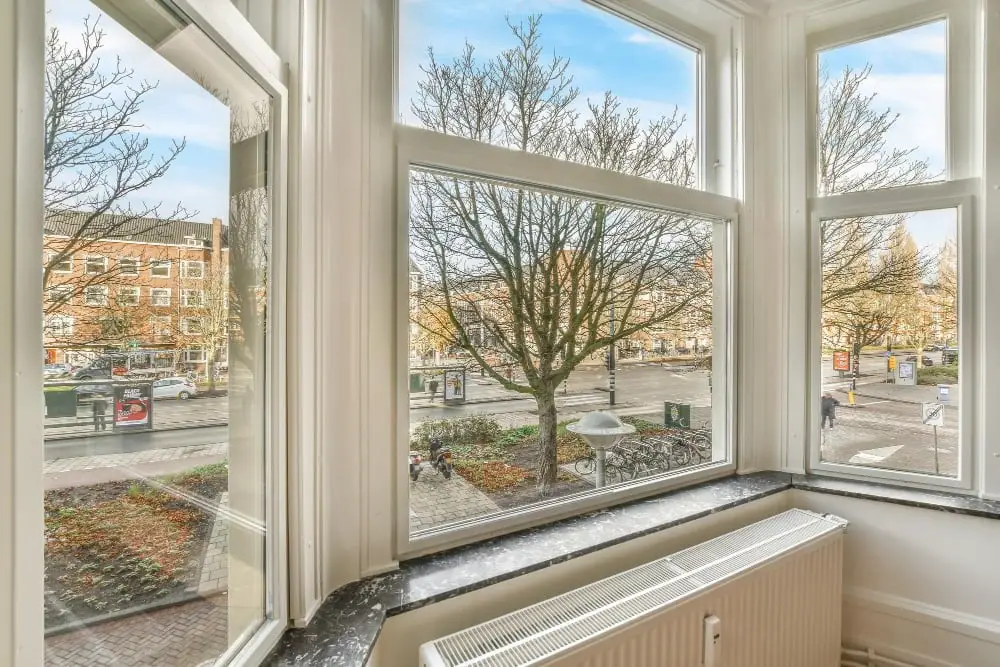
Benefits of Bay Windows
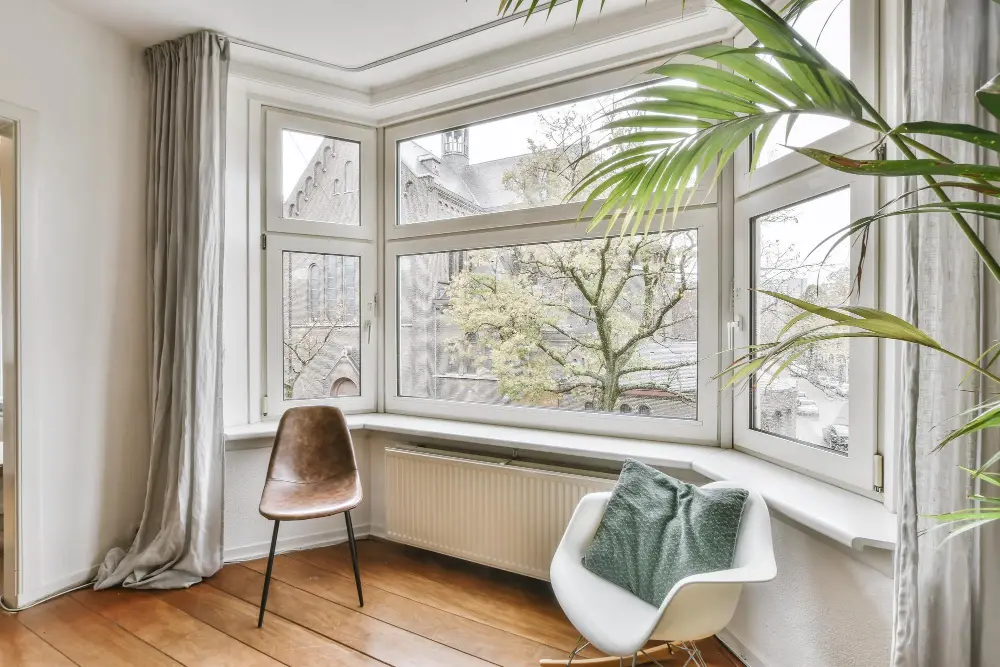
One of the most significant advantages is their ability to bring in natural light, which can help reduce energy costs and create a more inviting atmosphere. Bay windows also provide extra space for seating or storage, making them ideal for small rooms or apartments where every inch counts.
Another benefit of bay windows is their versatility in design. They come in various styles and materials, allowing homeowners to choose the perfect fit for their home’s architectural style and personal taste.
Whether you prefer traditional wood frames or modern aluminum ones, there’s sure to be a bay window option that suits your needs.
Installing bay windows can increase your property value significantly by enhancing curb appeal and adding square footage without major renovations.
Types of Bay Windows
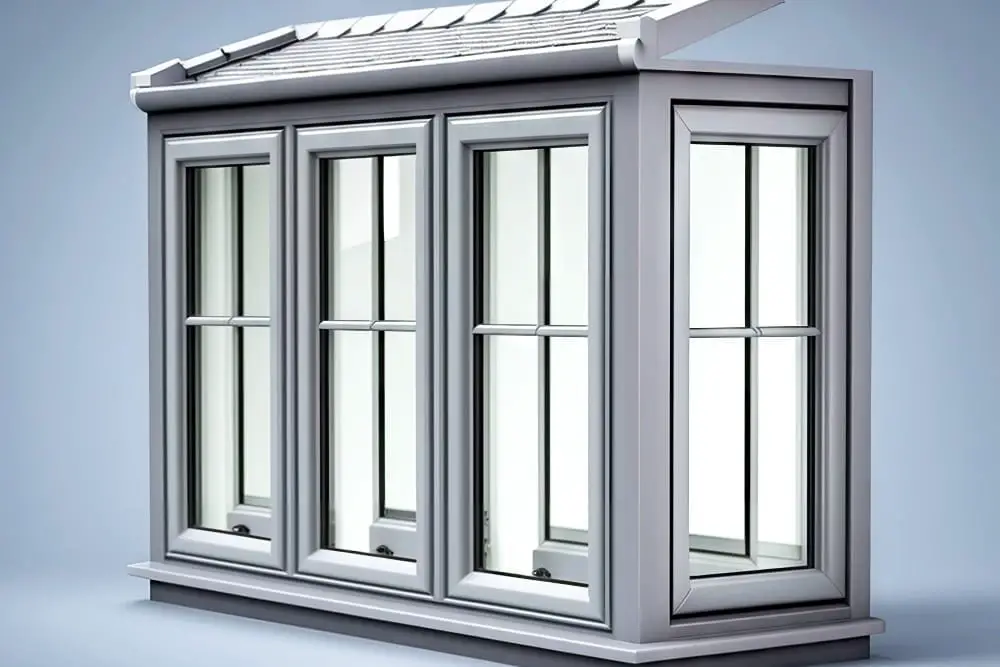
The most common styles include angled bay windows, box bay windows, and bow bay windows. Angled bays have a flat front and side panels that angle back towards the wall at 30 or 45 degrees.
Box bays are square-shaped with three sides that project outwards from the house in a rectangular shape. Bow bays have curved glass panes that create an elegant rounded appearance.
Each type of window has its own unique benefits and can be customized to fit your home’s style and architecture. For example, if you’re looking for more space inside your home while still maintaining a traditional look on the outside, then an angled or box-style may be best suited for you.
Choosing the Right Style

The most common styles include angled, box and bow windows. Angled bay windows have a flat front and side panels that angle back towards the wall at 30 or 45 degrees.
Box bay windows feature a square shape with three sides that extend out from the house in a rectangular fashion while bow windows have curved glass panes which create an elegant rounded appearance.
The style you choose will depend on your personal preference as well as factors such as space availability and architectural design of your home’s exterior. It’s important to consider how much light you want to let into your room, what kind of view you want from inside, and how much privacy is required.
Measuring for a Bay Window
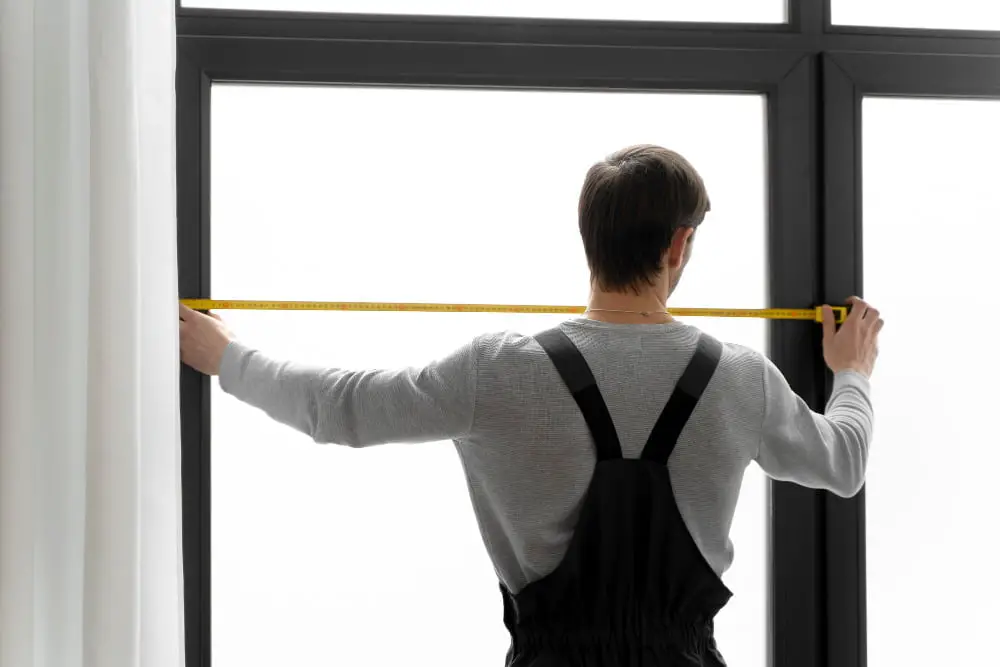
Before you start, make sure to measure the area where you want to install your bay window accurately. You’ll need to determine the height and width of your new window opening, as well as its depth.
To get started, use a measuring tape and take measurements from inside your home. Measure from floor-to-ceiling at each corner of where you plan on installing the bay window; this will help ensure that it’s level when installed.
Next, measure across each wall section between these corners – both top and bottom – taking note of any variations in length or height along with any obstacles such as pipes or electrical outlets that may be present.
Selecting Materials

First and foremost, you want to choose materials that will complement the style of your home. For example, if you have a traditional-style home with brick or stone accents, wood-framed windows may be the best choice.
Another important factor is durability. Bay windows are exposed to the elements and can take quite a beating from wind and rain over time.
Choosing high-quality materials such as vinyl or fiberglass frames can help ensure that your bay window lasts for years without requiring frequent repairs.
Lastly, energy efficiency should also be taken into account when selecting materials for your bay window project. Look for options with low-E glass coatings or double-paned glass which helps reduce heat loss in winter months while keeping out unwanted heat during summer months.
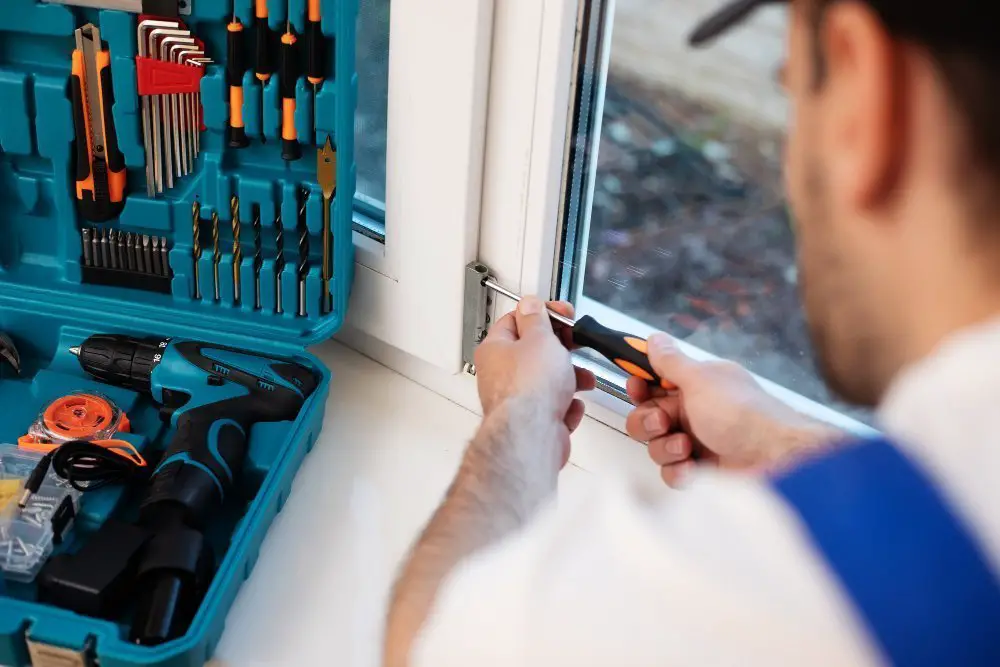
Preparing the Workspace

This step is crucial as it ensures that you have everything in place before starting the project. First, clear out any furniture or items from the area where you’ll be working.
You want to create a clean and spacious environment for easy movement and access.
Next, gather all necessary tools and materials required for this project. These may include measuring tape, saws (hand or power), hammers, nails/screws/bolts/fasteners of various sizes depending on what type of frame material will be used (wooden frames require different fasteners than metal ones), caulking gun with sealant cartridges suitable for outdoor use such as silicone caulk which can withstand extreme temperatures without cracking or shrinking over time.
Ensure that there is adequate lighting in your workspace so that you can see clearly while working on intricate details like cutting angles into wood pieces accurately.
Assessing and Measuring
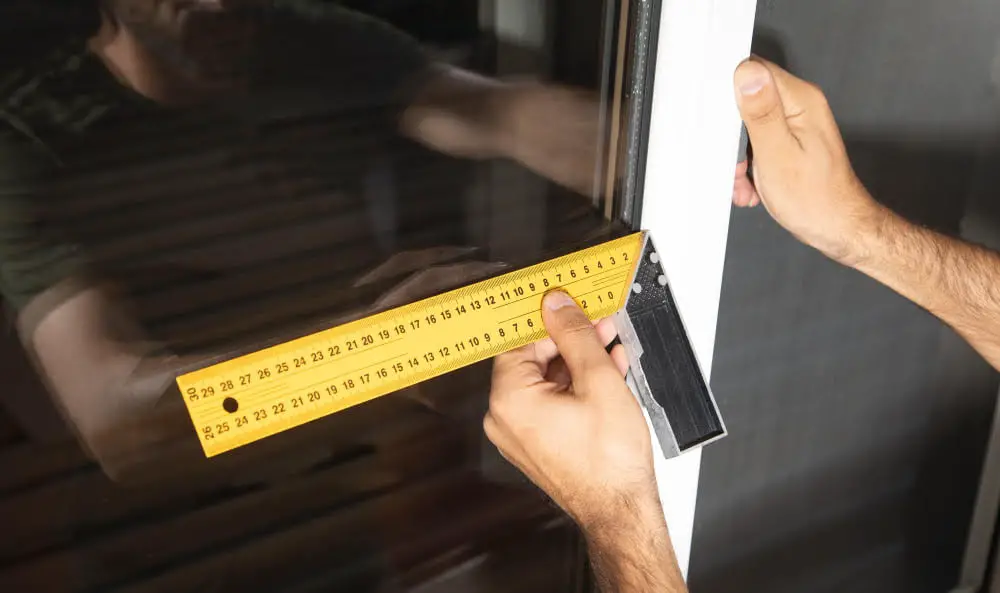
This step is crucial because a miscalculation can lead to costly mistakes down the line. Start by measuring the width of your existing window opening from one side jamb to another.
Next, measure from the bottom of the sill plate up to where you want your new bay window’s top frame piece or header.
Once you have these measurements, use them as a guide when selecting materials for framing and constructing your bay window. Keep in mind that different types of windows require different support systems; therefore, ensure that all necessary components are included in any kit or package purchased.
Removing Existing Windows

This step is crucial as it ensures that your new bay window fits perfectly and functions correctly. To remove an old window, start by removing any trim or molding around the frame using a pry bar or hammer.
Next, use a utility knife to cut through any caulking between the frame and wall before carefully prying out each section of glass with a putty knife.
Once all of the glass has been removed from its frame, unscrew or pry off any hardware holding it in place before finally removing it from its opening entirely. Be sure to clean up debris thoroughly after removal so that there are no obstructions when installing your new bay windows’ support system.
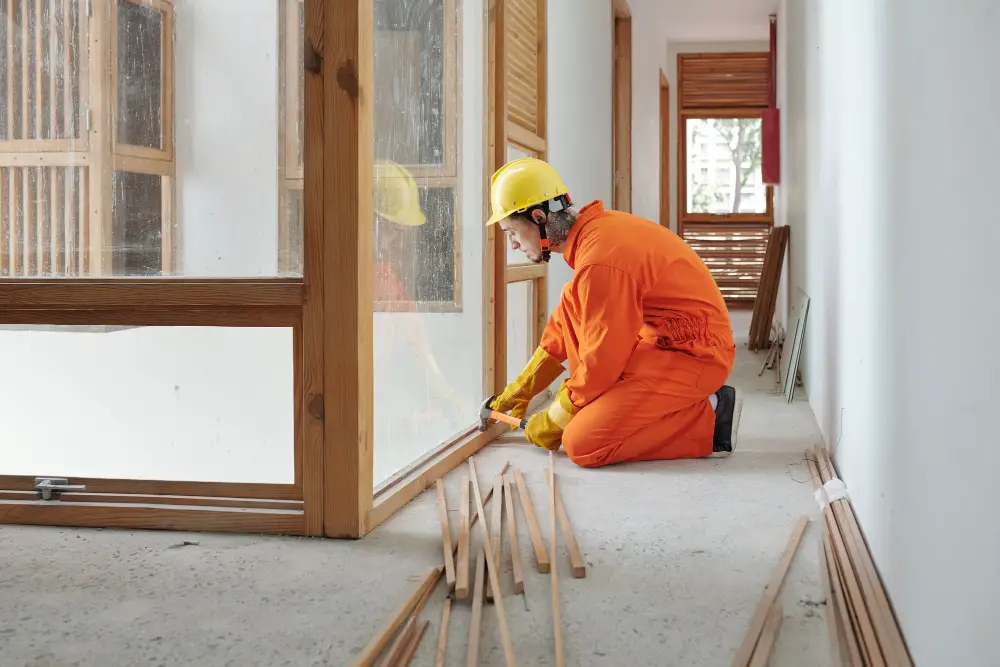
Framing the Opening
This step is crucial as it provides support for your new window and ensures that everything fits perfectly. Start by removing any existing windows or frames in the area where you plan to install your bay window.
Next, measure out the dimensions of your new opening on both sides of the wall. Use a level to ensure that everything is straight and even before cutting into any walls or studs.
Once you’ve marked out where you want to cut, use a reciprocating saw or circular saw with a metal-cutting blade to carefully cut through any drywall or plaster around the perimeter of your marked-out area.
After cutting away all necessary materials from around this section (including insulation), begin framing up an appropriate-sized header beam above this newly created hole using pressure-treated lumber according to local building codes.
Installing the Support System
This is a crucial step in ensuring that your bay window is structurally sound and safe. The support system will bear the weight of the new windows, so it’s important to use high-quality materials.
The first thing you’ll need to do is install a header across the top of your frame. This header should be made from sturdy lumber or engineered wood products like laminated veneer lumber (LVL) or glued-laminated timber (glulam).
It should be sized according to local building codes and span at least 1 foot beyond each side of your frame.
Next, you’ll need to add jack studs on either side of your opening. These are vertical supports that will help distribute weight evenly down through each corner post below them.
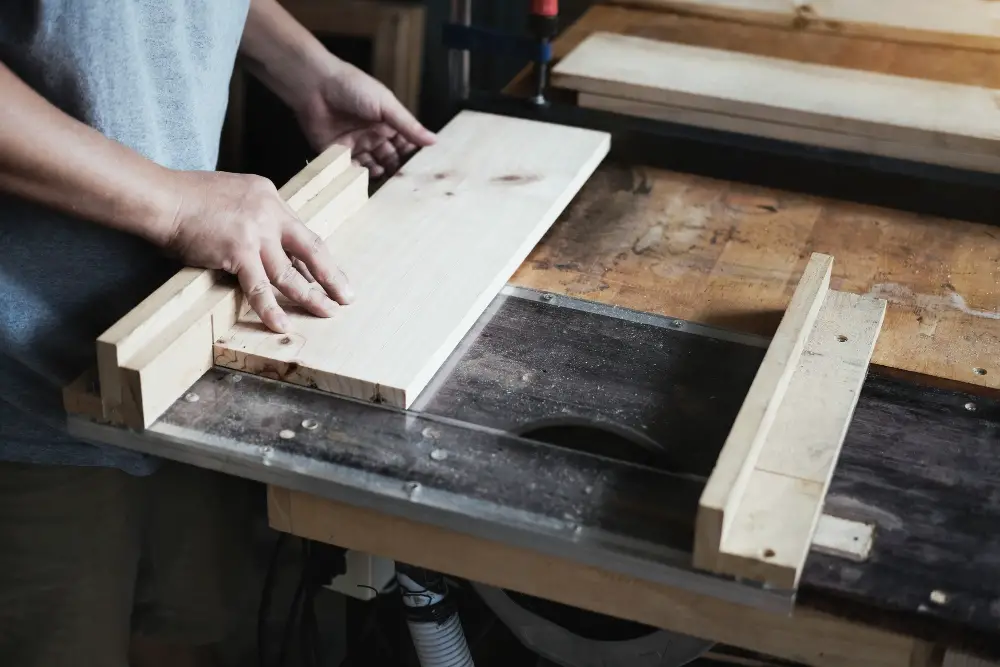
Building the Frame

The frame is essentially a box that will hold your windows in place and provide structural support. To begin building the frame, measure and cut pieces of lumber to fit each side of your opening.
Use a level to ensure that everything is straight and square before securing them together with screws or nails.
Next, add cross braces between each section of framing for added stability. These can be made from smaller pieces of lumber or metal brackets depending on what works best for you.
Attach plywood sheathing over the entire structure using galvanized nails or screws spaced every 6 inches along all edges and at least 12 inches apart in field areas (where there are no edges). This will help keep everything secure while also providing an additional layer of insulation against drafts.
Installing the Sill

The sill is a horizontal piece of wood that sits at the bottom of your bay window and supports its weight. To begin, measure and cut your sill to fit snugly into place between the two side jambs.
Next, apply a generous amount of construction adhesive along both sides of each jamb where they will come into contact with the sill. Carefully lower your pre-cut sill onto these adhesive strips so that it rests evenly on top.
Use shims as needed to ensure that everything remains level and plumb before securing with screws through each end into their respective jamb pieces.
Cutting the Sill
The sill is a horizontal piece of wood that sits at the bottom of your bay window and supports its weight. To ensure proper support, measure and cut your sill to fit snugly into place.
Using a saw, carefully trim any excess wood from the edges until you have a perfect fit. Be sure to double-check all measurements before making any cuts as mistakes can be costly.
Once you’ve got your perfect fit, secure it in place with screws or nails through pre-drilled holes on either side of each end. This will keep everything stable while you continue building up towards completion.
Cutting the sill may seem like an easy task but precision is key here as this part bears most of the weight for your bay window structure.
Assembling the Window
This step requires precision and attention to detail as any mistakes can lead to a poorly functioning or unstable window. Begin by attaching the head jamb, which is located at the top of your frame, followed by installing side jambs on either side of your frame.
Next up is installing sashes into each section of your bay window. Sashes are typically made from wood or vinyl materials and come in various sizes depending on how large you want each section of glass to be.
After inserting all sashes into their respective sections, secure them with screws or nails before adding weatherstripping around each one for added insulation against drafts.
Attach hardware such as locks and handles onto each sash before testing that they open smoothly without any resistance.
Sealing and Weatherproofing

This step is crucial in ensuring that your new addition is energy-efficient and protected from the elements. Begin by applying a high-quality silicone caulk around all edges of the frame, including where it meets with the wall.
Make sure to fill any gaps or cracks completely.
Next, install weatherstripping along all moving parts of your bay window – this includes where each sash meets with its corresponding jamb as well as between individual panes if applicable. Weatherstripping helps prevent drafts and keeps moisture out.
Add insulation around the perimeter of your new bay window to ensure maximum energy efficiency during both hot summers and cold winters.
Installing Window Glass

This step requires precision and care to ensure a secure fit and prevent any air leaks. Begin by measuring each section of your bay window frame accurately, taking into account any angles or curves in the design.
Next, cut your glass panes according to these measurements using a glass cutter or having them professionally cut for you. Be sure that each pane fits snugly within its designated space before securing it with glazing points.
After all panes are securely in place, apply silicone caulk around the edges of each pane where they meet with their frames. This will help seal out drafts and moisture while also providing additional support for your windows.
Add weatherstripping around all edges of your new bay window installation as an extra layer of protection against outside elements such as wind and rain.
Weatherproofing Installation

This step is crucial in ensuring that your new addition can withstand harsh weather conditions and keep your home energy-efficient. Start by applying a layer of silicone caulk around the perimeter of the frame to seal any gaps or cracks between the frame and wall.
Next, install flashing tape over all seams and joints on both sides of the bay window to prevent water from seeping through.
After sealing off any potential leaks, apply insulation foam around all edges where air could escape or enter into your home. This will help regulate temperature inside while keeping out drafts during colder months.
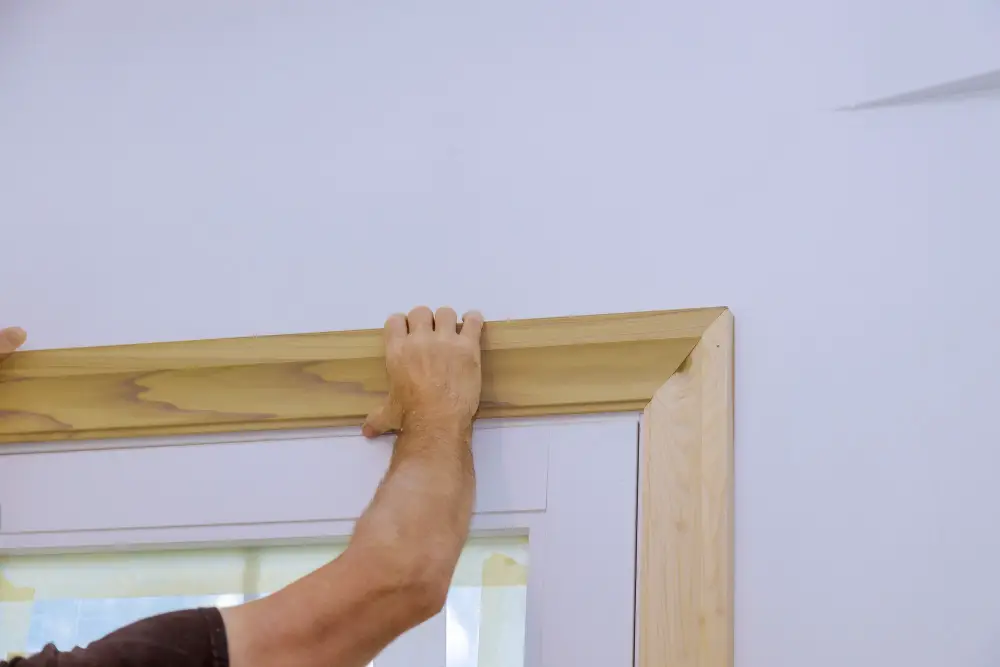
Finishing the Exterior
This step is crucial as it will ensure that your new addition blends seamlessly with the rest of your home’s architecture. The first thing you’ll need to do is install trim around the perimeter of the window frame.
This will help cover any gaps and create a clean, finished look.
Next, you’ll want to add siding or stucco around the bay window frame. Make sure that all seams are sealed tightly and caulked properly so that water cannot penetrate through them.
Consider adding some decorative elements such as shutters or flower boxes on either side of your new bay window for added curb appeal.
Insulating the Bay Window

Proper insulation will help keep your home warm in the winter and cool in the summer while also reducing energy costs. The first step is to seal any gaps or cracks around the window frame with caulking or weatherstripping.
This will prevent drafts from entering your home and reduce heat loss.
Next, consider adding insulation between the studs of the wall surrounding your bay window. Fiberglass batts are a popular choice for this type of installation because they’re easy to work with and provide excellent thermal resistance.
Don’t forget about insulating around any electrical outlets near your new bay window as well as above and below it if there’s space for air movement behind its walls.
By taking these steps to properly insulate your new bay windows, you’ll enjoy a more comfortable living space year-round while saving money on heating and cooling bills!
FAQ
Can I add a bay window to my house?
Yes, you can add a bay window to your house if your home’s structure supports it, offering extra living space and an attractive feature with various styles available.
Can you make any window a bay window?
Yes, you can convert a regular window into a bay window by adding space that juts out from the wall, as most remodelers possess the necessary equipment and expertise to make this change.
Do you need building regs for a bay window?
For a bay window, you need planning permission at the front of the house, may need it at the side or back, and should consult your local planning authority.
Can you build a bay window UK?
In the UK, you can build a bay window without planning permission when replacing an existing one or adding new ones at the side and back of the house, but you need permission for new bay windows at the front of the house.
What are the essential materials required for constructing a bay window?
Essential materials for constructing a bay window include framing lumber, sheathing, house wrap, insulation, window unit, flashing, trim, and fasteners.
How can energy efficiency be prioritized when building a bay window?
To prioritize energy efficiency when building a bay window, ensure proper insulation, air sealing, and usage of energy-efficient glass or glazing materials.
What are the major steps involved in replacing an existing window with a bay window?
The major steps involved in replacing an existing window with a bay window include removing the old window, preparing the opening, installing the bay window, and finishing the interior and exterior surfaces.
Read More
 Aluminum Window Latch Replacement: A Simple Guide to Security and Style
 Custom Aluminum Window Screens Buying Guide
 Aluminum Window Removal Tool: Easy Steps for a Hassle-Free Window Replacement
 Screw for Aluminum Window Frame: Your Ultimate Fixing Guide
 Replace Aluminum Window Glass: A Beginner’s Guide to a Clearer View
Recap