Discover the simple steps to transform your living space by learning how to install a bay window with ease and precision.

Bay windows are a beautiful addition to any home, providing natural light and a stunning view of the outdoors. However, installing one can be a daunting task for many homeowners.
But fear not! In this blog post, we will guide you through the process of installing a bay window step by step. Whether you’re looking to upgrade your home’s curb appeal or simply want to enjoy more natural light indoors, our expert tips and tricks will help you get the job done right.
So grab your tools and let’s get started!
Key takeaways:
- Measure the space and consider natural light and ventilation needs.
- Choose a bay window style that suits your preferences and home’s design.
- Take precise measurements for a perfect fit and calculate the depth required for installation.
- Select materials and insulation that offer energy efficiency and durability.
- Obtain the necessary permits before starting the installation process.
Assessing Your Space

Bay windows come in different sizes and styles, so it’s crucial to determine the right fit for your home. Begin by measuring the area where you want to install the window and take note of any obstacles such as pipes or electrical wiring that may affect installation.
Consider how much natural light you want in your room and which direction the window will face. North-facing windows receive less direct sunlight while south-facing ones get more sun exposure throughout the day.
Also, think about how much ventilation is needed in your space. If you’re installing a bay window in a kitchen or bathroom, consider getting one with operable side panels that can be opened for fresh air circulation.
Choosing a Bay Window Style

The most popular styles include angled, box and bow windows. Angled bay windows consist of three or more panels that are set at different angles to create a geometric shape.
Box bay windows have a square or rectangular shape with flat front panels and side panels that project outwards from the wall at 90-degree angles. Bow bay windows feature four or more equal-sized panes that curve gracefully outward from the wall in an arc-like formation.
The style you choose will depend on your personal preference as well as the architectural design of your home’s exterior and interior space. Consider factors such as natural light exposure, ventilation needs, energy efficiency ratings, maintenance requirements and cost when making your decision.
Measuring for Installation
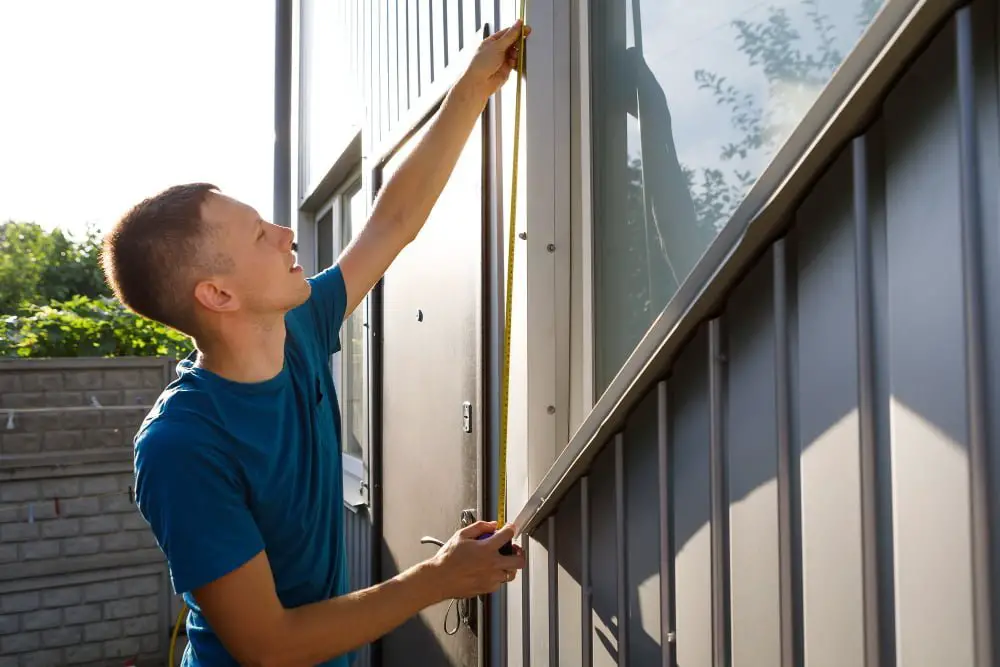
This step is essential to ensure that your new window fits perfectly and functions properly. To get started, gather a measuring tape, pencil, and paper.
Begin by measuring the width of the opening at three different points: top, middle and bottom. Record each measurement in inches on your paper.
Next up is height measurement; measure from the sill to just below where you want your headroom clearance (usually 6 feet or more). Again take measurements at three different points – left side of opening near top/middle/bottom followed by right side of opening near top/middle/bottom – record all measurements on paper.
Finally calculate depth required for installation; this will depend upon how far out from wall/window seat you would like bay window unit protruding into room space (typically between 18-24 inches).
Selecting Materials and Insulation

The right materials can make all the difference in terms of energy efficiency, durability, and overall appearance.
When selecting materials for your bay window installation project, consider factors such as weather resistance, maintenance requirements, cost-effectiveness over time. Common options include vinyl-clad wood frames or fiberglass frames that offer excellent insulation properties while being low-maintenance.
Insulation is also an essential consideration when installing a new bay window. Properly insulating around the frame will help keep heat inside during winter months while keeping cool air in during summer months.
This not only helps reduce energy costs but also ensures maximum comfort year-round.
Obtaining Necessary Permits

Depending on where you live, there may be specific regulations and codes that need to be followed when adding a new window or altering the exterior of your home.
Obtaining necessary permits can take some time, so it’s best to start this process early in the planning stages. You’ll likely need to provide detailed plans and specifications for the installation as well as pay a fee for the permit.
Failing to obtain proper permits can result in fines or even legal action down the line.
Ordering a Bay Window

This step is crucial as it ensures that you receive a custom-made unit that fits perfectly into your opening. When ordering a bay window, be sure to provide accurate measurements and specifications for materials such as glass type, frame color, and hardware finishes.
Most manufacturers offer various customization options for their windows so take some time to explore what’s available before making a final decision. Consider factors such as energy efficiency ratings or soundproofing features if these are important considerations in your area.
It’s also essential to choose a reputable supplier with experience in manufacturing high-quality bay windows. Look for reviews from previous customers or ask friends and family members who may have had similar installations done recently.
Prepping the Installation Area

This involves removing any obstacles that may be in the way and ensuring that there is enough space for the new window unit. Start by clearing out furniture or other items near where you plan to install your bay window.
Next, measure the width and height of your existing opening to ensure it will accommodate your new bay window. If necessary, you may need to enlarge or adjust the opening before proceeding with installation.
It’s also crucial to check for any structural issues such as rotting wood or water damage around the existing frame. These problems should be addressed before moving forward with installation.
Removing the Old Window

This step is crucial as it ensures that the installation area is clean and free of debris, allowing for a smooth and secure fit for your new window. To begin, carefully remove any interior trim or moulding around the existing window using a pry bar or hammer.
Next, use a utility knife to cut through any caulking or sealant between the frame and wall.
Once all exterior trim has been removed from around the old window unit, gently push it out of its opening from inside your home with help if needed. Be sure to have someone outside holding onto it so that it doesn’t fall during removal.
If you encounter resistance while removing an older wooden frame due to nails being used instead of screws in construction; use pliers or vice grips on these fasteners before attempting removal by prying them loose first with either tool mentioned above then pulling outward until they release their hold on surrounding woodwork completely.
Framing the Opening

This is a crucial step in ensuring that your new window fits securely and functions properly.
First, measure the width of the opening at three different points: top, middle, and bottom. Use these measurements to determine if any adjustments need to be made before framing begins.
Next, use a saw or reciprocating saw to cut through any existing studs or drywall where necessary. Be sure not to damage any electrical wiring or plumbing during this process.
Then install header boards above the opening using nails or screws into adjacent studs on either side of where you want your bay window installed.
Levelling the Frame
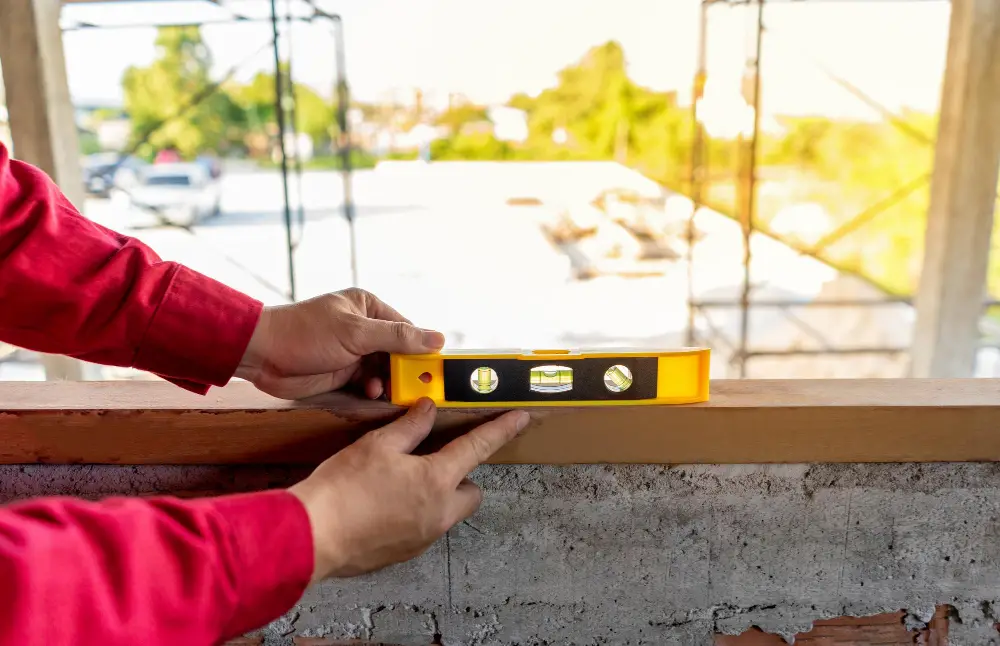
This is a crucial step in ensuring that your bay window will function properly and look great. Use a spirit level to check that the frame is perfectly horizontal and vertical on all sides.
If necessary, adjust by shimming under or behind the brackets until everything lines up correctly.
It’s important not to rush this step as an unevenly leveled frame can cause issues with opening and closing of windows or even lead to water damage over time due to improper drainage.
Take your time during this stage of installation, double-checking each measurement before making any adjustments.
Securing Support Brackets

These brackets will help hold the weight of your new bay window and ensure that it stays in place for years to come. The number of support brackets needed will depend on the size and weight of your window unit, as well as local building codes.
To install these brackets, you’ll need to drill pilot holes into both sides of each bracket before screwing them into place along the bottom sill plate. Make sure they are securely fastened and level with one another before moving onto installing the actual window unit.
Properly securing support brackets is crucial for a successful installation process.
Installing the Window Unit
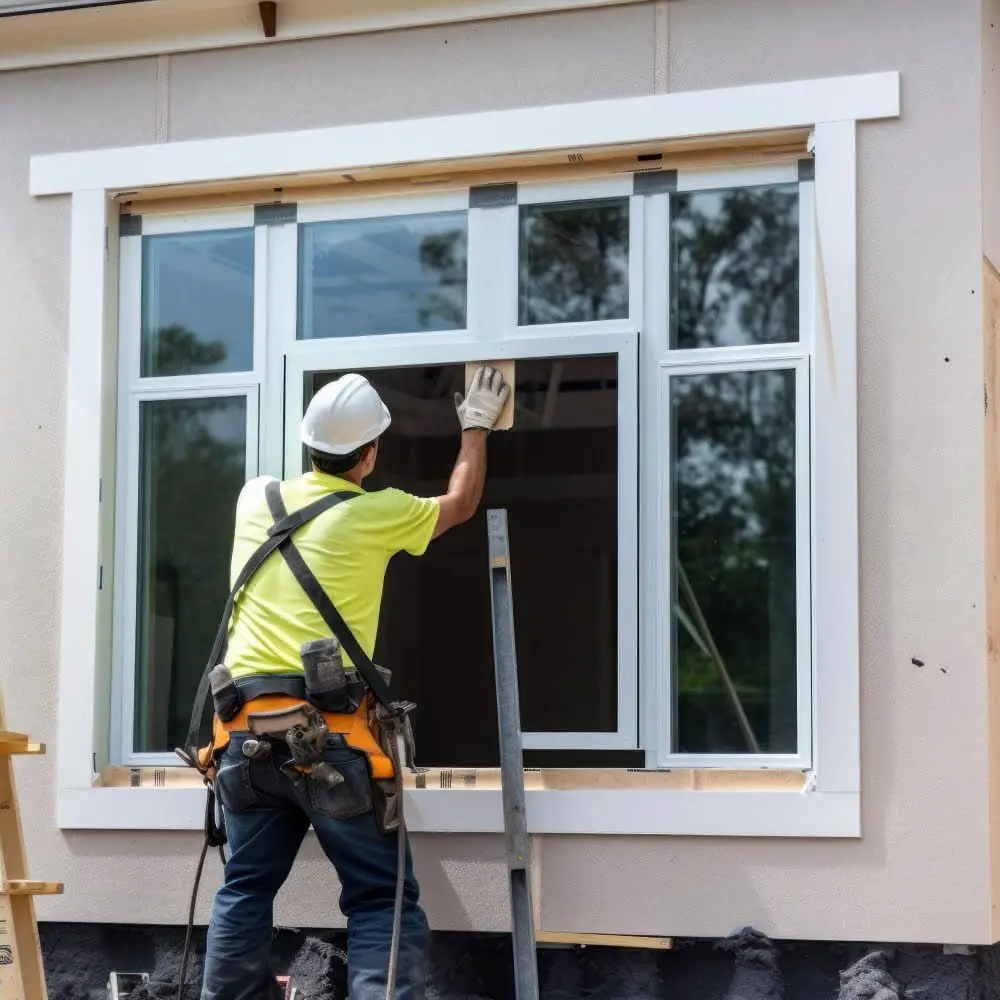
This is a crucial step in ensuring that your new window fits perfectly and functions properly.
First, carefully lift the bay window unit into place on top of the support brackets. Make sure that it is level both horizontally and vertically before securing it to the frame with screws or nails.
Next, check for any gaps between the frame and wall opening. If there are any gaps present, use shims to fill them in until everything fits snugly together.
Seal around all edges of your new bay window with high-quality caulk or foam insulation tape. This will help prevent drafts from entering your home while also providing an extra layer of protection against moisture damage.
Fastening the Window to the Frame

This step is crucial for ensuring that your bay window stays firmly in place and doesn’t shift or move over time. To do this, you’ll need screws or nails that are appropriate for your chosen materials (wood, vinyl, etc.).
Start by placing a screw or nail at each corner of the window unit and then add additional fasteners every 12-16 inches along both sides of the frame. Be sure not to overtighten as this can cause damage to both the frame and glass.
If you’re installing a larger bay window with multiple units joined together, make sure they are properly aligned before securing them together with screws or nails.
Sealing and Insulating the Window
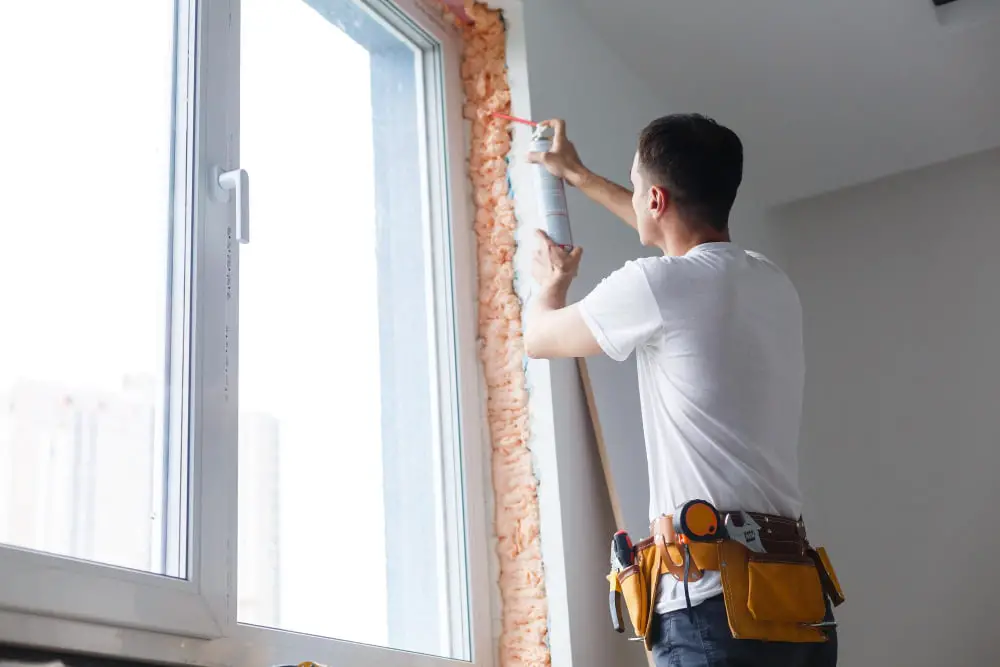
This step is crucial for maintaining energy efficiency and preventing drafts. Begin by applying a bead of silicone caulk around the perimeter of the window frame where it meets the wall.
This will create an airtight seal that prevents air from escaping or entering your home.
Next, install foam insulation between the window frame and rough opening to fill any gaps or spaces that may exist. Be sure to use expanding foam insulation as this type expands as it dries, filling all voids completely.
Add weatherstripping around all moving parts of your new bay windows such as sashes or casements; this helps prevent air leaks when you open them up for ventilation purposes.
Installing the Roof (optional)
A roof can help keep rain and snow from entering the home while also providing shade during sunny days. To install the roof, measure the width of your bay window opening and cut pieces of roofing material accordingly.
Then attach them securely to the top of your frame using screws or nails.
It’s important to ensure that there is enough slope on the roof so that water runs off easily without pooling in one spot. You may need additional support brackets for added stability if you choose this option.
Once installed, make sure all seams are sealed with silicone caulk or another waterproof sealant for maximum protection against leaks.
Finishing the Exterior

This step involves adding any necessary trim and sealing gaps around the window frame to prevent drafts and water leaks. First, measure and cut your trim pieces to fit snugly against the window frame.
Then, use a nail gun or screws with finishing washers to attach them in place.
Next, apply a high-quality caulk around all edges of the window where it meets with siding or brickwork. Be sure to fill any gaps completely for maximum insulation benefits.
Consider painting or staining your new trim pieces for added curb appeal that complements your home’s existing color scheme.
Installing Interior Trim
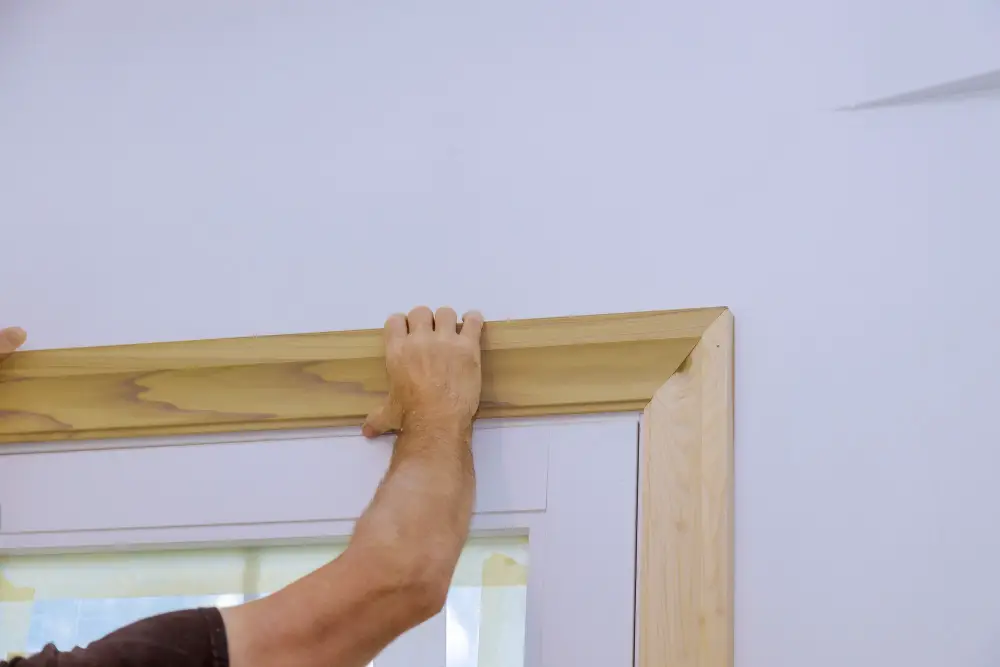
Installing interior trim around your new window will not only enhance its appearance but also help insulate your home and prevent drafts. Begin by measuring each section of the trim needed for a perfect fit.
Cut each piece to size using a saw or miter box, then sand any rough edges until smooth.
Next, apply wood glue along the back of each piece and press firmly into place against the wall surrounding your bay window unit. Use finish nails or brads to secure them in place every 12 inches or so.
Once all pieces are attached, fill any gaps with wood filler and allow it to dry completely before sanding again for a smooth finish. Paint or stain as desired for an added touch of style that complements your home’s decor.
Painting or Staining Trim
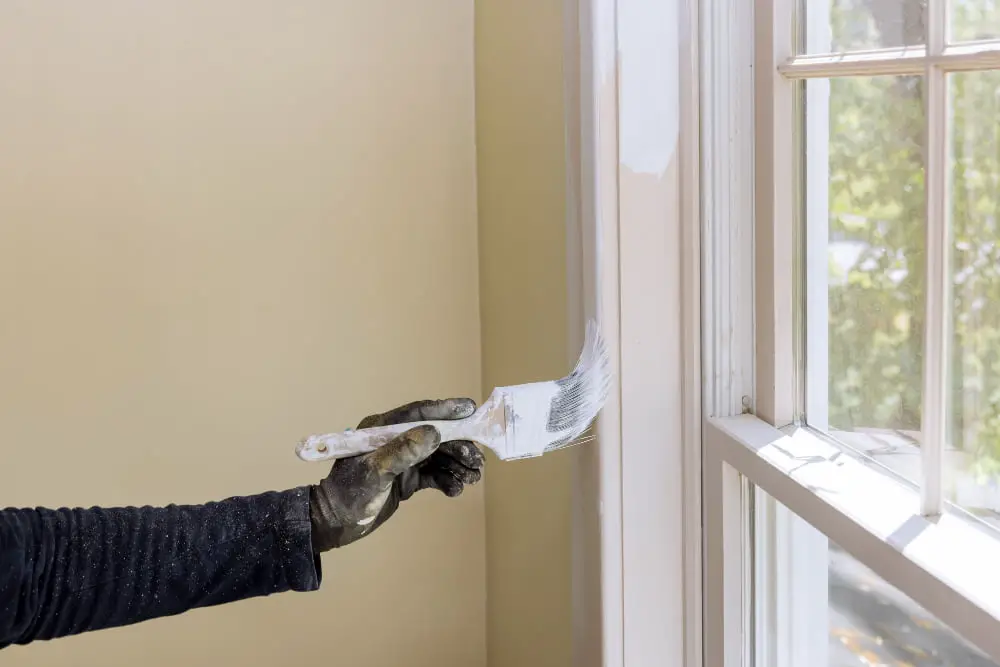
Painting or staining your trim can help tie everything together and give your new window a polished look. Before you begin, make sure that any caulk or sealant around the edges of the trim has fully cured.
If you’re painting your trim, start by applying a coat of primer to ensure good adhesion and coverage. Once dry, use a high-quality paintbrush to apply two coats of paint in thin layers for an even finish.
For those who prefer natural wood finishes over painted ones, staining is another option. Staining allows you to highlight the natural beauty of wood grain while protecting it from moisture damage and UV rays.
Before applying stain, sand down any rough spots on your trim with fine-grit sandpaper until smooth. Then wipe away any dust with a clean cloth before brushing on one or two coats of stain using long strokes in line with the grain pattern.
Adding Window Treatments

Window treatments not only enhance the aesthetic appeal of your new addition but also provide privacy and light control. When choosing window treatments for a bay window, consider the style of your home and personal preferences.
One popular option is to install individual shades or blinds on each section of the bay window. This allows you to adjust each panel independently for maximum light control and privacy.
Another option is to hang curtains or drapes across all sections of the bay window using a curved curtain rod that follows its shape. This creates an elegant look while still allowing natural light into space.
If you prefer a more minimalist approach, consider leaving your windows bare with just simple valances at their tops for added texture without obstructing any views.
No matter what type of treatment you choose, make sure it complements both your interior decor and exterior architecture while providing functionality as well as beauty!
FAQ
Can you add a bay window to an existing house?
Yes, a bay window can be added to an existing house, as they can replace current windows or doors, or be installed in walls without openings, and can be located in various rooms such as living rooms, dining rooms, bedrooms, and bathrooms.
What supports a bay window?
A bay window is supported either from below with braces or from above with steel cables bolted to the overhead framing.
How long does it take to install a bay window?
Installing a bay window typically takes 1-2 hours per window for a new build and 2-4 hours per window for a replacement project, considering that a bay window consists of multiple windows.
What are the essential tools needed for installing a bay window?
Essential tools for installing a bay window include a level, measuring tape, utility knife, pry bar, drill, saw, hammer, and nails or screws.
How can you ensure proper insulation and sealing during bay window installation?
To ensure proper insulation and sealing during bay window installation, one must meticulously apply weather-resistant seals, flashing, and insulation materials in compliance with manufacturer guidelines.
Are there any specific building regulations or permits required to install a bay window?
Yes, specific building regulations and permits are typically required to install a bay window.
Read More
 Aluminum Window Latch Replacement: A Simple Guide to Security and Style
 Custom Aluminum Window Screens Buying Guide
 Aluminum Window Removal Tool: Easy Steps for a Hassle-Free Window Replacement
 Screw for Aluminum Window Frame: Your Ultimate Fixing Guide
 Replace Aluminum Window Glass: A Beginner’s Guide to a Clearer View
Recap