Discover the essential steps to effectively frame a window in an existing wall, transforming your space with natural light and enhanced functionality.

Are you planning to add a new window to an existing wall? Or perhaps, you’re renovating your home and want to replace old windows with new ones? Whatever the reason may be, framing a window in an existing wall can be a daunting task. But don’t worry, with the right tools and techniques, it’s definitely doable! In this blog post, we’ll guide you through the step-by-step process of framing a window in an existing wall.
So grab your measuring tape and let’s get started!
Key takeaways:
- Assess the existing wall for damage and identify potential obstacles.
- Gather necessary tools and materials before starting the project.
- Measure and mark the window opening accurately.
- Cut the opening carefully, taking precautions to avoid damaging electrical wires or plumbing pipes.
- Construct the window frame using lumber and secure it to the wall.
Assessing the Existing Wall

Check for any signs of damage or weakness that may affect your project. Look out for cracks, water damage, rotting wood or termite infestation.
It’s also essential to determine if there are any electrical wires or plumbing pipes running through the area where you plan to install your new window. You don’t want to accidentally cut into these vital systems and cause more problems than solutions.
If you’re unsure about anything during this assessment process, consult with a professional contractor who can provide expert advice on how best to proceed with your project while ensuring safety and structural integrity.
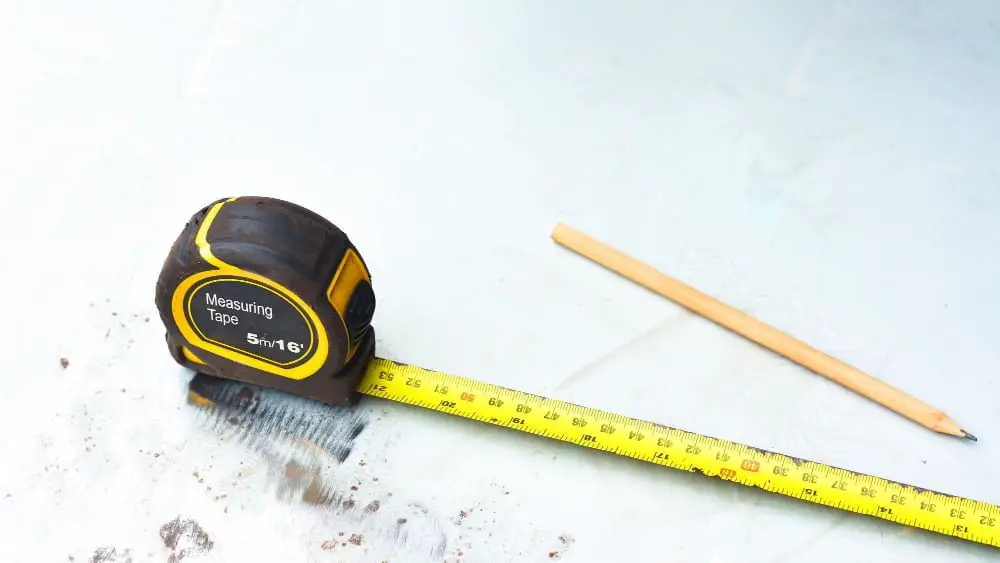
Gathering Necessary Tools and Materials
Having everything on hand will save you time and ensure that your project runs smoothly. Here are some of the tools and materials you’ll need:
Tools:
- Measuring tape
- Level
- Circular saw or reciprocating saw
- Hammer or nail gun
- Screwdriver
- Pry bar
Materials: – Lumber (2x4s) – Plywood sheets – Window unit (with nailing flange) – Nails/screws – Insulation foam -Caulk.
Make sure to have all these items ready before starting your project. It’s also important to wear protective gear such as gloves, safety glasses, earplugs, etc., while working with power tools for added safety precautions.
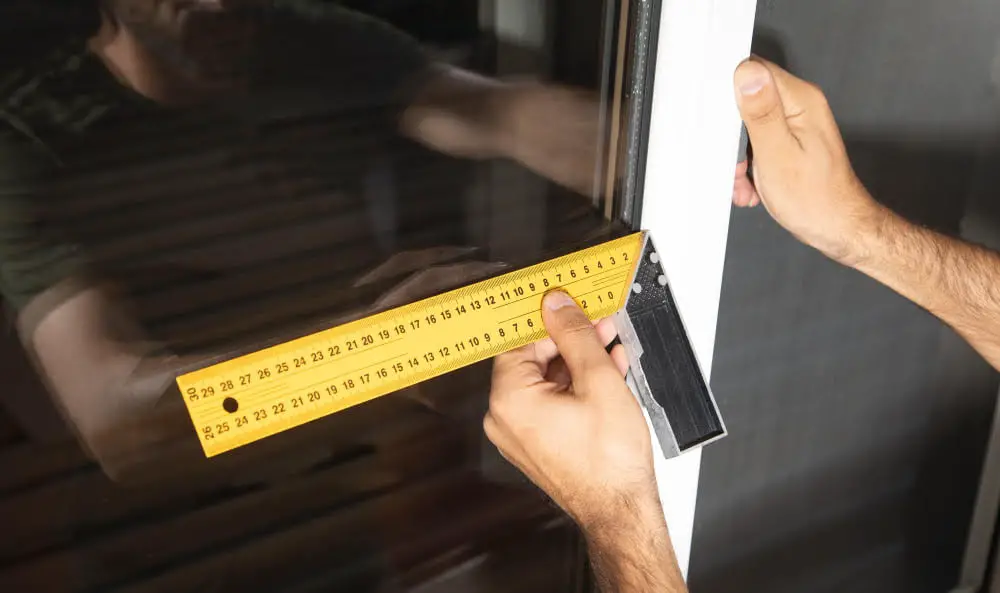
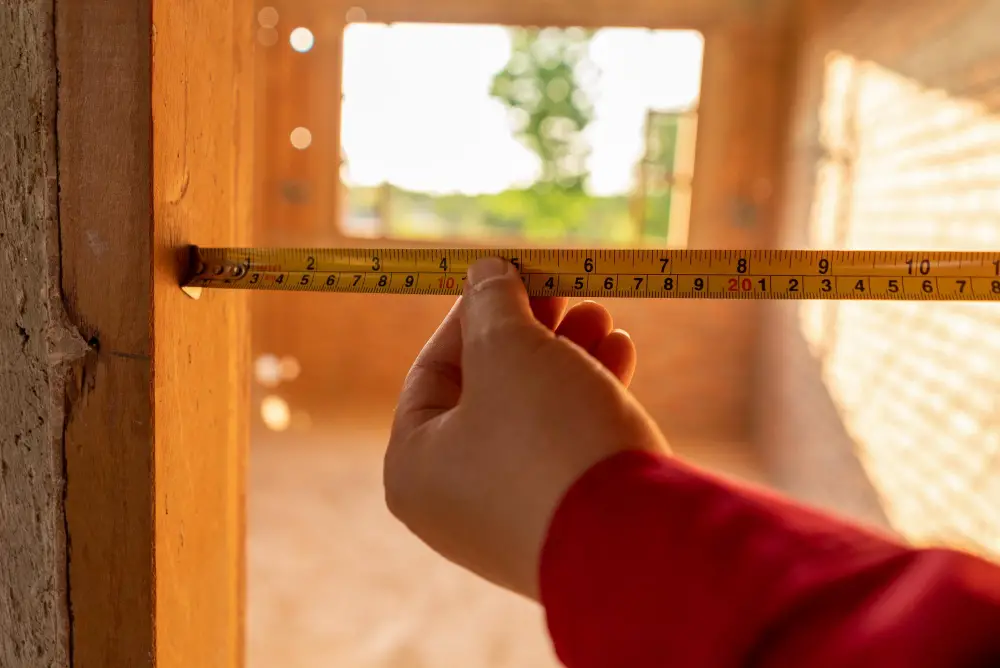
Measuring and Marking the Window Opening
This step is crucial as it determines the size of your new window frame. Start by measuring the width of your desired window opening from one side stud to another at both top and bottom positions.
Make sure that these measurements are equal, or else you’ll end up with a crooked frame.
Next, measure from the bottom plate to where you want your windowsill height to be on each side of the opening. Mark this measurement on each king stud using a pencil or marker.
Using a level tool, draw straight lines between these marks across both sides of studs for accurate placement. Use masking tape or painter’s tape around marked areas so that they don’t get lost during cutting process later on in framing process.
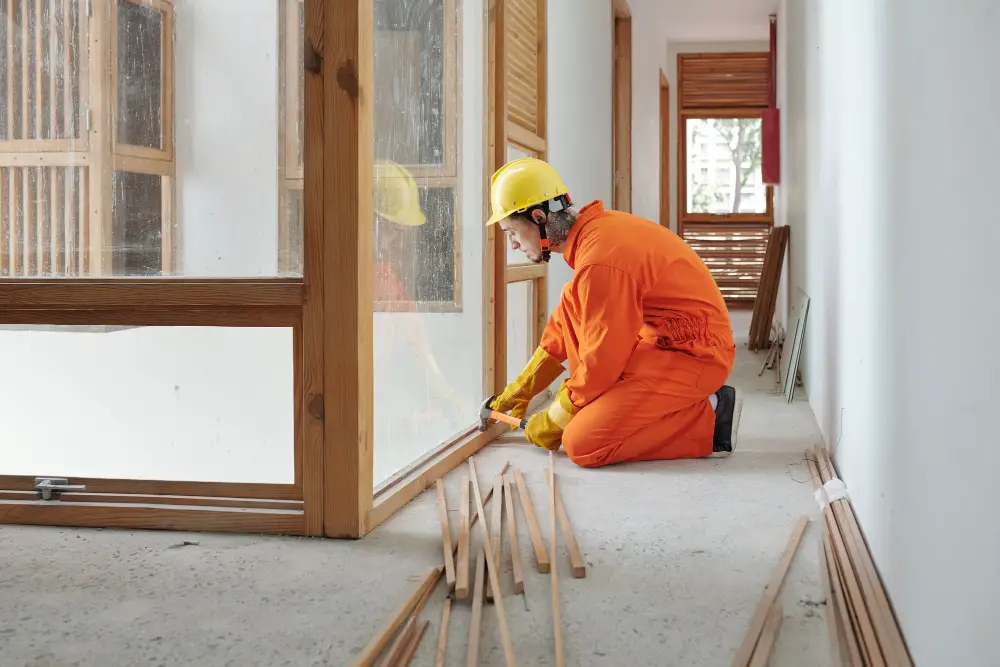
Cutting the Opening in the Wall
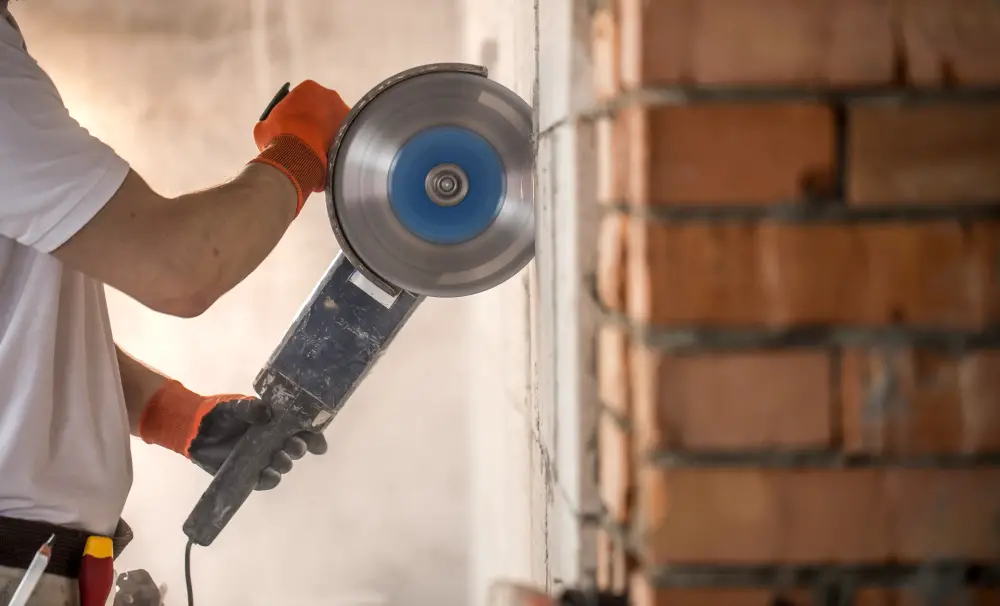
Before cutting, make sure there are no electrical wires or plumbing pipes in the way. Use a stud finder to locate any studs that may be in your way and mark them with a pencil.
Next, use a reciprocating saw or circular saw to carefully cut along your marked lines. Be sure to wear safety goggles and gloves during this step as debris can fly around while cutting.
After making all necessary cuts, remove any drywall or plaster from inside of the opening using a hammer and chisel. Clean up any remaining debris before moving on to constructing the window frame.
Constructing the Window Frame
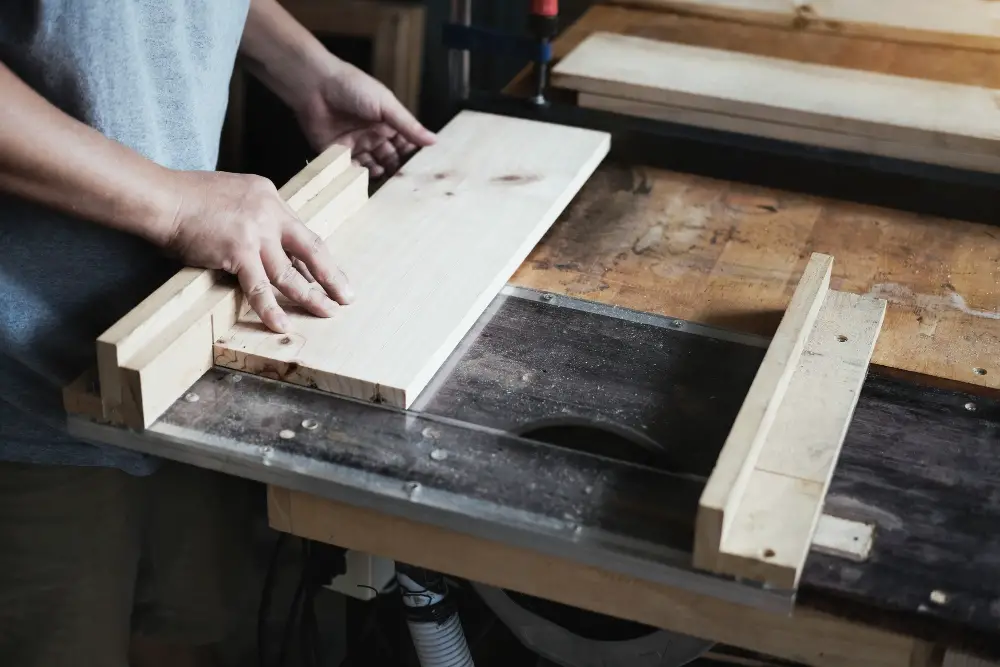
The frame will provide support for your new window and ensure that it fits snugly into place. To begin constructing your window frame, measure and cut two pieces of lumber to fit horizontally across the top and bottom of your opening.
These are known as header and sill plates.
Next, measure and cut two vertical pieces of lumber called king studs to fit between each end of the header plate down to where you want your windowsill height. Then add trimmer or jack studs on either side at a distance equaling 16 inches apart from center-to-center.
Make sure all these components are level before securing them together with nails or screws using a framing nailer or drill driver respectively.
Installing the Header and Sill
The header is a horizontal beam that supports the weight of your new window, while the sill provides a level surface for your window to rest on.
To install these components, measure and cut two pieces of lumber that are slightly longer than your window opening width. These will serve as your header and sill.
Next, position them at their respective locations above and below where you want to place your new window frame. Use shims or wooden blocks as necessary to ensure they’re level.
Secure both pieces into place by nailing through each end into adjacent studs with 16d nails or screws every 16 inches on center.
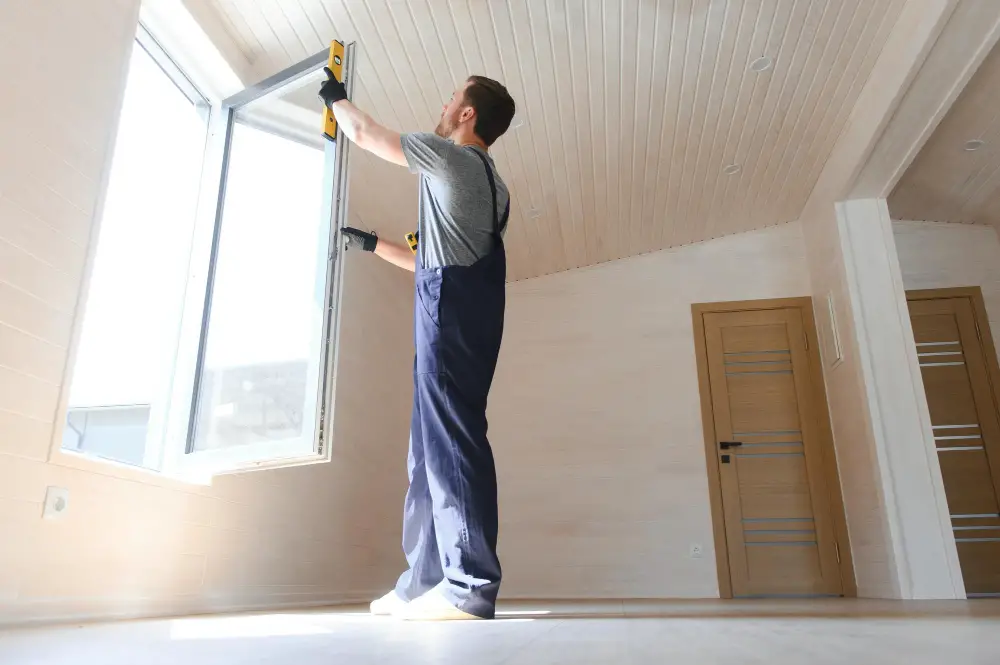
Checking for Square
This is a crucial step in ensuring that your window frame is properly aligned and will function correctly. To do this, measure diagonally from corner to corner on both sides of the window opening.
If the measurements are equal, then your frame is square.
If they’re not equal, adjust accordingly by tapping or shimming until you achieve an even measurement on both sides. Keep in mind that if your frame isn’t square at this stage of installation, it can cause issues with opening and closing the window later on.
Installing the King and Trim Studs

The king stud is a full-length vertical framing member that runs from the bottom plate to the top plate of your wall. It provides support for both sides of your window frame, ensuring that it remains stable over time.
To install a king stud, measure its length by subtracting 1/2 inch from the distance between your header and sill plates. Cut two pieces of lumber to this length using a saw or circular saw.
Next, position one end of each piece against either side of your window opening so they are flush with both plates at top and bottom. Secure them in place with nails or screws driven through their ends into adjacent framing members such as jack studs or cripple studs if necessary.
Adding Cripple and Jack Studs

Cripple studs are shorter vertical pieces of wood that fit between the header and sill plate, while jack studs run from the bottom plate to support the header. These additional supports help distribute weight evenly across your window frame.
To install cripple and jack studs, measure their length based on your window opening height plus 1-1/2 inches for a bottom gap. Cut them using a saw or circular saw according to measurements.
Next, position each stud vertically against either side of your rough opening with its narrow edge facing inward towards the centerline of your new window frame. Secure them in place by nailing through both sides into each end of every king stud they touch.
Repeat this process until all necessary cripple and jack stud positions are filled in around your new framed window opening.
Securing the Frame to the Wall

This step is crucial as a poorly secured frame can lead to air leaks and water damage. To ensure that your window stays in place for years to come, use screws or nails that are long enough to penetrate through both the framing members and into the surrounding wall studs.
Start by positioning your new window frame in its opening and checking for levelness using a spirit level. Once you’re satisfied with its position, drive screws or nails through each of the pre-drilled holes on either side of each stud until they are flush with the surface of your new framing member.
Be sure not to overdrive any fasteners as this could cause damage or splitting around them. It’s also important not only focus on securing just one part but rather distribute fasteners evenly across all sides so that there is no movement when pressure is applied from outside forces such as wind gusts during storms.
Installing the Window Unit
This is a crucial step in framing a window as it ensures that your new addition fits perfectly and functions properly. Begin by placing the unit into the opening from outside of your home, making sure that it sits flush against both sides of the frame.
Next, secure each side of the window with screws or nails through pre-drilled holes in its flange. Be careful not to over-tighten these fasteners as they can cause damage to both your wall and windows.
After securing all four corners, check for any gaps between your new framed opening and installed windows. If there are any visible gaps or spaces around them, use foam insulation sealant or caulk gun to fill them up completely.
Test out how well everything works by opening and closing each sash several times while checking for smooth operation without sticking points along their tracks.
Insulating and Sealing Gaps
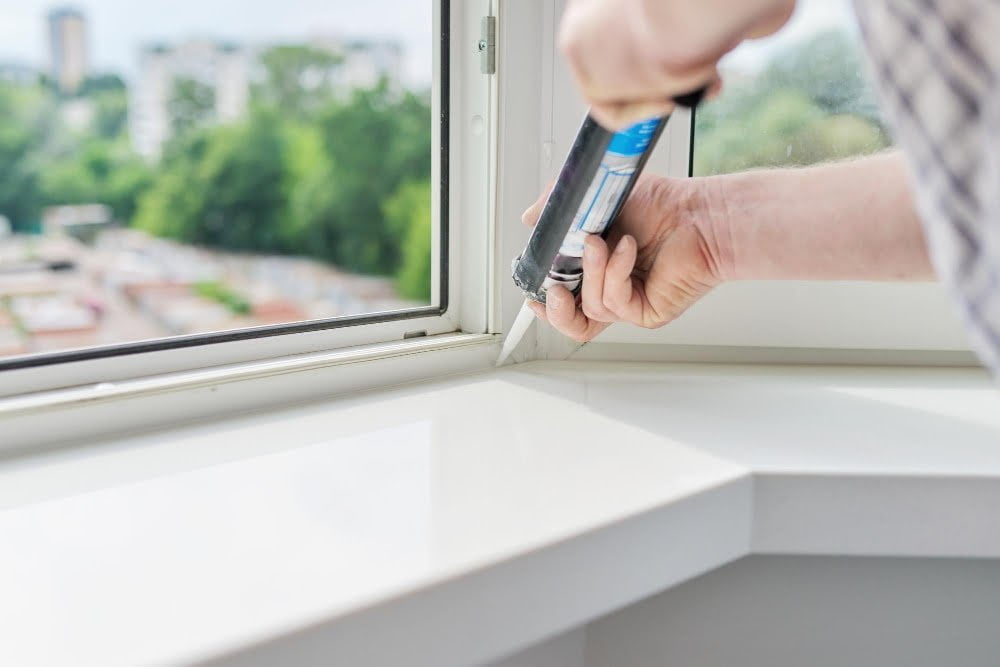
This step is crucial for preventing air leaks and ensuring energy efficiency in your home. Begin by applying a low-expansion foam insulation between the frame and rough opening, filling any gaps or voids completely.
Next, use caulking to seal around the exterior of the window where it meets with siding or brickwork. Be sure to choose a high-quality silicone-based caulk that can withstand extreme temperatures without cracking or shrinking over time.
Install weatherstripping along all sides of your new framed window for added insulation against drafts and moisture infiltration.
Attaching Interior and Exterior Trim
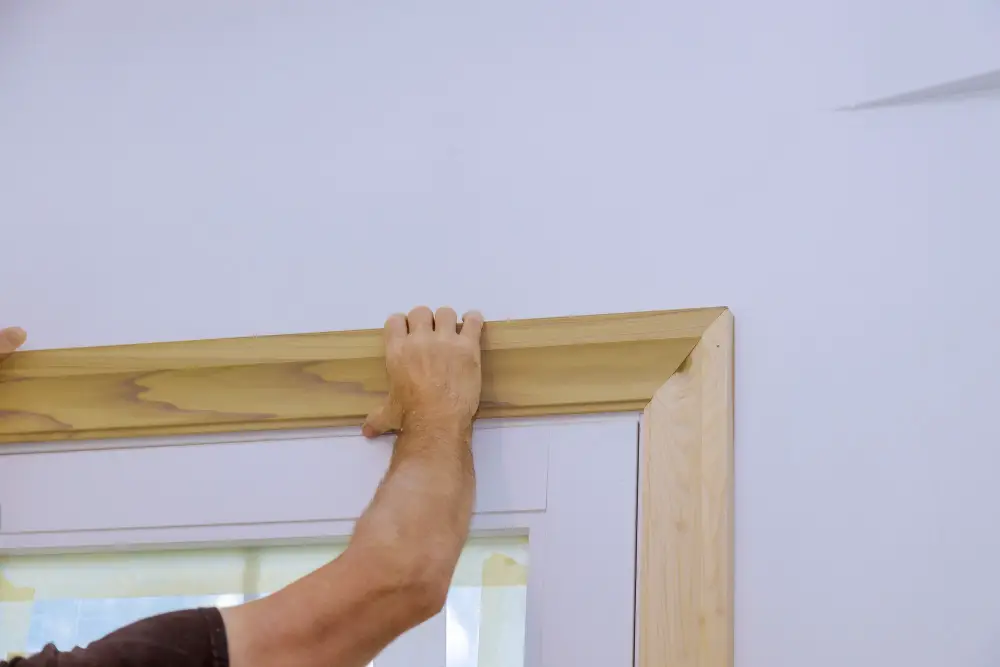
Trim not only enhances the aesthetic appeal of your new window but also helps seal any gaps between the frame and wall.
For interior trim, you can choose from a variety of materials such as wood or PVC. Measure each side of your window opening and cut pieces accordingly with a miter saw or handsaw.
Attach them using finishing nails or adhesive.
Exterior trim should be made from weather-resistant material like vinyl, aluminum, or composite wood products that won’t rot over time due to exposure to moisture and sunlight. Cut pieces according to measurements taken earlier for each side of your window opening using a circular saw if necessary.
Attach exterior trims by nailing them into place with galvanized finish nails spaced every 12 inches along their length while ensuring they are flush against both sides of the wall surface around where they meet at corners before caulking all seams between trims so water doesn’t seep through gaps during rainy seasons.
Finishing and Painting the Window Frame
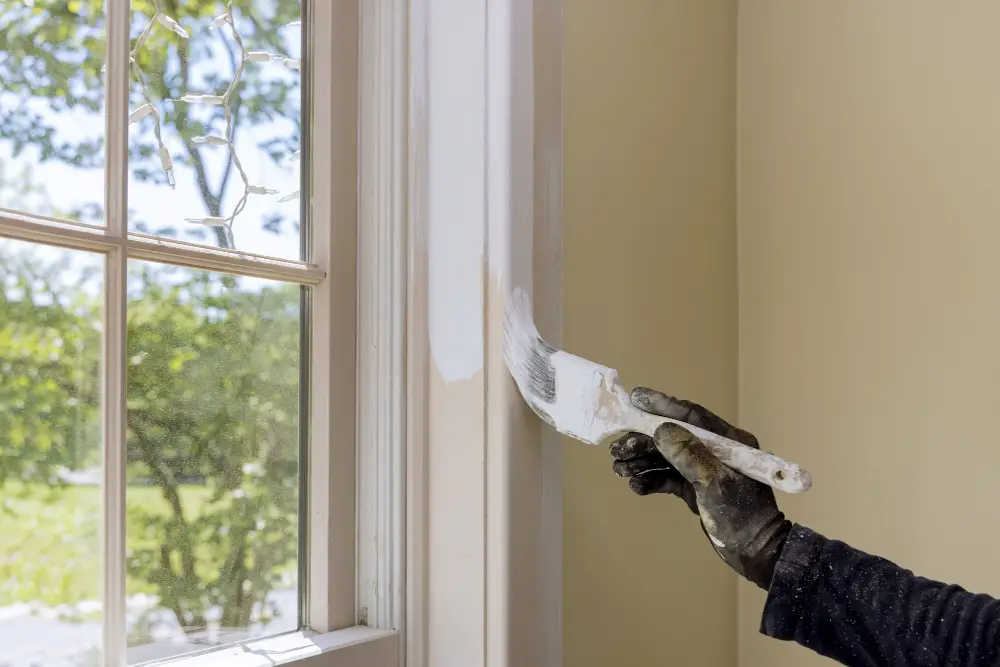
Finishing and painting the window frame is an essential step that not only enhances its appearance but also protects it from moisture damage and decay.
Before starting with the painting process, make sure to clean any dust or debris from the surface of your newly framed window. Sand down any rough edges or surfaces using sandpaper for a smooth finish.
Next, apply a coat of primer on all exposed wood surfaces of your new window frame. This will help seal off pores in wood grain and provide better adhesion for paint later on.
After allowing sufficient drying time as per manufacturer instructions, apply two coats of high-quality exterior-grade paint in a color that complements your home’s exterior design scheme. Make sure to use long strokes while applying paint evenly across all areas without leaving brush marks behind.
Maintaining Your New Framed Window
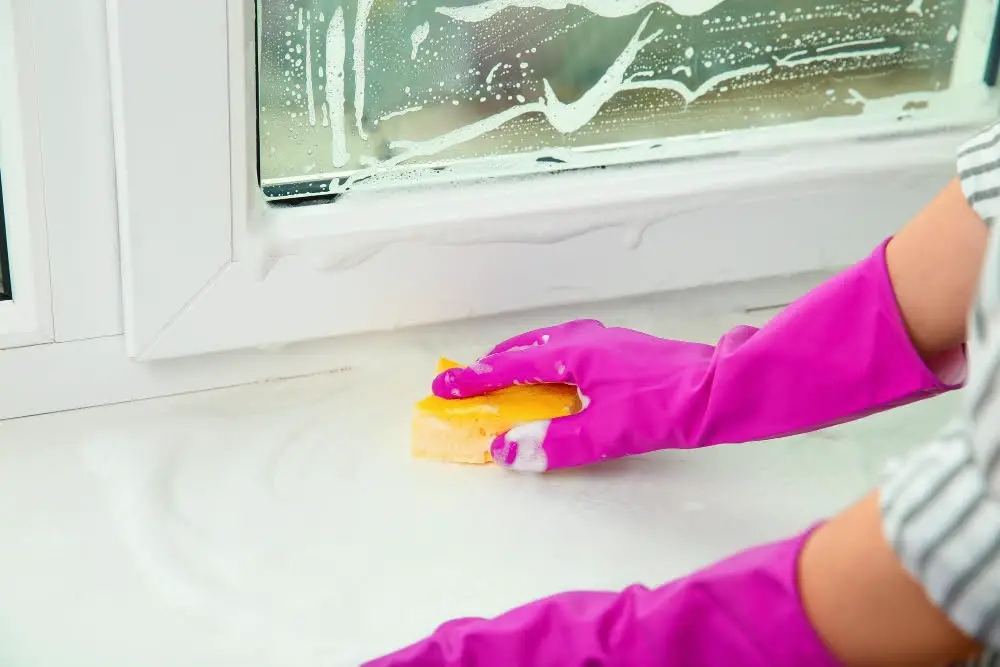
Regular maintenance will help keep your windows in good condition and extend their lifespan. Here are some tips for maintaining your newly framed window:
1. Clean the glass regularly: Use a soft cloth or sponge with mild soap and water to clean the glass panes of your windows.
2. Check for leaks: Inspect around the frame of each window periodically to ensure there are no gaps or cracks that could allow air or moisture into your home.
3. Lubricate moving parts: If you have sliding windows, lubricate tracks with silicone spray every six months so they slide smoothly.
4. Repaint as needed: Over time, paint on exterior frames can chip away due to weather exposure; repaint any areas where paint has chipped off completely down to bare wood.
By following these simple steps, you can keep enjoying natural light while keeping energy bills low!.
FAQ
How much does it cost to add a window to an existing wall?
The cost to add a window to an existing wall typically ranges from $1,000 to $5,000, mainly covering construction work unless a very expensive window is chosen.
How do you cut a window opening in a load-bearing wall?
To cut a window opening in a load-bearing wall, one needs to hammer studs into a temporary wall, secure a brace across them, draw the opening outline using a level, and then cut the opening with a reciprocating saw.
What are the essential tools and materials required for framing a window in an existing wall?
Essential tools and materials for framing a window in an existing wall include a tape measure, level, saw, drill, screws, nails, hammer, lumber, shims, and window header.
What is the step-by-step process for installing a window in a non-load-bearing wall?
Measure and mark the area, cut the opening, frame it, place the window, secure, and seal it.
How can you ensure proper insulation and weatherproofing when framing a window in an existing wall?
To ensure proper insulation and weatherproofing when framing a window in an existing wall, install a moisture barrier, caulk the seams, and use appropriate flashing materials.
Read More
 Aluminum Window Latch Replacement: A Simple Guide to Security and Style
 Custom Aluminum Window Screens Buying Guide
 Aluminum Window Removal Tool: Easy Steps for a Hassle-Free Window Replacement
 Screw for Aluminum Window Frame: Your Ultimate Fixing Guide
 Replace Aluminum Window Glass: A Beginner’s Guide to a Clearer View
Recap