Discover the simple steps to install a window without using a nailing flange, ensuring a secure and professional-looking result.

Are you looking to install new windows in your home but don’t want the hassle of nailing flanges? Maybe you’re worried about damaging the exterior of your house or simply prefer a cleaner look. Whatever your reason, we’ve got you covered.
In this blog post, we’ll walk you through the steps on how to install a window without using a nailing flange. You’ll be able to achieve a professional-looking installation that’s both secure and weather-resistant.
So let’s get started!
Key takeaways:
- Types of Window Frames: Wood, vinyl, aluminum-clad wood, fiberglass composite, aluminum.
- Necessary Tools and Materials: Measuring tape, level, hammer, screwdriver or drill, utility knife, pry bar.
- Assessing the Window Opening: Measure width and height, inspect existing frame and sill.
- Measuring and Prepping the Opening: Measure old window frame, remove trim and inspect for damage.
- Removing Old Windows: Remove interior trim, cut through caulking, remove screws, push out old windows.
Types of Window Frames
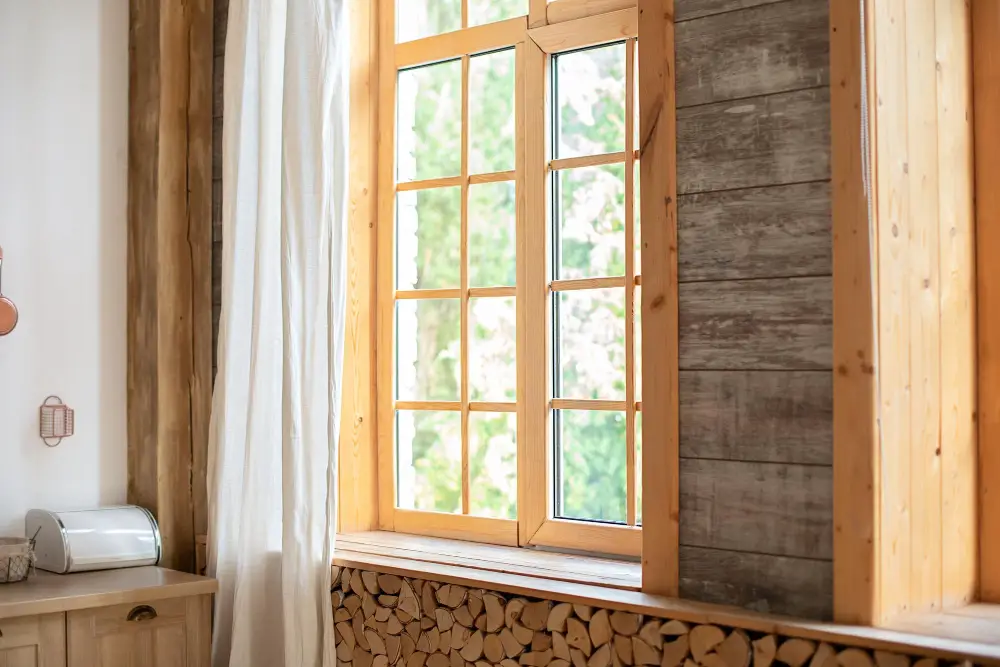
There are several types of window frames available in the market, each with its own set of advantages and disadvantages. The most common types include wood, vinyl, aluminum-clad wood, fiberglass composite and aluminum.
Wooden frames offer a classic look that many homeowners love but require regular maintenance to prevent rotting or warping over time. Vinyl frames are low-maintenance and energy-efficient but may not be as durable as other materials.
Aluminum-clad wooden windows combine the durability of metal with the warmth and beauty of natural wood while fiberglass composite windows provide excellent insulation properties without sacrificing aesthetics.
Lastly, Aluminum windows offer strength at an affordable price point but can conduct heat easily making them less energy efficient than other options. Choosing which material works best for your home depends on various factors such as climate conditions in your area or personal preferences regarding style and maintenance requirements.
Necessary Tools and Materials
Here are some of the items you’ll need:
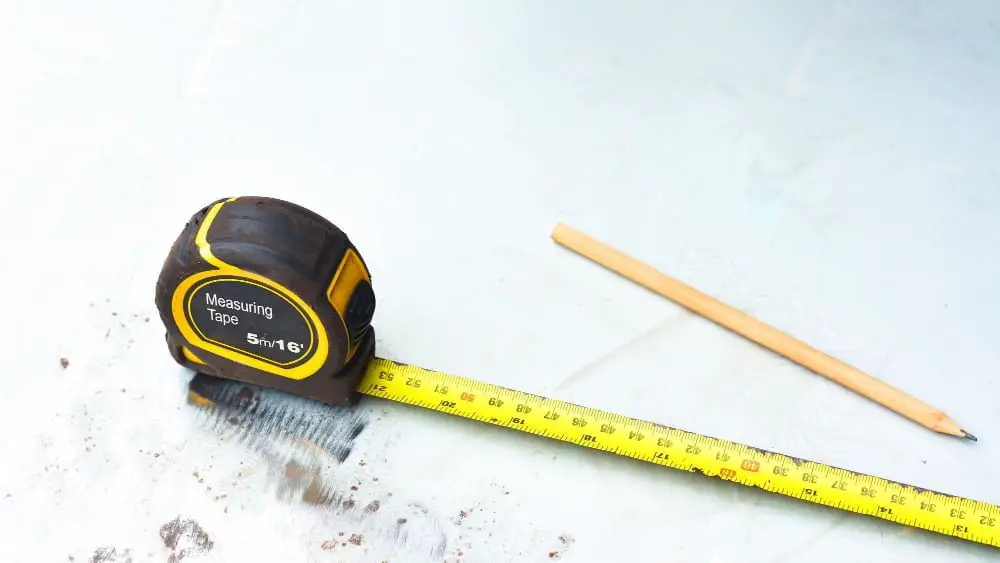
Tools:
- Measuring tape
- Level
- Hammer
- Screwdriver or drill with screw bits
- Utility knife
- Pry bar
Materials: – Window unit without nailing flange (make sure it fits your opening) – Weather-resistant barrier (such as house wrap or building paper) – Flashing tape for windows – Shims made from cedar wood or composite material – Exterior-grade sealant and caulk.
Having these tools and materials ready before starting will make the installation process smoother, faster, and more efficient. It’s also essential to ensure that all items are of high quality so that they can withstand weather elements over time.
Assessing the Window Opening
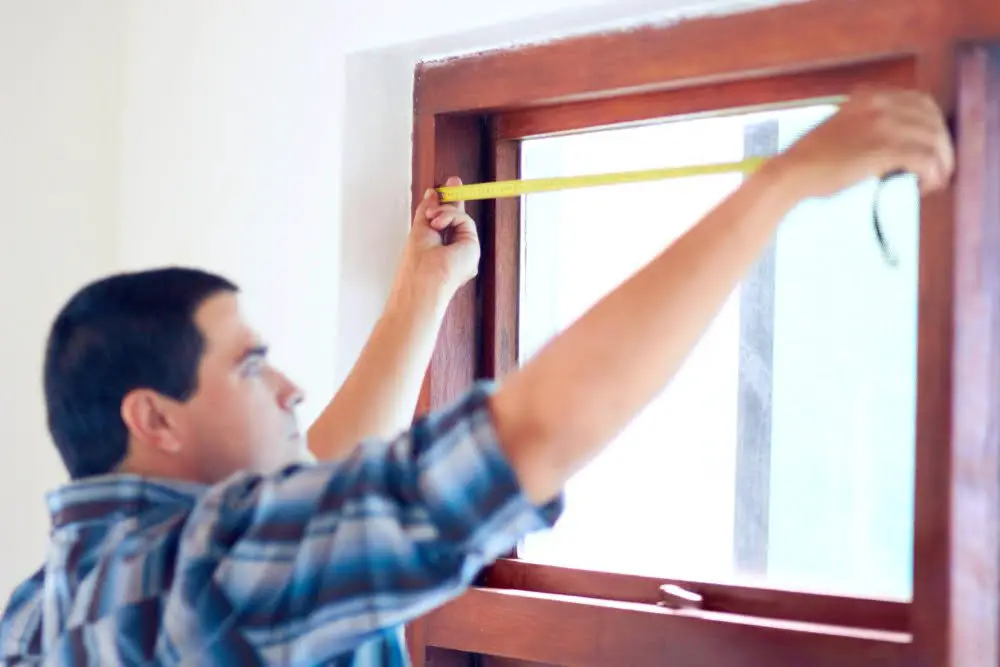
This step is crucial in ensuring that your window fits properly and functions as intended. Start by measuring the width and height of the opening from inside to inside, making sure to measure at three different points for both dimensions (top, middle, bottom).
Take note of any irregularities or discrepancies in these measurements.
Next, inspect the condition of the existing frame and sill. Look for signs of rotting wood or damage caused by water infiltration or pests.
If there are any issues with these components, they should be addressed before proceeding with installation.
Consider whether additional structural support may be needed around the window opening due to its size or location within your home’s framing system. Consult a professional if you’re unsure about this aspect.
Measuring and Prepping the Opening

This step is crucial as it ensures that your new window fits perfectly into the existing space. Start by measuring the height and width of your old window frame from inside edge to inside edge using a tape measure.
Then, remove any trim or casing around the old window frame carefully.
Next, inspect for any damage or rot in the surrounding area of where you’ll be installing your new windows. If there are signs of decay or water damage on wood frames, replace them before proceeding with installation.
Removing Old Windows
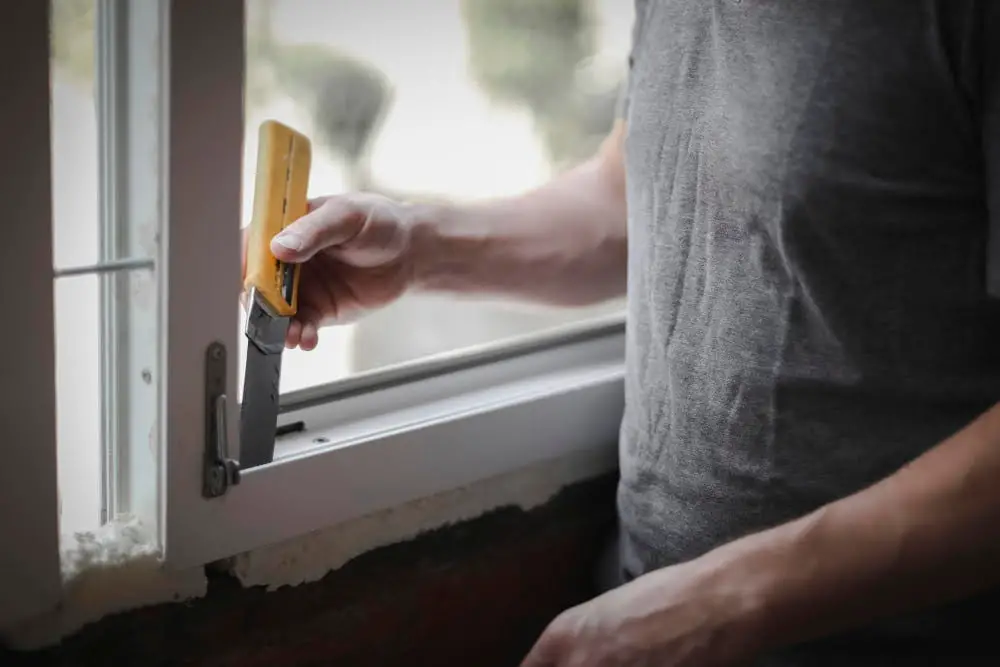
This process can be tricky and requires some careful planning. First, you’ll need to remove any interior trim or molding around the window frame using a pry bar or hammer.
Next, use a utility knife to cut through any caulking or sealant between the window frame and wall.
Once you’ve removed all interior trim and sealants, it’s time to tackle the exterior of your home. Carefully inspect for any screws that may be holding your old windows in place before removing them with an electric drill.
With all fasteners removed from both sides of your existing windows, gently push them outwards until they release from their frames completely.
Prepping the Window for Installation

Start by removing any old caulking or debris from around the frame and ensure that there are no protruding nails or screws that could interfere with the installation process.
Next, inspect the window sill for any signs of rotting or damage. If you notice any issues, replace them before proceeding with installation.
Once you’ve cleared away all debris and assessed your window opening’s condition, measure its dimensions carefully. You’ll need to make sure that your new window fits snugly into place without leaving gaps where air can leak through.
Clean both sides of the glass thoroughly using a mild detergent solution and a soft cloth. This step will help ensure optimal visibility once your new windows are installed while also preventing dirt buildup over time.
Applying Weather Resistant Barrier

The WRB acts as a shield between the window and the exterior wall, preventing water from seeping into your home. To apply this barrier, start by cutting it into strips that are slightly larger than each side of your window opening.
Next, position one strip over the bottom sill plate and staple it in place using a hammer tacker or stapler gun. Make sure there are no wrinkles or gaps in the material as you work your way up each side of the opening.
Once you’ve covered all sides with WRB strips, use flashing tape to seal any seams or joints where two pieces meet. This will create an even more secure barrier against moisture intrusion.
Installing Window Flashing Tape
Flashing tape is a crucial component of any window installation as it helps prevent water from seeping into your home and causing damage. To install the flashing tape, start by cutting strips that are slightly longer than each side of your window frame.
Next, peel off the backing paper and carefully apply the sticky side of the flashing tape to each edge of your window frame. Make sure you press down firmly on all areas to ensure a tight seal.
Once you’ve applied all four sides, use a utility knife or scissors to trim any excess material from around corners or edges. Be careful not to cut too close as this could compromise its effectiveness.
Remember that proper application is key when installing flashing tapes; if done incorrectly, they can fail over time and cause costly damages in your home.
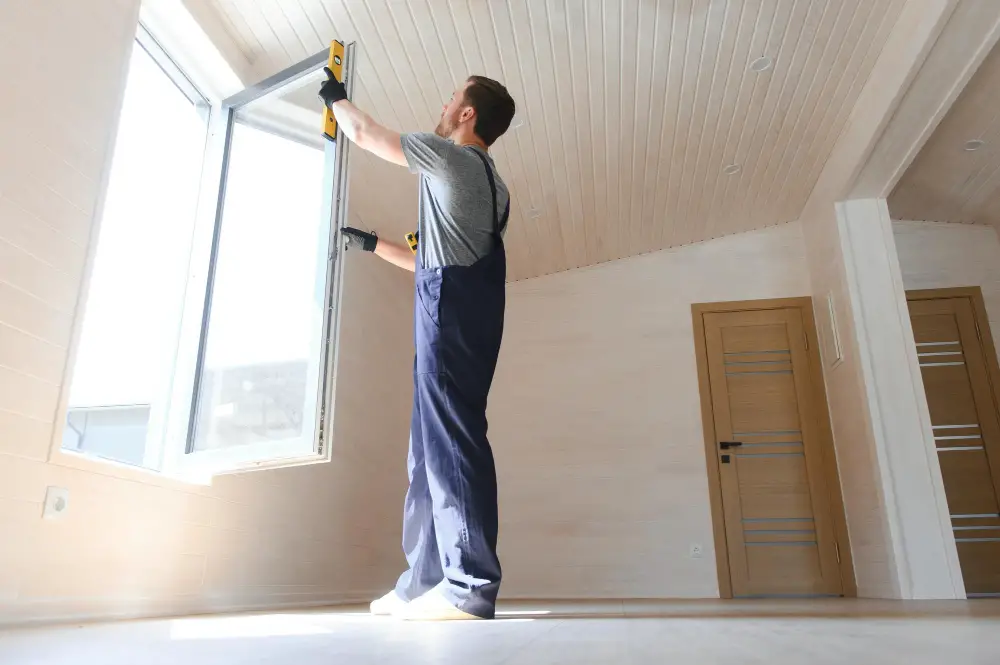
Positioning the Window Without Flange

This step requires careful attention to ensure that your window is level, square, and plumb. Start by placing the bottom of the frame into the opening first.
Then tilt it up until it rests against both sides of your opening.
Next, use shims to adjust its position as needed so that there are no gaps between your frame and wall on any side or corner. Make sure you have enough space for insulation around all edges before securing with fasteners.
It’s important not to over-tighten screws or nails when securing windows without nailing flanges because this can cause warping or damage over time due to expansion/contraction cycles caused by temperature changes outside versus inside temperatures within homes during different seasons throughout each year.
Shimming, Leveling, and Squaring the Window

This step is crucial for proper functionality and energy efficiency of your new windows. Start by inserting shims between the window frame and rough opening at various points along the sides, top, and bottom until they are snug but not too tight.
Next, use a level to check if the window is plumb (vertical) on both sides as well as level (horizontal) across its width. Adjust shims accordingly until you achieve perfect alignment.
To ensure that your window remains square during installation, measure diagonally from corner to corner in an X pattern. The measurements should be equal or within 1/8 inch of each other; otherwise adjust shimming again until all corners are even.
Remember not to overtighten screws or nails when securing your windows into place as this can cause warping or damage over time.
Securing the Window With Shims and Fasteners

Shimming is an essential step that ensures your window is level and square. Begin by inserting shims between the frame of the window and the opening on both sides of each corner.
Use a level to check if your window is plumb, level, and square before securing it.
Next, use screws or nails to attach brackets or clips onto each side of the frame at regular intervals as recommended by manufacturer instructions. Make sure not to over-tighten them as this can cause warping or damage.
After securing all fasteners on one side of your new windows without nailing flange installation project move onto another until all are secured properly.
Applying Flashing and Sill Pan
Flashing is an essential component of any window installation as it helps prevent water from seeping into your home. Sill pans are also important as they protect the bottom of your windows from moisture damage.
To apply flashing, start by cutting a piece that’s long enough to cover the sides and top of your window frame with some extra length on each side for overlap. Then, fold one end up at a 90-degree angle to create a drip edge.
Next, place the flashing over the sides and top of your window frame so that it overlaps onto both sides by at least six inches. Secure in place using roofing nails or staples every few inches along its length.
For installing sill pans, cut them according to size so they fit snugly under each side jamb before sliding them underneath until they reach their final position against exterior sheathing or framing members below where you will install trim later on.
Insulation and Weatherproofing
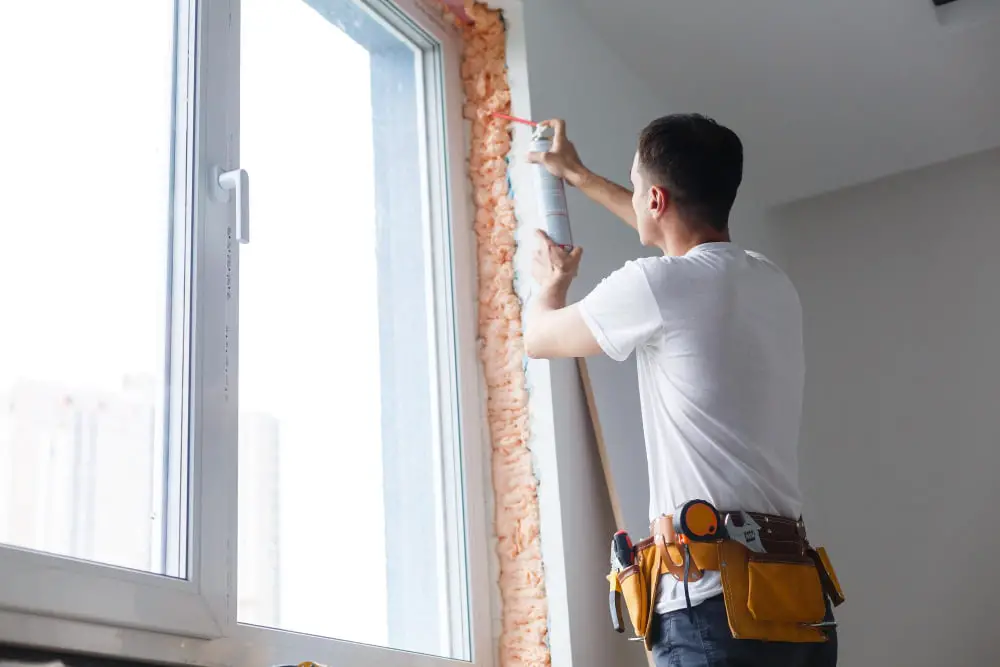
This will help keep your home comfortable and energy-efficient while also protecting against moisture damage.
To insulate around the window, use expanding foam insulation to fill any gaps between the frame and opening. Be careful not to overfill as this can cause bowing or warping of the frame.
Next, apply a bead of caulk along all exterior joints where water could potentially seep in. Use a high-quality silicone-based caulk for best results.
Install flashing tape over all seams on top of your weather-resistant barrier before applying siding or other exterior finishes. This will provide an extra layer of protection against wind-driven rain and snow infiltration.
Installing Interior and Exterior Trim
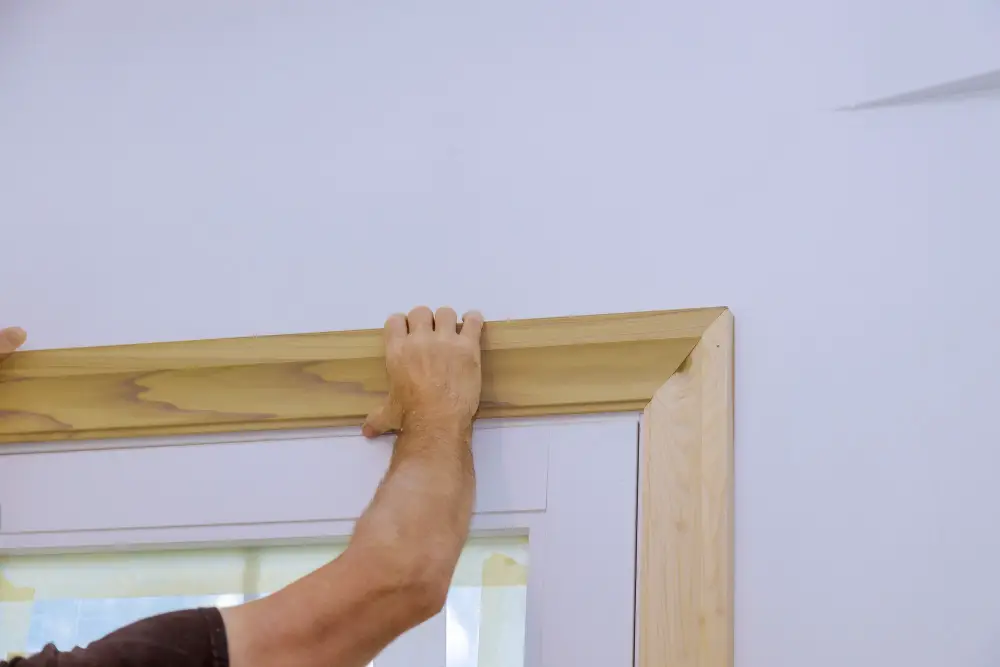
Installing interior and exterior trim will not only enhance the appearance of your windows but also provide additional insulation and weatherproofing.
To install interior trim, measure and cut pieces of wood or PVC molding to fit around the perimeter of your window frame. Use a nail gun or hammer and nails to attach them in place.
For exterior trim, use materials that are resistant to moisture such as PVC or composite boards. Cut them into appropriate lengths for each side of your window frame using a saw with fine teeth for clean cuts.
Attach these pieces using screws instead of nails as they offer better holding power against wind loads while allowing some flexibility during temperature changes.
After installing both trims, fill any gaps between them with caulk before painting over everything with high-quality paint that can withstand harsh weather conditions.
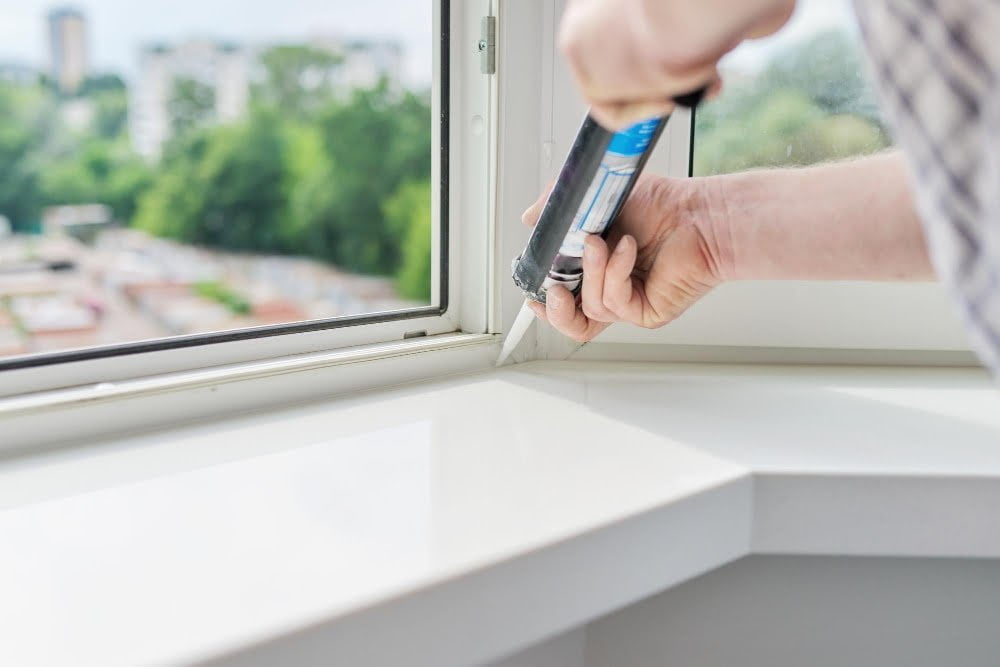
Caulking and Sealing

This step is crucial in ensuring that your new windows are weather-resistant and energy-efficient. Begin by applying a bead of caulk around the perimeter of the window frame where it meets the wall.
Use a caulk gun for precision application, making sure not to over-apply or under-apply.
Next, use your finger or a caulking tool to smooth out any excess caulk and create an even seal between the window frame and wall surface. Be sure to work quickly before the caulk dries.
Once you’ve finished caulking around all sides of each installed window, move on to sealing exterior joints such as those between trim pieces or siding panels using high-quality sealant designed for outdoor use.
Sealing Exterior Joints
This step is crucial in ensuring that your new windows are energy-efficient and weather-resistant. Begin by applying a high-quality silicone caulk around the perimeter of the window frame where it meets with the siding or brickwork.
Use a caulking gun for precision application, making sure to fill any gaps or cracks completely.
Next, apply an exterior-grade paintable sealant over all joints between trim pieces and siding or brickwork. This will help create a seamless finish while also providing additional protection against moisture intrusion.
Painting and Finishing Touches

Painting the trim and sealing any gaps will give your new windows a polished look while also protecting them from weather damage. Before painting, make sure that all surfaces are clean and dry.
Apply painter’s tape around the edges of the glass to avoid getting paint on it.
Choose a high-quality exterior paint that matches your home’s color scheme for best results. Use a brush or roller to apply two coats of paint evenly over all exposed wood surfaces.
After painting, remove any excess painter’s tape carefully before applying sealant around gaps between window frames and walls using caulk or foam backer rod with sealant applied over top as needed.
Conducting a Final Inspection
Start by checking the window for any gaps or spaces between the frame and wall. If there are any, fill them with caulk or foam insulation.
Next, check that all fasteners are secure and tight. Make sure that there is no movement when you push on the window from different angles.
Check for proper operation of your new windows by opening and closing them several times while observing their smoothness of motion.
Inspect both interior and exterior trim work around your new windows making sure they look neat without gaps or cracks.
Window Maintenance and Care

Regular maintenance can help extend the lifespan of your windows and keep them looking great. Here are some tips on how to take care of your newly installed windows:
- Clean the glass regularly with a non-abrasive cleaner.
- Check for any signs of damage or wear, such as cracks or gaps in the frame.
- Lubricate moving parts like hinges and locks with a silicone-based lubricant.
- Keep weep holes clear from debris to ensure proper drainage.
- Inspect weatherstripping annually and replace if necessary.
By following these simple steps, you can ensure that your new window installation will last for years to come while maintaining its functionality and aesthetic appeal!
FAQ
Do I need nailing flange on windows?
Yes, you need a nailing flange on windows, as it provides an easy and cost-effective way to upgrade your windows without removing or replacing existing trim and siding.
Do all new construction windows have a nailing flange?
No, not all new construction windows have a nailing flange, as replacement windows or “inserts” usually lack nailing fins due to installation with the existing cladding still on the wall.
What type of windows do not have a nailing flange attached to it?
Block frame windows are the type of windows that do not have a nailing flange attached to them.
What are the alternative methods for installing windows without a nailing flange?
Alternative methods for installing windows without a nailing flange include using a mounting bracket or Z-bar flashing.
What are the advantages and disadvantages of using a nailing flange for window installation?
Advantages and disadvantages of using a nailing flange for window installation include easier and faster installation, but potential for improper sealing leading to water intrusion issues.
How do you properly seal and waterproof a window without a nailing flange?
To properly seal and waterproof a window without a nailing flange, apply a waterproof membrane, a layer of sealant, and properly install flashing around the window’s perimeter.
Read More
 Aluminum Window Latch Replacement: A Simple Guide to Security and Style
 Custom Aluminum Window Screens Buying Guide
 Aluminum Window Removal Tool: Easy Steps for a Hassle-Free Window Replacement
 Screw for Aluminum Window Frame: Your Ultimate Fixing Guide
 Replace Aluminum Window Glass: A Beginner’s Guide to a Clearer View
Recap