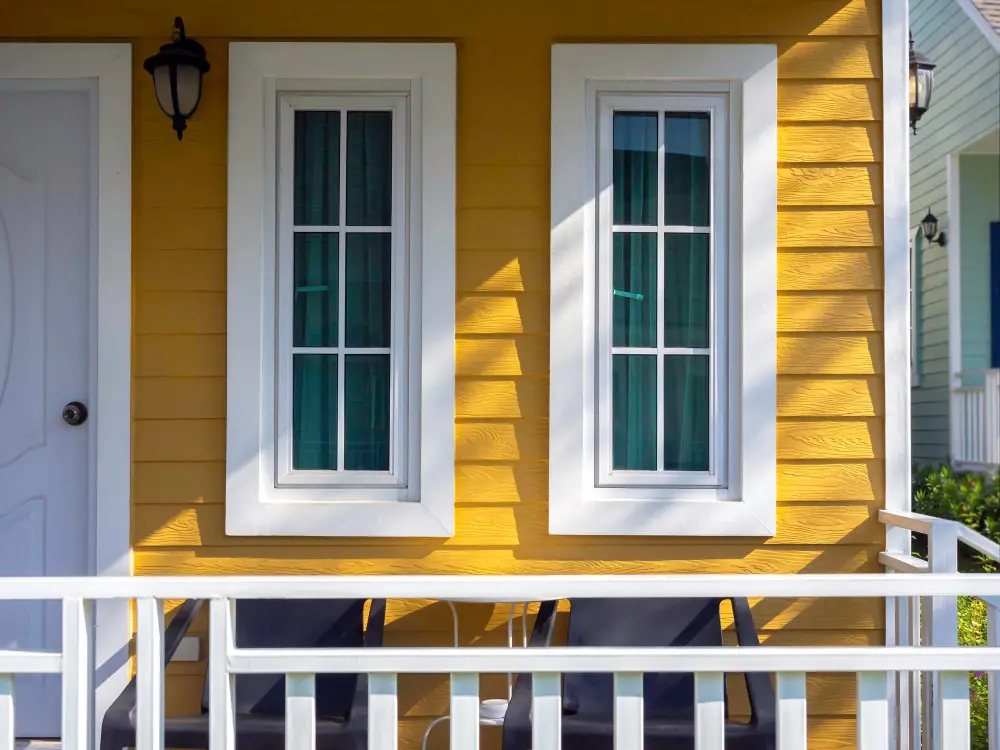
Discover the essential steps to expertly paint your exterior window trim, transforming your home’s curb appeal with a fresh and polished look.
Painting the exterior window trim of your house can be a daunting task, but it’s also one of the easiest ways to give your home a fresh new look. Whether you’re looking to update the color or just touch up some chipped paint, painting your window trim can make a big difference in the overall appearance of your home.
In this blog post, we’ll go over everything you need to know about how to paint exterior window trim like a pro. From choosing the right tools and materials to preparation and application techniques, we’ve got you covered.
So grab your paintbrush and let’s get started!
Key takeaways:
- Choose the right paint type: oil-based or water-based.
- Select the perfect color: consider the overall look and maintenance.
- Gather necessary tools and materials: brushes, rollers, tape, sandpaper, putty, primer, and paint.
- Prepare the work area: clean, cover nearby plants, remove loose paint, sand, and wipe down surfaces.
- Follow painting techniques: use a brush, roller, or sprayer; paint in precise and even strokes; apply multiple coats with drying time in between.
Choosing the Right Paint Type
The two main types of paint are oil-based and water-based (latex) paints. Oil-based paints have been traditionally used for exterior woodwork because they provide excellent adhesion, durability, and resistance to moisture.
However, they also tend to yellow over time and emit strong fumes during application.
On the other hand, water-based or latex paints are more environmentally friendly as they contain fewer volatile organic compounds (VOCs), dry faster than oil-based ones, offer easy cleanup with soap and water while still providing good adhesion properties on most surfaces.
Ultimately your choice will depend on personal preference but keep in mind that some states may regulate VOC levels in certain areas so be sure you check local regulations before making a purchase decision.
Selecting the Perfect Color
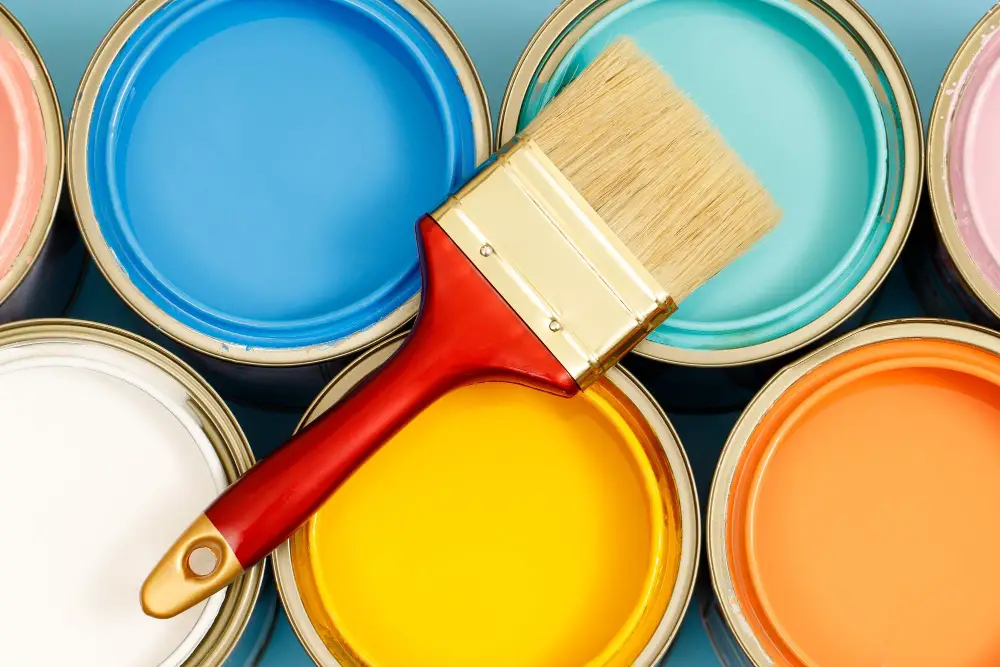
First and foremost, you’ll want to choose a color that complements the overall look of your home’s exterior. If you’re not sure where to start, take inspiration from other homes in your neighborhood or consult with a professional painter.
Another important factor is the type of paint you plan on using. Some types of paint may limit your color options or require additional preparation steps before painting over existing colors.
It’s also worth considering how much maintenance and upkeep each color option will require in order to keep it looking fresh and vibrant over time. Lighter colors tend to show dirt more easily than darker shades but can help reflect heat during hot summer months.
Tools and Materials Needed
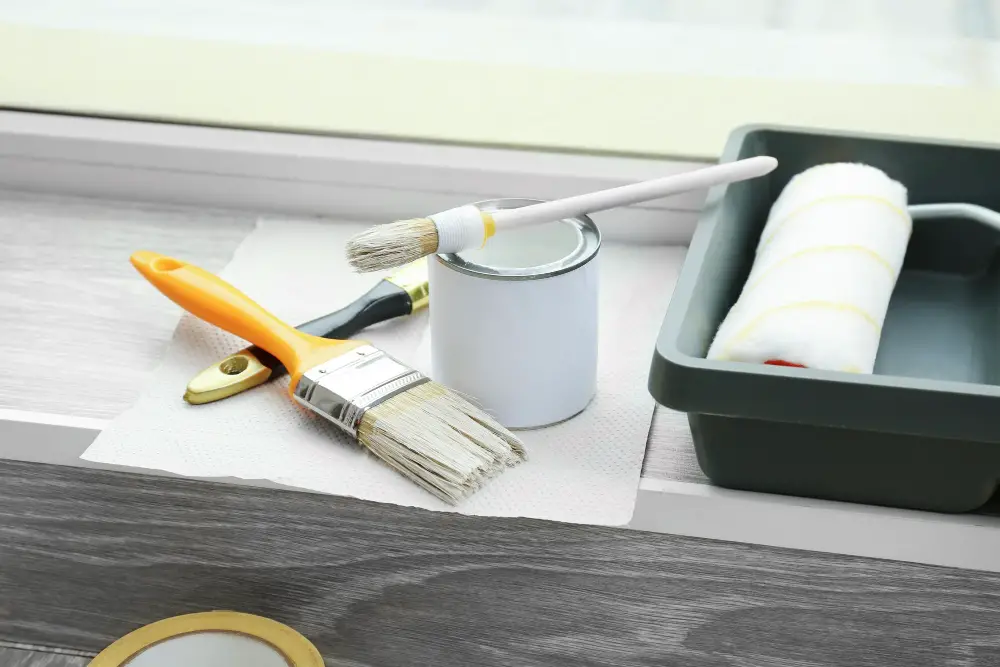
Here’s what you’ll need:
1. Paintbrushes: Choose high-quality brushes in various sizes for different areas of the window trim.
2. Paint rollers: Use a roller with a long handle to reach higher areas of the window frame.
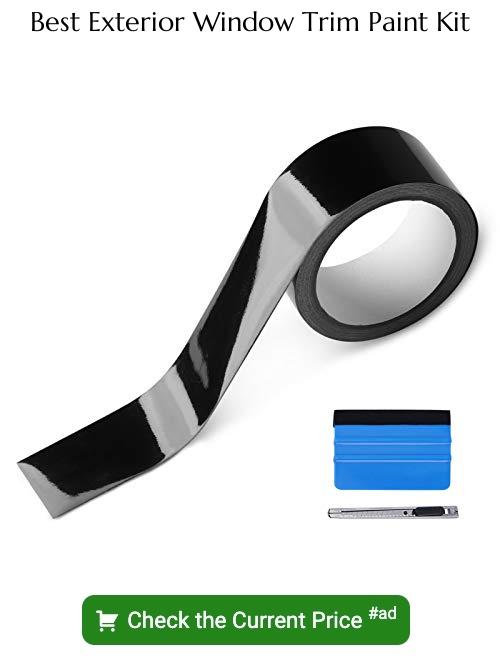
3. Painter’s tape: This will help protect glass panes from getting painted over.
4. Sandpaper or sanding block: You’ll use this to smooth out rough spots on your window trim before painting it.
5. Putty knife and wood filler putty (if needed): These are used for filling gaps, cracks, or holes in wooden frames before painting them.
6. Primer and paint: Select an appropriate primer that is compatible with both your surface material and chosen topcoat color; then choose high-quality exterior-grade paint that can withstand harsh weather conditions without fading or peeling off quickly.
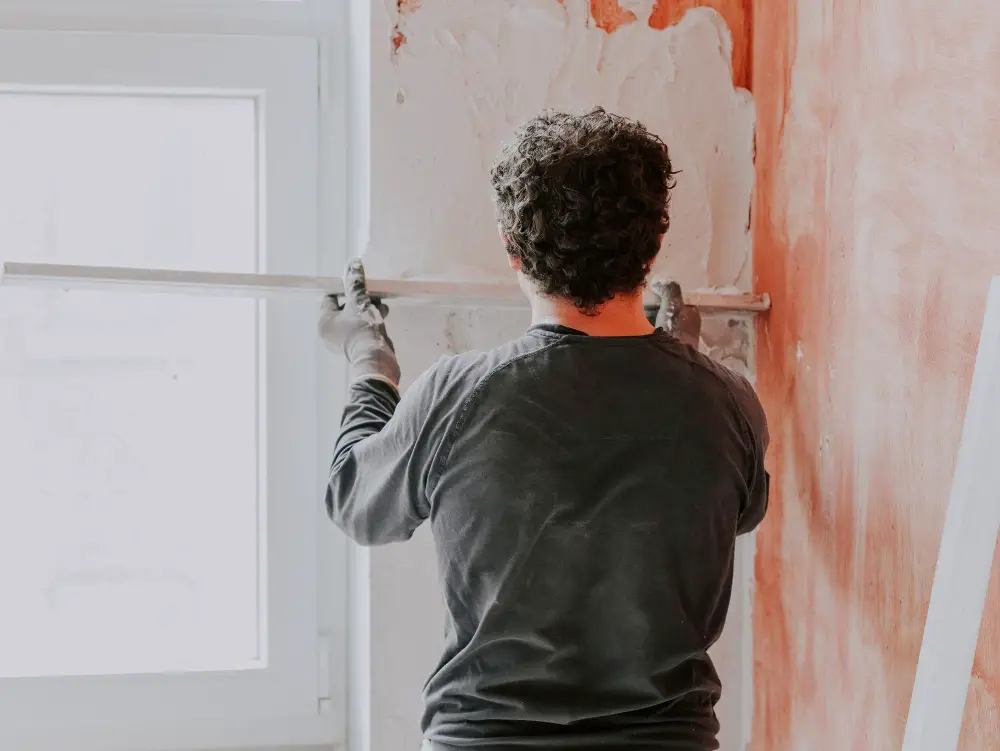
Preparing the Work Area
This step is crucial as it ensures that the paint adheres well and lasts longer. First, remove any dirt or debris from around the windows using a broom or brush.
Next, cover nearby plants and bushes with plastic sheeting to protect them from paint splatters.
If there are any loose pieces of old paint on your window trim, use a scraper to remove them carefully. Be sure not to damage the wood underneath while doing so.
Once you’ve removed all loose pieces of old paint, sand down any rough spots on your window trim using medium-grit sandpaper until they’re smooth and even.
Wipe down all surfaces with a damp cloth or sponge to ensure that no dust remains before applying primer coat for better adhesion of new color coats later on in this process.
Cleaning the Window Trim
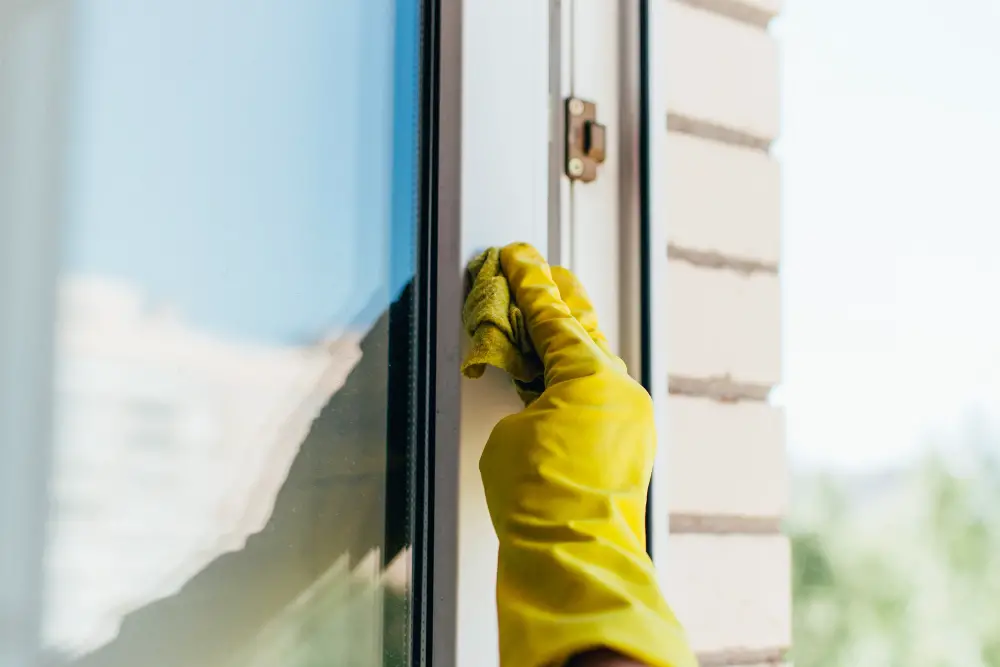
Dirt, grime, and other debris can prevent paint from adhering properly and cause uneven coverage. To clean the window trim effectively, use a soft-bristled brush or sponge with mild soap and water solution.
Avoid using harsh chemicals that may damage the surface of your windows.
Start by wetting down the area around each window with a hose or bucket of water to loosen any dirt or debris on the surface. Then dip your brush into soapy water and gently scrub away any dirt buildup on all sides of each frame.
Be sure to pay extra attention to areas where there is visible peeling paint as these spots will need more cleaning than others before applying new coats of primer/paint.
Sanding the Surface
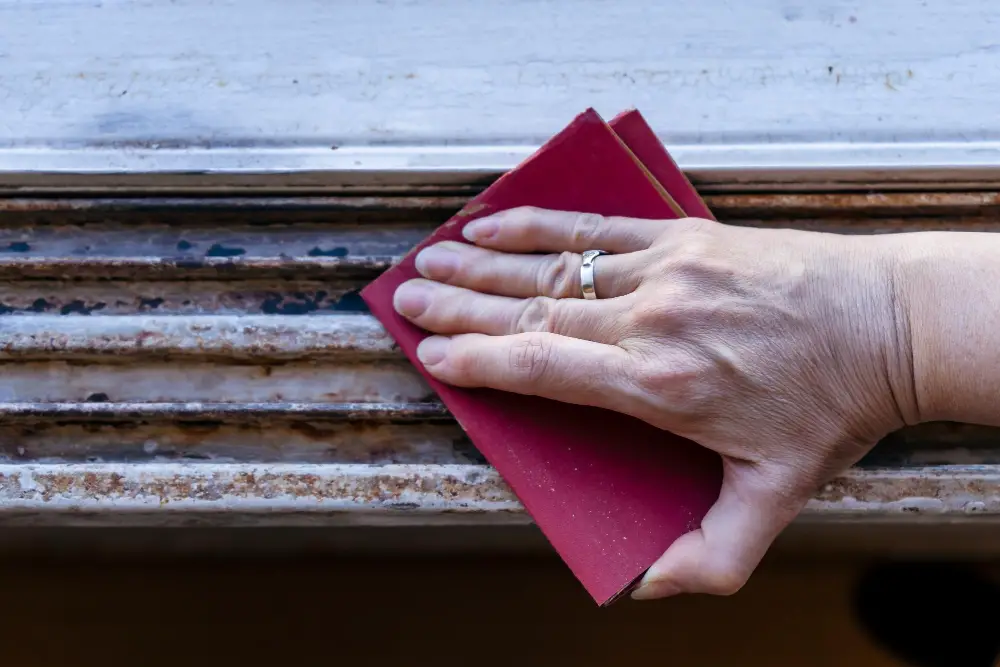
Sanding is an essential step in preparing your window trim for painting as it helps remove any rough spots or old paint that may be present on the surface. Start by using a medium-grit sandpaper and work your way up to a fine-grit paper until you achieve a smooth finish.
When sanding, make sure to wear protective gear such as gloves and goggles since dust particles can irritate your skin and eyes. Also, avoid using too much pressure when sanding as this can damage the wood or cause uneven surfaces.
Once you’ve finished sanding, use a clean cloth or brush to remove any remaining dust from the surface before moving on with priming and painting.
Removing Old Paint
This will ensure that the new coat of paint adheres properly and looks smooth and even. To remove old paint from your window trim, you can use a scraper or sandpaper.
If using a scraper, hold it at an angle against the surface of the wood and apply pressure as you push forward. Be careful not to gouge into the wood or damage any surrounding areas.
Alternatively, if using sandpaper (80-100 grit), wrap it around a block of wood for better control while working on flat surfaces like sills; otherwise use folded paper for curved sections such as muntins (the strips dividing panes). Sand until all loose flakes are removed but avoid over-sanding which could create unevenness in texture.
Applying Primer
Primer helps the paint adhere better and provides an even surface for painting. It also seals any gaps or cracks in the window trim, preventing moisture from seeping in and causing damage.
To apply primer, start by stirring it thoroughly with a stir stick until it’s well mixed. Then use a brush or roller to apply an even coat of primer over all surfaces of your window trim that will be painted.
Be sure to follow manufacturer instructions regarding drying time before applying additional coats or proceeding with painting. Applying multiple thin coats is preferable than one thick coat as this ensures proper coverage without drips forming on vertical surfaces.
Caulking Gaps and Cracks
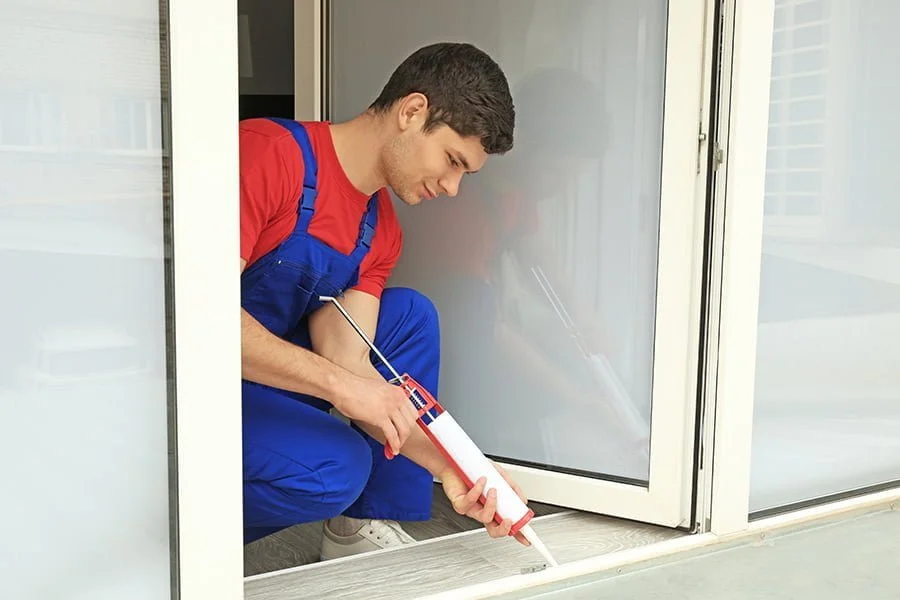
These can allow moisture and air to seep into your home, causing damage and increasing energy bills. Caulking is an essential step in preparing the window trim for painting as it seals any gaps or cracks.
To caulk effectively, first remove any old caulking using a putty knife or scraper. Then clean the area with soap and water before allowing it to dry completely.
Next, apply a bead of caulk along each gap or crack using a caulking gun.
Smooth out the caulk with your finger (wearing gloves) or use a specialized tool like a smoothing spatula for better results. Be sure not to overfill as this will create unsightly bumps once dried up.
Allow ample time for drying according to manufacturer instructions before proceeding with priming and painting steps. Caulk is available in different colors so choose one that matches closely with your paint color if you plan on leaving some areas unpainted after sealing them off from weather elements.
Applying New Putty
This is an important step in painting your exterior window trim because it helps seal any gaps or cracks and provides a smooth surface for painting. To apply new putty, start by rolling a small amount of putty into a ball and then flattening it out with your fingers until it’s about 1/8 inch thick.
Next, press the flattened piece of putty onto the edge of the glass where it meets the wood frame. Use your fingers to gently push down on each side of the puttied area to ensure that there are no air pockets between the glass and wood frame.
Masking the Window Glass
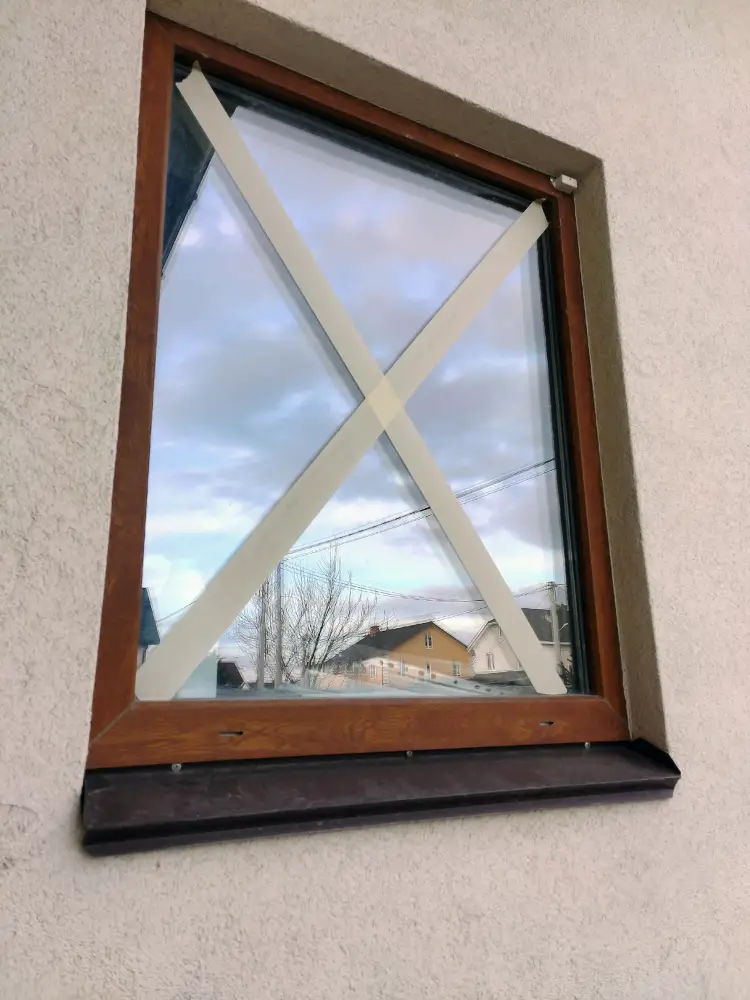
Masking tape is an easy and effective way to do this. Start by applying the tape around the edges of each pane of glass, making sure that there are no gaps between the tape and the frame.
You can use a putty knife or scraper to press down on the edges of each piece of masking tape for a secure seal.
If you’re using spray paint or a sprayer, consider using plastic sheeting instead of masking tape as it provides better protection against overspray. Cover all areas surrounding your windows with plastic sheets before spraying.
Remember that removing overpaint from glass can be challenging and time-consuming; therefore, taking extra care when masking will save you time in cleaning up later on.
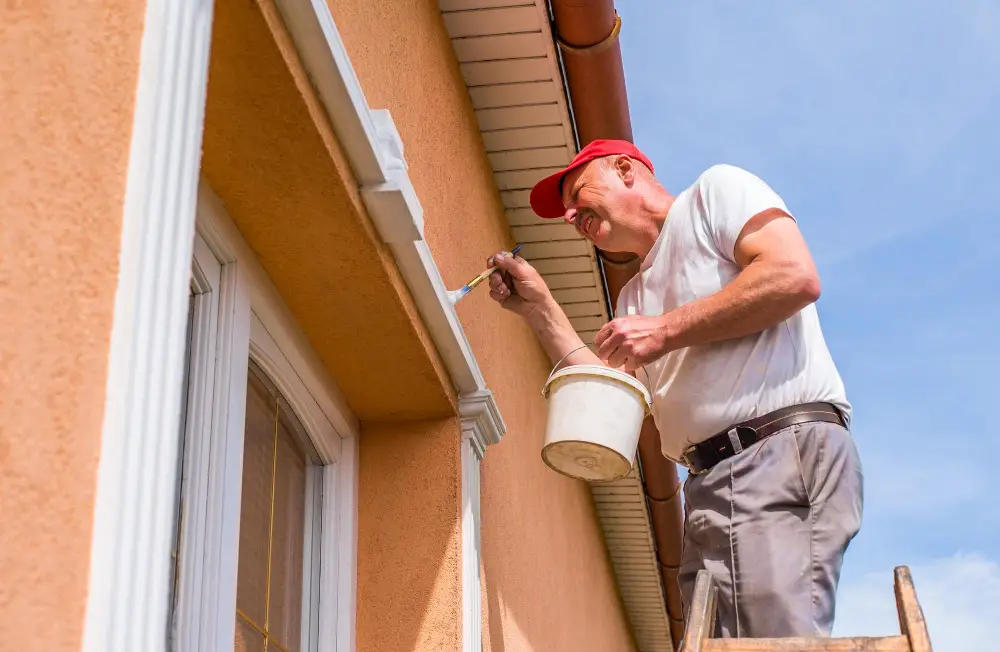
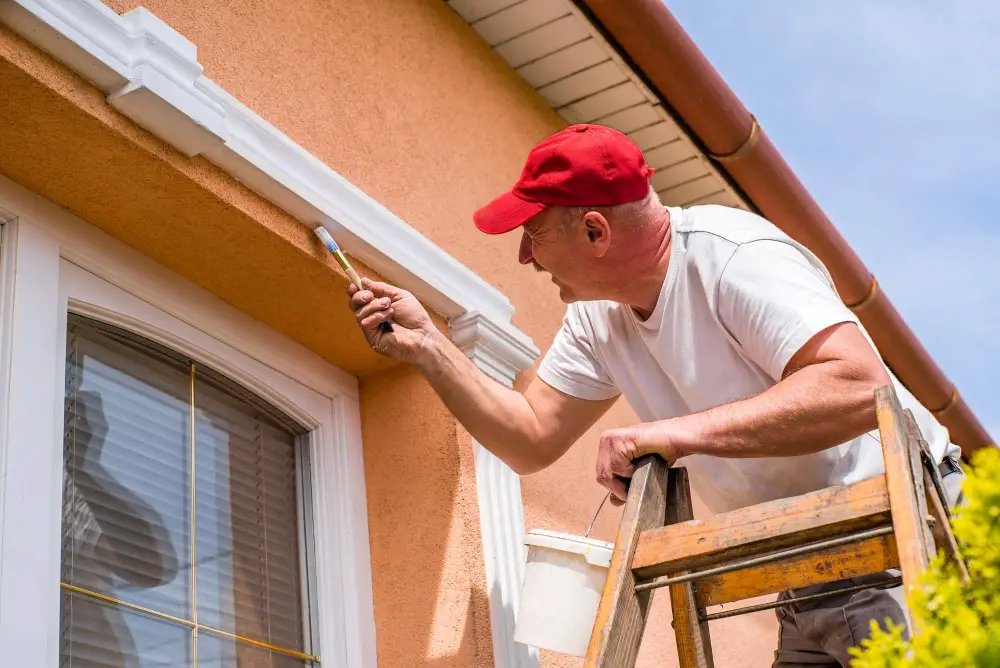
Painting Techniques

There are several techniques you can use to paint your exterior window trim, including using a brush, roller or paint sprayer. Each technique has its advantages and disadvantages.
Using a brush is the most traditional method of painting window trim. It allows for precise control over where the paint goes and ensures that every nook and cranny is covered with an even coat of paint.
However, it can be time-consuming if you have many windows to cover.
A roller is another option for painting your exterior window trim quickly and efficiently. It’s best used on flat surfaces like sills or frames but may not work as well in tight spaces around corners or edges.
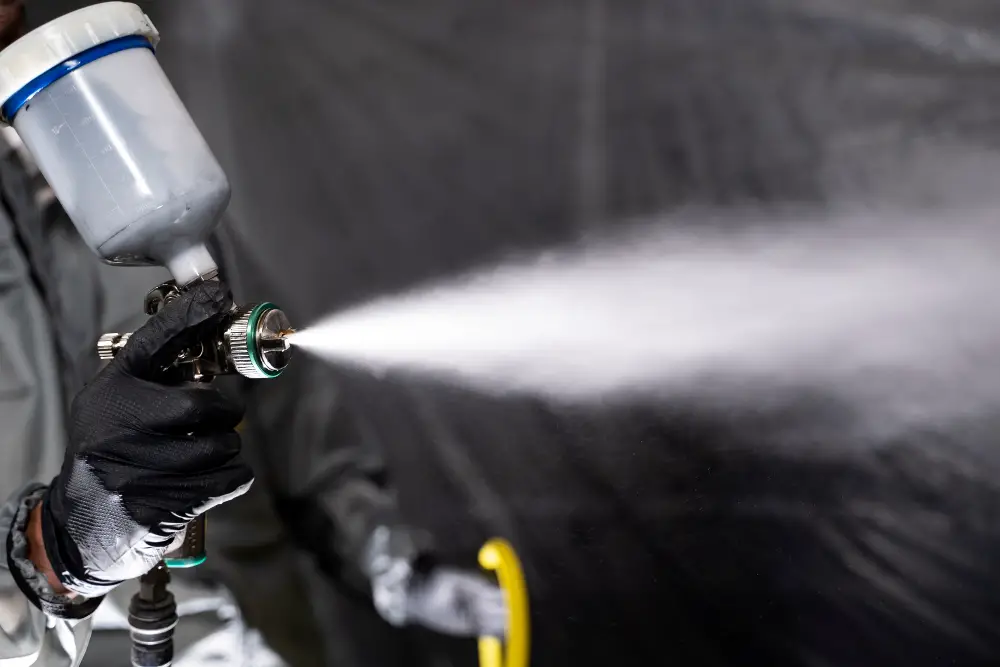
Using a spray gun can give professional-looking results in less time than other methods but requires more skill to avoid overspray onto surrounding areas such as walls or landscaping features.
Using a Brush, Roller, or Paint Sprayer
The most common tools are brushes, rollers, and paint sprayers. Each tool has its own advantages and disadvantages.
Brushes are the most traditional method of applying paint to window trim. They allow for precise control over where the paint goes and can be used in tight spaces that other tools cannot reach.
Rollers can cover larger areas more quickly than brushes but may not provide as much precision or control over where the paint is applied.
Paint sprayers offer fast coverage with an even finish but require more preparation time due to overspray concerns. They tend to be messier than using a brush or roller.
Ultimately, which tool you choose will depend on your personal preference and experience level with each option. If you’re new to painting or want maximum control over where the paint goes on your windows’ intricate details like muntins (the strips of wood separating panes), then a brush might be best suited for this task.
On the other hand if speed is important because there’s lots of windows involved then consider using either rollers or spray guns depending on how comfortable one feels about handling them.
Painting the Lifted Sash, Remaining Sash, and Window Frame
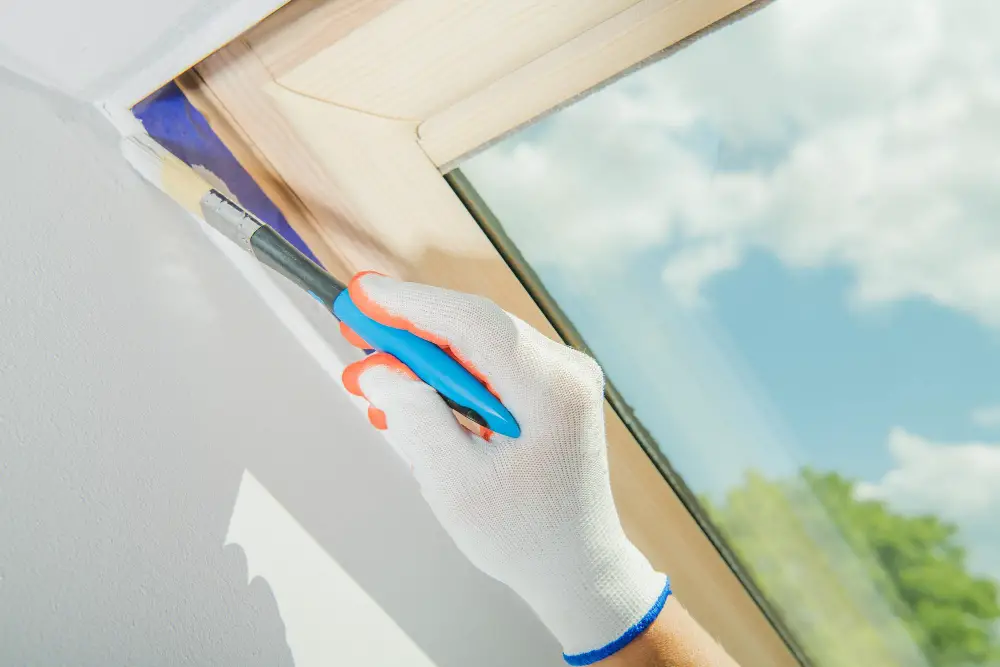
Start by lowering the lifted sash and painting its top edge first. Then raise it slightly and paint its bottom edge before moving on to paint both sides of the remaining sashes.
When painting a double-hung window frame with multiple panes of glass, use a small brush or roller for precise application around each pane. Be careful not to overload your brush or roller with too much paint as this can cause drips or smudges.
For best results when applying multiple coats of paint, wait until each coat is completely dry before applying another one. This will help prevent any unwanted streaks or bubbles in your final finish.
Applying Multiple Coats
The drying time will depend on the type of paint and weather conditions in your area. Check the manufacturer’s instructions for specific drying times.
When applying multiple coats, make sure to lightly sand between each layer with fine-grit sandpaper. This will help smooth out any imperfections and ensure that subsequent coats adhere properly.
Apply additional coats until you achieve your desired level of coverage and color depth. Keep in mind that darker colors may require more layers than lighter ones.
Drying Time
The drying time will depend on several factors, including the type of paint used and weather conditions. Generally speaking, oil-based paints take longer to dry than water-based paints.
It’s recommended that you wait at least 24 hours before removing any masking tape or plastic sheeting from around your windows. If possible, try not to close the windows during this time as they may stick together if still wet.
If you’re unsure whether your window trim is fully dried yet, gently touch a small area with a finger; if it feels tacky or sticky at all then it needs more drying time.
Removing the Masking Tape and Overpaint From Glass
This step is crucial for achieving a professional-looking finish. To do this, wait until the paint has dried completely before removing any tape or protective coverings.
Start by using a sharp utility knife or razor blade to score along the edge of each piece of masking tape where it meets with the painted surface. This will help prevent any peeling or chipping of your newly painted trim.
Next, slowly peel off each strip of masking tape at an angle away from the glass surface. Be careful not to pull too hard as this can cause damage to both your freshly painted window frame and surrounding surfaces.
If there is any overpaint on your windows after removing all tapes, use a scraper tool with care while holding it at an angle against the glass surface so that you don’t scratch it accidentally.
Final Inspection and Touch-ups
This will ensure that the job is done correctly and that there are no missed spots or mistakes. Take a step back from the window and examine it closely for any areas where paint may have dripped or pooled.
Use a small brush to carefully touch up these areas with additional paint as needed.
After completing any necessary touch-ups, allow the paint to dry completely before removing masking tape from around the glass panes of your windows. Be sure to remove all overpaint on glass surfaces using a razor blade scraper or other appropriate tool.
Cleaning Up the Work Area and Maintenance Tips for Exterior Window Trim
Remove all masking tape and drop cloths, and dispose of any leftover paint or materials according to local regulations. Make sure that all tools are cleaned thoroughly before storing them away.
To maintain the appearance of your newly painted window trim, regular maintenance is key. Keep an eye out for any signs of chipping or peeling paint and touch up as needed with a small brush.
It’s also important to keep the surrounding areas clean from dirt buildup which can cause discoloration over time.
Consider applying a clear coat sealer over your freshly painted window trim for added protection against weathering elements such as rainwater or UV rays from sunlight exposure.
By following these simple cleaning tips and maintenance practices regularly, you can ensure that your exterior window trim stays looking fresh and polished for years to come!
FAQ
Can you paint the exterior trim of a window?
Yes, you can paint the exterior trim of a window, but it is important to ensure the right conditions, proper preparation, and the correct product for a successful result.
What kind of paint do you use on exterior wood window trim?
Use latex paint on exterior wood window trim due to its easy application, quick drying, and resistance to fading or yellowing.
Should you paint exterior window trim?
Yes, you should paint exterior window trim to give your home a fresh, appealing look and boost its curb appeal.
What is the best technique for painting exterior window trim?
The best technique for painting exterior window trim is to use a high-quality paintbrush, apply a primer if needed, and paint in long, smooth strokes while maintaining a wet edge for an even finish.
How often should you repaint exterior wood window trim to maintain durability?
Exterior wood window trim should be repainted every 3 to 5 years to maintain durability.
What preparation steps should be taken before painting exterior window trim?
Before painting exterior window trim, ensure to clean the surface, scrape off old paint, sand it smooth, and apply primer.
Read More
 Aluminum Window Latch Replacement: A Simple Guide to Security and Style
 Custom Aluminum Window Screens Buying Guide
 Aluminum Window Removal Tool: Easy Steps for a Hassle-Free Window Replacement
 Screw for Aluminum Window Frame: Your Ultimate Fixing Guide
 Replace Aluminum Window Glass: A Beginner’s Guide to a Clearer View
Recap