Discover the simple steps to successfully install a window in your shed, transforming it into a bright and functional space.

Are you planning to add a window to your shed but don’t know where to start? Installing a window in a shed might seem like a daunting task, but with the right tools and techniques, it can be done easily and efficiently. In this blog post, we’ll guide you through the step-by-step process of installing a window in your shed.
Whether you’re looking for more natural light or ventilation, we’ve got you covered. So let’s roll up our sleeves and get started!
Key takeaways:
- Assess shed structure before installing window
- Consider size, material, and style when choosing window
- Select window size based on shed purpose and space
- Choose window material based on durability and maintenance
- Gather necessary tools and materials before installation
Assessing Shed Structure
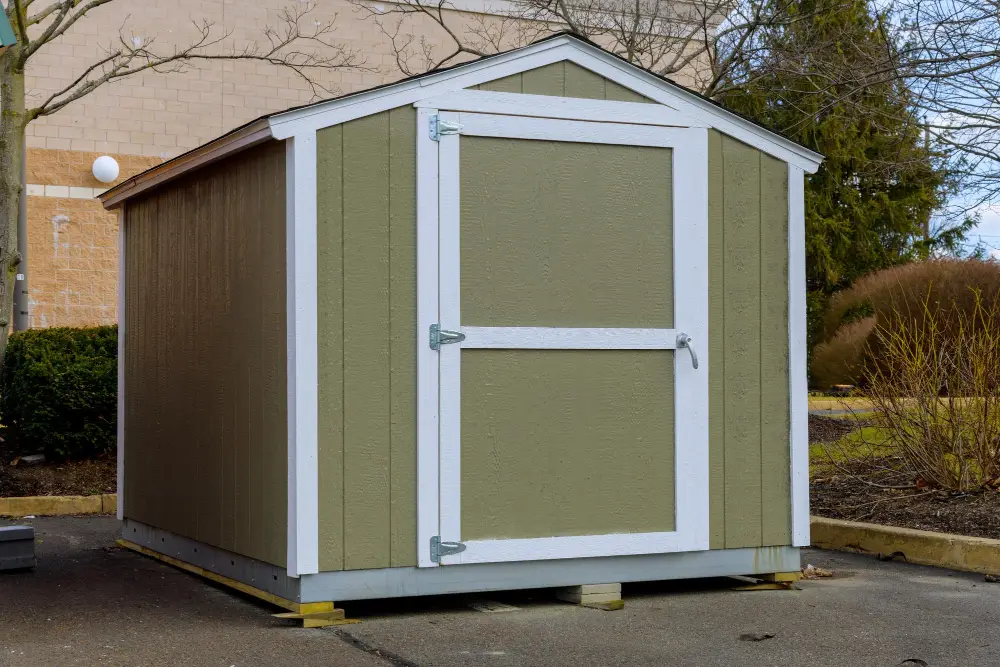
Before installing a window in your shed, it’s important to assess the structure of your shed. This will help you determine if the installation process is feasible and safe.
Check for any signs of damage or rotting wood that may compromise the integrity of your shed. Make sure that there are no electrical wires or plumbing pipes running through the area where you plan to install a window.
Consider how much light and ventilation you want in your space when choosing where to place a window. If possible, choose an area with good natural lighting so that you can maximize energy efficiency by reducing reliance on artificial lighting during daylight hours.
Choosing the Right Window

There are several factors to consider when selecting a shed window, including size, material, and style.
Firstly, you need to decide on the size of your new shed window. Consider how much natural light you want in your space and what kind of view you’d like from inside.
If ventilation is important for air circulation or temperature control purposes then select a larger sized one.
Next up is choosing the right material for your shed windows. The most common materials used are vinyl or aluminum as they’re durable enough to withstand harsh weather conditions while being low maintenance at an affordable price point.
Lastly comes style – do you prefer single-hung windows that open vertically? Or double-hung ones that can be opened both ways? Do not forget about aesthetics; pick something that complements with other elements in its surroundings such as color scheme etcetera.
Select the Shed Window Size

The first thing is the purpose of your shed. If you’re using it as a workspace or storage area, then you might want larger windows that allow more natural light in and provide better ventilation.
On the other hand, if your shed is primarily used for storing tools or equipment that require minimal lighting and airflow, smaller windows may be sufficient. Take into account how much wall space is available for installing a window.
Once you’ve determined what size of window will work best for your needs and space limitations; measure carefully before purchasing one. It’s important to get an accurate measurement so that when it comes time to cut out the opening in your shed wall frame; everything fits perfectly without any gaps around edges.
Choose the Right Window Material

The most common materials used for shed windows are wood, vinyl, and aluminum. Each of these materials has its own advantages and disadvantages.
Wooden windows offer a classic look that can complement any style of shed. They are also energy-efficient and provide excellent insulation against heat loss or gain.
However, wooden windows require regular maintenance to prevent rotting or warping due to moisture exposure.
Vinyl windows are low-maintenance options that do not require painting or staining like wooden ones do. They’re also affordable compared to other types of window materials on the market today; however they may not be as durable as other options in extreme weather conditions.
Aluminum is another popular choice because it’s lightweight yet sturdy enough for heavy-duty use in sheds with high traffic areas such as workshops where tools might accidentally hit them during work activities.
Gathering Necessary Tools
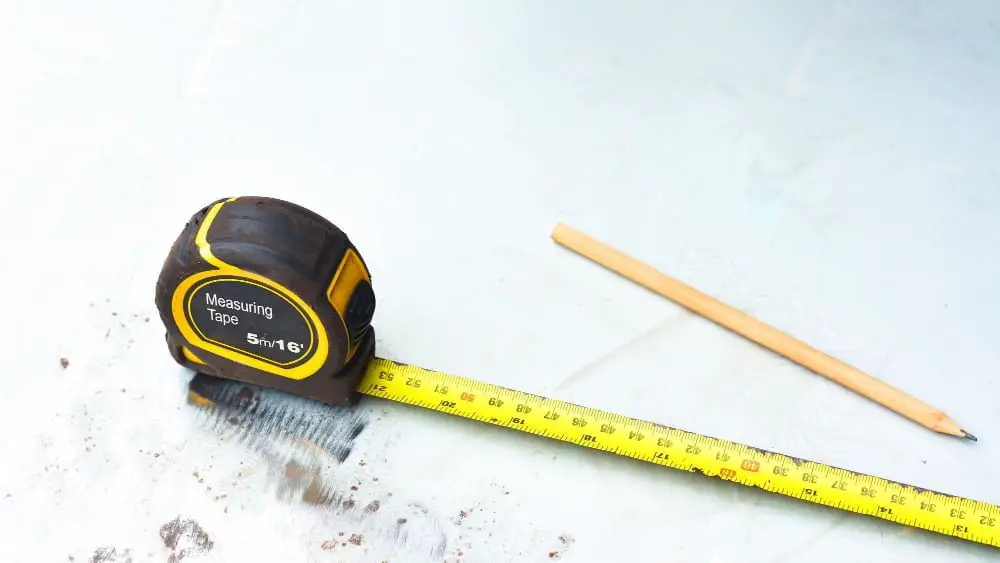
Having everything on hand will make the process smoother and more efficient. Here are some of the tools you’ll need:
- Measuring tape
- Circular saw or reciprocating saw
- Drill with screwdriver bits
- Hammer or nail gun
- Level
- Pry bar
- Caulking gun
In addition to these basic tools, you may also need other specific items depending on your project requirements such as flashing tape, shims, screws/nails etc.
Make sure that all of your equipment is in good working condition before starting work; this will help prevent any delays due to malfunctioning equipment during installation.
Assemble Required Tools and Materials
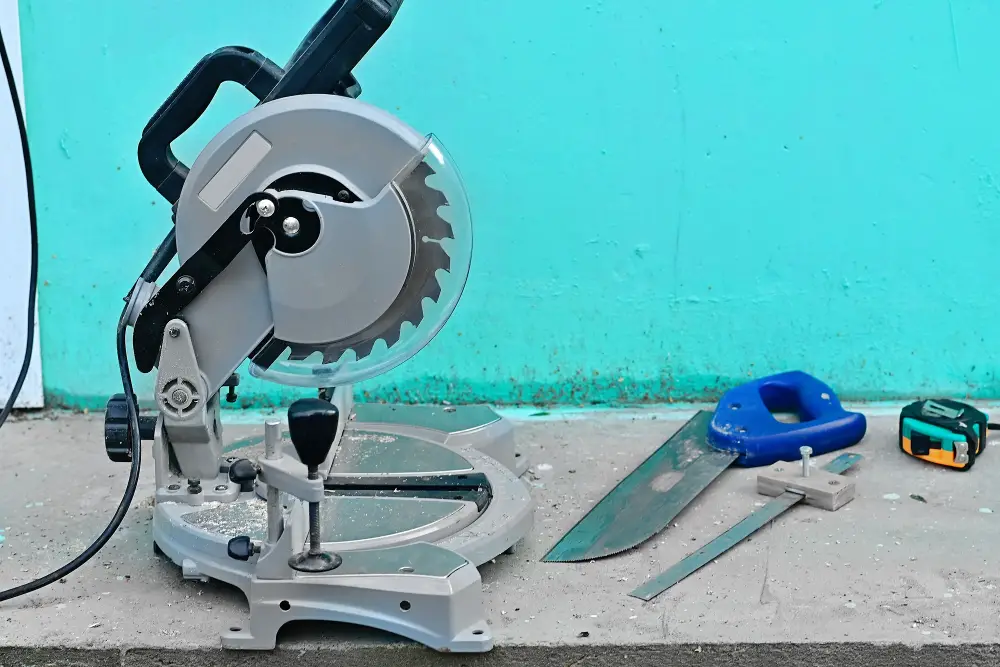
This will ensure that you have everything on hand when you need it, saving time and preventing frustration. The required tools for this project include a measuring tape, circular saw or reciprocating saw with metal cutting blade, drill/driver with screwdriver bits and drill bits (including spade bit), level, hammer or nail gun (depending on preference), pry bar or flat bar for removing siding if needed.
In addition to these tools, there are also some materials that you’ll need such as the window itself along with its mounting hardware kit which includes screws/nails/anchors depending upon what type of wall material is being used; flashing tape; silicone caulk/sealant; exterior grade trim boards if desired.
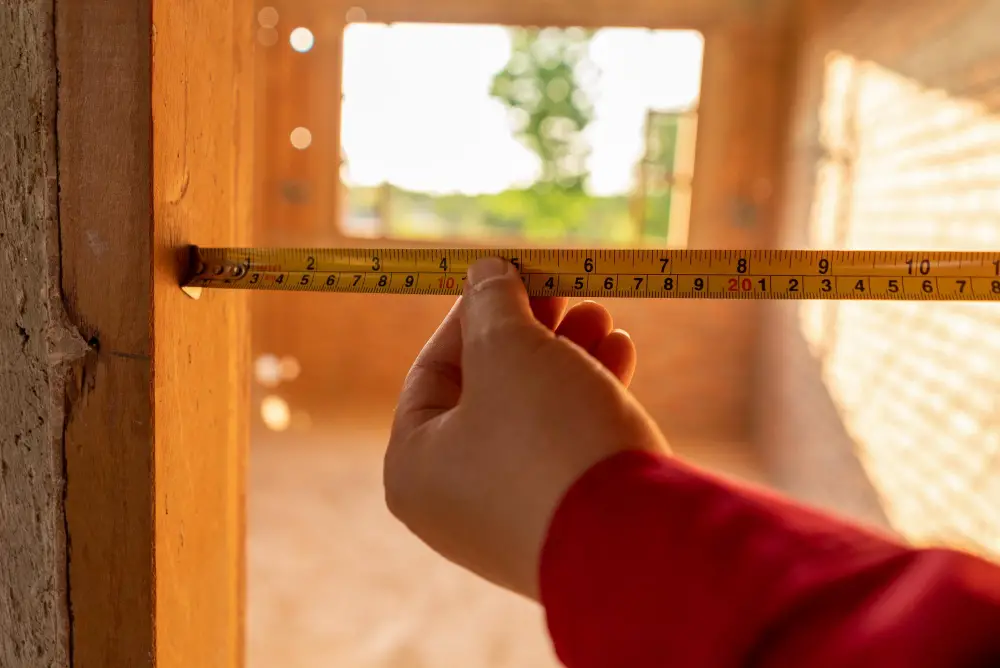
Determine Window Placement
The placement of your window will depend on several factors such as the purpose of the shed, its orientation and how much natural light or ventilation is required.
If you’re using your shed as a workspace or storage area, consider placing windows in areas that receive maximum sunlight during daytime hours. This will help reduce energy costs by allowing natural light into the space instead of relying solely on artificial lighting.
If ventilation is a concern due to high humidity levels or fumes from stored items like gasoline-powered equipment and chemicals; then consider placing windows near opposite walls so that air can flow through freely.
Once you’ve determined where to place your window(s), mark out their location with chalk lines before proceeding with cutting an opening in the wall.
Marking Window Placement
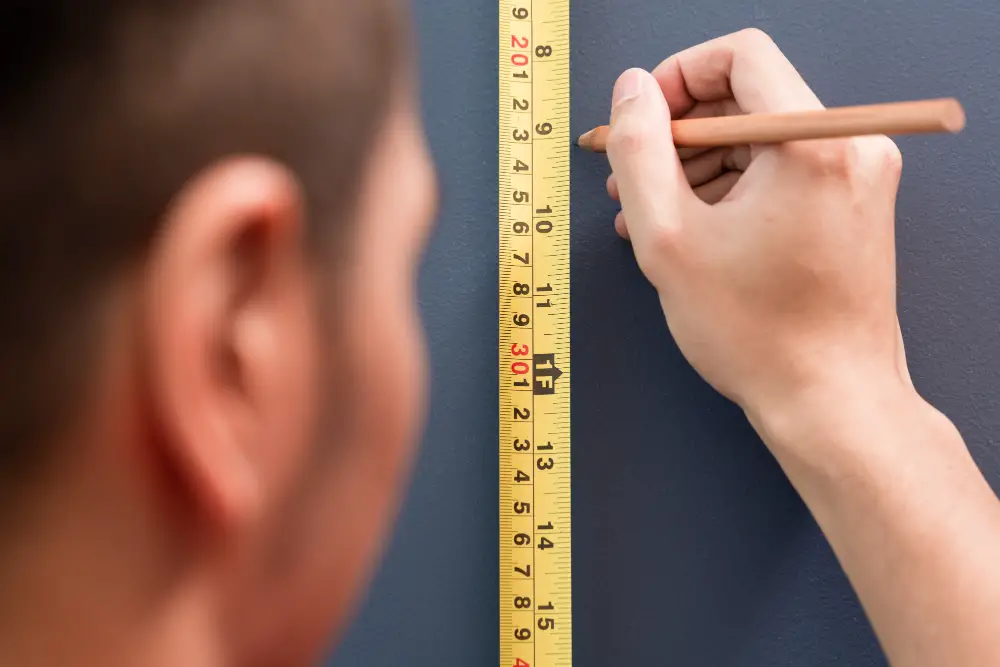
Before marking, make sure that you have assessed your shed structure and selected a suitable location for installation. The ideal spot should be free from any obstructions such as electrical wires or plumbing pipes.
To mark the placement of your window, use a measuring tape to determine where exactly on the wall it will go. Mark this point with a pencil or marker pen on both sides of the wall so that you can see where to cut from either side.
Cutting the Opening
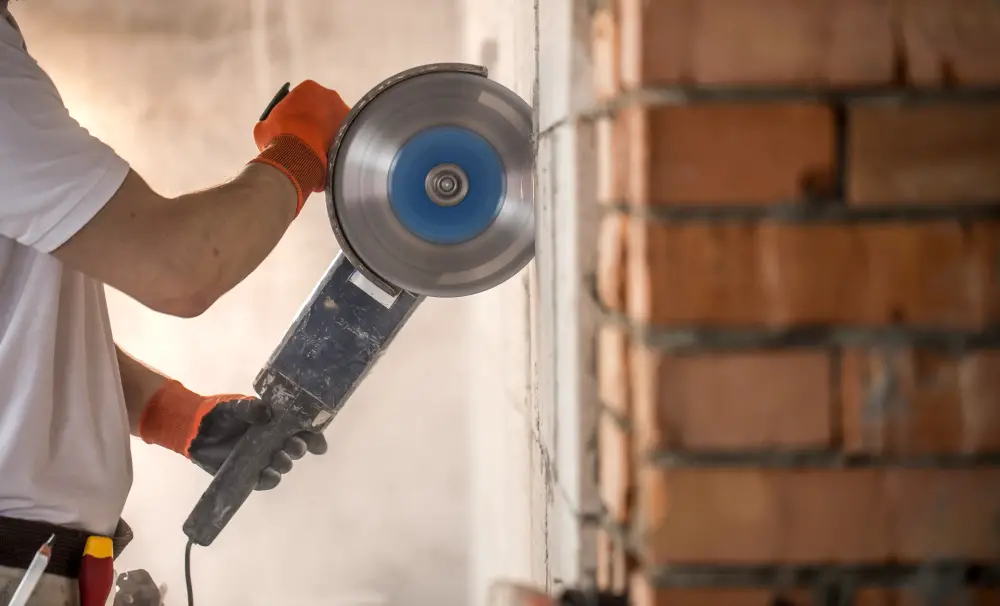
This step requires precision and accuracy to ensure that your window fits perfectly into place. Before cutting, make sure you have all necessary tools on hand such as a circular saw or jigsaw with a fine-toothed blade.
Start by marking out the dimensions of your window frame onto the shed wall using a pencil and measuring tape. Double-check these measurements before making any cuts.
Next, use your saw to carefully cut along each marked line until you’ve created an opening for your new window. Be sure to wear protective gear like goggles and gloves during this process.
Remember that once you’ve made these cuts, there’s no going back! So take extra care when cutting around corners or curves in order not to damage any surrounding structures or materials.
Constructing the Frame
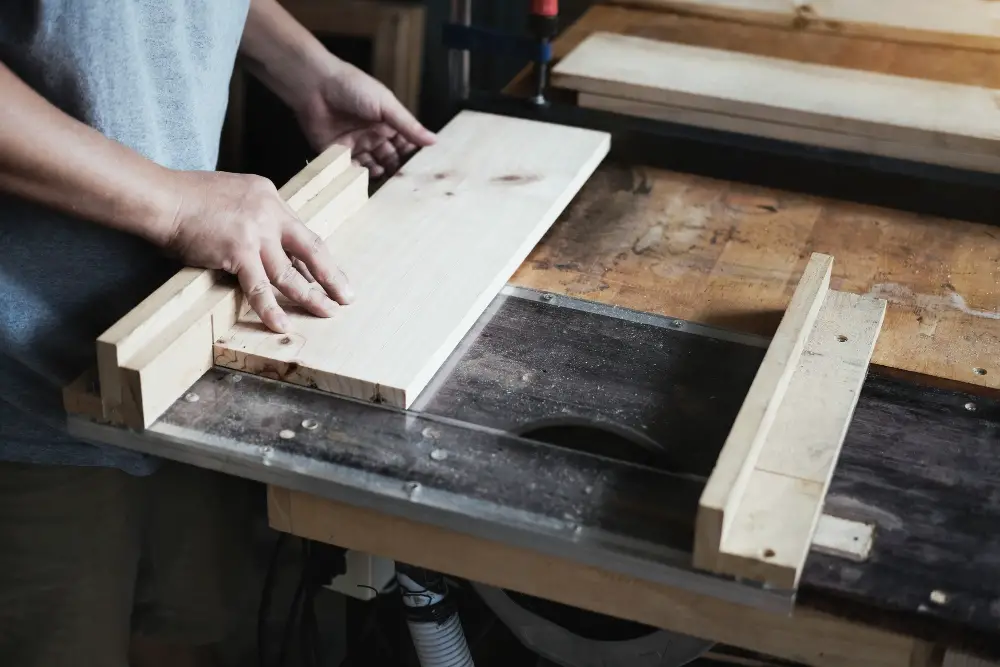
The frame will hold the window in place and provide support for it. To begin, measure and cut pieces of lumber that are slightly larger than your opening size.
These pieces will form a rectangular shape around your rough opening.
Next, attach these pieces together using screws or nails to create a sturdy frame structure. Make sure that all corners are square by measuring diagonally from corner to corner; if both measurements match, then you have a square frame.
Once you’ve constructed the basic framework for your shed window, dry fit it into place within the rough opening before securing it permanently with screws or nails. This step is crucial as any adjustments can be made at this stage before final installation.
Frame the Shed Window
The framing process is crucial as it provides support and stability to the window. To begin with, measure the height and width of your rough opening and add an inch on each side for clearance.
Next, cut two pieces of lumber that will serve as vertical studs or jack studs. These should be slightly longer than the height of your rough opening so they can fit snugly between the top plate (horizontal board at top) and bottom plate (horizontal board at bottom).
Then, attach these jack studs on either side of your rough opening using nails or screws. Make sure they are level by using a spirit level before securing them in place.
After this step is complete, you’ll need to install a header above the window frame which will provide additional support for both sides of your shed wall where there isn’t any load-bearing structure present.
Dry Fit the Shed Window

This step will ensure that the window fits perfectly into the opening and that there are no issues with alignment or sizing. To dry fit your shed window, place it in the opening without any screws or fasteners and check if everything lines up correctly.
If you notice any gaps between the frame and wall, use shims to fill them in until everything is level. Once you’re satisfied with how everything looks, remove the window from its position carefully.
Dry fitting your shed windows can save time during installation by identifying potential problems before they occur. It also allows for adjustments to be made quickly without damaging anything permanently.
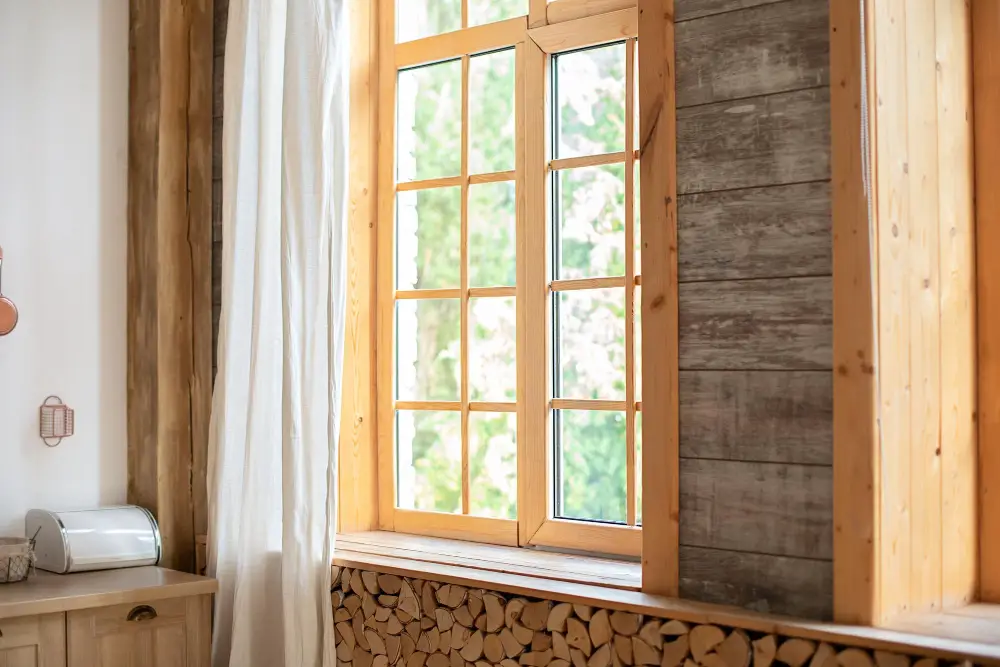
Installing the Window

Carefully lift and slide the window into position from outside of your shed. Make sure that it fits snugly into place and is level with your frame.
Next, secure the window by screwing through each pre-drilled hole on both sides of your window flange using screws long enough to penetrate through both layers of wood framing.
After securing all screws, check if there are any gaps between the shed wall and windowsill or jamb. If there are any gaps present then fill them with foam insulation or caulk sealant for a tight fit.
Securing the Window
This will ensure that your shed remains safe and secure from any potential intruders or harsh weather conditions. To do this, you’ll need to install screws through the pre-drilled holes on the window frame into the shed wall framing.
Make sure that you use screws of appropriate length and thickness for your specific type of window and wall material.
It’s also a good idea to add some additional security measures such as installing locks or bars on your windows if necessary. This will provide an extra layer of protection against break-ins.
Apply Flashing to the Rough Opening

Flashing is a thin layer of material that helps prevent water from seeping into your shed through gaps around the window. It also provides an extra layer of protection against wind and other elements.
To apply flashing, start by cutting a piece of self-adhesive waterproof membrane slightly larger than your window opening. Then, peel off one side of the backing paper and carefully place it over the bottom edge of your rough opening so that half hangs down below.
Next, fold up this half onto itself so that you create a crease in line with where your sill plate will sit on top later on during installation. Press firmly along this crease line before peeling off another section’s backing paper and pressing down again until all sides are covered.
Caulking and Sealing

Caulking and sealing will prevent air leaks, water infiltration, and insect infestation. Start by applying a bead of caulk along the perimeter of the window where it meets with the shed wall.
Use a caulking gun for precise application and smooth out any excess with your finger or a putty knife.
Next, apply weatherstripping tape around all four sides of the window frame to create an additional barrier against drafts and moisture intrusion. Make sure that there are no gaps between each strip.
Add another layer of sealant on top of both caulked areas as well as weatherstripping tape using your finger or putty knife again to ensure complete coverage.
Apply Sealant Around Window Perimeter
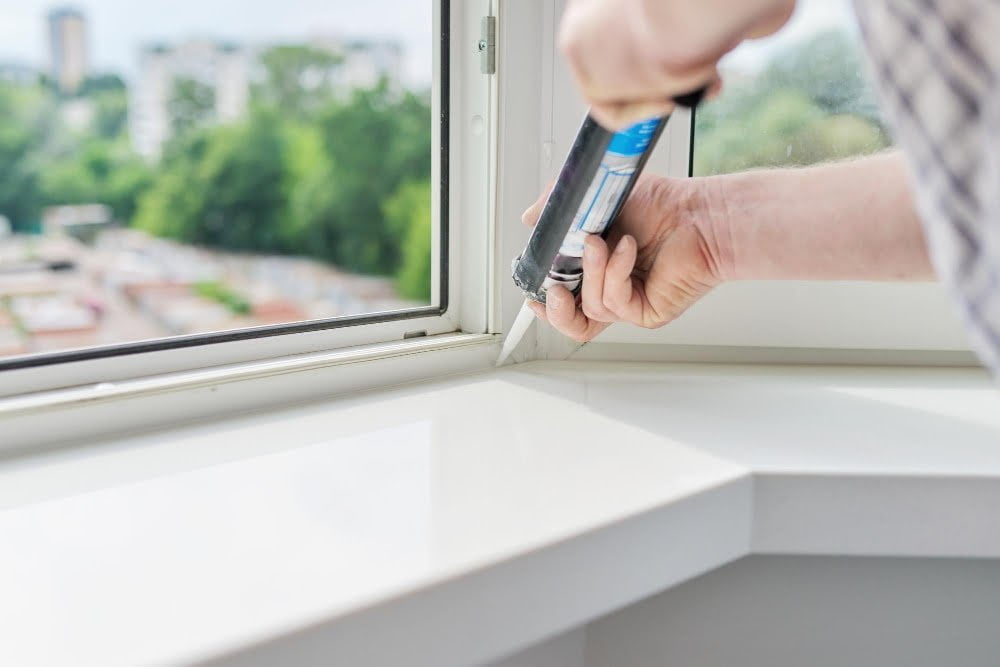
This step is crucial as it helps prevent water and air from seeping through any gaps between the window frame and shed wall. Begin by applying a continuous bead of silicone caulk along all four sides of the window frame where it meets with the shed wall.
Use a caulking gun for precision application.
Next, use your finger or a caulk smoothing tool to smooth out any excess sealant and ensure that there are no gaps or bubbles in your application. Be sure to work quickly before the sealant dries.
Allow ample time for drying according to manufacturer instructions before painting over or exposing your newly installed shed windows to weather elements.
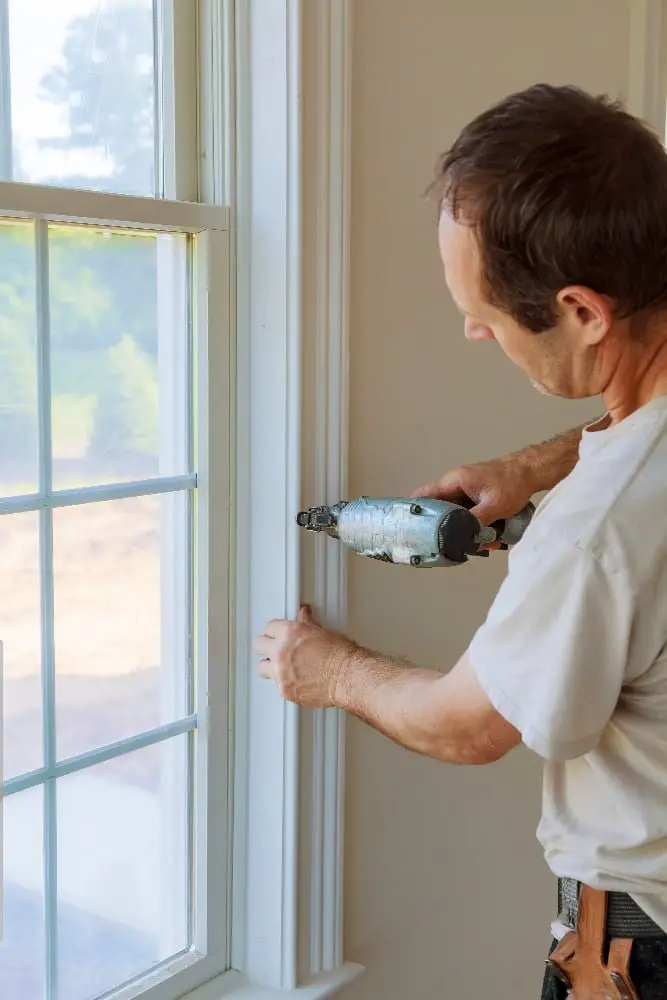
Install Window Trim
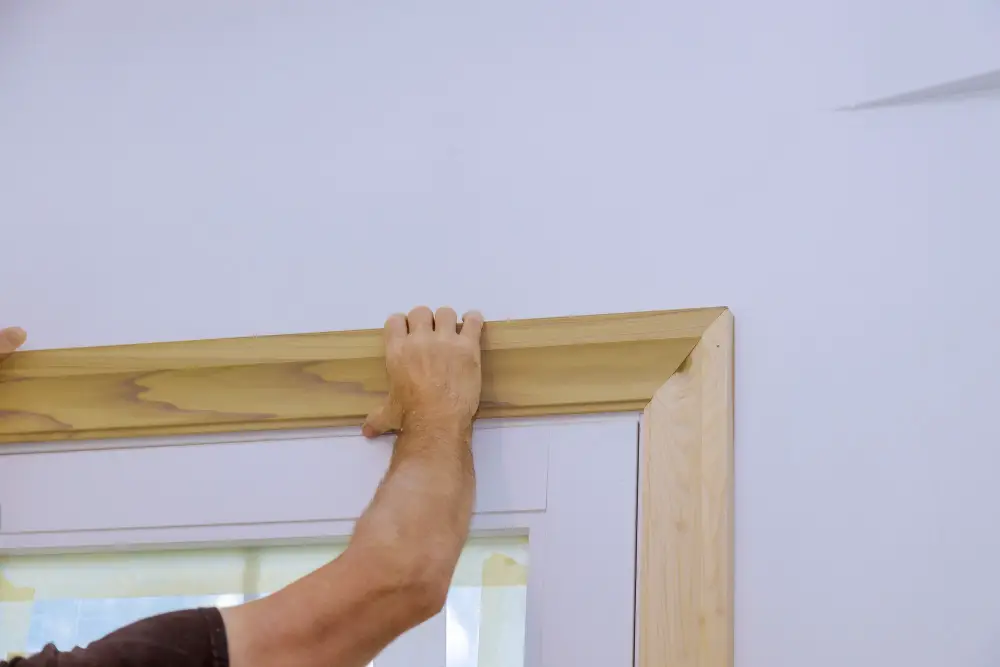
Installing trim around your shed window will not only enhance its appearance but also protect it from weather damage. Window trim comes in various materials such as wood, vinyl or PVC and can be painted to match your shed’s color scheme.
To install the trim, measure and cut pieces of molding that fit snugly around each side of the window frame. Use a nail gun or hammer and nails to attach them securely in place.
After installing all four sides of molding, caulk any gaps between them with silicone sealant for added protection against moisture infiltration. Paint or stain your new shed windows’ trims according to your preference.
Caulk Around Window Trim

Caulking around the window trim will help seal any gaps and prevent water from seeping in. Start by applying a bead of caulk along each side of the trim where it meets with your shed wall.
Use a caulking gun for precision application.
Next, use your finger or a putty knife to smooth out and evenly distribute the caulk along each seam. Be sure to remove any excess before it dries.
Allow ample time for drying according to manufacturer instructions before painting over or exposing your newly installed shed window to harsh weather conditions.
Finishing Touches
One of the most important steps is caulking around the window trim. This will help prevent any air or water leaks that could damage your shed over time.
Next, you can install a drip cap above the window to deflect rainwater away from it. A drip cap is a small piece of metal flashing that fits over the top edge of your window frame.
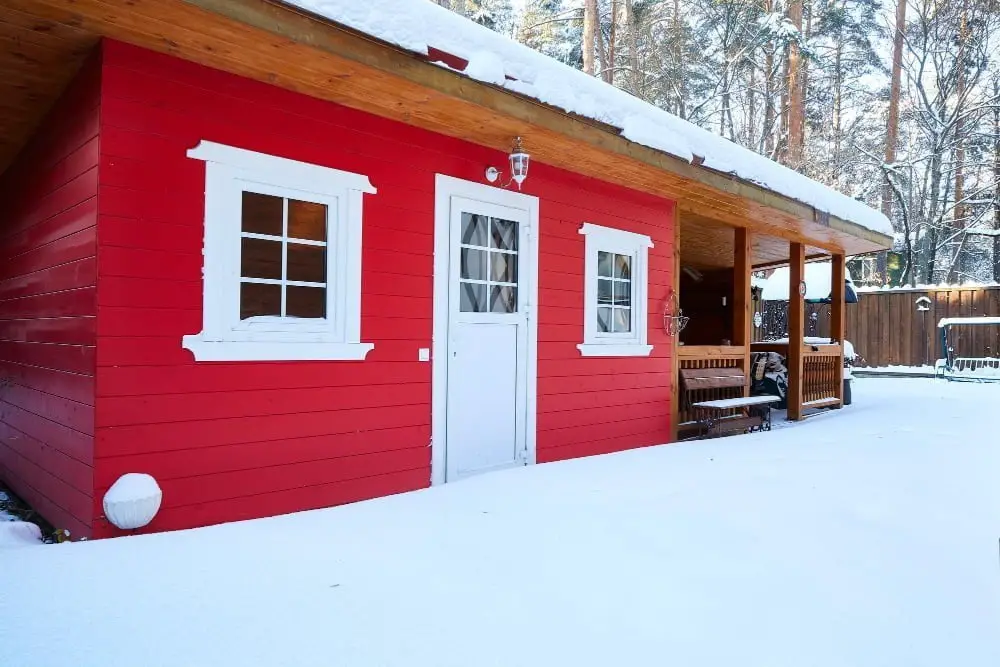
Consider adding some decorative shutters or flower boxes on either side of your new shed windows for an extra touch of charm and personality.
By following these simple steps and taking care with finishing touches like caulking and adding decorative elements, you’ll have transformed your ordinary garden shed into a bright and functional space that adds value to both form & function!
FAQ
Is it good to have a window in a shed?
Yes, having a window in a shed is good as it provides extra light and airflow, enhancing the overall functionality of the shed.
What are the key factors to consider when choosing the right window for a shed?
Key factors to consider when choosing the right window for a shed include size, material, durability, ventilation, insulation, and aesthetics.
What tools and materials are needed to install a window in a shed?
To install a window in a shed, one requires tools and materials such as a measuring tape, level, pencil, saw, screws, drill, window, shims, and caulking.
How can you ensure proper insulation and weatherproofing when installing a window in a shed?
To ensure proper insulation and weatherproofing when installing a window in a shed, use weather-resistant materials, appropriate insulation, and seal all gaps with weatherproof caulk or sealant.
Read More
 Aluminum Window Latch Replacement: A Simple Guide to Security and Style
 Custom Aluminum Window Screens Buying Guide
 Aluminum Window Removal Tool: Easy Steps for a Hassle-Free Window Replacement
 Screw for Aluminum Window Frame: Your Ultimate Fixing Guide
 Replace Aluminum Window Glass: A Beginner’s Guide to a Clearer View
Recap