Discover the simple steps to transform and revitalize your aluminum window frames with a fresh coat of paint in this easy-to-follow guide.
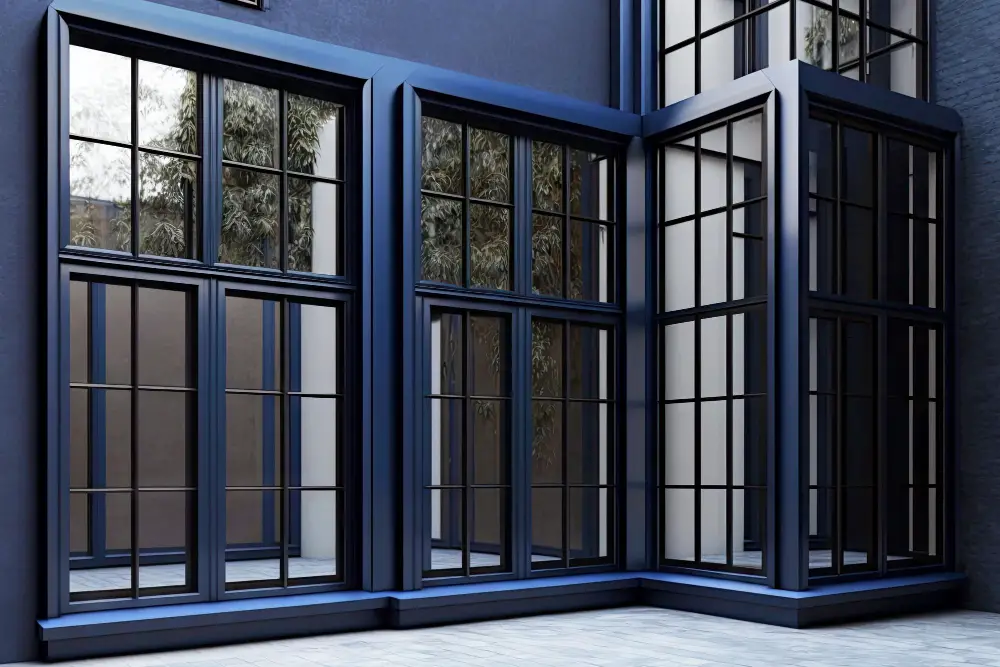
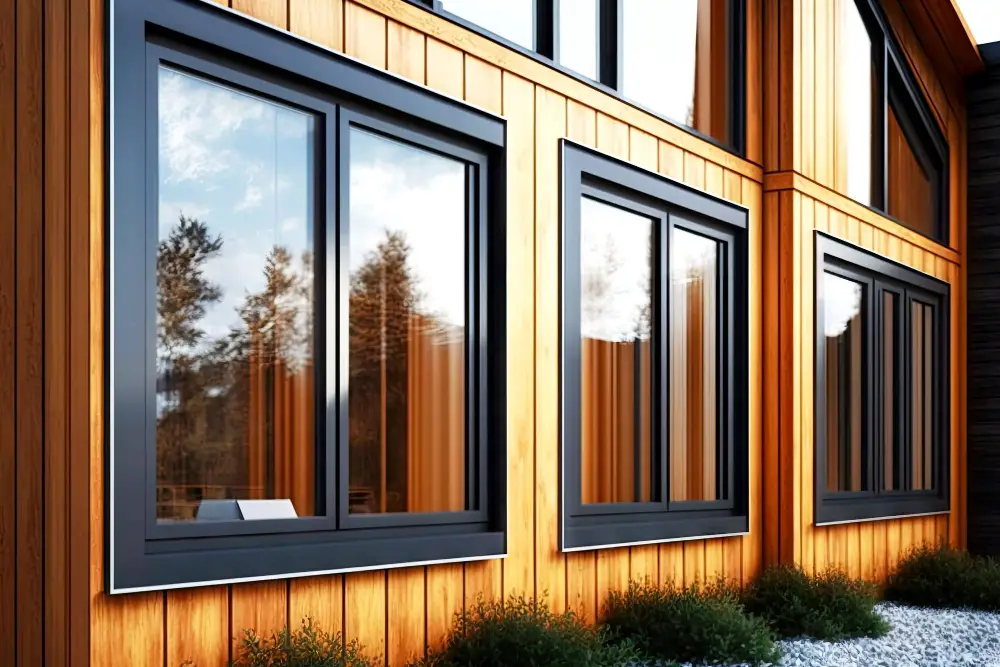
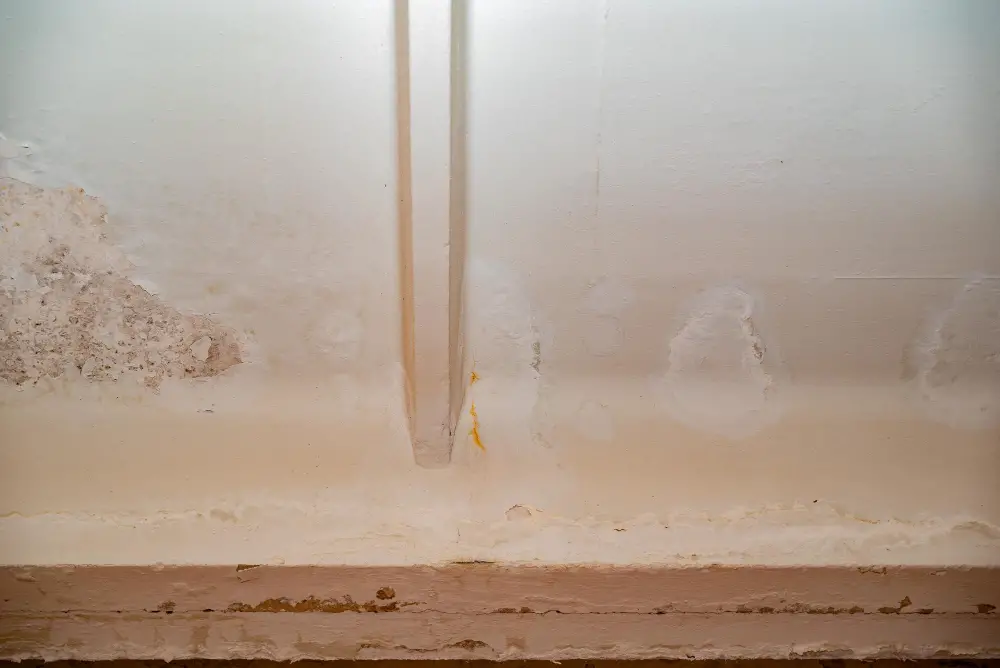
Aluminum window frames are a popular choice for many homeowners because of their durability and sleek appearance. However, over time, these frames can become faded or chipped, making them look worn out.
The good news is that you don’t have to replace your entire window just because the frame needs a refresh. With some simple steps and the right tools, you can easily paint your aluminum window frames and give them a brand new look.
In this blog post, we’ll guide you through the process of painting aluminum window frames so that you can achieve beautiful results without breaking the bank. So let’s get started!
Key takeaways:
- Painting aluminum window frames is an affordable way to refresh your windows.
- Benefits of painting include protection from the elements and customization.
- Tools and materials needed include brushes, sandpaper, primer, paint, and tape.
- Prepare by cleaning and sanding the frames, then apply primer and paint.
- Maintain and clean the painted frames regularly to extend their lifespan.
Types of Aluminum Window Frames
Thermally broken frames have a thermal barrier between the interior and exterior parts of the frame, which helps to reduce heat transfer. This makes them more energy-efficient than non-thermally broken frames.
Non-thermally broken aluminum window frames are made from a single piece of metal without any insulation or barriers. They tend to be less expensive than thermally-broken options but can lead to higher energy bills due to their lack of insulation.
It’s important to consider your climate when choosing between these two types of aluminum window frames. If you live in an area with extreme temperatures, such as very hot summers or cold winters, then investing in thermally-broken windows may be worth it for the long-term savings on heating and cooling costs.
Benefits of Painting Aluminum Frames

Firstly, it’s an affordable way to give your windows a fresh new look without having to replace them entirely. This is especially important if you’re on a budget or looking for ways to save money on home renovations.
Secondly, painting aluminum frames can help protect them from the elements and prevent rust and corrosion from forming over time. This is particularly important if you live in an area with harsh weather conditions or near the coast where saltwater exposure can cause damage.
Thirdly, painting your window frames allows you to customize their appearance according to your personal style preferences. You have complete control over the color and finish of the paint used so that it matches perfectly with other design elements in your home.
Lastly, painted aluminum window frames are easier to maintain than unpainted ones since they require less cleaning effort due to their smooth surface texture after being painted.
Required Tools and Materials
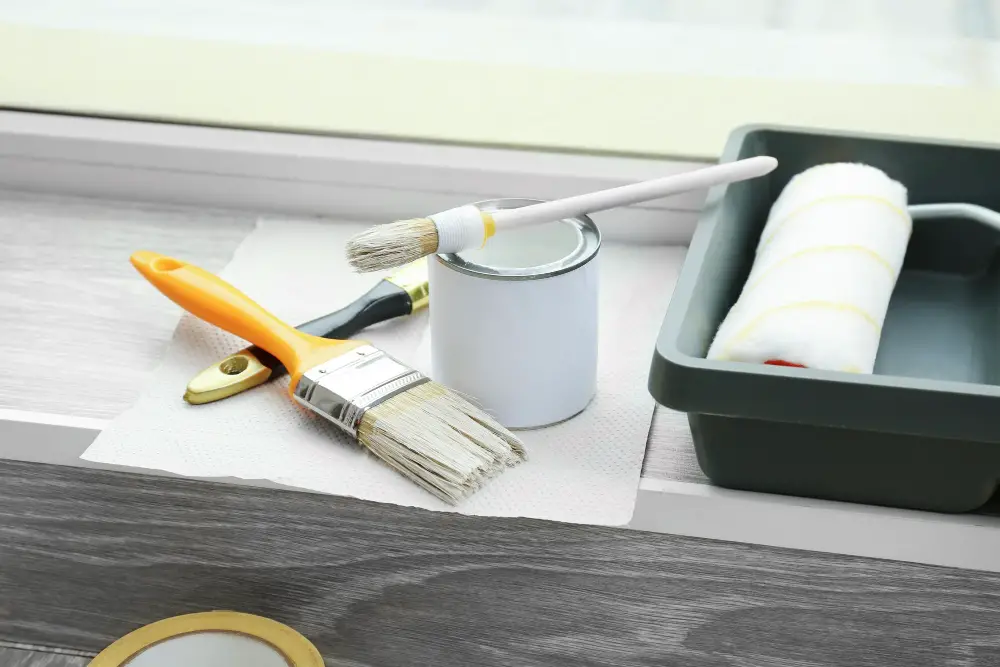
Here are some of the items you’ll need:
1. Paintbrushes or rollers: Choose a brush or roller that is appropriate for the size of your window frame.
2. Sandpaper: You’ll need sandpaper with different grits (80-120) to smooth out any rough spots on the surface.
3. Primer: A high-quality primer will help ensure that your paint adheres properly and lasts longer.
4. Paint: Select a paint specifically designed for metal surfaces, such as acrylic enamel or oil-based paints.
5. Painter’s tape: Use painter’s tape to protect areas around the frame that you don’t want painted, like glass panes and weatherstripping.
6. Drop cloths/newspapers/cardboard sheets/plastic sheeting – To cover floors/ground/furniture near windows.
7. Cleaner/Degreaser – To clean dirt/dust/oil/grease from frames before painting.
Preparation and Cleaning
This step is crucial for achieving a smooth and long-lasting finish. Begin by removing any dirt, dust, or debris from the frame using a soft-bristled brush or vacuum cleaner with an attachment suitable for cleaning windows.
Next, use warm soapy water and a sponge to clean the entire surface of each frame thoroughly. Be sure to remove any grease or grime that may have accumulated over time as this can affect how well paint adheres to the metal.
After washing off all soap residue with clean water and letting it dry completely (at least 24 hours), inspect each frame carefully for signs of rusting or corrosion damage. If there are areas where rust has formed on your aluminum window frames, use sandpaper (120-grit) until you reach bare metal before proceeding further.
Sanding and Priming

Sanding and priming are crucial steps that will ensure a smooth and long-lasting finish.
Firstly, use sandpaper or a sanding block to remove any loose paint or rust from the frame. This step is essential as it helps create an even surface for the primer and paint to adhere to.
Next, apply a coat of metal primer using a brush or spray can. The primer acts as an adhesive layer between the metal frame and topcoat of paint, ensuring better adhesion while also protecting against corrosion.
When selecting your primer product make sure that it is specifically designed for use on metal surfaces such as aluminum windows frames; this will help prevent peeling in future years due to poor adhesion caused by incompatible products being used together.
Allow sufficient time for drying before moving onto applying your chosen color coat(s).
Primer Application
The primer is essential because it helps the paint adhere better and provides an even surface for painting. Before applying the primer, make sure that you have cleaned off any dust or debris from sanding.
To apply the primer, use a brush or roller and work in long strokes along with the grain of your aluminum frame. Be careful not to leave any drips or bubbles as this can affect how well your final coat of paint adheres.
It’s important to choose a high-quality metal bonding primer that is specifically designed for use on aluminum surfaces. This will ensure maximum adhesion and durability over time.
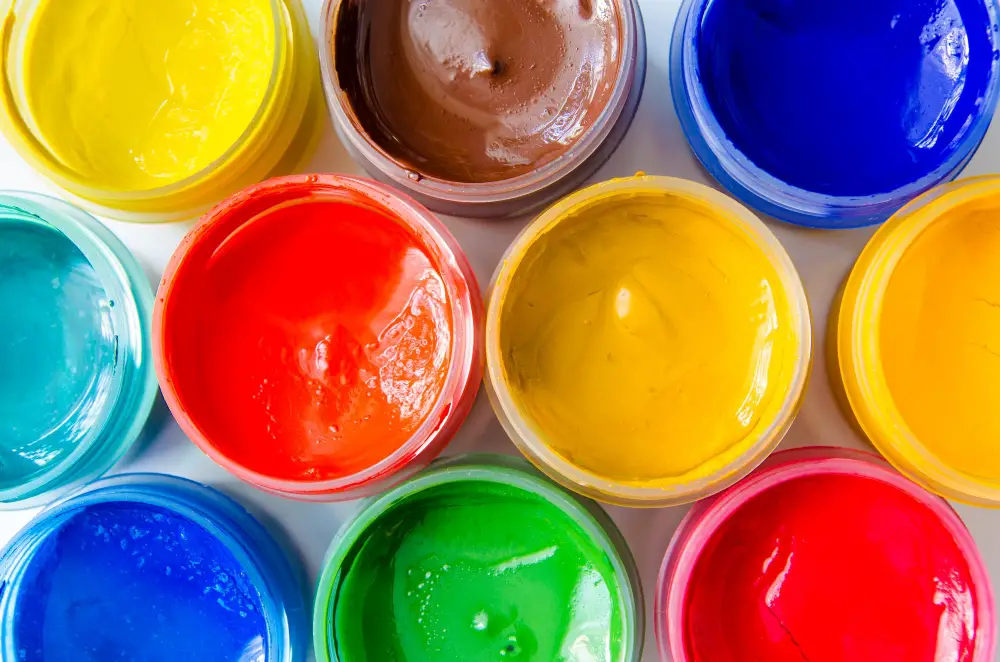
Selecting the Right Paint
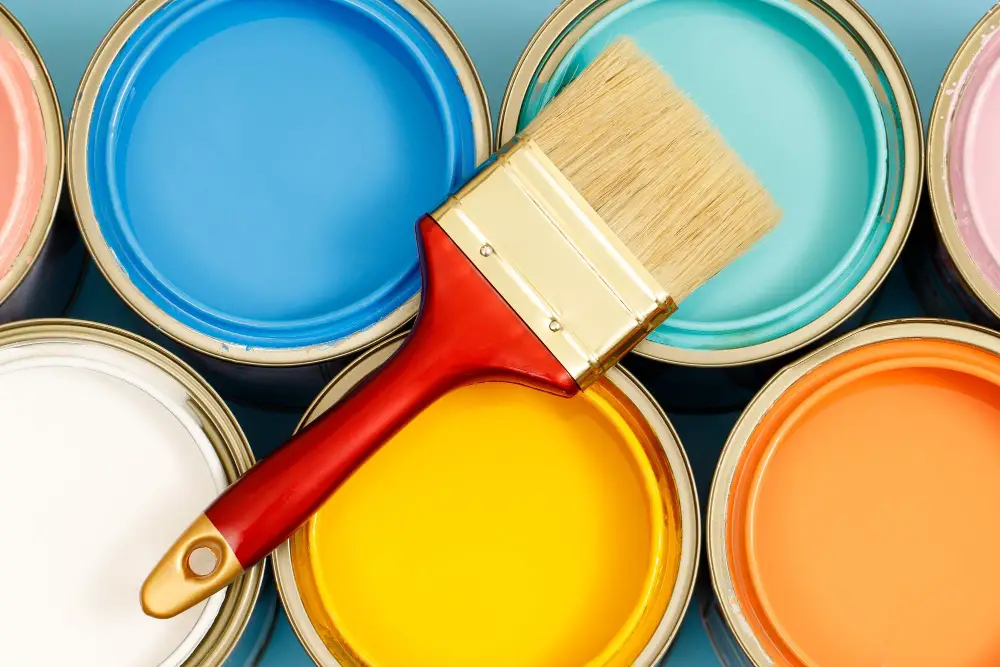
First and foremost, you want to choose a paint that is specifically designed for metal surfaces. This will ensure that the paint adheres properly and provides long-lasting protection against rust and corrosion.
Another important factor is color selection. While it may be tempting to go with bold or trendy colors, keep in mind that darker shades can absorb more heat from sunlight which could cause warping or damage over time.
It’s best to stick with lighter colors if possible.
Consider the finish of your chosen paint – matte finishes tend not show imperfections as much as glossier ones do but they also don’t reflect light well while glossy finishes provide better reflection but highlight any flaws on the surface of your frame.
Choosing the Right Paint
First and foremost, you want to make sure that you select a paint that is specifically designed for use on metal surfaces. This will ensure that the paint adheres properly and provides long-lasting protection against rust and corrosion.
Another important factor to consider is the finish of the paint. While glossy finishes may look great initially, they tend to show imperfections more easily than matte or satin finishes.
High-gloss paints can be more difficult to apply evenly without leaving brush marks or streaks.
Think about color selection carefully as well – while bright colors may seem like an exciting choice at first glance; keep in mind how they’ll look with your home’s exterior overall aesthetic over time.
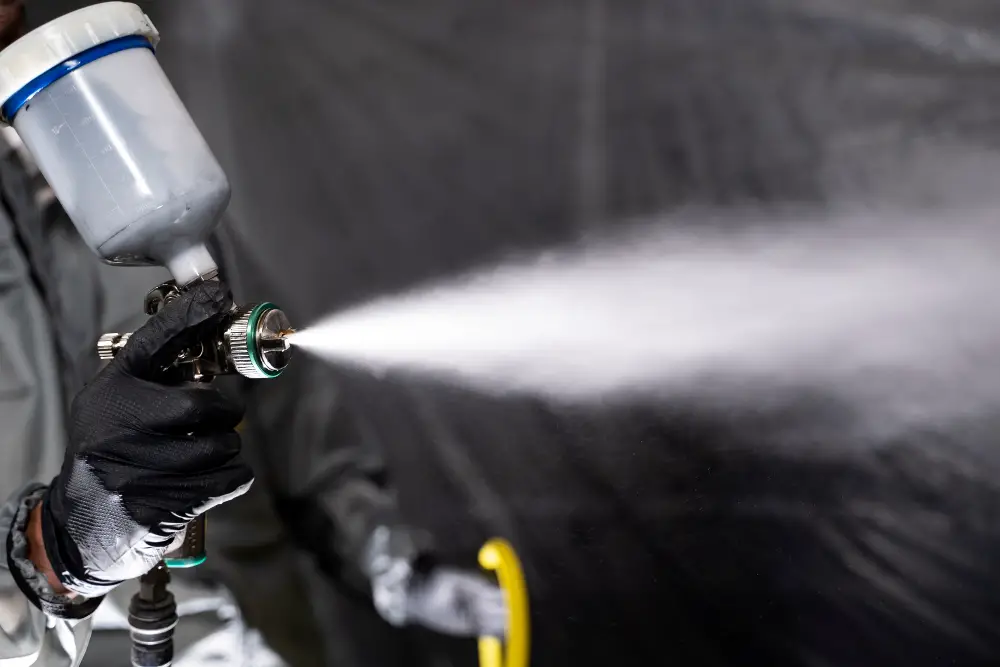
Spray Vs. Brush Vs. Roller

The most common methods are spray, brush, and roller. Each method has its own advantages and disadvantages.
Spray painting is the quickest method of applying paint to your window frames. It provides an even coat of paint that dries quickly without leaving any brush or roller marks behind.
However, it requires more preparation time as you need to mask off surrounding areas before spraying.
Brushing is the traditional way of applying paint by hand using a brush tool. This method allows for greater control over where the paint goes and can be useful when working in tight spaces or on smaller projects like touch-ups or repairs.
Roller application involves using a foam roller with short nap fibers that allow for smooth coverage while minimizing drips and splatters during application.
Ultimately, choosing which technique will work best depends on your personal preference as well as factors such as project size and complexity.
Painting Techniques
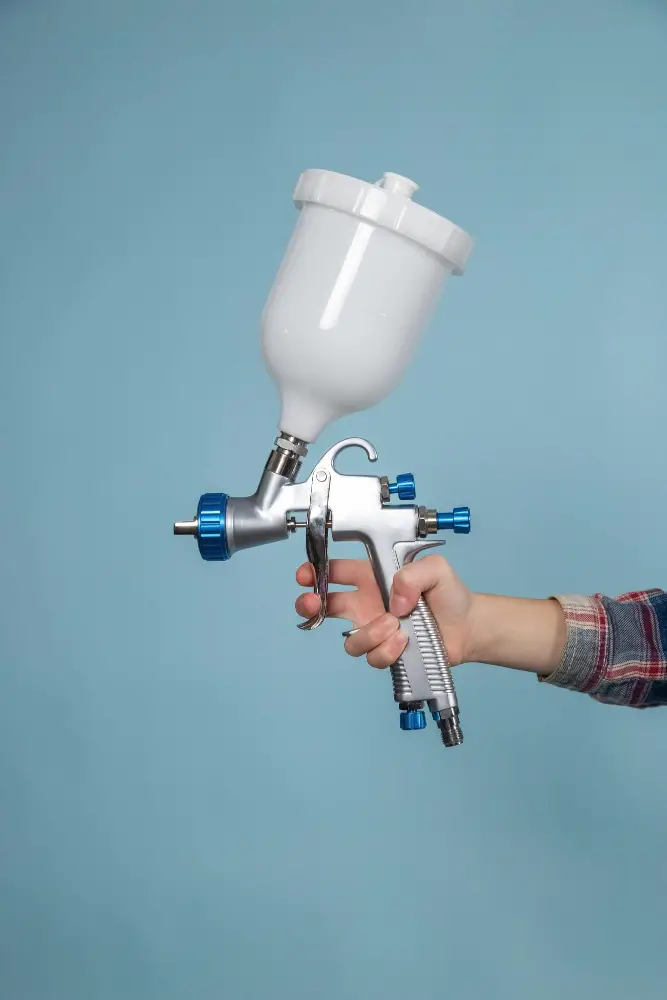
One of the most popular methods is using a spray gun, which allows for quick and efficient coverage. However, if you don’t have access to a spray gun or prefer not to use one, there are other options available.
Brushing is another technique that can be used for painting aluminum window frames. This method requires patience and attention to detail but can produce excellent results when done correctly.
To brush paint onto your frame effectively:
- Use high-quality brushes with synthetic bristles.
- Apply thin coats of paint in long strokes.
- Avoid overloading the brush with too much paint at once.
- Work from top-to-bottom or left-to-right depending on your preference.
Rollers may also be used as an alternative method for applying paint onto larger surfaces such as walls; however they’re not recommended when it comes down specifically on small areas like windowsills since they tend leave behind bubbles or streaks that will ruin the final look.
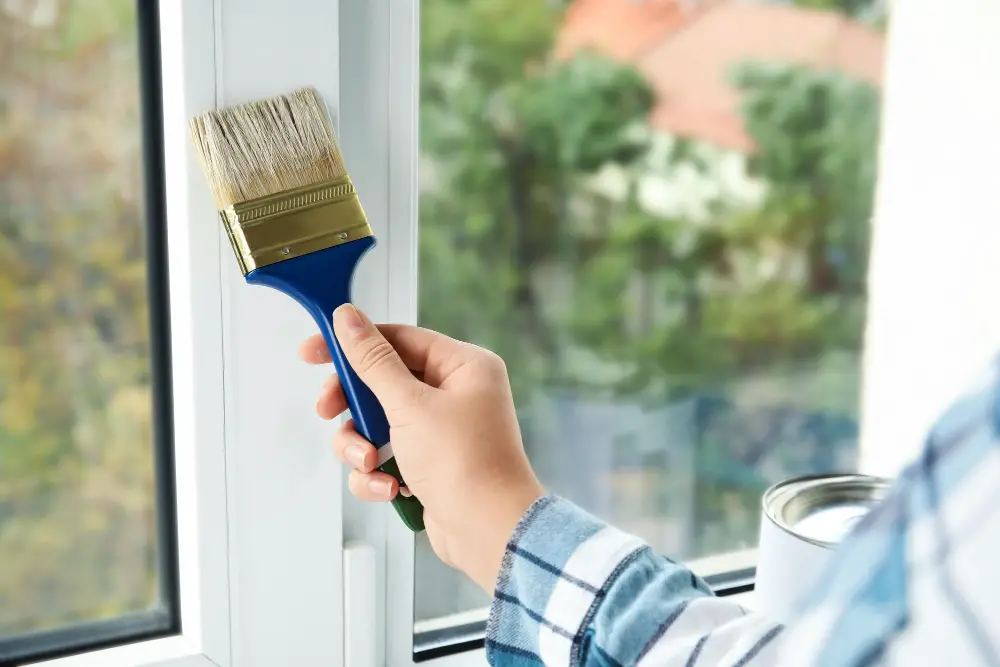
Applying the Paint
Before starting, make sure that the primer is completely dry and has cured for at least 24 hours. If you’re using a spray can or a brush, be sure to shake it well before use.
When applying paint with a brush or roller, start from one corner of the frame and work your way across in long strokes. Be careful not to overload your brush or roller with too much paint as this can cause drips and uneven coverage.
If you’re using spray cans for painting aluminum window frames, hold them about 6-8 inches away from the surface of the frame while spraying in even back-and-forth motions until an even coat is achieved. It’s important not to overspray as this will lead to drips and runs on your freshly painted surface.
Apply two coats of paint if necessary but ensure that each coat dries completely before applying another layer; otherwise, it may result in peeling later on down-the-line.
Drying Time and Curing
Drying time refers to the amount of time it takes for the paint on your frames to dry completely. Curing, on the other hand, is a longer process that involves allowing enough time for all of the solvents in your paint to evaporate fully.
The drying and curing times will depend on several factors such as humidity levels, temperature conditions and type of paint used. Generally speaking, most paints require at least 24 hours before they are touch-dry but may take up to two weeks or more before they are fully cured.
It’s essential not rush this process by applying additional coats too soon or touching painted surfaces prematurely as this can cause smudging or damage which will ruin all previous efforts made during painting.
Finishing Touches
This step is crucial in ensuring that your newly painted frames look their best and last for a long time. One important thing to keep in mind is that you should not reattach any hardware until the paint has fully cured.
This can take anywhere from 24-48 hours depending on the type of paint used and environmental conditions.
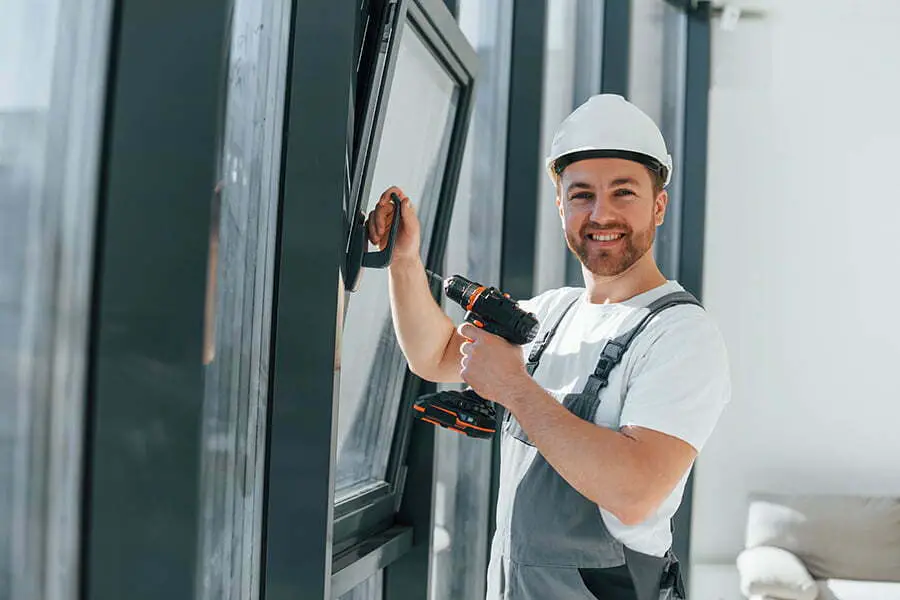
After allowing sufficient drying time, carefully reattach all hardware such as locks, handles or hinges using a screwdriver or drill if necessary. Make sure everything fits snugly into place before testing out each component.
Another way to enhance the appearance of your freshly painted aluminum window frames is by adding caulking around them where they meet with walls or other surfaces. Caulk helps seal gaps between surfaces and prevents moisture from seeping through which can cause damage over time.
Clean up any excess paint drips or spills with a damp cloth while they are still wet so that they don’t dry onto surrounding areas like glass panes or sills which could be difficult to remove later on.
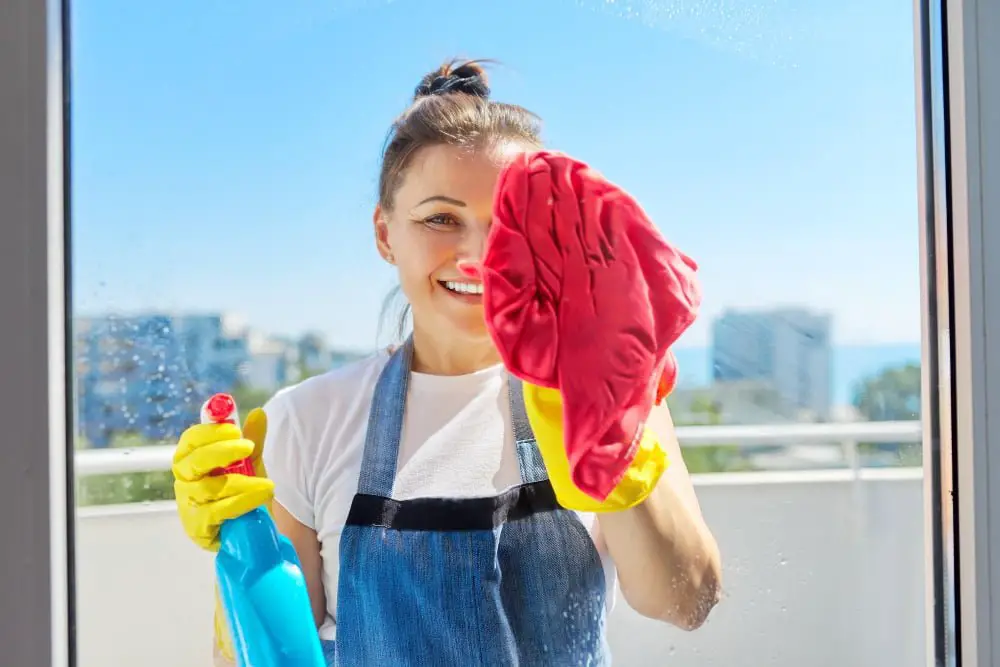
Maintaining and Cleaning Painted Frames
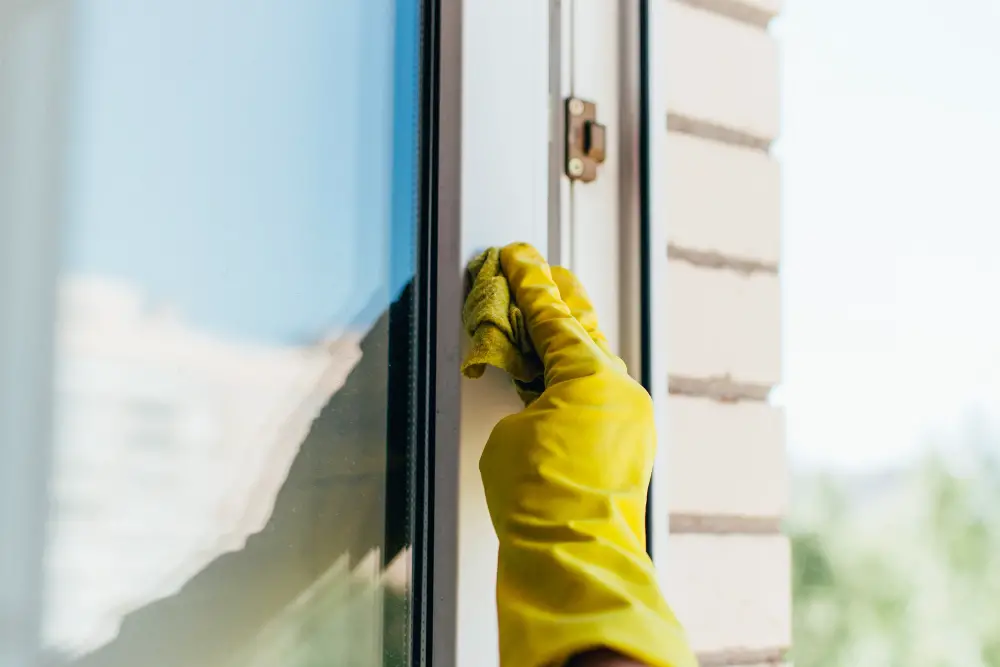
Regular cleaning is essential in preventing dirt and grime buildup that can damage the paint over time. To clean your painted frames, simply use a soft cloth or sponge with mild soap and water solution.
Avoid using abrasive cleaners or scrubbers as these can scratch the surface of the paint.
In addition to regular cleaning, it’s also important to inspect your painted frames periodically for any signs of wear or damage. If you notice any chips or scratches in the paint, touch them up immediately with a small brush and matching color paint.
Troubleshooting Common Issues
Here are some common issues you may encounter and how to troubleshoot them:
1. Paint Blisters: This occurs when air or moisture gets trapped under the paint film, causing bubbles to form on the surface.
To fix this issue, sand down the affected area until it’s smooth and then repaint.
2. Uneven Finish: If your painted frame has an uneven finish or looks streaky, it could be due to improper application techniques such as using too much paint in one area or not blending properly between strokes.
To avoid this problem in future projects make sure that you apply thin coats of paint evenly across all surfaces.
3. Peeling Paint: This is a common issue if proper cleaning was not done before painting; dirt and grime can prevent adhesion of new coatings leading to peeling off after drying up completely.To fix this problem scrape off any loose flakes with a scraper tool then sand down lightly before repainting.
Safety Precautions
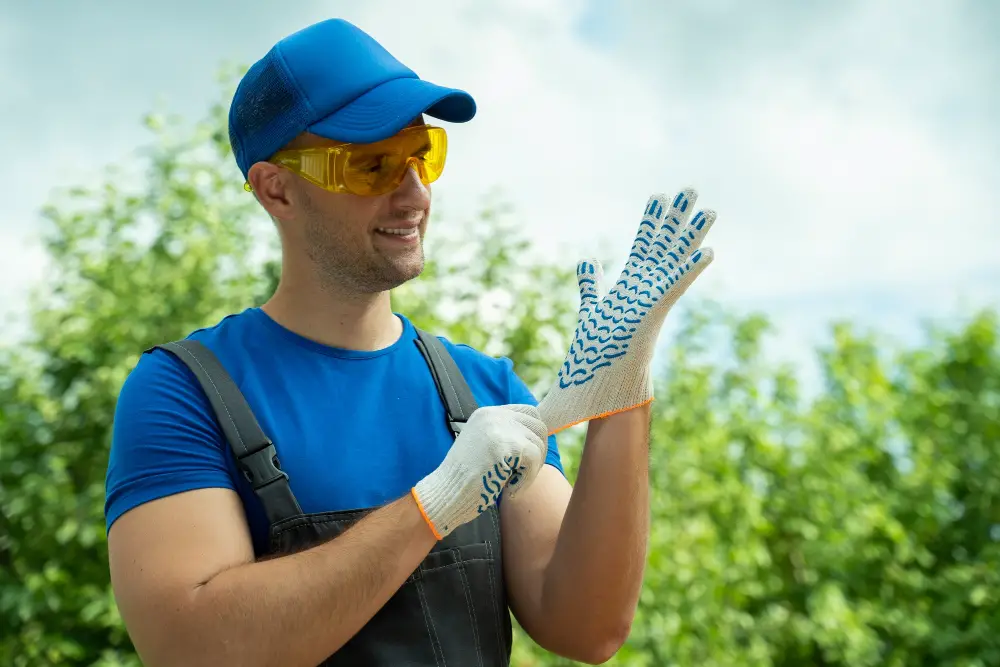
Before you begin the process, make sure you have all the necessary safety equipment on hand. This includes gloves, goggles or glasses to protect your eyes from paint splatters and fumes, and a respirator mask if working in an enclosed area.
It’s also important to work in a well-ventilated area with plenty of fresh air circulation. If possible, open windows or use fans to help circulate air throughout the room.
Be mindful of any electrical outlets near your workspace and avoid using power tools near them as this can create sparks that could ignite flammable materials like paint thinner or solvents.
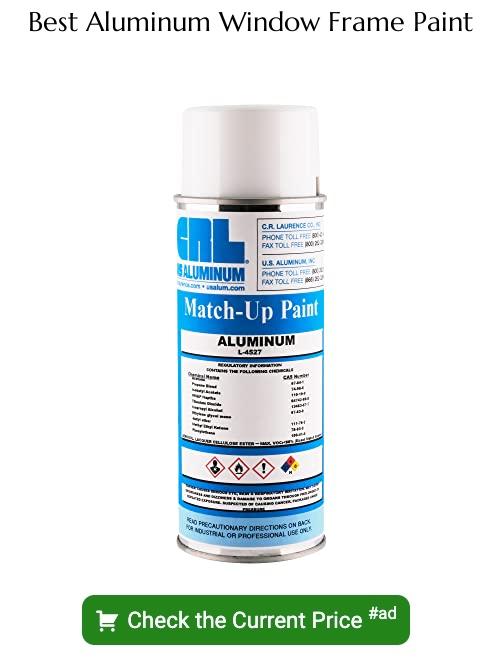
Recommended Products
Here are some recommended products that you should consider for your project:
1. Rust-Oleum Clean Metal Primer: This primer is specially formulated for use on metal surfaces and provides excellent adhesion and corrosion resistance.
2. Krylon Fusion All-In-One Spray Paint: This spray paint is designed specifically for use on plastics and metals, including aluminum window frames.
It dries quickly, resists chipping and fading, and comes in a variety of colors.
3. Benjamin Moore Aura Exterior Paint: If you prefer to use brush or roller application instead of spray paint, this exterior-grade paint from Benjamin Moore offers exceptional durability with its advanced color technology that resists fading even under harsh weather conditions.
4. 3M Sanding Sponges: These sanding sponges are perfect for smoothing out rough spots or imperfections before priming or painting your aluminum window frames.
Top Paint Brands
You want a product that will not only provide excellent coverage but also withstand harsh weather conditions and resist fading over time. Some of the top paint brands for aluminum window frames include Rust-Oleum, Krylon, Behr Premium Plus Ultra Exterior Paint & Primer in One, and Sherwin-Williams Duration Home Exterior Acrylic Latex Paint.
These brands offer a wide range of colors to choose from and are known for their durability and long-lasting finish.
Before selecting a specific brand or color, make sure you read reviews online or ask professionals in your local hardware store for recommendations based on your needs. Remember that investing in high-quality paint can save you money in the long run by reducing maintenance costs associated with frequent repainting due to peeling or chipping.
FAQ
Is it a good idea to paint aluminum window frames?
Yes, painting aluminum window frames is a good idea, as the finish will last for many years if the surface is properly prepared.
What paint to use on aluminium window frames?
Use a good quality aluminium primer followed by an aluminium paint in a glossy, satin, or matte finish, and apply a gloss aluminium topcoat if using gloss paint for protection against scratches and wear.
How do you prepare aluminum window frames for painting?
To prepare aluminum window frames for painting, apply a primer using a brush or a sprayer, with painter’s or masking tape on the glass for a clean edge.
Can old aluminum window frames be painted?
Yes, old aluminum window frames can be painted using a suitable paint and either a paint brush or spray paint for even coverage.
What is the step-by-step process for painting aluminum window frames?
Clean surfaces, sand, apply primer designed for metal, allow to dry, apply acrylic latex paint, and let dry.
What are the common mistakes to avoid when painting aluminum window frames?
Common mistakes to avoid when painting aluminum window frames include not cleaning and sanding the surface, using incorrect primer or paint, and neglecting weather conditions.
How can you ensure long-lasting and professional-looking results when painting aluminum window frames?
To ensure long-lasting and professional-looking results when painting aluminum window frames, properly clean, sand, and prime the surface before applying a high-quality, weather-resistant paint designed specifically for aluminum.
Read More
 Aluminum Window Latch Replacement: A Simple Guide to Security and Style
 Custom Aluminum Window Screens Buying Guide
 Aluminum Window Removal Tool: Easy Steps for a Hassle-Free Window Replacement
 Screw for Aluminum Window Frame: Your Ultimate Fixing Guide
 Replace Aluminum Window Glass: A Beginner’s Guide to a Clearer View
Recap