In this blog post, you’ll learn the step-by-step process of removing old window caulk to maintain your windows’ efficiency and aesthetic appeal.

Removing old window caulk might seem like a daunting task, but with the right tools and steps, it can be done efficiently. First, you’ll need a utility knife, a caulk remover tool, and a heat gun.
Start by cutting the old caulk with the utility knife, then use the caulk remover tool to pry it off. If the caulk is stubborn, use the heat gun to soften it.
However, remember to handle the heat gun with care to avoid damaging the window frame. This is just a brief overview, but rest assured, every step will be explained in detail in the following sections to ensure a smooth and successful caulk removal process.
“Understanding the Importance of Caulk Removal”
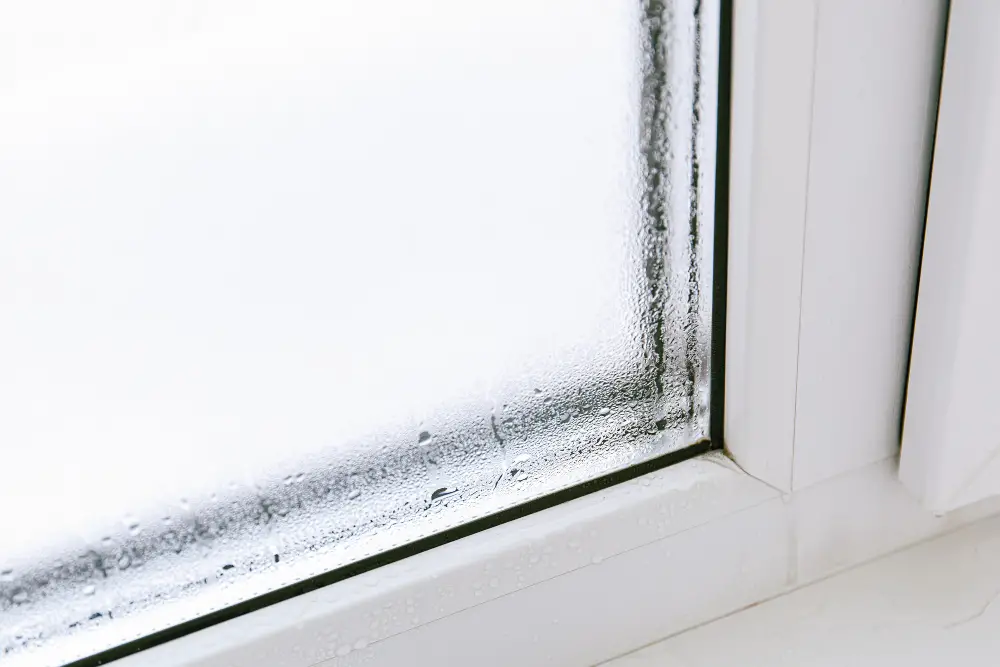
Before diving into the practical steps of removing old window caulk, it’s crucial to understand why this process is so important. Over time, caulk can deteriorate due to exposure to sunlight, temperature changes, and general wear and tear.
When caulking becomes cracked or damaged, it loses its ability to seal gaps effectively.
Properly sealed windows are essential for maintaining energy efficiency in your home. Gaps in the caulk allow air drafts to enter and escape from your living space.
This means that during hot summers or cold winters, you may be losing valuable heating or cooling energy through these gaps.
Old and deteriorated caulk can lead to water leaks around your windows when it rains or snows heavily. Moisture infiltration not only damages the surrounding areas but also creates a breeding ground for mold growth.
By removing old window caulk regularly and replacing it with fresh caulking material as needed, you ensure that your windows remain properly sealed against drafts while preventing potential water damage issues down the line.
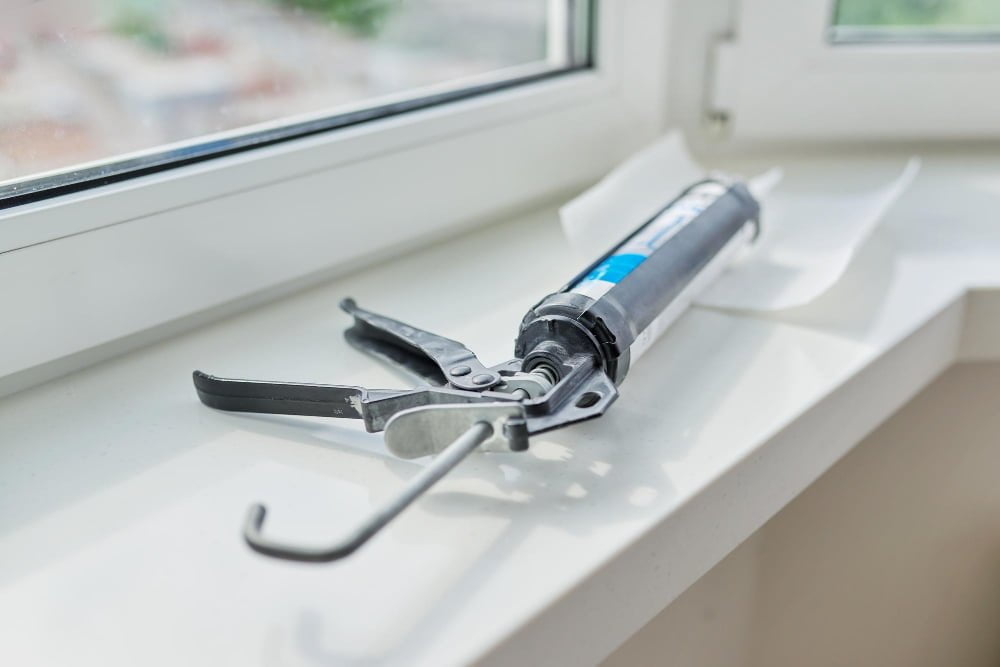
“Materials and Tools Needed”
Gathering these beforehand will ensure a smooth and efficient process. Here’s what you’ll need:
1. Utility Knife: This handy tool will be your primary weapon against the old caulk.
It allows for precise cutting and helps in loosening the grip of the caulk.
2. Caulk Remover Tool: A specialized tool designed to scrape away stubborn or hardened caulking from various surfaces without causing damage.
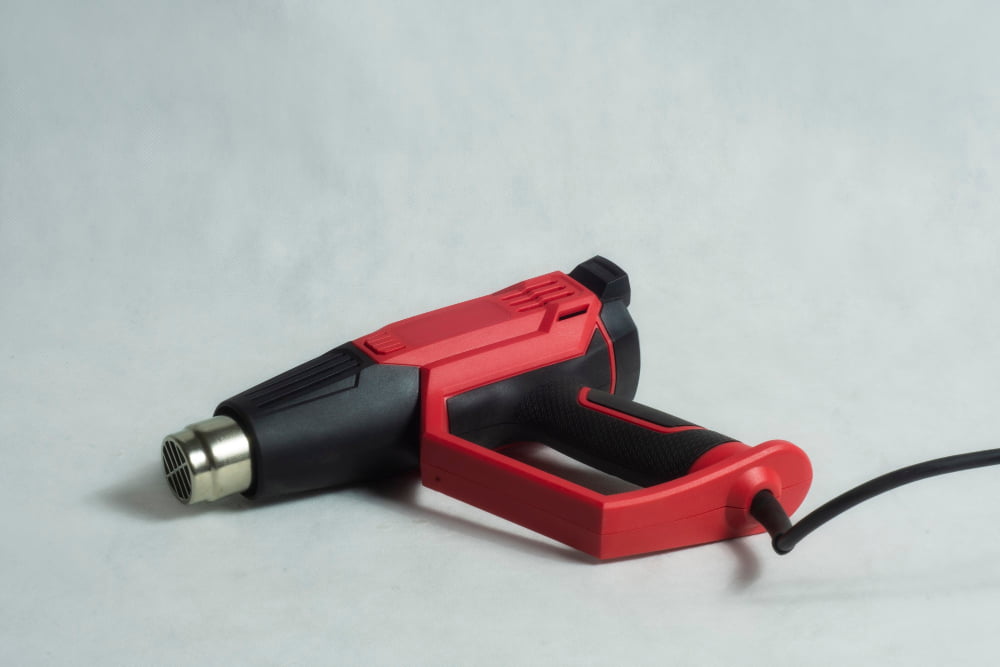
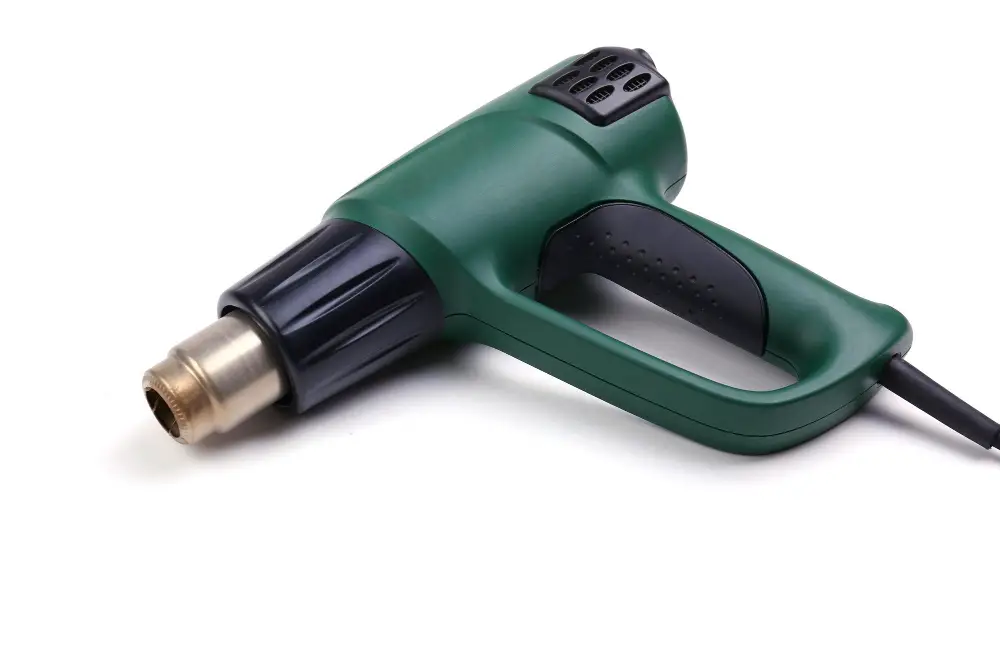
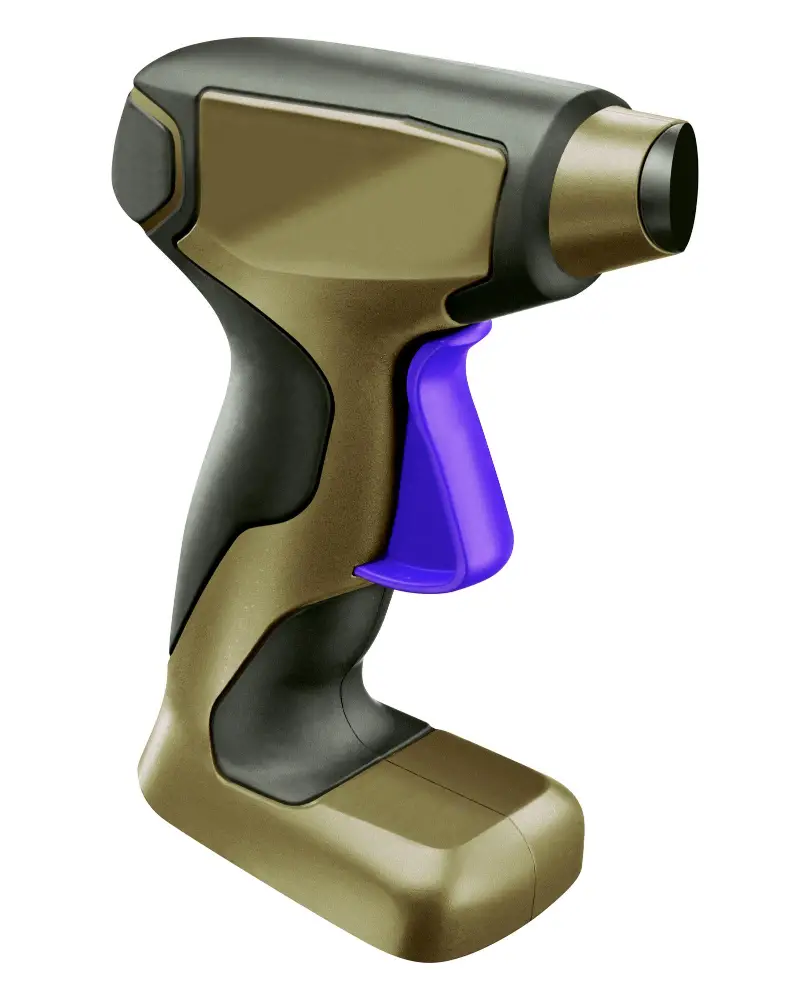
3. Heat Gun: Sometimes, especially with older or more stubborn caulks, applying heat can soften them up for easier removal.
However, exercise caution when using a heat gun to avoid any harm to yourself or the window frame.
“Gather Necessary Tools”

Having the right tools on hand will make the process much smoother and more efficient. Here are a few key items you’ll need:
1. Utility Knife: This versatile tool is crucial for cutting through and scoring the old caulk, allowing for easier removal.
2. Caulk Removal Tool: Specifically designed to scrape away old caulk without damaging your window frame or surrounding surfaces.
3. Heat Gun: Useful for softening stubborn or hardened caulk, making it easier to remove.
“Safety Precautions Before Starting”

Taking a few precautions will ensure that you can complete the task without any mishaps. First and foremost, make sure to wear protective gloves and safety goggles to shield your hands and eyes from potential injuries.
Consider wearing long sleeves and pants to protect your skin from accidental cuts or scrapes.
Another important safety measure is ensuring proper ventilation in the area where you’ll be working. Open windows or use fans if necessary to prevent inhaling fumes from chemicals or dust particles during the caulk removal process.
Furthermore, exercise caution when using sharp tools like utility knives or caulk remover tools. Always cut away from yourself while handling these instruments and keep them out of reach of children.
Lastly, if you’re planning on using a heat gun for stubborn caulking removal, be mindful not only of its high temperature but also its proximity to flammable materials such as curtains or wooden surfaces nearby. Maintain a safe distance between the heat gun nozzle and any potentially combustible objects.
“Identify Type of Existing Caulk”

This step is crucial because different types of caulks require different removal methods.
To determine the type of caulk, take a close look at its appearance and texture. Silicone-based caulks are usually clear or translucent and have a rubbery feel.
Acrylic latex caulks, on the other hand, are typically white or paintable and have a more flexible texture.
Identifying the type of existing caulk will help you choose appropriate tools and techniques for removal. For example, silicone-based caulks can be more stubborn to remove compared to acrylic latex ones.
“Step-by-Step Instructions to Remove Window Caulk”
Follow these simple guidelines to ensure a smooth and successful caulk removal process.
1. Start by cutting through the old caulk: Take your utility knife and carefully cut along both edges of the caulk line.
Apply gentle pressure as you glide along, making sure not to damage or scratch your window frame.
2. Use a caulking remover tool: Once you’ve made initial cuts, switch to a specialized caulking remover tool.
Insert it under one end of the cut caulk line and gently pry it up while applying even pressure along its length.
3. Soften stubborn caulks with heat (if needed): If there are areas where stubborn or hardened caulk remains, use caution when employing heat as an aid in softening it for easier removal.
Hold a heat gun several inches away from these spots until they become pliable enough for further manipulation.
- Scrub off remaining residue: After removing most of the old caulking material using either method above, some residue may still cling onto surfaces around your windowsill or frame edges.
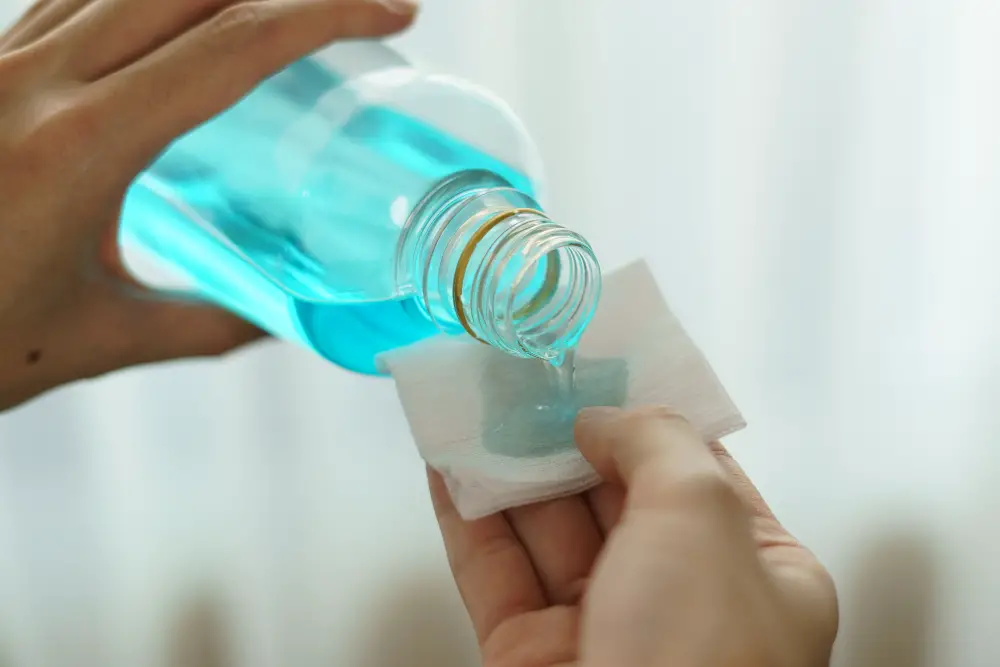
- – For silicone-based residues: Use denatured alcohol on a clean cloth or sponge to scrub away any leftover silicone traces.
- – For acrylic-based residues: Soak another cloth in warm soapy water (mild dish soap works well) before gently rubbing over affected areas until all remnants disappear completely.
- Clean up thoroughly after removal is complete:
- – Wipe down surfaces with damp cloths soaked in warm water only; avoid using harsh chemicals that could potentially damage surrounding materials like paintwork nearby!
- By following these step-by-step instructions diligently, you’ll be able to remove old window caulk effectively without causing any harm or leaving behind unsightly marks on your windowsill or frames
“How to Cut Caulk With a Utility Knife”

This step is crucial in preparing the caulk for removal and ensuring a clean finish.
To begin, hold the utility knife at an angle against one side of the caulk line. Apply gentle pressure as you carefully score along its length.
Be cautious not to press too hard or slip, as this could damage your window frame.
Continue scoring along both sides of the caulk line until you have created two parallel cuts that run from end to end. The goal is to create separation between the old caulking and your window frame.
Remember, precision is key here – take your time and make sure each cut goes all the way through without damaging any surrounding surfaces.
By cutting through with a utility knife first, you’ll make subsequent steps much easier by loosening up stubborn caulking material before moving on with specialized tools like a caulk remover tool or heat gun (which we will cover later).
“Using a Caulk Removal Tool”
This handy tool is specifically designed to help pry off stubborn caulk without damaging the window frame or surrounding surfaces.
To use the caulk removal tool effectively, position it at an angle against the remaining caulking and gently push or pull along its length. Apply steady pressure while being careful not to exert too much force that could cause damage.
The sharp edge of the removal tool will help loosen and lift up sections of old caulking, making it easier for you to remove them completely. Work your way around all sides of the window until all traces of old caulking are gone.
Remember, using a proper caulk removal tool can save you time and effort compared to other makeshift methods like scraping with a putty knife or using abrasive materials that may harm your windows’ surfaces.
“Tips for Softening Hardened Caulk”
Don’t worry; there are a few tips and tricks to soften it for easier removal.
One effective method is using heat to soften the hardened caulk. You can do this by carefully applying a heat gun or hairdryer set on low heat directly onto the affected area.
Move the tool back and forth in a sweeping motion, keeping it at least six inches away from the window frame.
Be cautious not to overheat or damage surrounding materials while softening the caulk. It’s essential to maintain control over both temperature and distance during this process.
Another option is using a commercial caulking softener solution available in hardware stores. Follow its instructions carefully, as different products may have varying application methods and waiting times before attempting removal.
Remember that safety should always be your top priority when working with any heating tools or chemical solutions. Wear protective gloves, goggles, and work in well-ventilated areas if necessary.
“Applying Heat for Stubborn Caulk”
This is where applying heat can come in handy. By softening the hardened caulk, it becomes easier to remove.
To apply heat, use a heat gun on its lowest setting and hold it about 2-3 inches away from the remaining caulk. Move the heat gun back and forth along the length of the caulking line for about 30 seconds or until you notice that the caulk has become more pliable.
Be cautious when using a heat gun as excessive or prolonged exposure can damage not only your window frame but also surrounding materials such as paint or wallpaper. Always keep moving while applying heat to avoid overheating any one spot.
Once you’ve softened up the stubborn caulking with gentle application of warmth, proceed with removing it by gently prying it off using your utility knife or a specialized tool designed for this purpose.
“Methods for Scrubbing Remaining Caulk”
To ensure a clean and smooth finish, it’s important to employ effective methods for scrubbing away any remaining caulk.
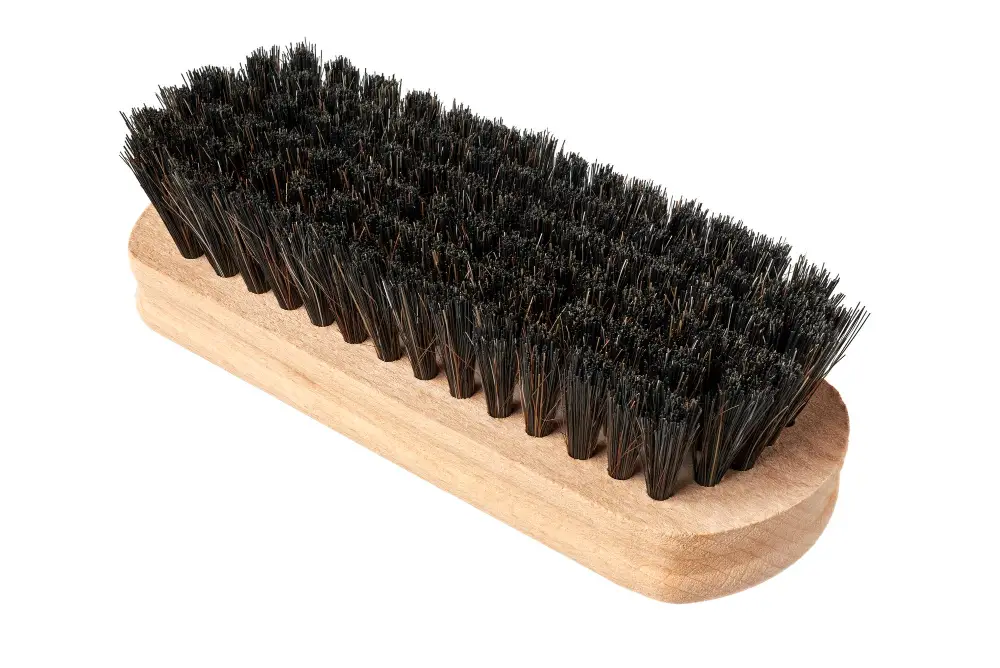
One method is to use a stiff-bristled brush or an abrasive pad. Gently scrub along the edges where traces of caulk remain, applying moderate pressure.
This will help loosen and remove any leftover residue.
Another option is to utilize a solvent or adhesive remover specifically designed for removing caulking materials. Apply a small amount onto a cloth or sponge and carefully rub it over the remaining caulk until it starts breaking down.
Be sure to follow manufacturer instructions when using these products and take necessary safety precautions.
For particularly stubborn areas, you can also try using white vinegar as a natural alternative cleaner. Soak some paper towels in vinegar and place them directly on top of the remaining caulk for several hours or overnight before gently scrubbing with your chosen tool.
Remember that patience is key during this process – rushing could lead to damage on your window frames or glass surfaces if not done carefully.
“Cleaning the Window After Caulk Removal”
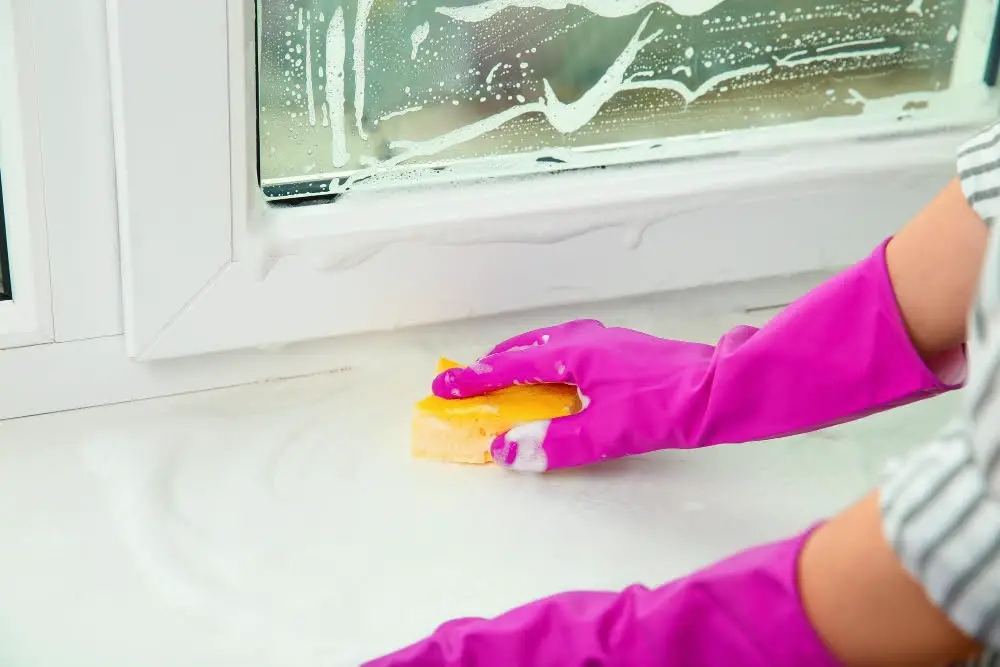
Cleaning ensures that the surface is free from any debris or residue that could affect the adhesion of the new caulk.
Start by using a damp cloth or sponge to wipe away any loose particles and dust. Pay close attention to corners and edges where remnants of old caulk may still be present.
For stubborn residue, you can use a mild detergent mixed with water for added cleaning power.
After wiping down the window, rinse it with clean water and dry it completely using a lint-free cloth or paper towels. This step is crucial as moisture left on the surface can interfere with proper caulking.
By taking these extra steps to clean your windows after removing old caulk, you’ll ensure optimal conditions for applying fresh caulking material.
“Disposing Used Caulk Responsibly”

Improper disposal can harm the environment and pose a risk to human health. So, what should you do with the used caulk?
One option is to check if your local waste management facility accepts construction materials like caulking tubes or cartridges. Many recycling centers have specific guidelines for disposing of these items safely.
If your local facility does not accept them, contact your municipality or environmental agency for guidance on proper disposal methods in your area. They may provide alternative options such as designated drop-off locations or special collection events.
Remember that some types of caulk contain hazardous chemicals and should never be poured down drains or thrown into regular trash bins. It’s crucial to follow proper procedures when getting rid of used caulk to protect both yourself and the environment.
“Preparation for New Caulk Application”
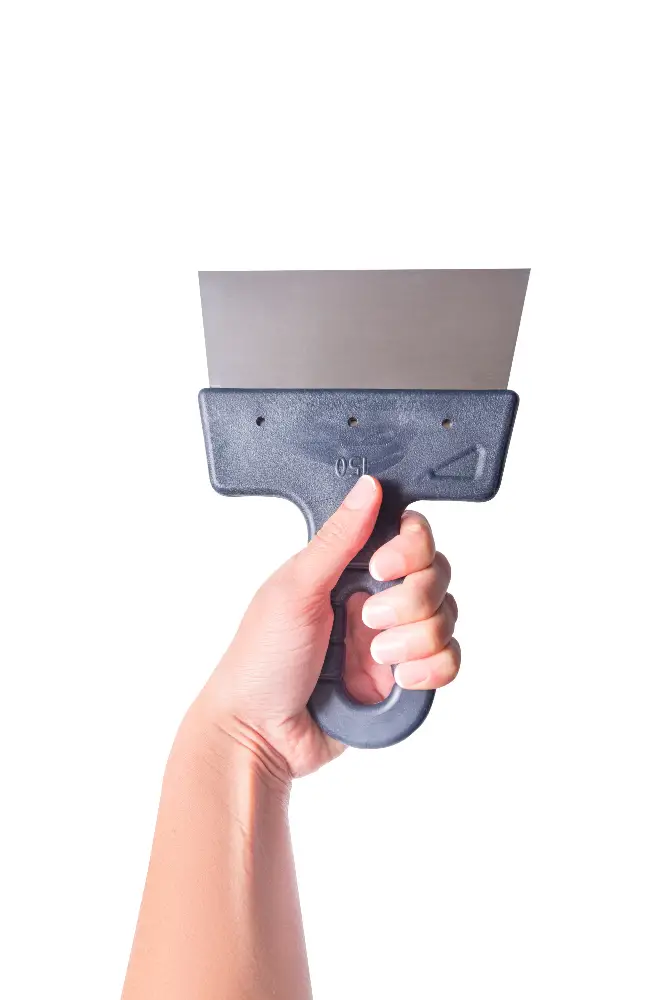
This step ensures that the new caulk adheres well and provides a tight seal. To begin, use a putty knife or scraper to remove any remaining traces of old caulk from the window frame and surrounding areas.
Be thorough in this process as any leftover residue can affect the quality of your new caulking job.
Next, clean the window thoroughly using a mild detergent or glass cleaner. Remove any dirt, dust, or debris that may have accumulated on the surface over time.
A clean window will allow for better adhesion and ensure a smooth application of fresh caulk.
Once cleaned, make sure that both surfaces are completely dry before proceeding with caulking. Moisture can interfere with proper adhesion and compromise its effectiveness in sealing gaps around your windows.
Lastly, inspect for any cracks or damage on both sides of your windowsill or frame before applying new caulk. If you notice any issues during this inspection process such as rotting wood or structural damage, it’s important to address those concerns first before proceeding with caulking.
“Choosing the Right Caulk for Windows”
Selecting the appropriate caulk is crucial as it ensures a long-lasting and effective seal. When choosing caulking for windows, consider factors such as durability, flexibility, and weather resistance.
Opt for a high-quality silicone or latex-based caulk that is specifically designed for window applications. These types of caulks offer excellent adhesion to various surfaces and are resistant to cracking or shrinking over time.
Check if the chosen caulk has good UV resistance properties. Windows are exposed to sunlight throughout the day, so using a UV-resistant caulk will prevent premature deterioration due to sun exposure.
Consider selecting a flexible caulking material that can accommodate any slight movement in your window frames without compromising its sealing ability. This flexibility helps maintain an effective barrier against drafts and moisture infiltration.
Lastly, pay attention to color options available with different caulks. Choose one that matches or complements your window frame color for an aesthetically pleasing finish.
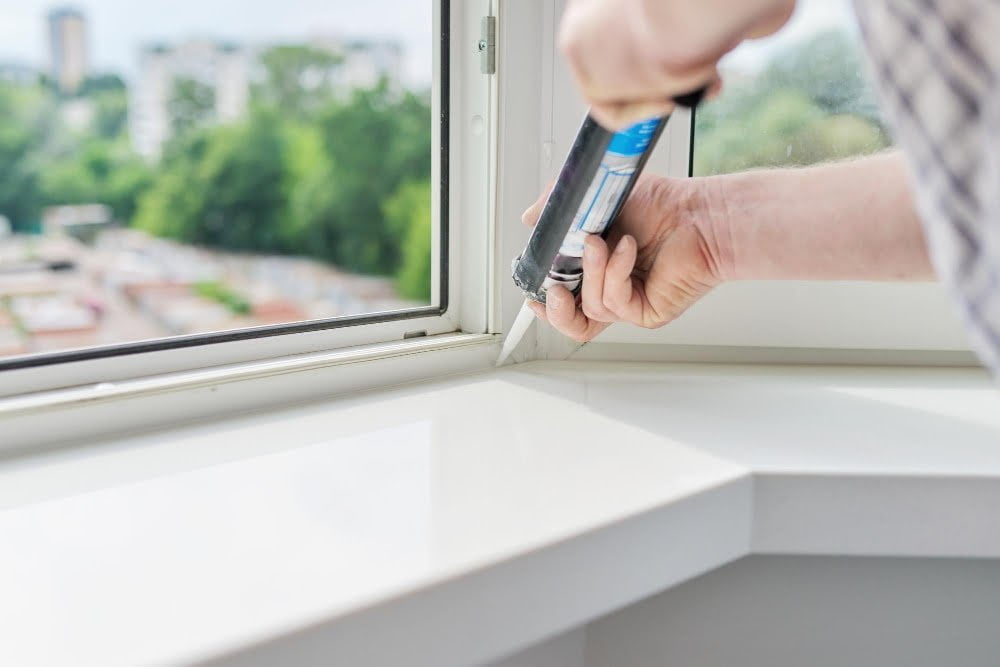
“Apply New Caulk”

Applying new caulk is a crucial step in maintaining the efficiency of your windows and preventing any potential leaks or drafts.
Before starting, make sure you have chosen the right type of caulk for your specific window needs. There are various options available, such as silicone-based or acrylic-latex caulks.
Consider factors like weather resistance and flexibility when making your selection.
To begin applying the new caulk, load a tube into a caulking gun and cut off its tip at an angle to create an opening that matches the width of the gap you need to fill. Hold the gun at about 45 degrees with one hand while using steady pressure on its trigger with another hand.
Start by applying an even bead of caulk along one edge of where two surfaces meet (such as where glass meets frame). Move steadily along this edge while maintaining consistent pressure on the trigger to ensure uniform application.
“Smooth Out Application”
This is a crucial part of the process as it ensures a tight seal and prevents any air or water leaks. To achieve a professional-looking finish, it’s important to smooth out the application.
After loading your caulking gun with fresh caulk, start by holding it at a 45-degree angle and apply an even bead along the gap between your window frame and wall. Take care not to apply too much pressure on the trigger as this can result in excess caulk being dispensed.
To smooth out the applied caulk, use either your finger or a caulking tool specifically designed for this purpose. If using your finger, make sure you wear disposable gloves for easy cleanup afterward.
Gently run your finger along the freshly applied bead of caulk while maintaining consistent pressure.
If you prefer using a caulking tool instead of your finger, choose one with rounded edges that won’t damage or scratch surfaces.
“Common Mistakes to Avoid”

These missteps can lead to unnecessary damage or ineffective results. One mistake is using excessive force when cutting or prying off the caulk, which can cause harm to the window frame or surrounding areas.
Another error is not properly identifying the type of existing caulk before removal, as different types require different techniques for successful removal.
Rushing through the process without taking proper safety precautions can result in accidents and injuries. It’s crucial to wear protective gloves and eyewear while working with sharp tools and heat guns.
Another mistake is neglecting thorough cleaning after removing old caulk. Failing to remove all traces of residue may affect adhesion when applying new caulking later on.
Lastly, overlooking regular maintenance after re-caulking your windows could lead to future issues such as water leaks or decreased energy efficiency.
“Benefits of Regular Caulk Maintenance”
By keeping up with caulk maintenance, you ensure that your windows remain in optimal condition and continue to provide the desired level of insulation and protection.
One significant benefit of regular caulk maintenance is improved energy efficiency. Over time, old or deteriorating caulking can develop gaps or cracks, allowing air drafts to seep into your home.
This can lead to increased energy consumption as you try to compensate for the loss of heat or cool air. By regularly inspecting and replacing worn-out caulking, you create a tight seal around your windows, preventing unwanted airflow and reducing energy waste.
Another advantage is enhanced moisture control. Faulty window caulking can allow water infiltration during rainstorms or snowmelt events.
Moisture intrusion not only damages the surrounding window frame but also poses a risk of mold growth inside your home’s walls—a potential health hazard for occupants.
Furthermore, maintaining proper caulk integrity contributes to noise reduction within your living space by minimizing sound transmission through gaps around the window frames.
Lastly, regular caulk maintenance helps preserve the overall appearance of both interior and exterior surfaces surrounding windows by preventing peeling paint due to water damage caused by faulty seals.
“Caring for Your Windows After Caulking”

Caring for your windows after caulking is a crucial step in maintaining their performance.
One key aspect of post-caulking care is regular cleaning. Keep your windows clean by using a mild detergent or glass cleaner and a soft cloth or sponge.
Avoid abrasive materials that could scratch the glass or damage the newly applied caulk.
Inspecting your windows periodically is also essential. Check for any signs of wear, cracks, or gaps in the caulking around the window frame.
If you notice any issues, address them promptly to prevent further damage and maintain energy efficiency.
In addition to cleaning and inspecting, consider implementing preventive measures such as installing weatherstripping around movable parts like sashes or casements. This will help improve insulation while reducing drafts.
Furthermore, be mindful of how you operate your windows after caulking them. Avoid slamming them shut forcefully as this can put unnecessary strain on both the window frame and newly applied caulk.
By following these simple yet effective steps for caring for your freshly-caulked windows, you can extend their lifespan while enjoying improved energy efficiency within your home.
FAQ
Do I need to remove old window caulk before caulking?
Yes, it’s necessary to remove old window caulk before applying new caulk to properly seal the area and prevent potential decay caused by moisture.
What are some tricks for removing old caulk?
Removing old caulk can be achieved by utilizing a utility knife or putty knife to slice and peel it away, employing needle-nosed pliers for multiple layers, or using specialized caulk removal tools designed specifically for clean tearing away of caulk.
What tools are essential for effectively removing old window caulk?
Essential tools for effectively removing old window caulk include a utility knife to cut through the old caulk neatly, a caulk removal tool to scrape it out without scratching the window frame, pliers for pulling out stubborn caulk remnants and a sponge with soapy water for cleaning the area afterward. It’s equally crucial to have a vacuum cleaner at hand to clear away the residue, ensuring a clean surface for new caulk.
How can one ensure successful removal of old caulk without damaging the window frame?
To successfully remove old caulk without harming the window frame, use a utility knife to cut along the edge of the caulk. Ensure your knife is sharp for precise cuts. Then, apply a commercial caulk remover to soften the old caulk. These are typically gel-like substances that need to be left for a few hours or overnight to break down the hardened caulk. After allowing the remover time to work, use a putty knife or removal tool to gradually pry the old caulk away. Finally, wipe the area clean with rubbing alcohol. Do this process carefully, ensuring you don’t scrape or damage the window frame in any way. Always wear safety goggles and gloves for protection.
Can a homeowner replace window caulk themselves, or do they need professional assistance?
A homeowner can definitely replace window caulk themselves. It’s a simple process involving a few steps: removing old caulk, cleaning and preparing the window area, and applying new caulk. Prior experience is advantageous but not mandatory; there are numerous guides and tutorials available online to assist in the process. However, if the window condition is complex or if the homeowner is not confident, it’s recommended to hire a professional to ensure that the job is done correctly.
Read More
 Aluminum Window Latch Replacement: A Simple Guide to Security and Style
 Custom Aluminum Window Screens Buying Guide
 Aluminum Window Removal Tool: Easy Steps for a Hassle-Free Window Replacement
 Screw for Aluminum Window Frame: Your Ultimate Fixing Guide
 Replace Aluminum Window Glass: A Beginner’s Guide to a Clearer View
Recap