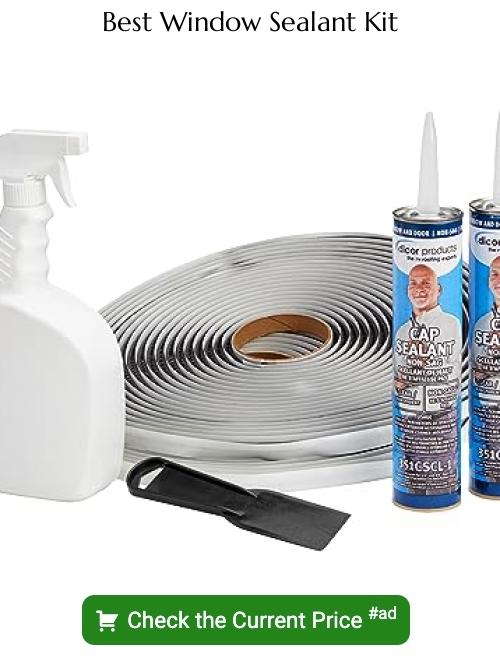
Discover the simple steps to effectively fix a leaky window, ensuring a dry and comfortable living space for you and your family.
Do you have a window that’s been leaking and causing you endless frustration? Whether it’s a small drip or a steady stream of water, dealing with a leaky window can be stressful. Not only can it damage your walls and floors, but it can also lead to mold growth and other serious issues.
But don’t worry! In this blog post, we’ll provide you with easy-to-follow steps on how to fix a leaky window. With our expert advice, you’ll be able to stop that pesky drip in no time! So grab your tools and let’s get started!
Identify the Leak Source
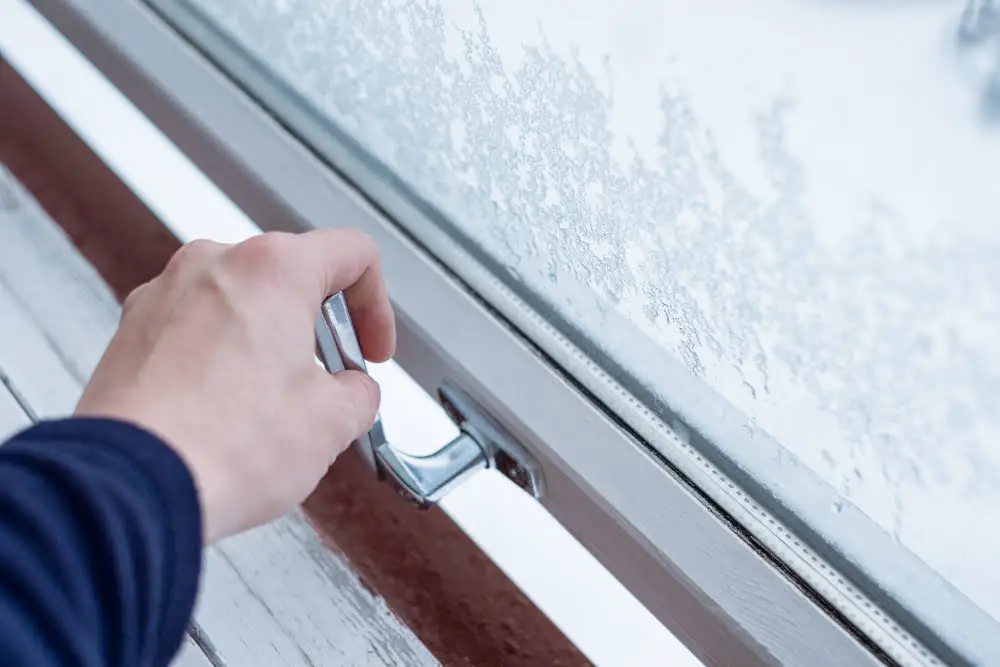
The first step in fixing a leaky window is to identify the source of the problem. This can be tricky, as leaks can come from various places, including the glass panes, frames, and seals.
To determine where your leak is coming from, start by examining the area around your window for any signs of water damage or moisture buildup. Look for discoloration on walls or ceilings near windows and check if there are any visible cracks or gaps around your window frame.
If you’re still unsure about where exactly the leak is coming from after inspecting these areas closely, try using a hose to simulate rainwater hitting against your windows while someone else checks inside for leaks. By doing this test methodically section by section starting at one corner of each pane moving across it slowly with enough time between sections to allow water ingress into that area before moving onto another part until all parts have been tested thoroughly.
Signs of Improper Window Installation
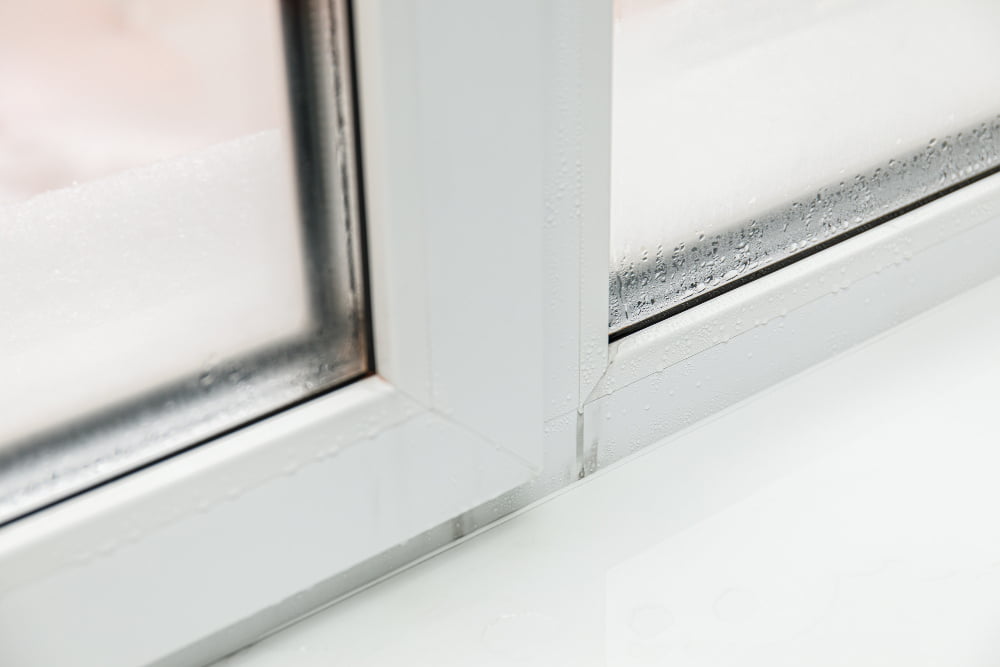
If your windows were not installed correctly, they may be allowing water to seep in through gaps and cracks. Signs that your windows were improperly installed include visible gaps between the frame and wall, uneven or crooked frames, and difficulty opening or closing the window.
If you notice any of these signs, it’s important to address them as soon as possible before further damage occurs. In some cases, a simple adjustment may fix the issue; however, if there are significant problems with your window installation it may need to be completely redone by a professional.
It’s always best to have an experienced contractor install new windows for you rather than attempting DIY installations unless you have experience in this area yourself.
Check Window Seals
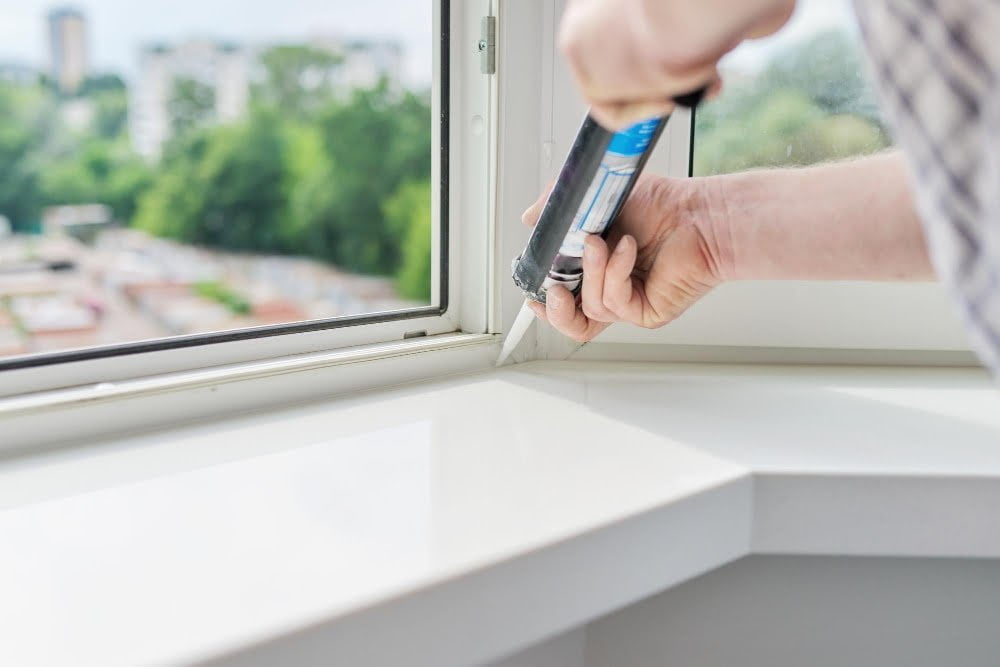
Window seals are designed to keep water and air from entering your home through gaps around the window frame. Over time, these seals can become damaged or worn out, allowing water to seep in.
To check for damaged or missing window seals, start by inspecting each seal carefully. Look for any cracks or gaps that could be letting moisture in.
If you notice any damage, remove the old seal and replace it with a new one.
If you’re not sure whether your windows have proper sealing installed at all – don’t worry! You can easily test this by holding a lit candle near each corner of your windows on a windy day (with all other doors/windows closed). If you see flickering flames indicating drafts coming through – then there is an issue with sealing that needs fixing as soon as possible!
Inspect Glass Panes
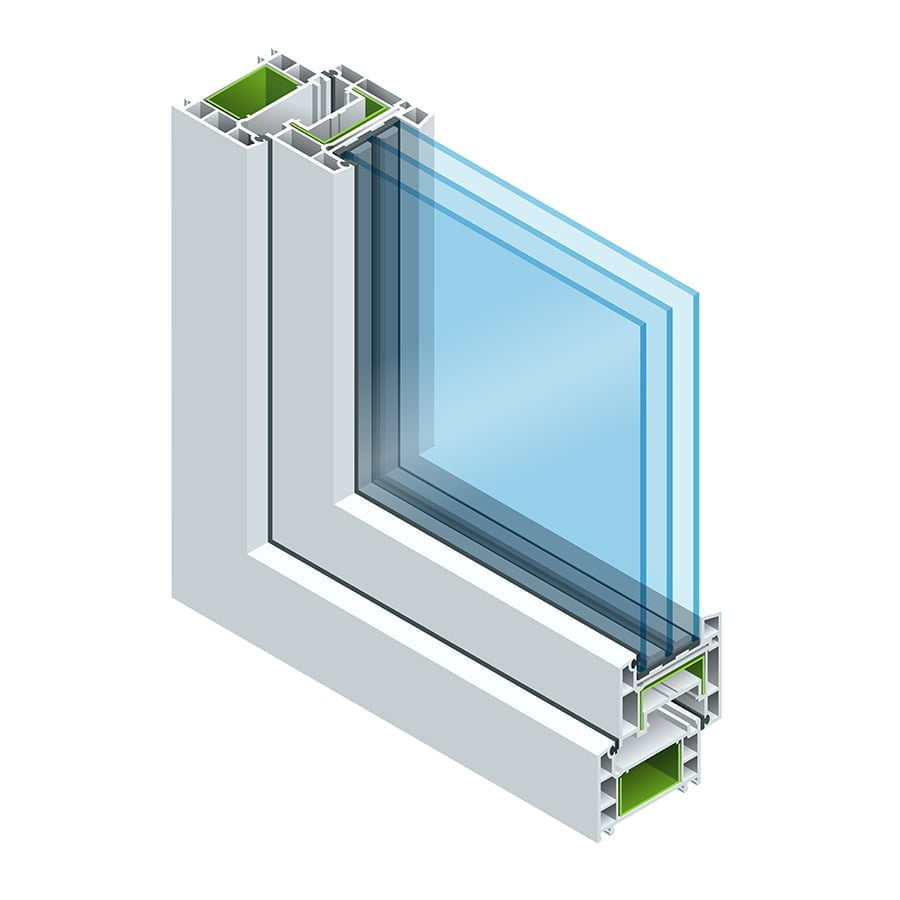
Cracks or gaps in the glass can cause water to seep through and into your home. Start by examining each pane for any visible damage or cracks.
If you notice any issues with a single pane, you may be able to replace just that one piece of glass instead of replacing the entire window. However, if multiple panes are damaged or there are other underlying issues with your windows, it may be more cost-effective in the long run to replace them altogether.
Remember that proper installation is key when replacing a broken pane. Be sure to use high-quality materials and follow manufacturer instructions carefully for best results.
Examine Window Frames
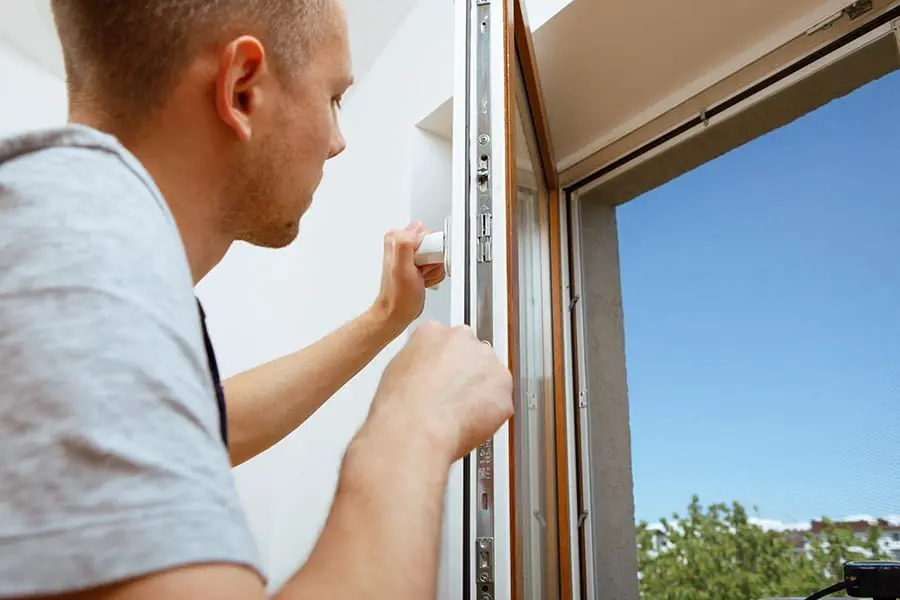
Over time, exposure to moisture and temperature changes can cause wooden frames to rot, while metal ones may rust or corrode. To examine your window frame for damage, start by checking for any visible signs of wear and tear such as cracks, holes or warping.
If you notice any damage on the frame’s surface level that could be causing a leaky window sealant around it might help fix the issue temporarily. However, if there are deeper issues with your windows’ framing structure like rotting wood or corrosion in metal frames then replacing them entirely will be necessary.
In some cases where only small areas have been affected by water damage on wooden frames sanding down those spots before applying new paint can help prevent further deterioration from occurring over time.
Assess Weatherstripping
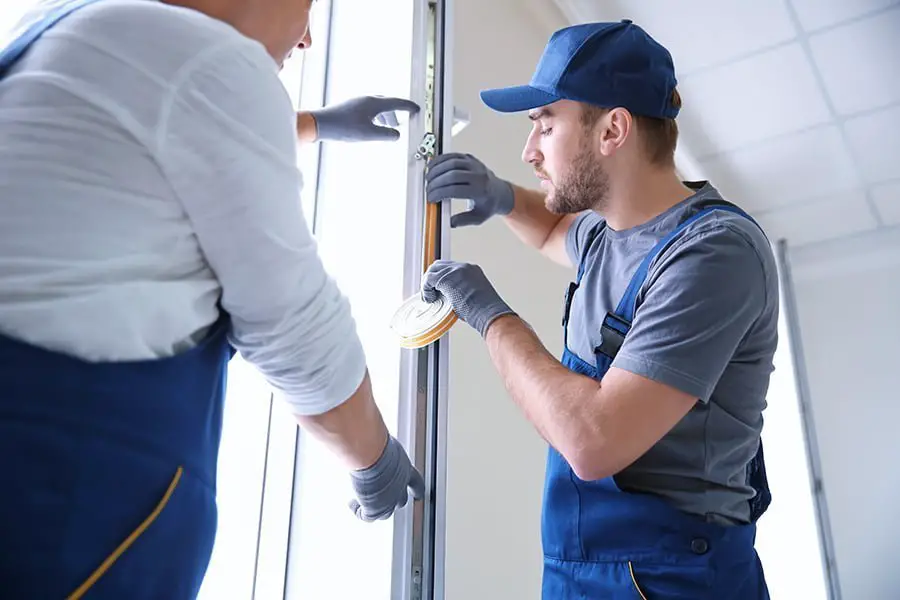
Over time, weatherstripping can become brittle and crack, allowing water to seep through gaps around the window frame. To assess your weatherstripping, start by inspecting it for any visible signs of damage or wear.
If you notice cracks or gaps in the material, it’s time to replace it.
To replace your weatherstripping, first remove the old material using a putty knife and pliers if necessary. Then measure and cut new strips to fit snugly into place along all sides of your window frame.
Checking for Roof Leaks

If you have a leaky window, it’s important to check your roof for any signs of damage or wear and tear. Start by inspecting the area around the window for water stains or discoloration on the ceiling or walls.
This can be an indication that there is a leak in your roof.
Next, head up to your attic and look for any signs of moisture such as damp insulation, mold growth, or water stains on rafters and joists. Use a flashlight to carefully examine all areas around where you suspect there might be leakage.
If you find evidence that suggests there may be an issue with your roofing system causing leaks into windows below it’s best not to delay repairs as this could lead to more significant problems down the line like structural damage from rotting wood framing members due prolonged exposure over time without repair which can become costly if left unaddressed.
Repairing or Replacing Flashing
Flashing is a thin metal strip that helps prevent water from seeping into your home through gaps in the exterior walls. Over time, flashing can become corroded and ineffective due to exposure to harsh weather conditions.
To repair or replace flashing, start by removing any old caulking and cleaning the area thoroughly with a wire brush. Then measure and cut new pieces of flashing material using tin snips before fitting them snugly into place around the window frame.
If you’re unsure about how to properly install new flashing, consider hiring a professional contractor who has experience working with windows. They will be able to ensure that everything is installed correctly so that your windows are protected against future leaks.
Caulk Exterior Seams
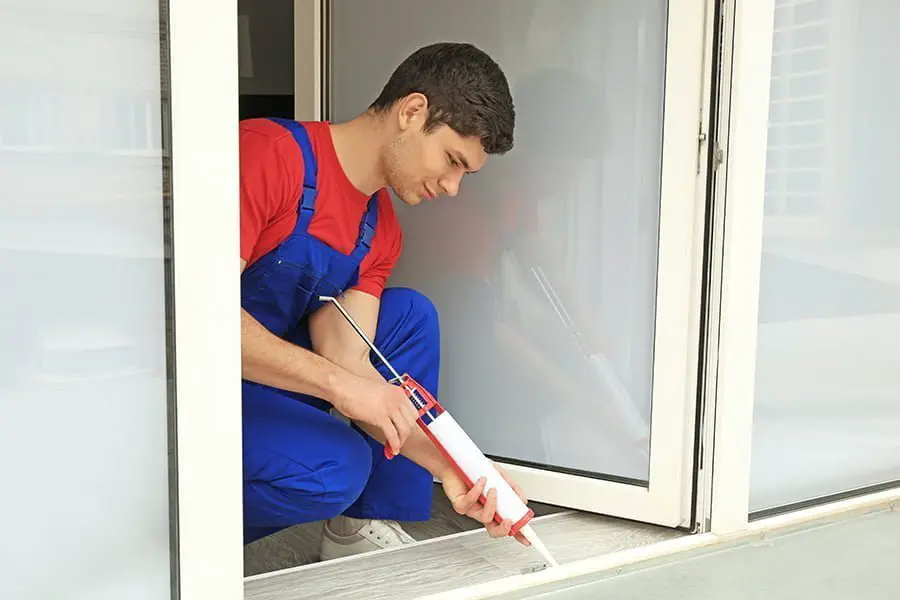
One common cause of window leaks is gaps in exterior seams. These gaps can occur due to weathering or improper installation, allowing water to seep through and into your home.
To fix this issue, you’ll need a caulk gun and high-quality silicone caulk. Begin by cleaning any debris or old caulking from around the seam with a putty knife or scraper tool.
Next, apply a steady bead of new caulk along the entire length of the seam.
Be sure to smooth out any excess with your finger or a caulking tool for an even finish that will effectively seal off any potential leaks.
Caulk exterior seams are just one step in fixing leaky windows but it’s important not to overlook them as they can be major culprits behind water infiltration issues.
Recaulking the Window
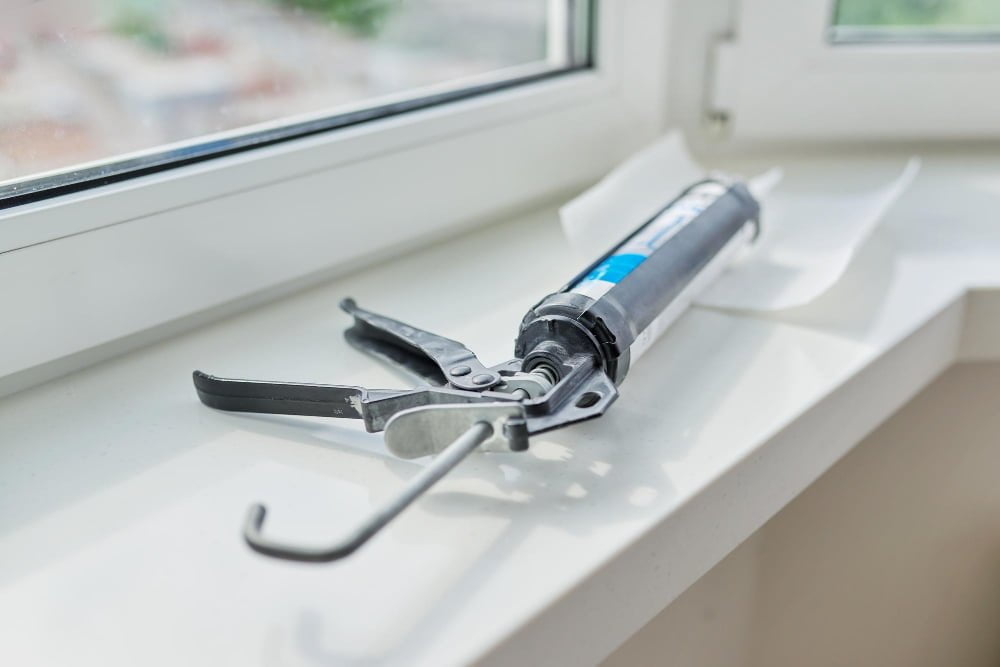
Caulk is a flexible material used to seal gaps and cracks around windows, doors, and other areas where air or water can seep in. Over time, caulk can dry out or crack due to exposure to sunlight and extreme temperatures.
To recaulk your window:.
- Remove any old caulk using a putty knife.
- Clean the area with soap and water.
- Allow it to dry completely before applying new caulk.
- Apply a continuous bead of silicone-based caulking along all seams between the frame and glass pane.
- Smooth out any excess caulking with your finger or a tool designed for this purpose.
It’s important not to skip steps when recaulking as improper application could lead to further leaks down the line.
Replace Damaged Seals
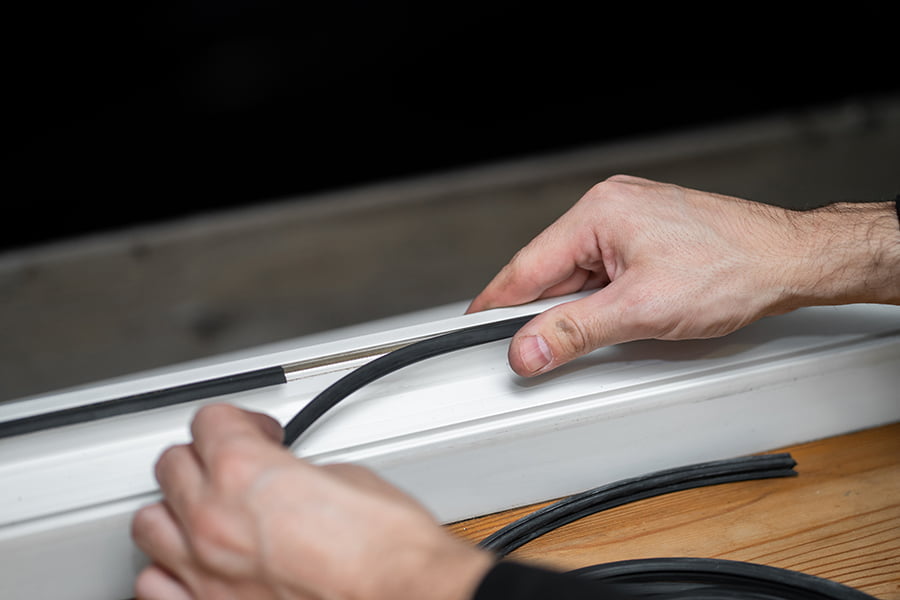
Damaged seals can cause air and water leaks, which can lead to higher energy bills and potential damage to your home. Replacing a seal is a relatively simple process that requires only a few tools.
First, remove any old or damaged sealant from around the window frame using a putty knife or scraper tool. Be sure not to damage the frame itself during this process.
Next, measure the length of sealant needed for each side of the window frame and cut it accordingly with scissors or a utility knife.
Apply new silicone caulk along each edge of the window where you removed old caulk previously. Use steady pressure on your caulking gun while applying an even bead along all edges without leaving gaps in between.
Smooth out any excess caulk with your finger or use another tool like an ice cream stick before allowing it time (usually 24 hours) for drying completely before painting over if necessary.
Repair Cracked Frames
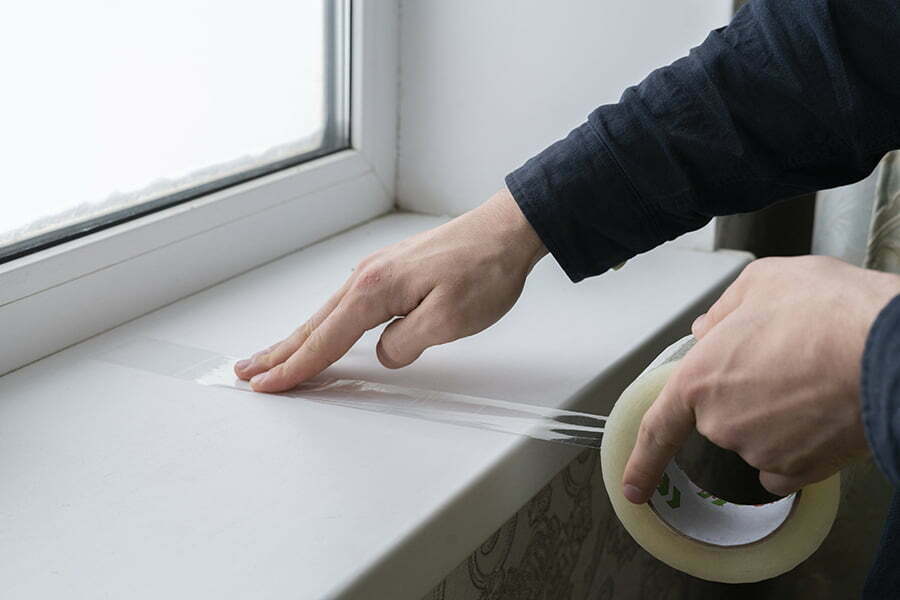
First, remove any loose or damaged wood around the crack with a chisel and sandpaper. Then fill in the crack with epoxy putty and smooth it out using a putty knife.
Once dry, sand down any rough edges until they’re flush with the rest of the frame.
If your window frames are made of vinyl or aluminum instead of wood, use an adhesive specifically designed for those materials to repair cracks. These adhesives can be found at most hardware stores.
Remember to always wear gloves when handling epoxy putty or other adhesives as they can be harmful if they come into contact with your skin.
Install New Weatherstripping
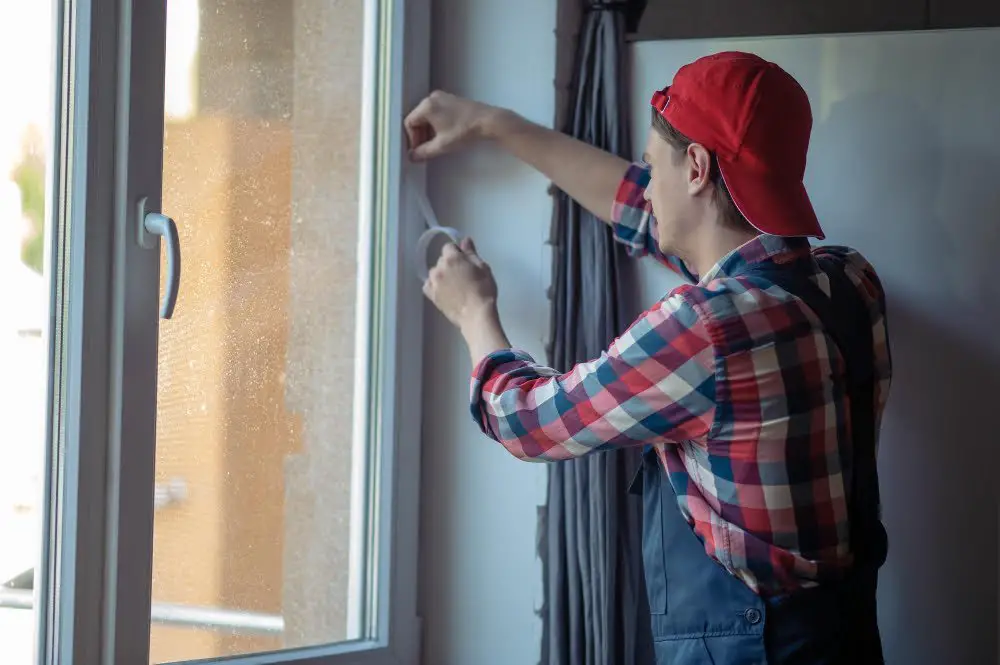
Weatherstripping is the material used to seal gaps around windows and doors. Over time, weatherstripping can become worn or damaged, allowing air and water leaks.
To install new weatherstripping on your leaky window:.
1. Remove the old weatherstripping: Use a putty knife or scraper tool to remove any remaining adhesive from the frame.
2. Measure for replacement: Measure each side of the frame where you will apply new stripping.
3. Cut strips of foam tape: Cut foam tape into lengths that match measurements taken earlier.
4. Apply foam tape: Peel off backing paper from one end of each strip then press it onto its corresponding surface area on either side (top/bottom) before pressing down firmly along entire length until secure against glass pane edge without leaving any gaps between surfaces; repeat process with other sides as needed until all areas are covered by fresh sealing material.
5. Test for effectiveness: Close your newly sealed windows tightly then check if there’s no more draft coming through after installation.
Add Window Insulation
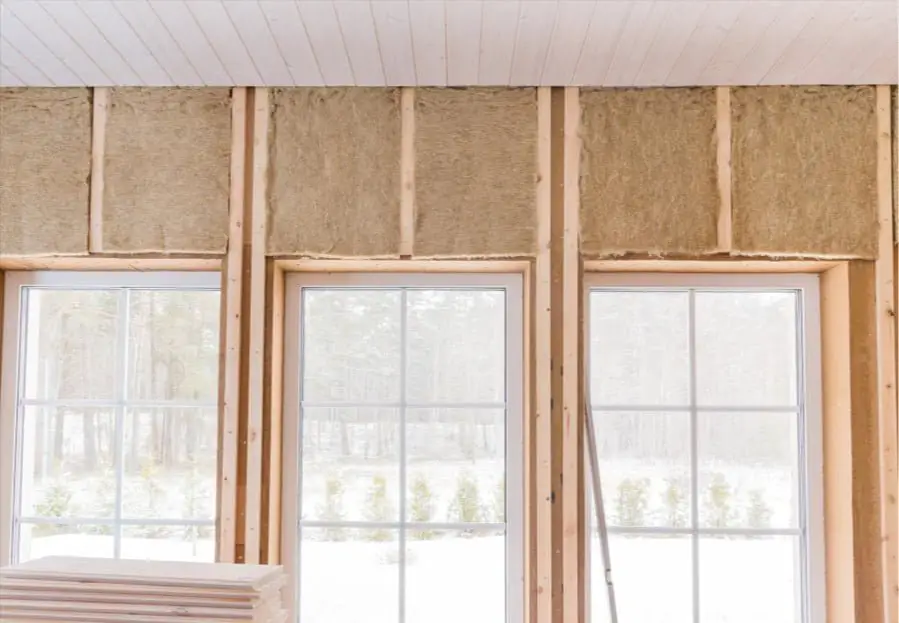
Insulation helps to keep your home warm in the winter and cool in the summer by preventing air from escaping through gaps around your windows. There are several types of insulation that you can use for this purpose, including foam tape, weatherstripping, and plastic film.
Foam tape is a popular choice because it’s easy to install and provides excellent insulation. Simply measure the length of each side of your window frame and cut strips of foam tape accordingly.
Then apply them along the edges where there are gaps between the frame and glass panes.
Weatherstripping is another option that works well for sealing small gaps around windows or doors. It comes in various materials such as rubber or silicone which makes it flexible enough to fit into any gap size.
Plastic film is also an effective way to insulate drafty windows during colder months when heat loss becomes more apparent than ever before! You simply attach clear plastic sheets over each pane using double-sided adhesive tapes then shrink-wrap them with a hairdryer until they become tight-fitting against frames.
Necessary Tools and Materials for Window Repairs
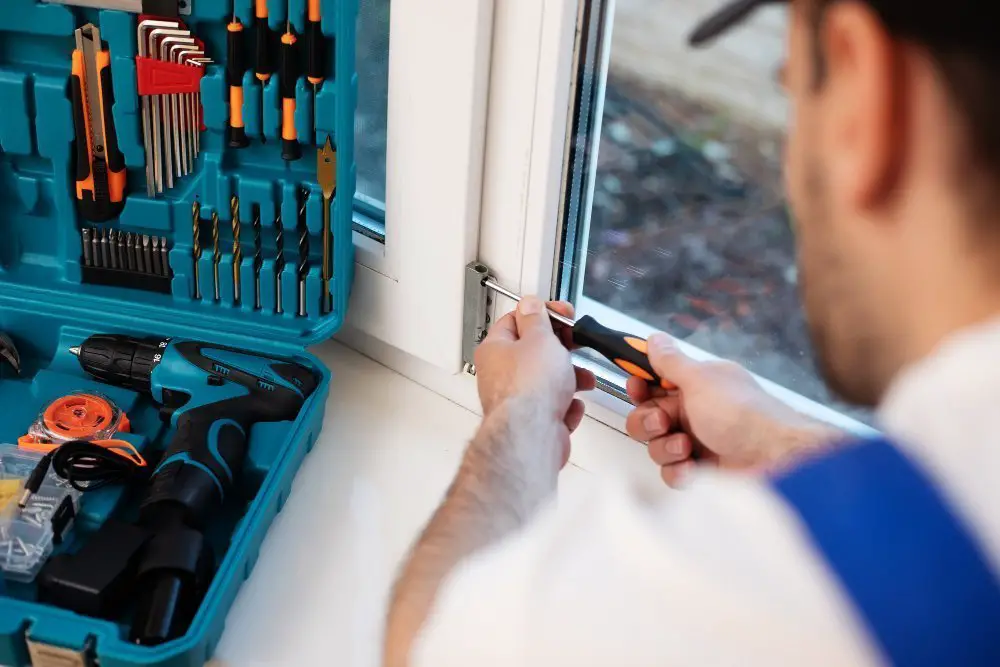
Here are some of the necessary items you’ll need:.
1. Screwdriver: You’ll need a screwdriver to remove any screws holding the window in place.
2. Putty knife: A putty knife is useful for removing old caulk or sealant from around the window.
3. Caulk gun: To apply new caulk or sealant, you’ll need a caulking gun.
4. Weatherstripping material: If your weatherstripping needs replacing, make sure to have new material on hand that matches what was previously used.
5. Replacement glass panes/seals/frames/flashing/weatherstripping as needed.
6. Safety glasses and gloves.
7. Ladder (if necessary).
Having these tools and materials ready will save time during repairs while ensuring that everything goes smoothly without any interruptions.
Knowing When to Call Professionals

A professional window repair company has the expertise and tools needed to diagnose and fix any issues with your windows. They can also help identify other potential problems that could lead to future leaks.
It’s important not to ignore a persistent leak as it can cause significant damage over time. If you notice water stains on walls or ceilings, mold growth, or an increase in energy bills due to air leakage around windows, don’t hesitate – call a professional right away.
While hiring a professional may cost more than fixing the issue yourself initially, it will save you money in the long run by preventing further damage and ensuring that your home is safe from moisture-related issues.
Regular Maintenance Tips

Regular maintenance can help prevent leaks from occurring in the first place. Here are some tips for maintaining your windows:
1. Clean Your Windows: Dirt and debris can accumulate on window sills, frames, and tracks over time, causing damage to seals or weatherstripping that could lead to leaks.
2. Inspect Seals: Check the seals around your windows regularly for any signs of wear or damage such as cracks or gaps.
3. Keep Weatherstripping Intact: Make sure that weatherstripping is intact around all sides of the window frame so it provides a tight seal when closed.
4. Lubricate Moving Parts: Hinges and other moving parts should be lubricated periodically with silicone spray lubricant to keep them functioning smoothly.
5. Replace Damaged Parts Promptly: If you notice any damaged parts like cracked glass panes or broken frames during inspection then replace them promptly before they cause further problems.
Preventing Future Window Leaks
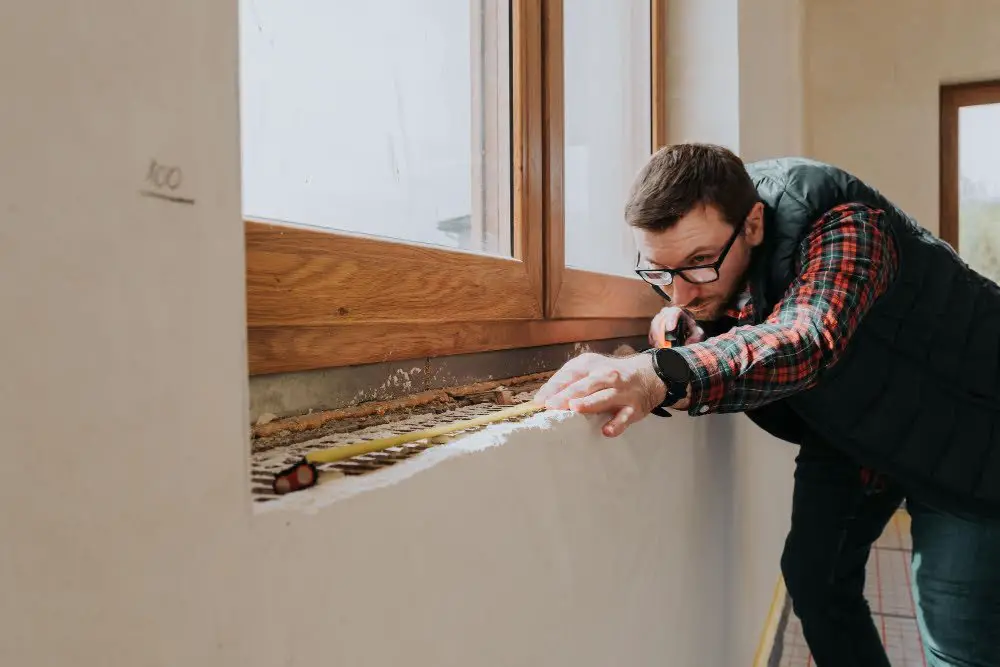
One of the best ways to do this is by regularly inspecting and maintaining your windows. Here are some tips on how you can prevent future window leaks:
1. Keep Your Windows Clean: Dirt and debris can accumulate in the tracks of your windows, causing them to become clogged or damaged over time.
2. Check Seals Regularly: Inspect all seals around the frame and glass panes for any signs of wear or damage.
3. Maintain Weatherstripping: Replace weatherstripping that has become worn out or damaged as soon as possible.
4. Monitor Exterior Caulking: Check exterior caulking every six months for cracks, gaps, or other signs of deterioration.
5. Address Roof Leaks Promptly: If you notice a roof leak near a window, address it immediately before water seeps into the walls surrounding that area.
Energy-Efficient Window Options

Not only will they help reduce your energy bills, but they’ll also provide better insulation and improve the overall comfort of your home. Energy-efficient windows are designed with advanced technology that helps keep heat inside during winter and outside during summer.
Double-pane or triple-pane glass is a popular choice for homeowners who want to increase their home’s energy efficiency. These types of windows have two or three layers of glass separated by an insulating gas like argon or krypton, which reduces heat transfer through the window.
Low-emissivity (low-e) coatings are another feature found in many modern energy-efficient windows. This coating reflects infrared light while allowing visible light to pass through, helping regulate temperature and reducing UV damage from sunlight.
When shopping for new windows, look for those with an ENERGY STAR® rating as these meet strict guidelines set by the U.S Environmental Protection Agency (EPA). Some states offer rebates or tax credits when you install ENERGY STAR® certified products in your home.
Know When to Replace Windows

While fixing a leaky window can be an easy DIY project, sometimes the damage is too severe and replacement is necessary. If you notice that your windows are constantly leaking or fogging up between the panes of glass, this could be a sign that they need replacing.
Older windows may also have worn-out seals or frames that allow drafts into your home, causing energy bills to skyrocket. Replacing old single-pane windows with new double-paned ones can significantly improve energy efficiency and save you money in the long run.
If you’re looking for ways to increase curb appeal or update the look of your home’s exterior, new window installations can make all the difference.
When considering whether it’s time for window replacement instead of repair work on an existing unit(s), consult with professionals who will help determine what options best fit both budgetary constraints as well as aesthetic preferences while keeping functionality top-of-mind!.
FAQ
Can leaking windows be repaired?
Yes, leaking windows can be repaired by removing damaged exterior caulking, cleaning the window frame, recaulking, checking the gasket, and re-sealing the glass to the gasket with clear silicone caulk.
Why do my windows leak when it rains?
Your windows leak when it rains because the sealant or caulk is damaged or missing, which is a common cause of window leaks.
How do I stop water coming out of my windows?
To stop water coming out of your windows, apply window caulking or weatherstripping to seal the frame’s joints, using common compounds like rubber, silicone latex, or silicone.
What causes water to leak through a window?
Water can leak through a window due to cracked caulking or failing weatherstripping, which lead to broken window seals, allowing rainwater to seep into the house.
What are the common signs of a leaking window that homeowners should look for?
Common signs of a leaking window homeowners should look for include water stains, mold or mildew growth, damp interior walls or surfaces, and damage to surrounding paint or wallpaper.
Can window sealants effectively prevent or solve window leakage issues?
Yes, window sealants can effectively prevent or solve window leakage issues.
What is the role of proper window installation in preventing future leaks?
Proper window installation plays a crucial role in preventing future leaks by ensuring a secure and watertight seal, protecting the building from water infiltration and damage.
Related Stories
- Repair Aluminum Window Frame: Step-by-Step Guide for Homeowners
- Leaking Window Solutions: Who to Call for Expert Repairs
- 15 Repair Aluminum Window Ideas to Enhance Your Home
- How to Replace Rotted Wood Around Window
- How to Seal a Window
Recap
