Discover the simple step-by-step process to effectively replace rotted wood around your window, ensuring a secure and visually appealing finish.
Welcome to my blog, where I share expert knowledge about house windows. Today’s topic is one that many homeowners dread: replacing rotted wood around a window.
It’s a common problem that can occur due to moisture buildup or lack of maintenance, and it can compromise the integrity of your window frame. But fear not! With the right tools and techniques, you can repair this issue yourself and save money on costly repairs.
In this post, I’ll walk you through the step-by-step process of replacing rotted wood around a window so that you can get back to enjoying your beautiful home in no time. So grab your tools and let’s get started!
Key takeaways:
- Identify and address rotted wood as soon as possible.
- Assess the extent of the damage before starting repairs.
- Inspect the window frame for additional areas of damage.
- Gather the necessary tools and materials before starting the repair process.
- Treat the replacement wood with preservatives and paint or stain it before installation.
Identifying Rotted Wood
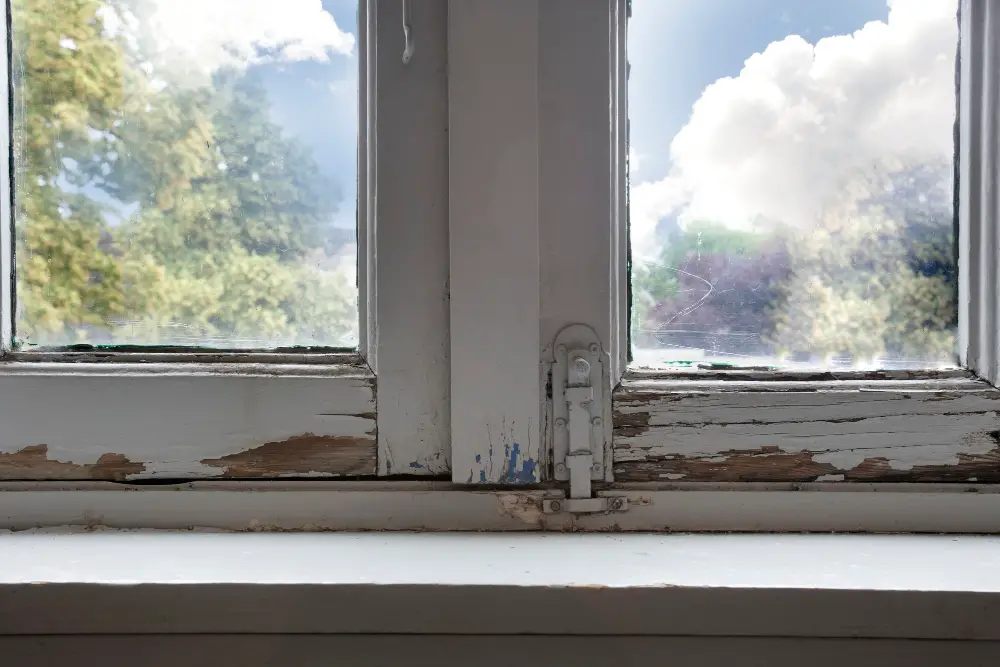
The first step in replacing rotted wood around a window is identifying the damaged area. Rotted wood can be caused by moisture buildup, insect infestation, or simply age.
It’s important to identify and address the issue as soon as possible to prevent further damage and ensure your window frame remains structurally sound.
To identify rotted wood, look for signs of discoloration or softness when you press on the surface with a screwdriver or other tool. You may also notice cracks or splits in the wood that indicate decay has set in.
Once you’ve identified any areas of rot, it’s time to assess how extensive the damage is and determine whether repair or replacement is necessary. In some cases, minor rot can be repaired with epoxy filler; however, more severe damage will require replacement of affected sections.
Assessing the Damage
This will help you determine how much of the wood needs to be replaced and what tools and materials you’ll need for the job. Start by examining all areas of rot on your window frame, including both visible and hidden sections.
Use a screwdriver or other sharp tool to probe any suspicious-looking areas for softness or decay. If it’s easy to penetrate more than 1/4 inch into the wood, then it’s likely that there is significant rot present.
Take note of all damaged areas so that when it comes time for repairs, nothing gets overlooked. Assessing damage early on can save time in later stages as well as prevent further deterioration from occurring over time.
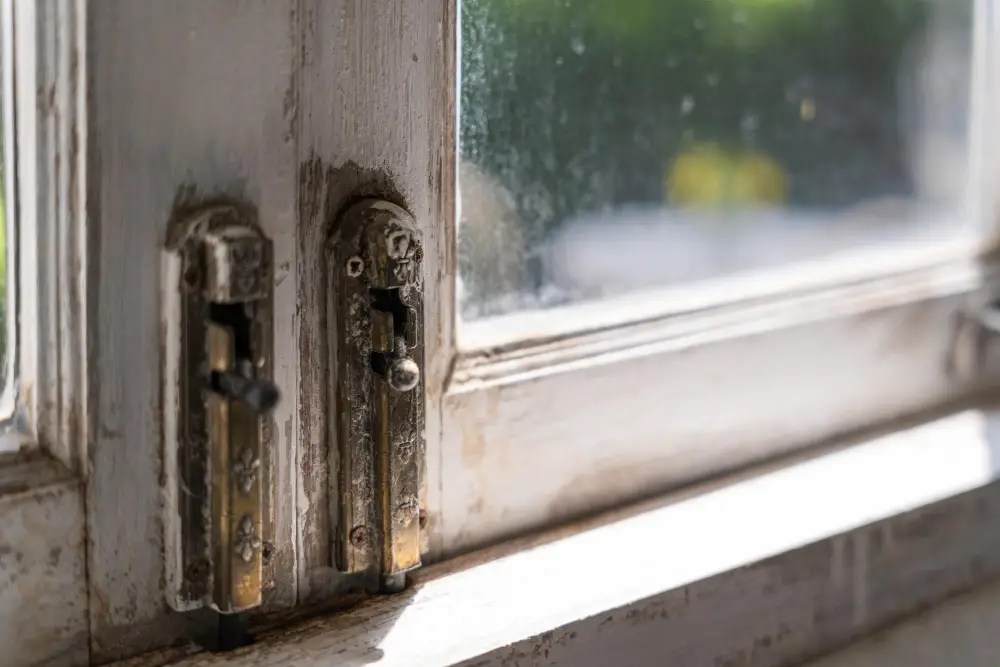
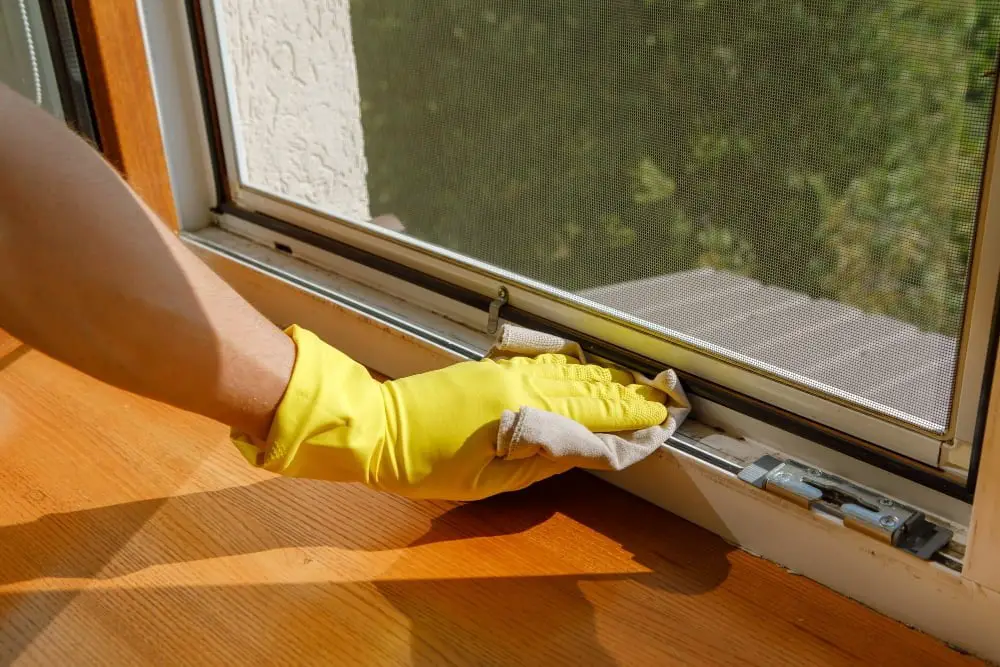
Inspecting Window Frame
This will help you identify any other areas that may need attention and ensure that the new wood piece fits perfectly into place. Start by examining the exterior of your window frame for signs of damage or decay, such as cracks or peeling paint.
Then move on to inspecting the interior side of your windowsill and trim for any soft spots or discoloration.
Use a screwdriver to gently probe these areas; if it sinks easily into the wood, then there is likely rot present. Take note of all damaged areas so that you can address them during repair work.
It’s also essential to check whether water is entering through gaps in caulking around your windowsill and trim since this can cause further damage over time. If necessary, remove old caulk with a putty knife before applying fresh sealant after completing repairs.
Gathering Tools and Materials
Here are some of the things you’ll need:.
- Safety gear: gloves, safety glasses, dust mask
- Pry bar or crowbar
- Hammer
- Circular saw or handsaw
- Measuring tape
- Wood chisel
- Replacement wood piece (make sure it matches in size and type)
- .Wood filler putty
- .Sandpaper (medium grit)
Make sure to have all these items on hand before starting work so that you don’t have to stop midway through for a trip to the hardware store! make sure that your replacement wood is treated with a preservative solution before installation; this will help prevent future rotting issues.
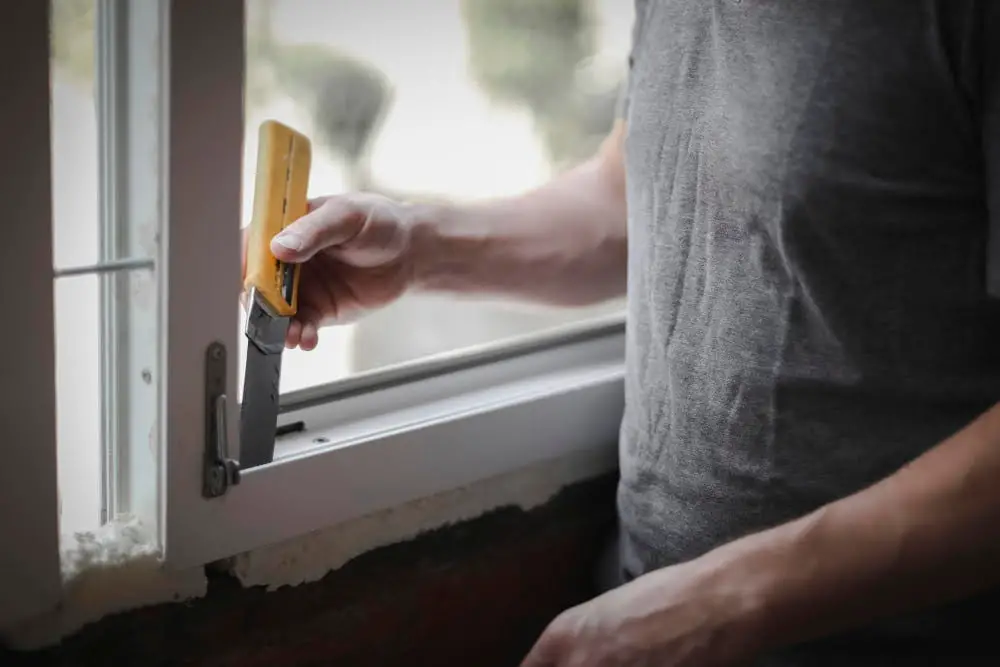
Removing Rotted Wood
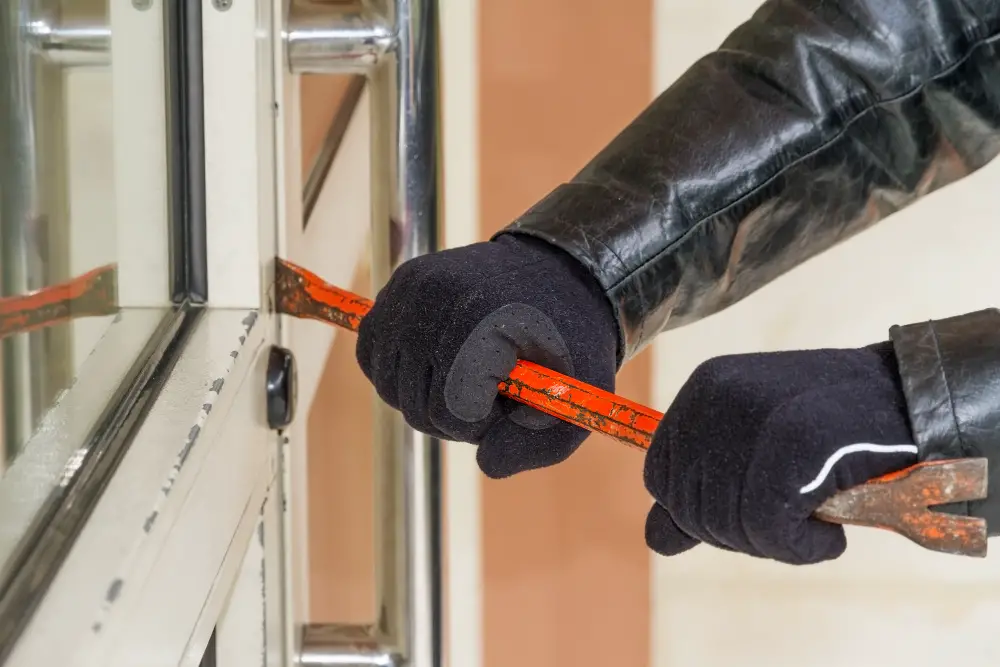
This step is crucial in ensuring that your window frame is secure and stable. To begin, use a pry bar or chisel to carefully remove any loose or damaged wood around the window frame.
Be sure to wear gloves and eye protection during this process as splinters can be hazardous.
Next, use a sawzall or reciprocating saw with a fine-tooth blade to cut away any remaining rotted wood until you reach solid, healthy wood. Take care not to cut into surrounding areas of good wood as this will create more work for yourself later on.
Cutting New Wood Piece
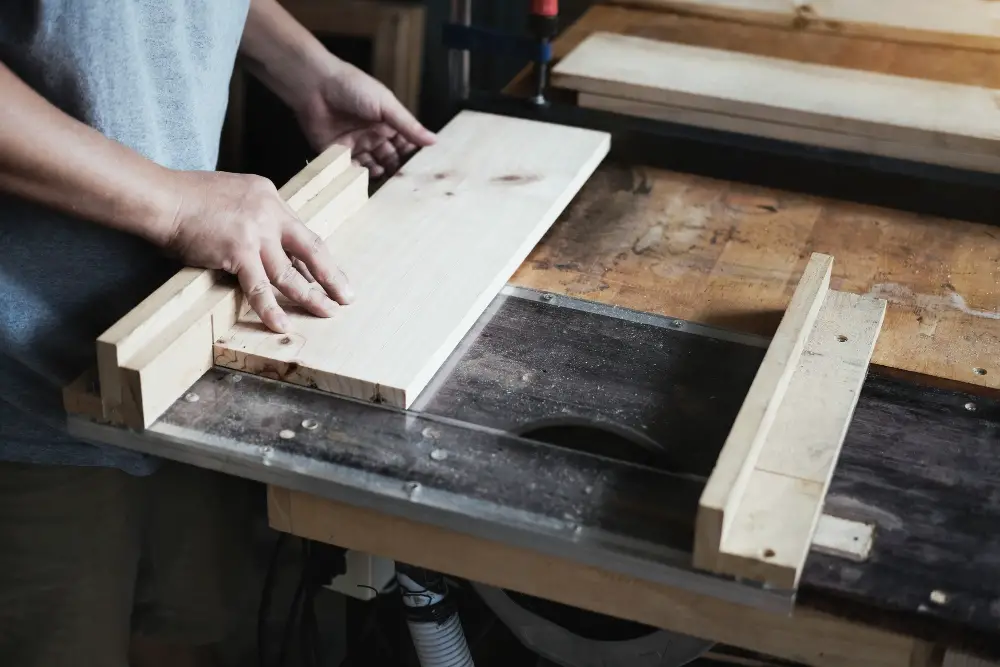
To do this, measure the length and width of the opening and transfer those measurements onto your replacement wood. Use a saw to carefully cut along these lines, ensuring that your new piece is an exact match for what was removed.
It’s important to note that when cutting your replacement wood, you should use pressure-treated lumber or another type of rot-resistant material. This will help prevent future damage from occurring in this area.
After cutting your new piece of wood to size, take some time to sand down any rough edges or corners so that it fits snugly into place without any gaps or spaces around its perimeter.
Treating Replacement Wood
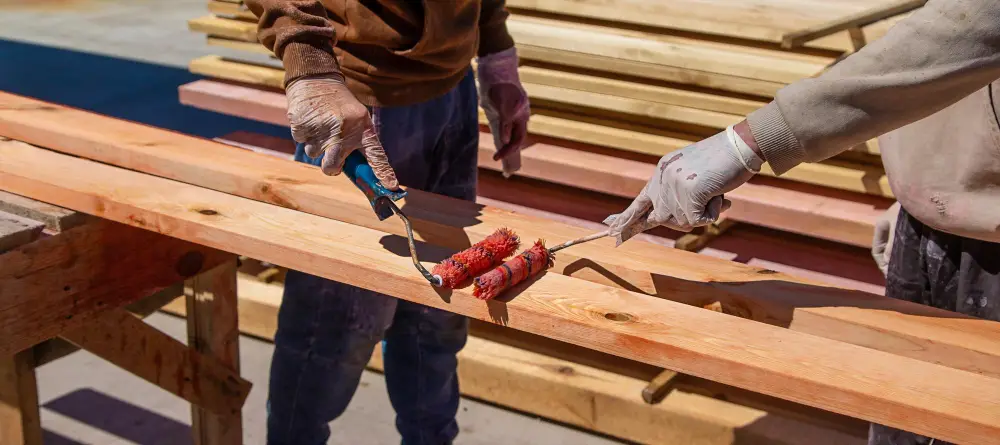
But before installing it, you need to treat it properly. This step is crucial in preventing future rot and ensuring that your window frame remains strong and durable.
Firstly, use a wood preservative on all sides of the new piece of wood. This will protect against moisture buildup and fungal growth that can lead to rotting.
Next, apply a coat of primer on all sides of the treated wood once dry. The primer helps seal any exposed areas where water could penetrate into the grain.
Paint or stain your replacement piece with an exterior-grade finish for added protection against weather elements such as rain or snow.
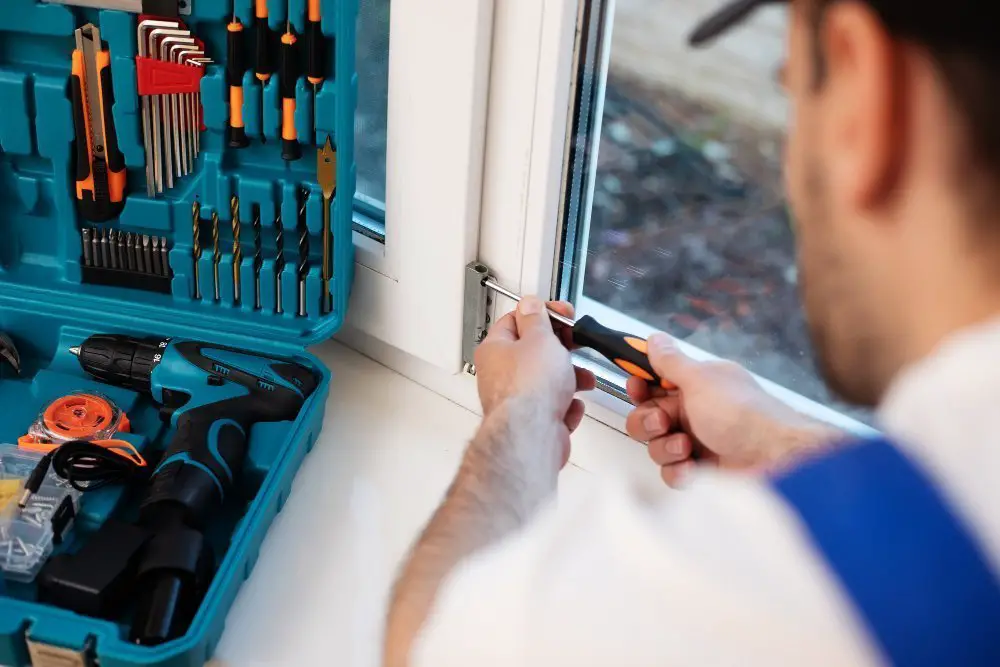
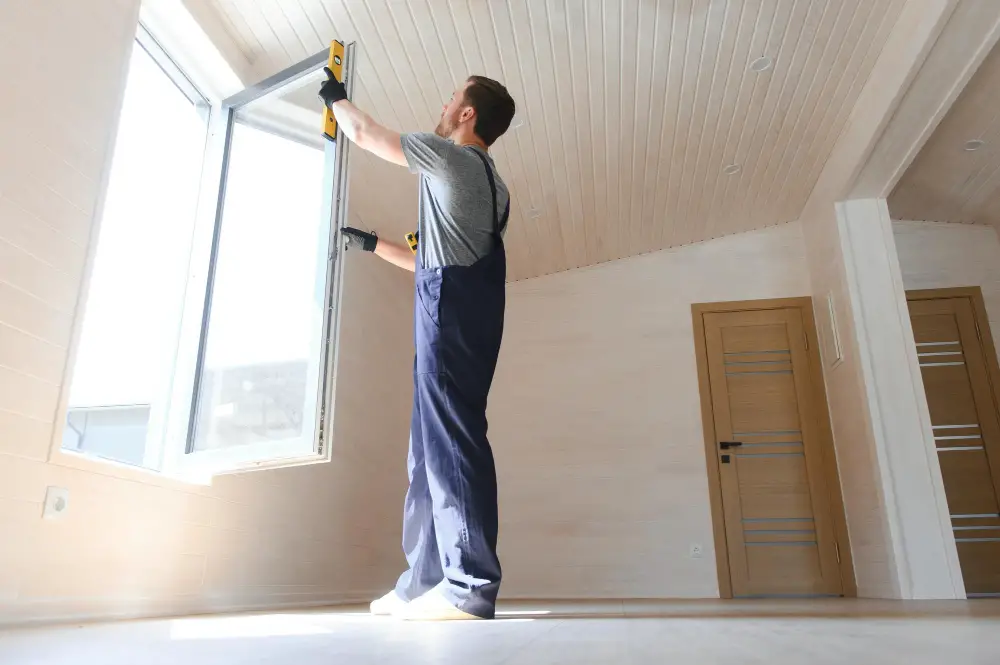
Fitting and Installing New Wood
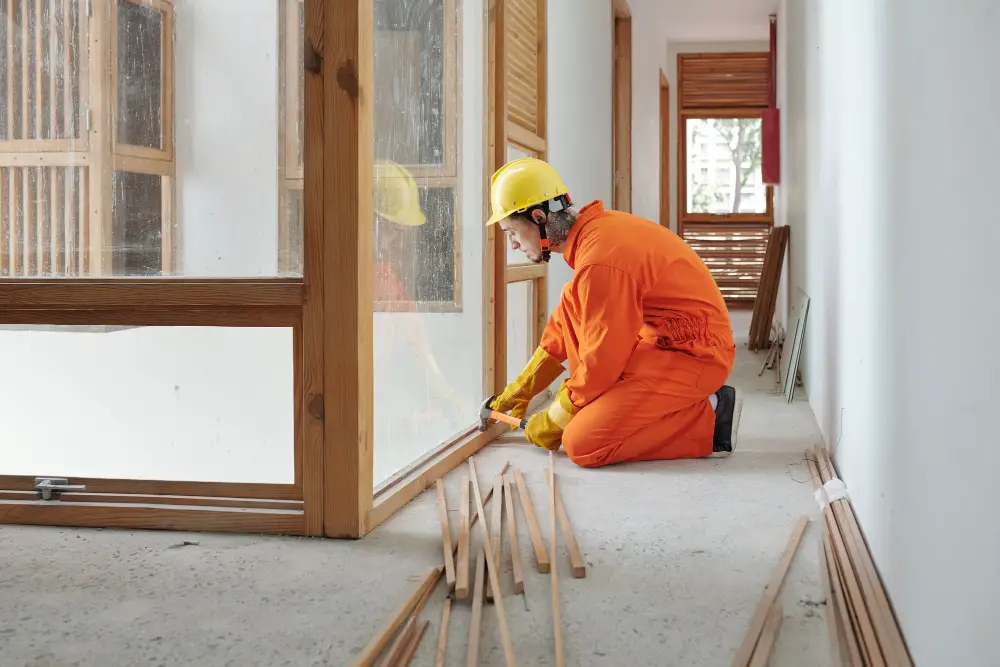
Start by placing the new wood in position against the window frame. Ensure that there is a snug fit between the replacement piece and surrounding woodwork.
Next, use screws or nails to secure your new piece of wood into place. Make sure that they are long enough to penetrate both pieces of timber securely but not so long as they protrude through onto your glass pane.
If you’re using screws, pre-drill holes for them first before driving them in at an angle towards each other (this will help prevent splitting). If using nails instead, hammer them straight down into place until flush with surrounding timber.
Sealing and Caulking
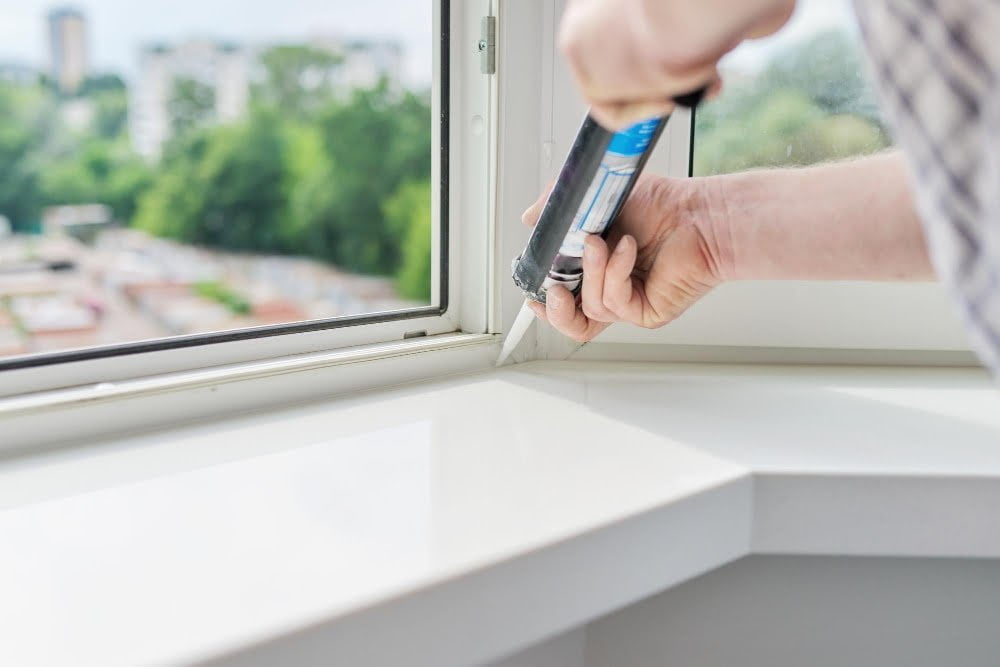
This will help prevent moisture from seeping in and causing future damage. Start by applying a bead of silicone caulk along the seam between the new wood and existing frame, smoothing it out with your finger or a caulking tool.
Next, apply exterior-grade paintable caulk around all edges of the replacement piece where it meets other surfaces such as siding or trim.
Make sure to use high-quality products that are specifically designed for outdoor use and can withstand extreme temperatures and weather conditions. Allow ample time for drying before painting over any areas that were sealed or caulked.
Priming and Painting
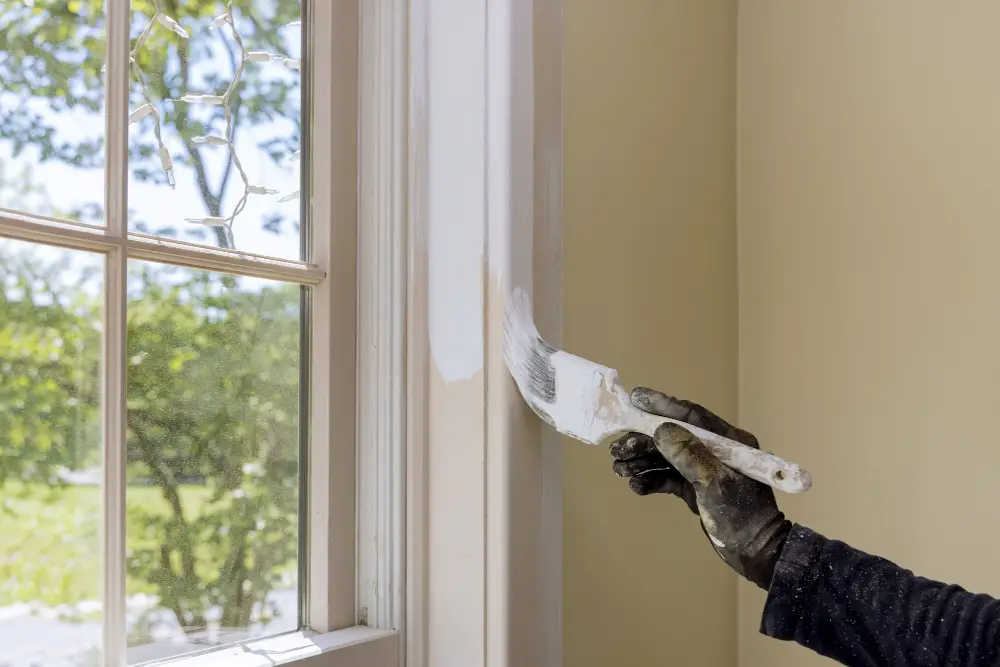
Priming is essential as it helps protect the wood from moisture and other elements that can cause rotting. It also provides a smooth surface for painting.
Before priming, make sure that all surfaces are clean and dry. Apply a coat of primer using a brush or roller, making sure to cover all areas evenly.
Allow the primer to dry completely before applying paint.
When choosing your paint color, consider using an exterior-grade latex-based paint as they are durable and long-lasting in outdoor conditions. Apply two coats of your chosen color with ample drying time between each coat.
Inspecting for Future Damage
Inspecting for potential issues is a crucial part of this process. Regularly check the area around your windows for signs of moisture buildup or water damage, such as peeling paint or soft spots in the wood.
Keep an eye out for any cracks or gaps in caulking and sealant that could allow water to seep into the frame.
Make sure that gutters and downspouts are clear of debris so that rainwater can flow freely away from your home’s foundation. Trim back any overhanging branches near windows to prevent leaves and other debris from accumulating on top of them.
Preventing Wood Rot
One of the best ways to do this is by regularly inspecting and maintaining your windows. Here are a few tips:
1. Keep gutters clean: Clogged gutters can cause water buildup, which can lead to moisture problems around your windows.
2. Trim trees and bushes: Overhanging branches or shrubs can rub against your house and create moisture issues.
3. Seal gaps: Check for any gaps or cracks in the window frame or surrounding area, then seal them with caulk.
4. Paint regularly: A fresh coat of paint not only looks great but also helps protect against moisture damage.
By following these simple steps, you’ll be able to keep rot at bay and enjoy beautiful windows for years to come!.
FAQ
How much does it cost to repair wood rot around windows?
The cost to repair wood rot around windows can range from $200 for new wood or fiberglass frames to $1000 for composite material frames per window, but it is recommended to have a professional handle the repairs.
Can you put new wood over rotted wood?
Yes, you can repair rotten wood by removing the rotting parts, filling the area with wood filler, and ensuring strength and resilience in the repaired area.
What is the wood around the windows called?
The wood around the windows is called window casing or trim.
What are the steps to properly remove and replace rotted wood around windows?
To properly remove and replace rotted wood around windows, first remove the trim and old wood, then cut and install a new piece of wood, seal it with wood filler, sand it smooth, prime, and paint it to match the surrounding area.
How can I prevent wood rot around windows in the future?
To prevent wood rot around windows in the future, ensure proper sealing, regular maintenance, and the use of rot-resistant materials.
What type of wood is best to use for repairing window frames and trim?
The best type of wood for repairing window frames and trim is hardwood, such as oak or mahogany.
Read More
 Aluminum Window Latch Replacement: A Simple Guide to Security and Style
 Custom Aluminum Window Screens Buying Guide
 Aluminum Window Removal Tool: Easy Steps for a Hassle-Free Window Replacement
 Screw for Aluminum Window Frame: Your Ultimate Fixing Guide
 Replace Aluminum Window Glass: A Beginner’s Guide to a Clearer View
Recap