Discover the duration and factors affecting window replacement in this informative guide, ensuring a smooth transition to an upgraded home feature.
Welcome to my blog, where I share my expertise in the world of house windows. If you’re a homeowner or a renter, you may have encountered the need to replace a window at some point.
Whether it’s due to damage or simply wanting an upgrade, the process of replacing a window can seem daunting and time-consuming. But fear not! In this post, I will be answering one of the most common questions I receive: “How long does it take to replace a window?” So sit tight and read on as I provide you with all the information you need to know about this topic.
Key takeaways:
- Installing a single window can take 1-2 hours.
- DIY installation may take longer and require more effort.
- Size, complexity, and condition of windows affect installation time.
- Professional installers can replace 10-15 windows per day.
- Seasonal considerations can impact the timeline of window replacements.
Types of Window Replacements
The type of window you select will depend on your personal preferences, budget, and the style of your home. Some popular options include double-hung windows, casement windows, sliding windows and picture or fixed frame windows.
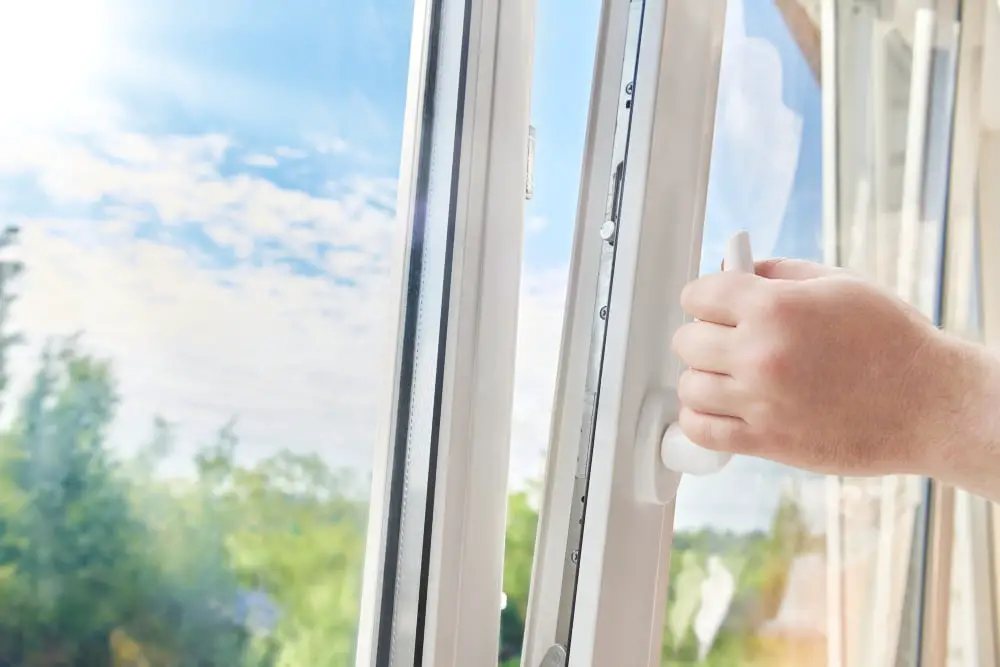
Double-hung Windows: These are a classic choice for many homeowners as they offer versatility in terms of ventilation options. They consist of two sashes that slide up and down within the frame.
Casement Windows: These have hinges on one side which allows them to swing open like a door when cranked outwards with a handle. They provide excellent ventilation due to their design but can be more expensive than other types.
Sliding Windows: As the name suggests these move horizontally along tracks within their frames making them ideal for spaces where vertical space is limited such as basements or rooms with low ceilings.
Picture/Fixed Frame Windows: This type does not open at all but provides an unobstructed view while allowing natural light into your home.
Assessing and Measuring for New Windows
This step is crucial in ensuring that your new windows fit perfectly and function correctly. To get started, you’ll need to remove any old trim or molding around the existing window frame carefully.
Once this is done, take precise measurements of both the height and width of the opening from several points on each side. It’s important to note that even small discrepancies in measurement can result in significant issues during installation.
If you’re unsure about how to measure for replacement windows accurately, consider hiring a professional installer who has experience with this process. They will be able to provide expert guidance on measuring techniques specific to your home’s unique needs.
By taking accurate measurements before ordering new windows, you’ll save time and money by avoiding costly mistakes down the line.
Choosing Replacement Windows

There are several factors to consider when making this decision, including style, material, energy efficiency rating (EER), and budget.
When it comes to window styles, there are many options available such as double-hung windows that slide up and down or casement windows that open outward like a door. The choice of style will depend on your personal preference as well as the architectural design of your home.
The material used in constructing replacement windows also plays a significant role in their durability and maintenance requirements. Common materials include vinyl which is low-maintenance but may not be suitable for extreme weather conditions; wood which offers excellent insulation but requires regular upkeep; aluminum which is durable but conducts heat easily leading to high energy bills.
Energy efficiency ratings (EER) should also be considered when choosing replacement windows since they can significantly impact heating/cooling costs over time. Look out for Energy Star certified products with higher EER ratings if you want maximum savings on utility bills while reducing carbon footprint.
Lastly, budget considerations must come into play when selecting new house window replacements since prices vary depending on size/style/materials chosen among other factors.
Ordering and Delivery Time
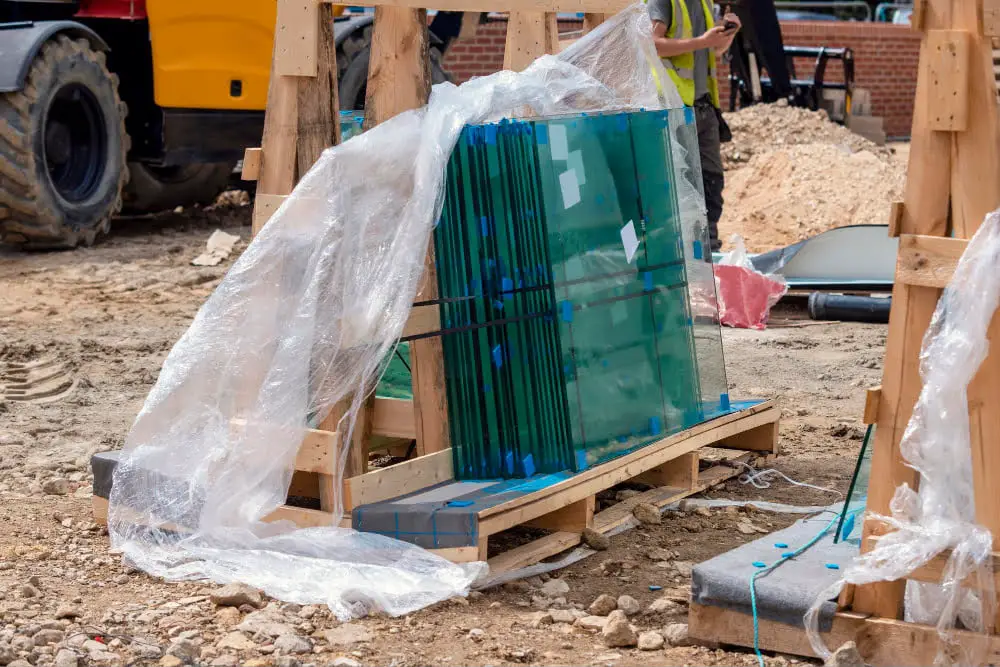
The ordering process can vary depending on where you purchase your windows from. If you’re buying from a local hardware store or window supplier, they may have the windows in stock and ready for pickup or delivery within a few days.
However, if you’re ordering custom-made windows or purchasing them online, there will be additional lead times to consider.
It’s important to note that delivery times can also vary based on location and shipping method. Some companies offer expedited shipping options at an additional cost if time is of the essence.
To avoid any delays in your window replacement project timeline due to long wait times for ordered products, it’s best practice to order well ahead of when installation is scheduled so that everything arrives on time without any hiccups.
Preparing for Window Replacement
First and foremost, it’s essential to clear the area around the window both inside and outside of your house. This includes removing any furniture or decor that may be in the way of accessing the window from inside or outside.
Next, make sure that all electrical outlets near the windows are turned off for safety reasons. If necessary, cover them with plastic sheeting as an extra precaution against dust and debris.
It’s also important to consider how long it will take for replacement windows to arrive after ordering them. Typically this takes anywhere from two weeks up until six weeks depending on where they’re coming from and what type of customizations were made during ordering.
Lastly, if you have pets or children living in your home, make arrangements ahead of time so they won’t be disturbed by any noise or activity during installation day.
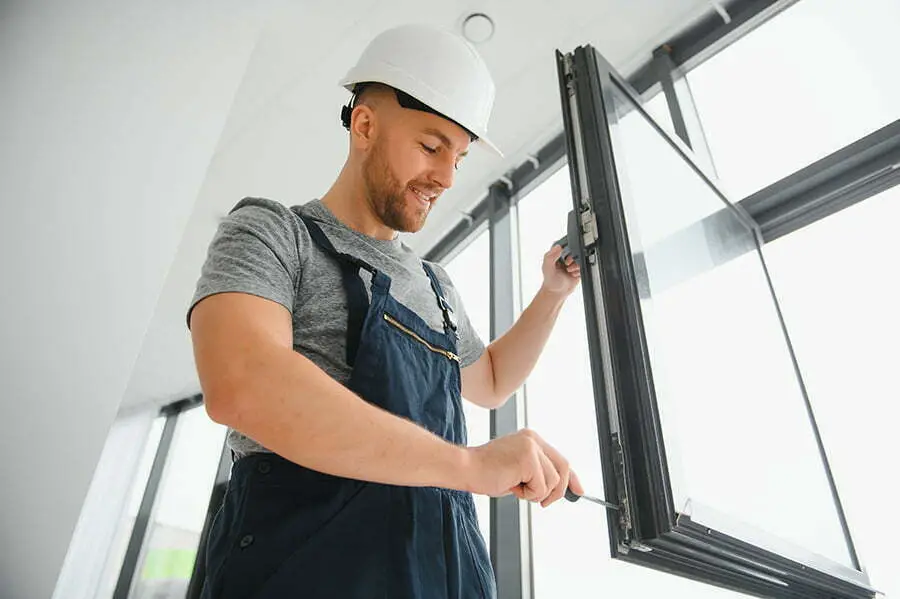
DIY Vs Professional Installation

While DIY installation may seem like an attractive option for those looking to save money, it’s important to consider your level of experience and expertise before taking on such a task.
Replacing windows can be challenging and time-consuming work that requires specialized tools and skills. If done incorrectly, it can lead to costly mistakes or even safety hazards.
Professional installers have years of experience in handling various types of windows and are equipped with all necessary tools required for the job.
However, if you have some knowledge about window replacement techniques or are willing to learn through online tutorials or books on home improvement projects, then DIY installation could be an option worth exploring. Just keep in mind that this route will require more effort from your end as well as additional research into proper techniques.
Hiring a Professional Installer
Professional installers are trained and experienced in replacing windows efficiently and effectively, ensuring that the job is done right the first time.
When looking for a professional installer, it’s essential to do your research. Look for companies with positive reviews from previous customers and check their credentials before making any commitments.
You can also ask friends or family members if they have any recommendations.
Once you’ve found potential installers, request quotes from each of them so that you can compare prices and services offered. Don’t be afraid to ask questions about their experience level or how long they estimate it will take them to complete the job.
Removing Old Windows
This can be a challenging task, especially if you’re not familiar with it. However, with proper guidance and tools, it’s possible to do it yourself.
Before removing your old window(s), ensure that you have all necessary equipment such as gloves, safety glasses or goggles (to protect against broken glass), pry bar or screwdriver (for removing screws/nails holding the window in place) and a utility knife (for cutting through any caulking).
Start by carefully prying off any trim around the window frame using your pry bar or screwdriver. Once removed, use your utility knife to cut through any caulking between the frame and wall before gently pushing outwards on each side of the sash until they release from their tracks.
If there are nails holding in place instead of screws then use pliers to pull them out one at a time while being careful not damage surrounding areas like walls etc., which could lead into more repairs later down line.
Preparing Window Openings
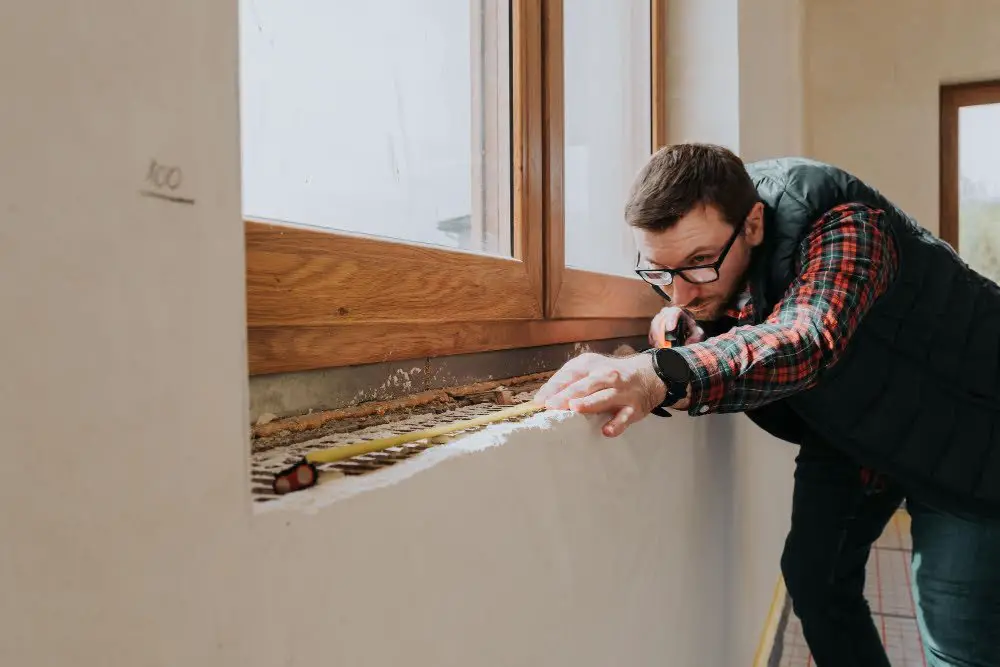
This step is crucial in ensuring that the installation process goes smoothly and that your new windows fit perfectly into place. To begin, you’ll need to remove any old caulking or sealant from around the existing window frame using a putty knife or scraper tool.
Next, inspect the opening for any signs of damage or rotting wood. If there are any issues with the framing, they will need to be repaired before proceeding with installation.
Once you’ve ensured that everything is in good condition and cleaned up debris from removing old materials; measure both height and width of each opening at three different points (top/middle/bottom) as well as diagonally across corners – this will help ensure accurate measurements when ordering replacement windows.
Make sure all surfaces are clean and dry before applying a layer of waterproofing material such as flashing tape around each opening edge where it meets exterior siding/brickwork/etc., which helps prevent water infiltration during heavy rainstorms while also providing an additional barrier against drafts.
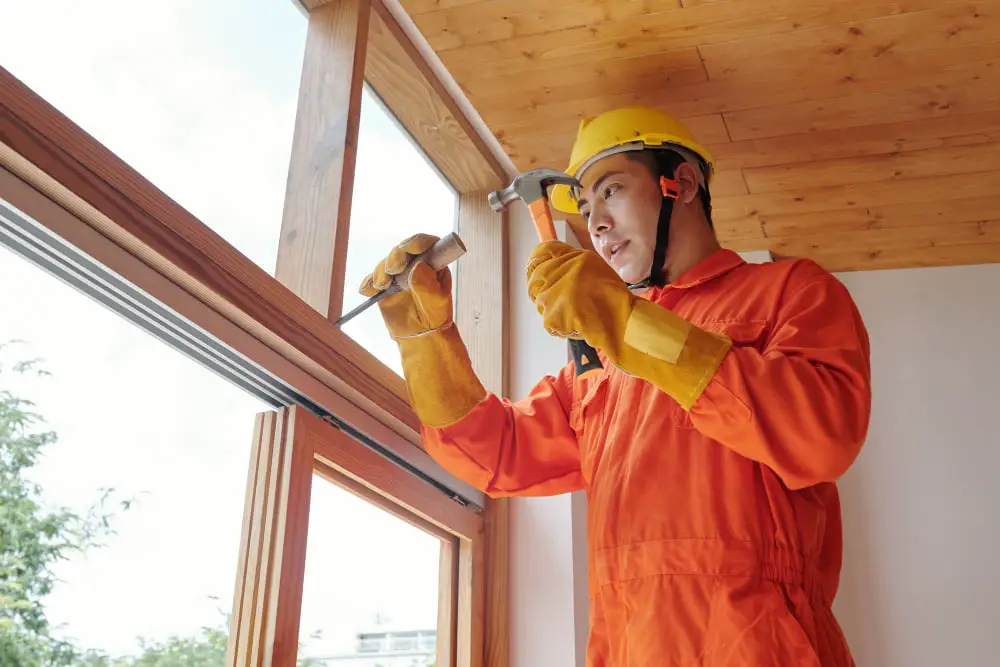
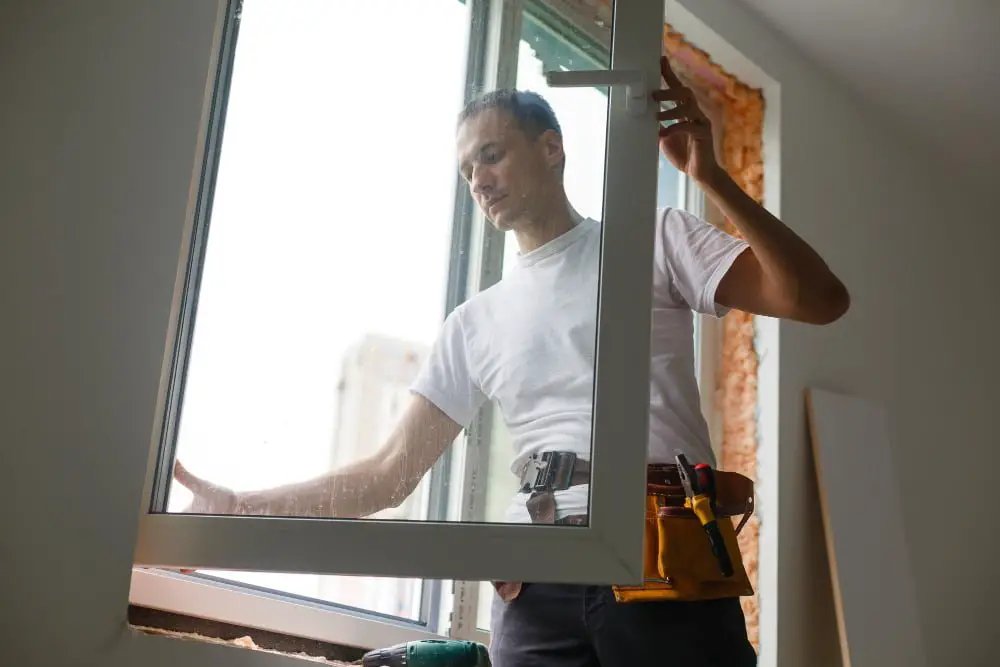
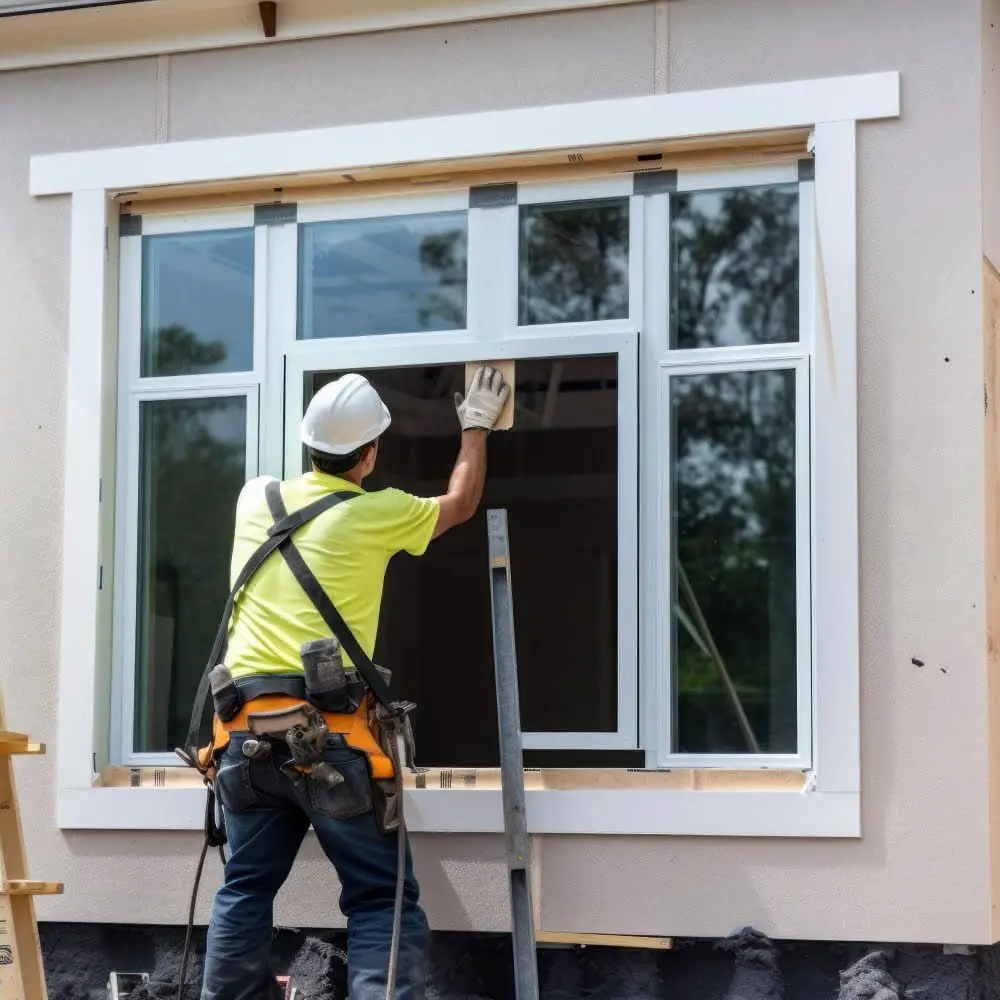
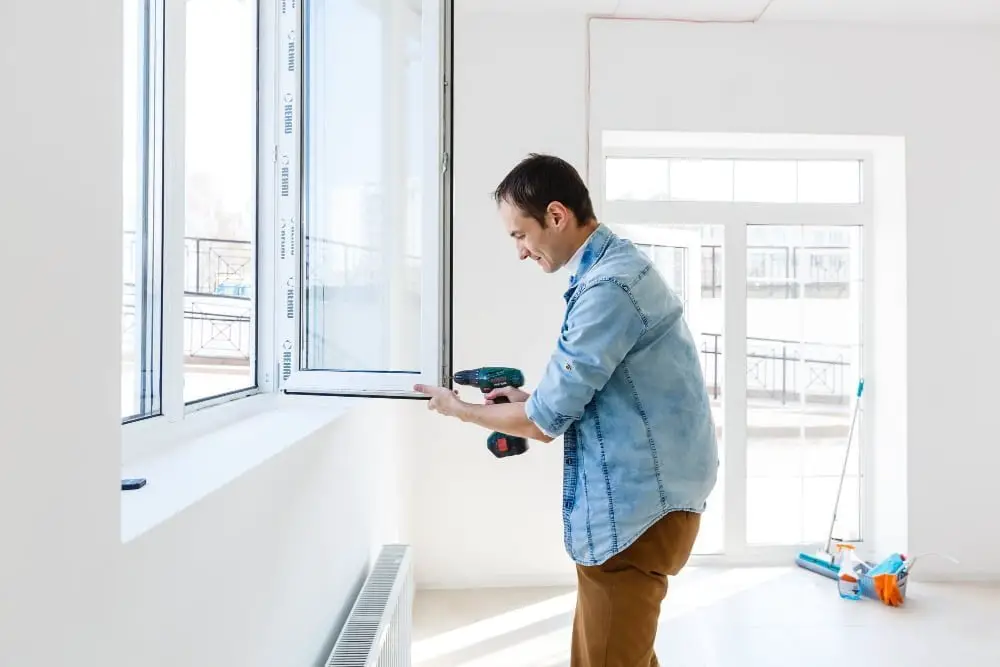
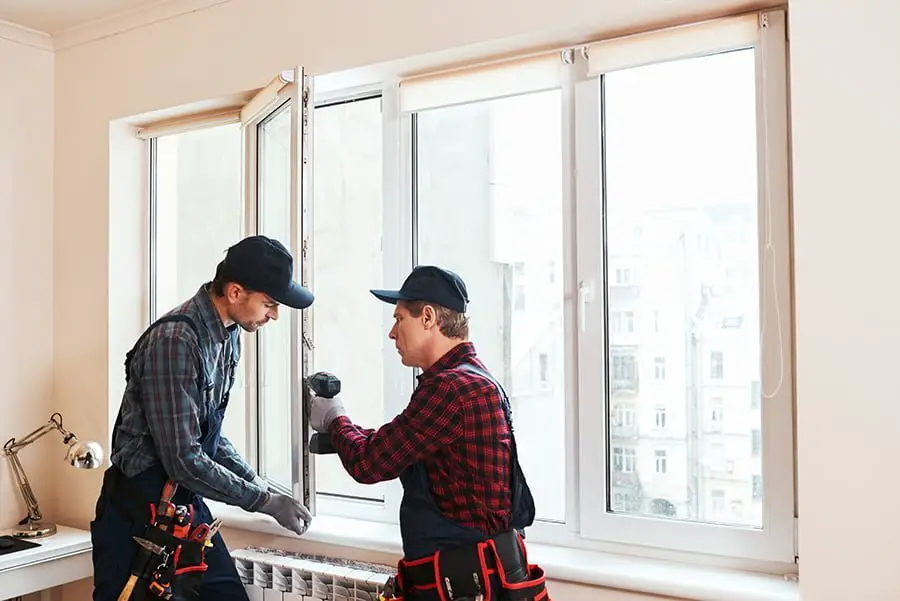
Installing Replacement Windows
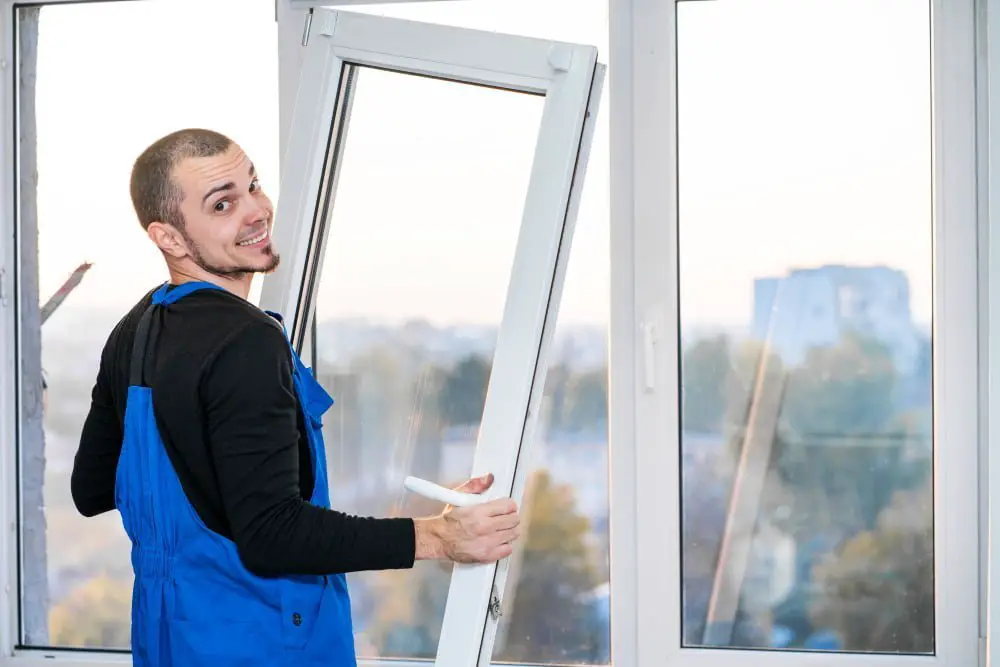
This is where the real work begins. Installing replacement windows can be a challenging task, especially if you’re doing it for the first time.
However, with proper guidance and tools, anyone can do it.
Before installing your new window frames and sashes into the opening of your old window frame (or newly prepared opening), make sure that everything fits properly by dry-fitting all parts together without any adhesive or fasteners.
Next step is to apply a bead of caulk around the perimeter of each side jamb (the vertical sides) and across the sill (the bottom horizontal piece). Then place shims at various points along these areas to ensure that they are level before securing them in place with screws or nails.
After ensuring that everything is levelled up correctly using shims as necessary; attach brackets on either side of each corner joint between frame pieces so they stay securely connected during installation process – this will help prevent any gaps from forming later on down line when weatherstripping gets installed over top edges where two pieces meet up against one another.
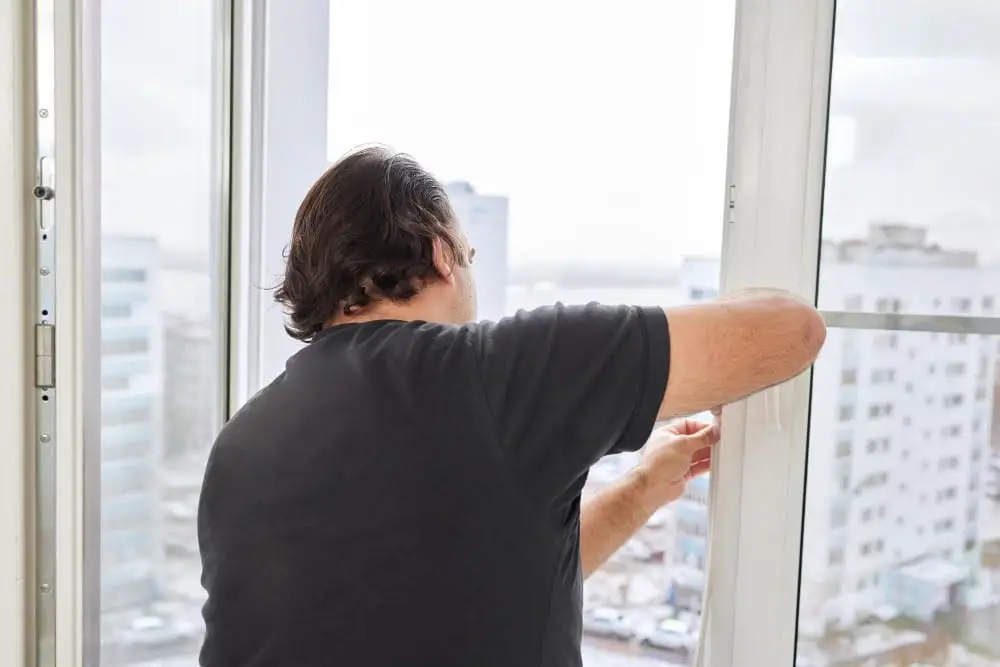
Ensuring Proper Insulation
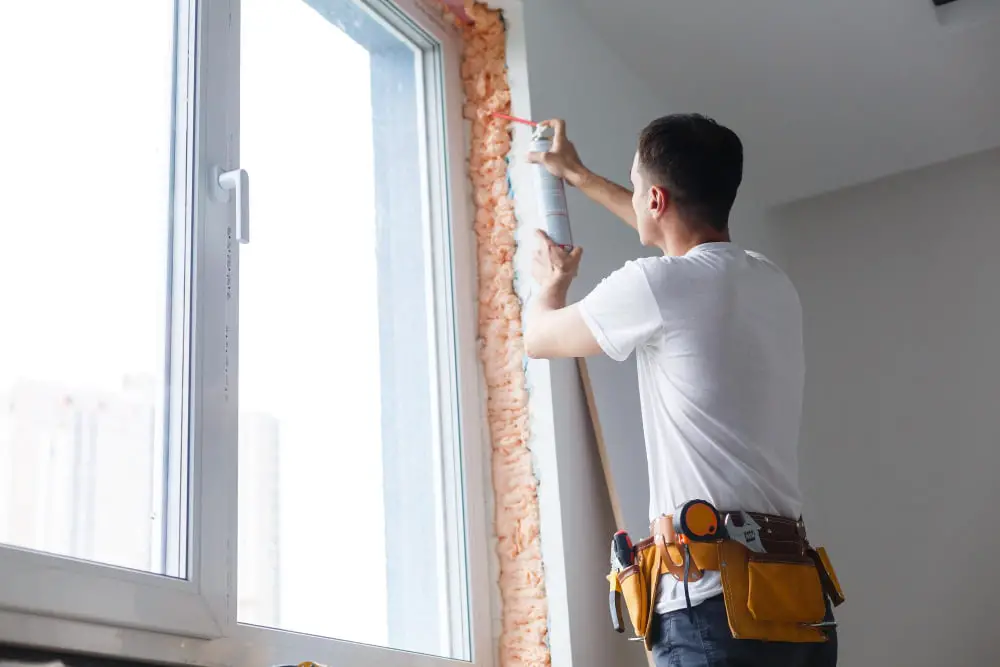
Proper insulation helps keep your home comfortable and energy-efficient by preventing drafts and heat loss. One way to ensure proper insulation is by using expanding foam sealant around the window frame.
This type of sealant expands as it dries, filling any gaps between the window frame and wall.
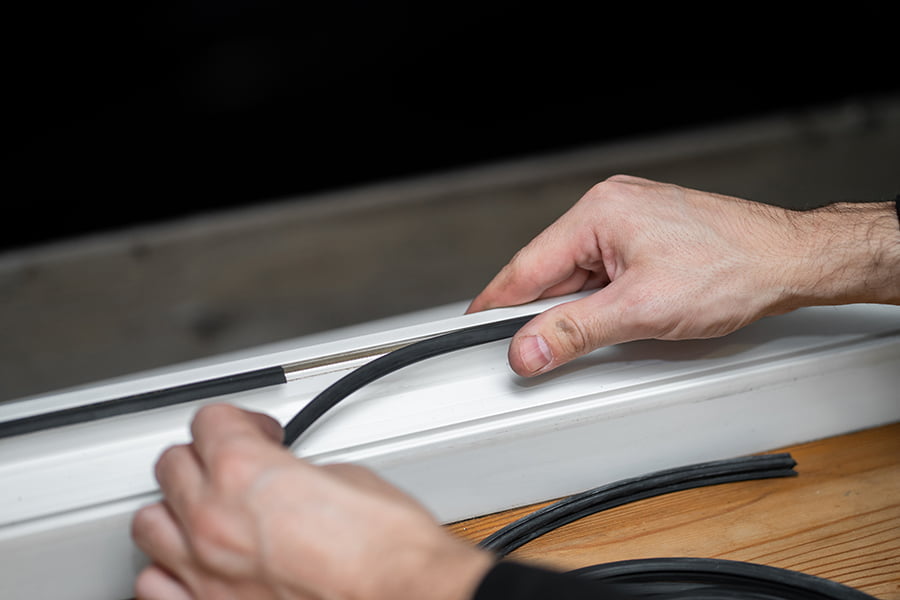
Another option is weatherstripping, which can be applied around the perimeter of each window sash for added protection against air leaks. Weatherstripping comes in various materials such as vinyl or rubber and can be easily cut to size with scissors.
It’s also important not to overlook insulating curtains or blinds that help regulate temperature control inside your home while adding an extra layer of privacy from outside elements.
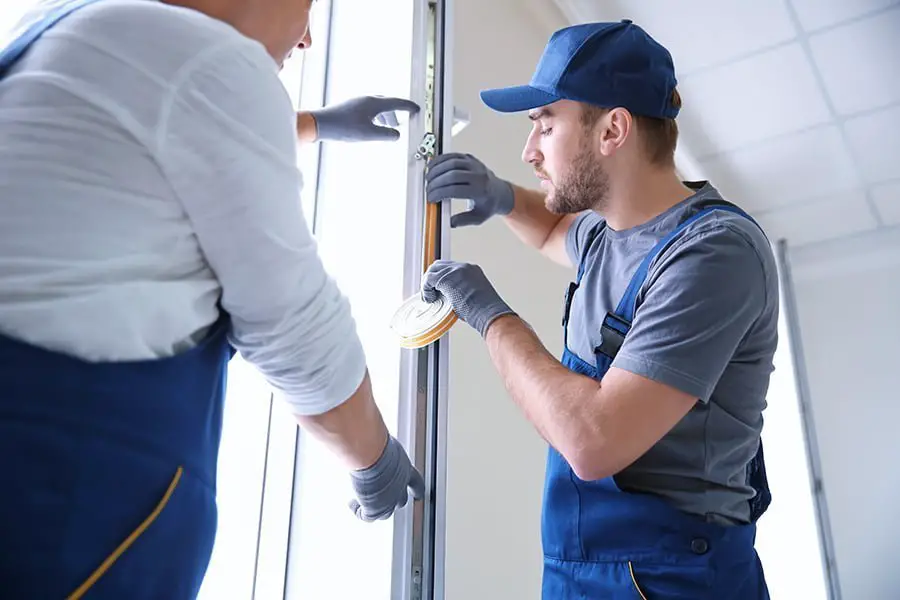
Sealing and Caulking
This step helps prevent air leaks and water infiltration, which can cause damage to your home. Sealing refers to the process of closing gaps between the window frame and wall using foam or weatherstripping tape.
Caulking involves applying a sealant around the perimeter of the window frame.
When sealing or caulking your windows, make sure you use high-quality materials that are designed for this purpose. Low-quality products may not provide adequate protection against drafts or moisture intrusion.
It’s also essential to follow proper application techniques when sealing and caulking your windows. Be sure to clean any debris from around the area before starting work, as dirt can interfere with adhesion.
Cleanup and Finishing Touches

This is an important step in ensuring that your window replacement project is complete and looks great. First, remove any debris or dust left behind from the installation process.
Next, inspect the windows for any scratches or damage that may have occurred during installation.
If everything looks good, you can move on to adding those final touches such as trim work or painting around the frames if necessary. If you’re not comfortable with this type of work, consider hiring a professional painter or handyman to help.
Take some time to admire your newly replaced windows! Not only do they look great but they will also provide improved energy efficiency and security for your home.
Disposing of Old Windows
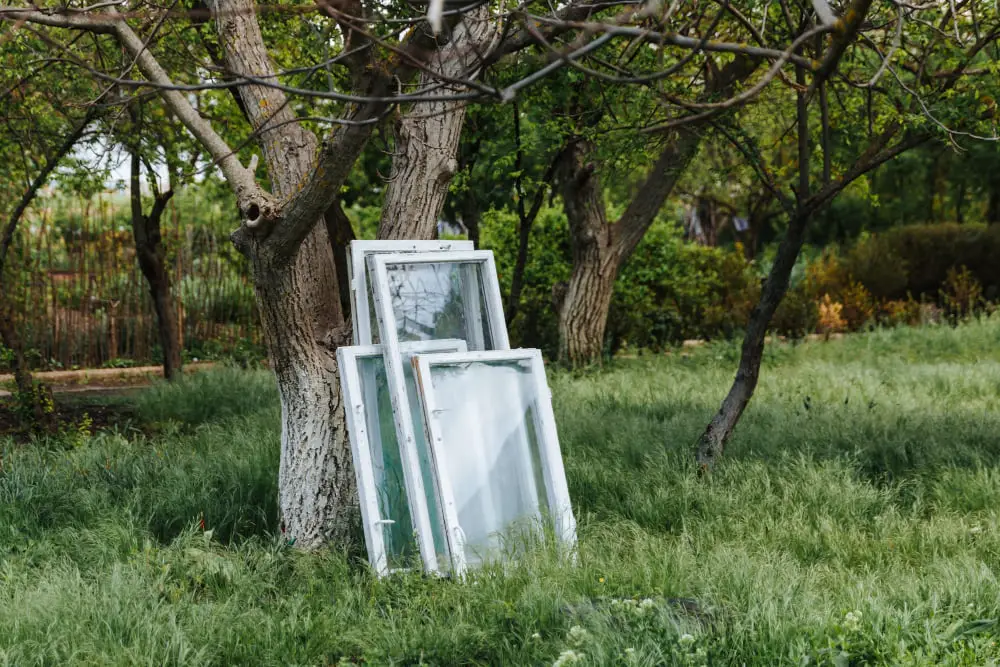
You can’t just toss them in the trash or leave them on the curb for pickup. Old windows contain glass and other materials that can be dangerous if not handled correctly.
The first step is to check with your local waste management facility to see if they accept old windows for disposal. Some facilities may require you to drop off the window at a specific location or schedule a special pickup.
If your waste management facility doesn’t accept old windows, consider contacting a recycling center that specializes in construction materials. They may be able to recycle some parts of your window, such as aluminum frames and glass panes.
Another option is donating usable parts of an older window like hardware or frames which could still have value for someone else who needs replacement pieces. In any case, make sure you take care when handling broken glass from shattered panes by wearing gloves and protective eyewear while disposing of it safely according local regulations.
Timeframe for Window Replacement
The size and type of window being replaced, as well as the method of installation (DIY or professional), are just a few examples that can affect how long it takes to complete the project.
On average, a single window replacement can take anywhere from 30 minutes to an hour for professionals and up to two hours for DIYers. However, keep in mind that this is just an estimate and may not apply in all cases.
It’s important to note that replacing multiple windows will naturally increase the overall time frame needed for completion. Unforeseen issues such as weather conditions or unexpected damage during removal could also cause delays.
Factors Affecting Replacement Time
One of the most significant factors is whether you choose to do it yourself or hire a professional installer. DIY projects may take longer as they require more time and effort, especially if you’re not experienced in this type of work.
Another factor that affects replacement time is the size and complexity of your windows. Larger windows or those with intricate designs may take longer to replace than standard-sized ones.
The condition of your existing window frames also plays a role in determining how long it takes for replacement. If there’s extensive damage or rotting, additional repairs will be necessary before installing new windows which could add extra days onto your timeline.
Lastly, weather conditions can impact how quickly installation occurs since rain or extreme temperatures could delay progress significantly.
It’s essential to consider these factors when planning for window replacements so that you have realistic expectations about timing and budgeting accordingly.
Potential Delays and Solutions
These delays could be due to unforeseen circumstances such as inclement weather or unexpected structural issues discovered during installation. However, there are solutions available to mitigate these setbacks and ensure a smooth transition.
One solution is proper planning and preparation before starting the project. This includes assessing your home’s structure for any potential issues that may arise during installation and addressing them beforehand with a professional installer.
Another solution is communication with your installer throughout the process. If you encounter any problems or concerns along the way, don’t hesitate to bring them up immediately so they can be addressed promptly.
Lastly, it’s important to have realistic expectations regarding timeframes for completion based on factors such as window type and size, number of windows being replaced, accessibility of windows in question among others.
Seasonal Considerations
In general, spring and fall are considered ideal times for window replacements because of their moderate temperatures. However, if you live in an area with extreme weather conditions such as heavy snow or rainstorms during these seasons, it may be best to wait until summer or winter.
Summer is also a popular time for window replacements due to longer daylight hours and warmer temperatures that allow sealants and adhesives to cure properly. However, keep in mind that scheduling may be more challenging during this busy season.
Winter can present some challenges when replacing windows due to colder temperatures affecting adhesive bonding and caulking application. Snow buildup around windows could make installation difficult or even impossible.
It’s important always to consider seasonal factors when planning your window replacement project carefully.
Efficient Window Replacement Tips

One of the most important things you can do is to prepare your home before the installation team arrives. This includes clearing out any furniture or decor near the windows and creating a clear path for them to work.
Another tip is to choose replacement windows that are energy-efficient. Not only will this help reduce your carbon footprint, but it can also save you money on heating and cooling costs in the long run.
If you’re considering DIY installation, make sure you have all necessary tools and materials beforehand so there are no delays during installation day. However, if this seems too daunting or risky for your skill level, hiring professional installers may be worth considering.
Lastly, don’t forget about proper insulation! Ensuring that new windows fit snugly into their frames with appropriate caulking will prevent air leaks which could lead to higher energy bills down-the-line. By following these tips along with our previous guidelines on window replacement duration factors affecting timeframes; homeowners should feel confident in tackling their next window upgrade project efficiently while enjoying its benefits sooner rather than later!
FAQ
How long does it take to replace a single window?
The time needed to replace a single standard window is typically 1 to 2 hours.
How long would it take to install a window?
The time to install a window ranges from 30 to 60 minutes for a basic window replacement, with the possibility of taking one to two days for numerous, large custom windows, and skilled installers can replace 10 to 15 windows per day.
How long does it take to replace 4 windows in house?
It takes approximately 2 hours to replace 4 windows in a house, as the average installation time is 30 minutes per window.
How long does it typically take to replace a glass pane on the window of a house?
Typically, replacing a glass pane on a house window takes around 2 to 3 hours, while multiple panes and windows require 1 to 2 days.
What factors can affect the window replacement timeline for a residential project?
Factors affecting the window replacement timeline for a residential project include window type, customization, material availability, installation crew’s schedule, and weather conditions.
How does the size and type of window impact the installation duration for a window replacement?
“The size and type of window significantly impact the installation duration for a window replacement, as larger and more complex windows typically require more time and effort to install.”
Can scheduling a professional window installation service potentially expedite the process?
Yes, scheduling a professional window installation service can potentially expedite the process.
Read More
 Aluminum Window Latch Replacement: A Simple Guide to Security and Style
 Custom Aluminum Window Screens Buying Guide
 Aluminum Window Removal Tool: Easy Steps for a Hassle-Free Window Replacement
 Screw for Aluminum Window Frame: Your Ultimate Fixing Guide
 Replace Aluminum Window Glass: A Beginner’s Guide to a Clearer View
Recap