Discover the efficient method to replace a window without removing the siding, ensuring a seamless and stress-free home improvement experience.
Have you ever wanted to replace a window but dreaded the thought of removing the siding? It can be a daunting task, especially if you’re not familiar with the process. But fear not! There is a way to replace your windows without having to remove any siding.
In this blog post, we’ll walk you through the steps on how to replace a window without removing the siding. So grab your tools and let’s get started!
Key takeaways:
- Wear protective gear and use caution when replacing windows.
- Have the necessary tools and materials ready beforehand.
- Assess the condition of the existing window before replacing it.
- Measure the window opening accurately for a proper fit.
- Consider style, material, energy efficiency, and budget when choosing a replacement window.
Safety Precautions

Before we dive into the steps on how to replace a window without removing the siding, it’s important to take note of some safety precautions. Replacing windows can be dangerous if not done properly, so make sure you have all necessary safety equipment before starting.
Firstly, wear protective gear such as gloves and eye goggles. This will protect your hands from sharp edges and debris that may fly off during the process.
Secondly, use a sturdy ladder or scaffolding when working at heights to prevent falls.
Ensure that power tools are used with caution and only by those who are experienced in handling them. Lastly, keep children and pets away from the work area for their own safety.
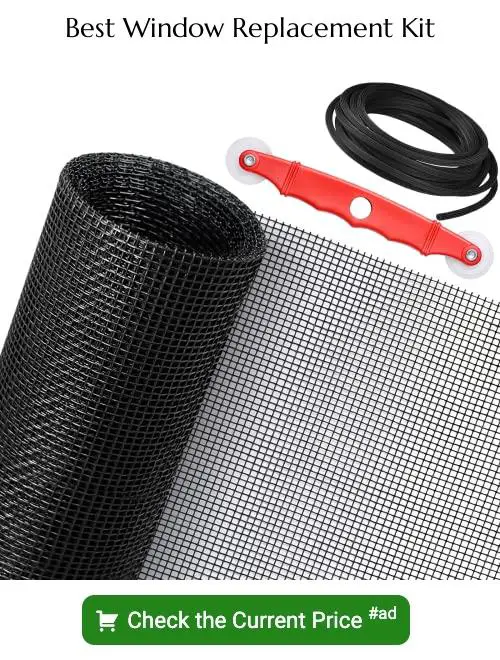
Necessary Tools and Materials
This will ensure that you can complete the project efficiently without any unnecessary delays or trips to the hardware store.
Here are some of the tools and materials you’ll need:
Tools:
- Measuring tape
- Pry bar
- Utility knife
- Hammer
- Screwdriver (flathead and Phillips)
- Caulking gun
Materials: – Replacement window – Window insulation kit – Exterior-grade sealant – Shims.
Having these items ready before beginning your project will make for a smoother experience. It’s also important to note that different windows may require specific tools or additional materials, so be sure to check with your manufacturer’s instructions beforehand.
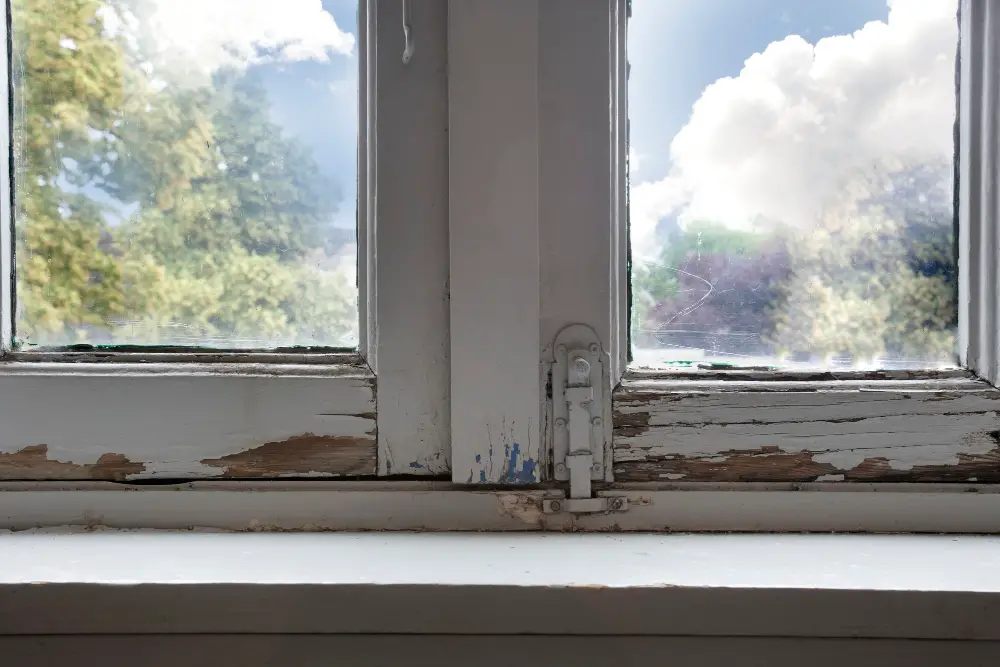
Assessing the Existing Window

This step will help you determine if there are any underlying issues that need to be addressed before installing a new window. Start by inspecting the frame and sash for signs of rot or damage.
Check if there are any cracks or gaps in the glass, which can cause air leaks and energy loss.
Next, examine how well your current windows perform in terms of insulation and ventilation. Are they drafty? Do they let too much sunlight through? If so, then it may be time for an upgrade.
Take note of the size and shape of your existing window as this will affect what type of replacement you’ll need later on.
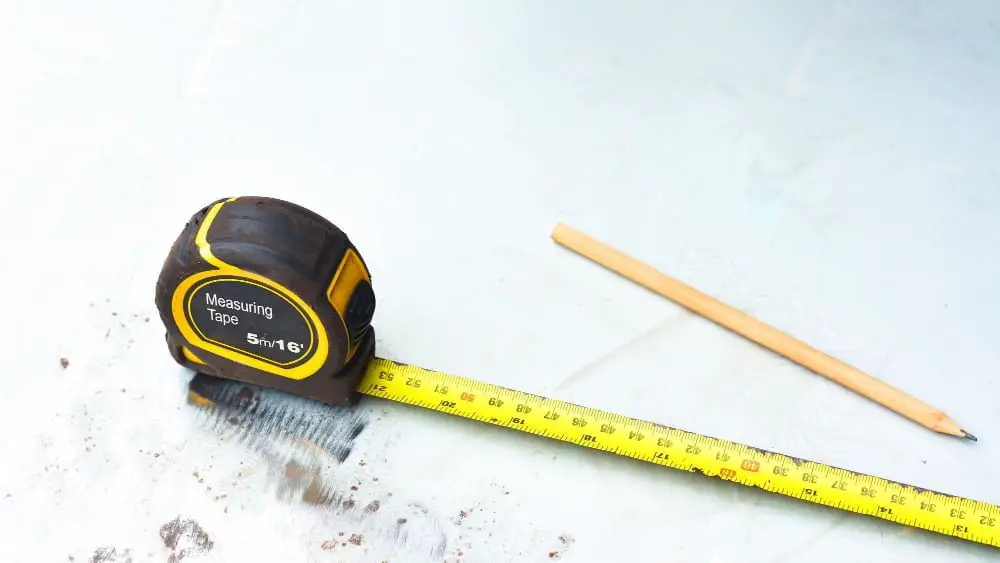
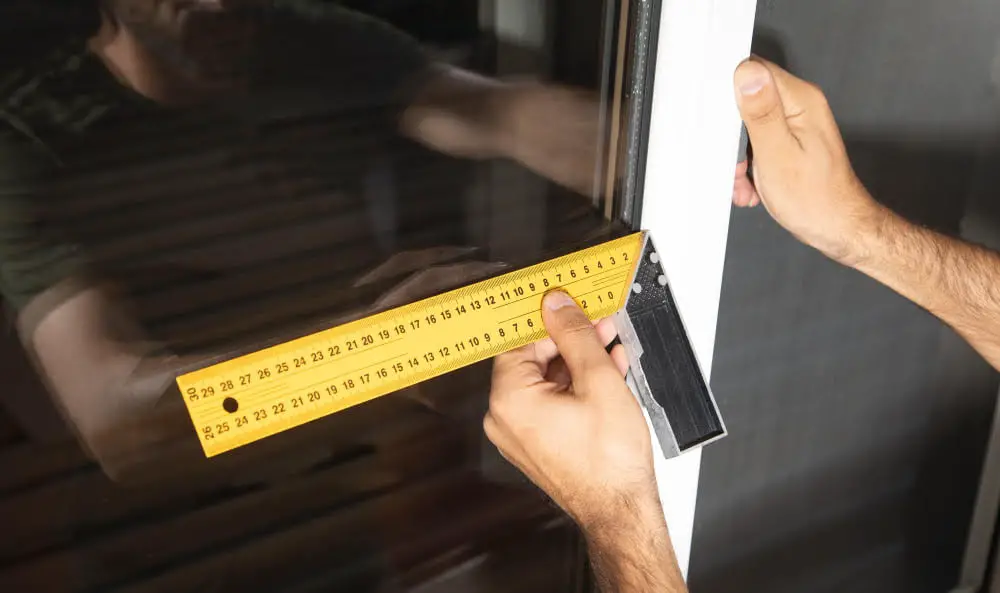
Measuring the Window Opening
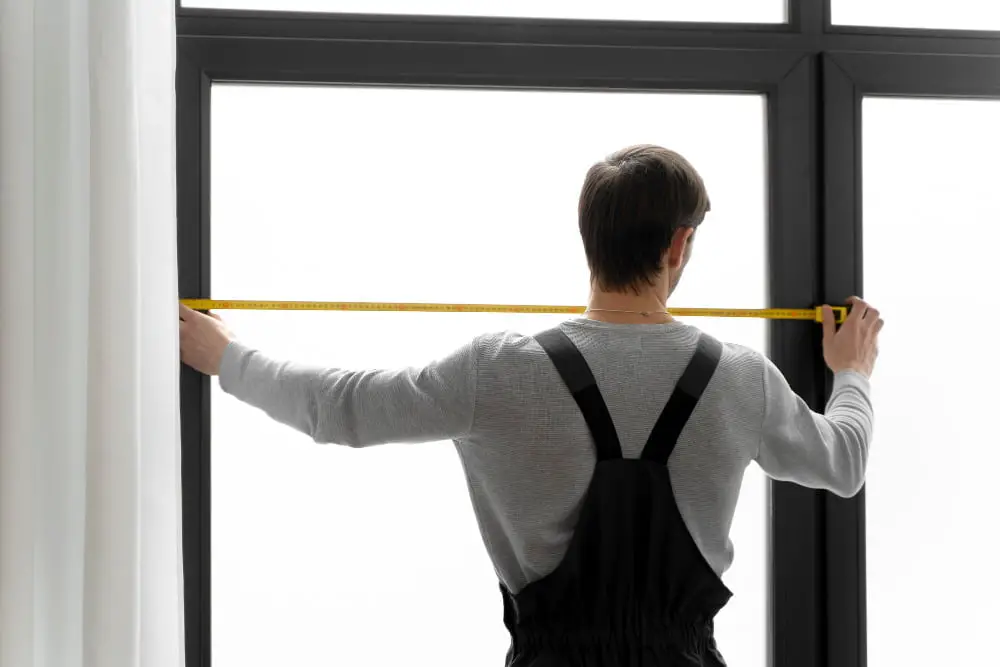
This is an essential part of the process, as it ensures that you purchase a replacement window that fits perfectly into your existing frame. To do this, you’ll need to measure both the width and height of your current window opening using a tape measure.
Start by measuring from one side jamb to another for width and then from top jamb down to bottom sill for height. Be sure not only to take measurements at different points but also check if there are any irregularities or discrepancies in size between different parts of your old windows.
Once you have accurate measurements, use them when selecting new windows so they fit snugly into place without gaps or drafts around their edges after installation.
Choosing the Right Replacement
There are several factors to consider when selecting a new window, such as style, material, energy efficiency rating (ER), and budget.
Firstly, consider your home’s architectural style. If you live in a traditional or historic home with specific design features like mullions or divided light windows that add character to your property’s exterior appearance; then choosing a replacement that matches these details is essential.
Secondly, think about materials. Vinyl windows are popular because they’re affordable and low-maintenance but may not be suitable for all homes’ styles.
Wood frames offer natural beauty but require more maintenance than vinyl ones.
Thirdly check out Energy Star ratings on potential replacements which can help reduce heating costs during winter months while keeping cool air inside during summer months.
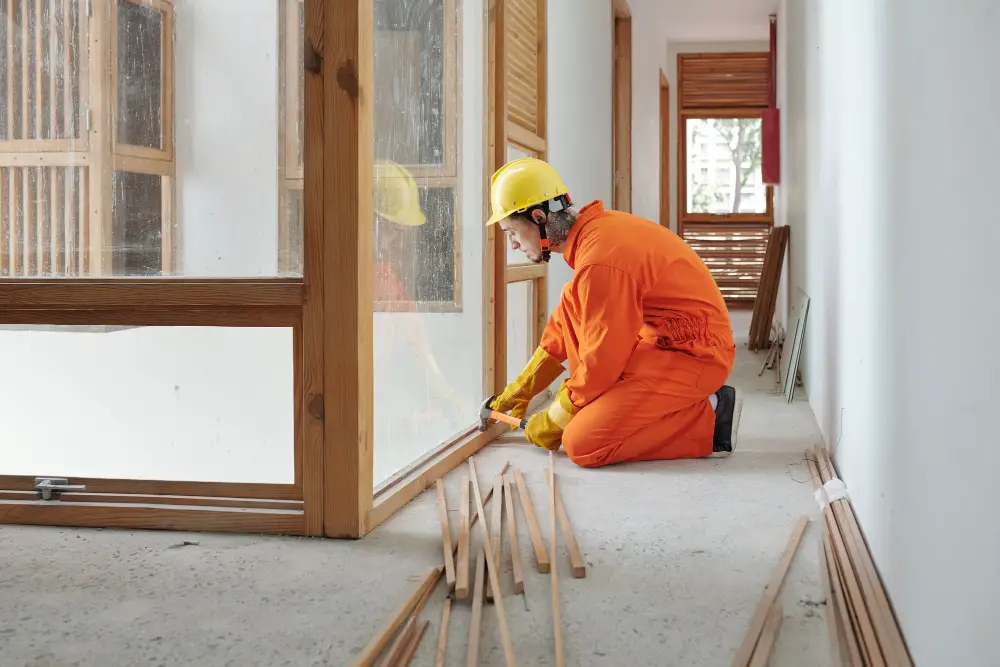
Removing the Old Window Without Siding Damage
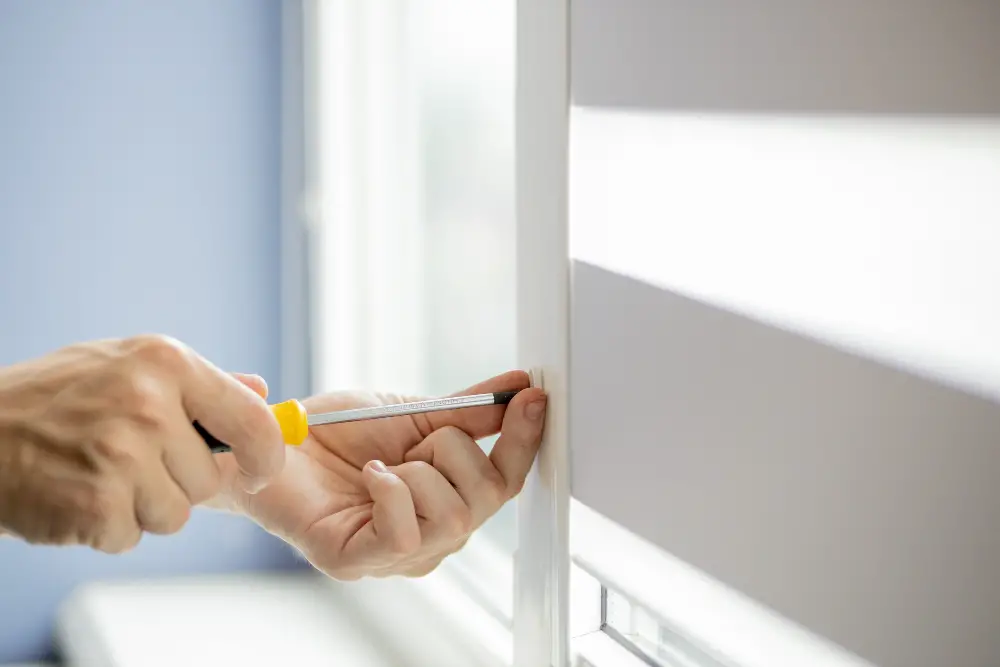
To do this, you’ll need to use a utility knife to cut through any caulking or sealant around the perimeter of the window. Then, carefully remove any screws or nails that are holding the window frame in place.
Next, gently pry out each section of glass from its frame using a putty knife and be careful not to damage any surrounding trim pieces. Once all sections have been removed, take care when removing each piece of framing material so as not to cause damage.
If you encounter resistance while removing parts of your old window assembly, stop immediately and assess what’s causing it before proceeding further. It’s better to take extra time now than risk damaging your home’s exterior later on during installation.
Preparing the Window Opening
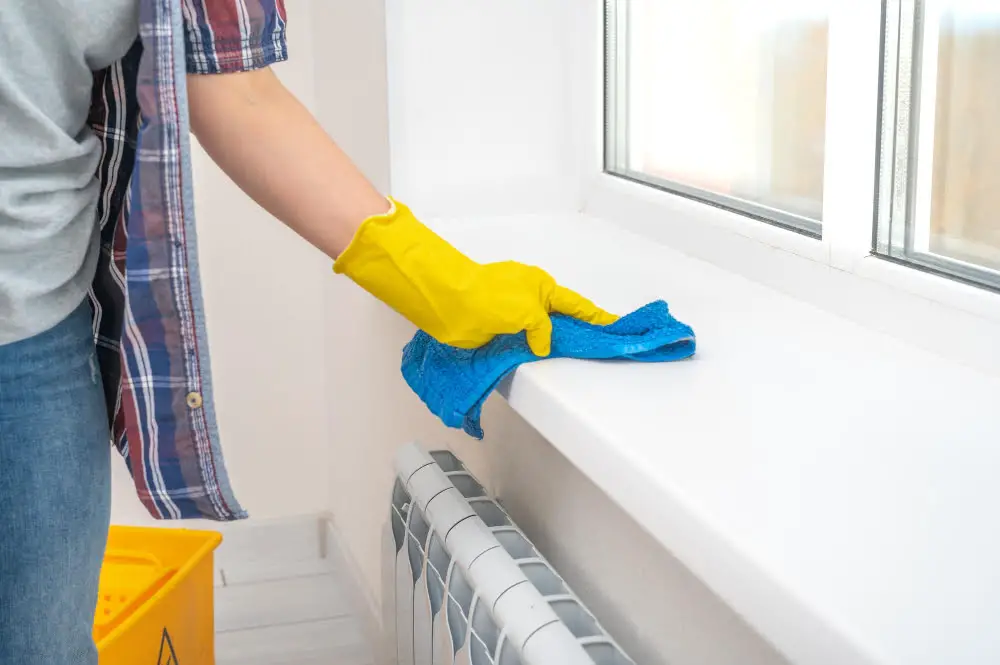
The first step is to clean and inspect the area around where your new window will be installed. Make sure there are no nails or debris that could interfere with a proper installation.
Next, check if there are any gaps or holes in your existing frame that need filling before installing a replacement window. If so, use foam insulation or caulk to fill these gaps and ensure an air-tight seal.
It’s also important to make sure that your rough opening is square and level before proceeding with installation. Use a carpenter’s square and level tool for this task.
Double-check all measurements of both the rough opening as well as those of your replacement windows before moving on to installing them into place.
Installing the New Window
Before installing, make sure that the opening is clean and free of debris. Apply a bead of caulk around the perimeter of the opening to create an airtight seal.
Next, carefully place your new window into position in its frame. Make sure that it fits snugly and securely before proceeding with installation.
Use screws or nails to attach your replacement window into place on each side at regular intervals along with any other hardware required for proper installation.
Test your newly installed window by checking if it opens and closes smoothly without any obstructions or issues.
Insulating the Perimeter
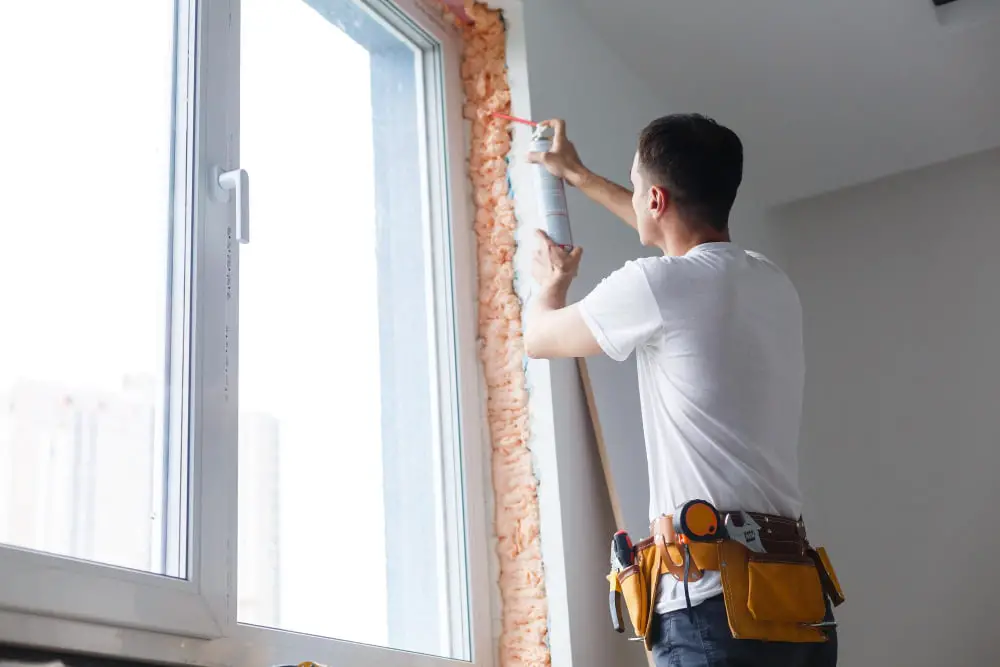
This will help prevent drafts and improve energy efficiency in your home. To do this, use a low-expansion foam insulation that is specifically designed for windows and doors.
Start by applying a small amount of foam insulation around the entire perimeter of the window frame. Be sure to fill any gaps or spaces between the frame and wall completely but avoid overfilling as it can cause damage to your new window.
After applying foam insulation, allow it time to dry before trimming off any excess with a utility knife or scissors. Once trimmed, cover up any visible areas with caulk for added protection against air leaks.
Sealing the Window
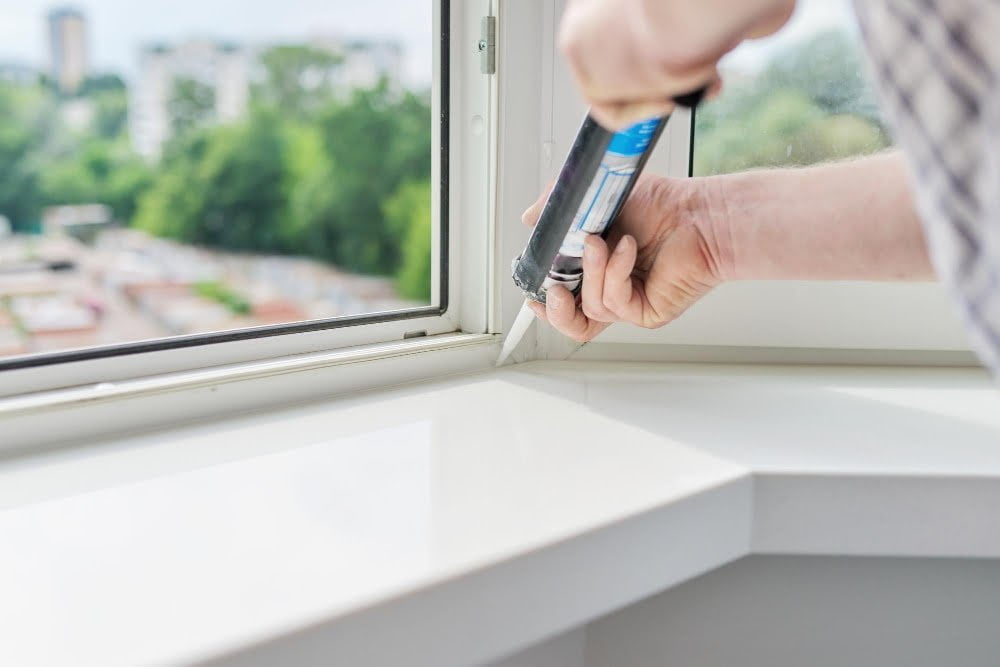
Sealing the window will prevent any air or water leaks and ensure that your home remains energy-efficient. To do this, you’ll need to apply a bead of caulk around the perimeter of the window frame where it meets with your home’s siding.
Start by using a high-quality silicone-based caulk that is specifically designed for exterior use. Apply an even bead along all sides of the frame and smooth out any excess with a caulking tool or your finger.
Make sure you fill in all gaps between the frame and siding completely. This step is crucial as even small gaps can cause significant problems later on if left unsealed.
Once you’ve finished applying caulk around all sides, let it dry according to manufacturer instructions before painting over if necessary.
Installing the Window Trim
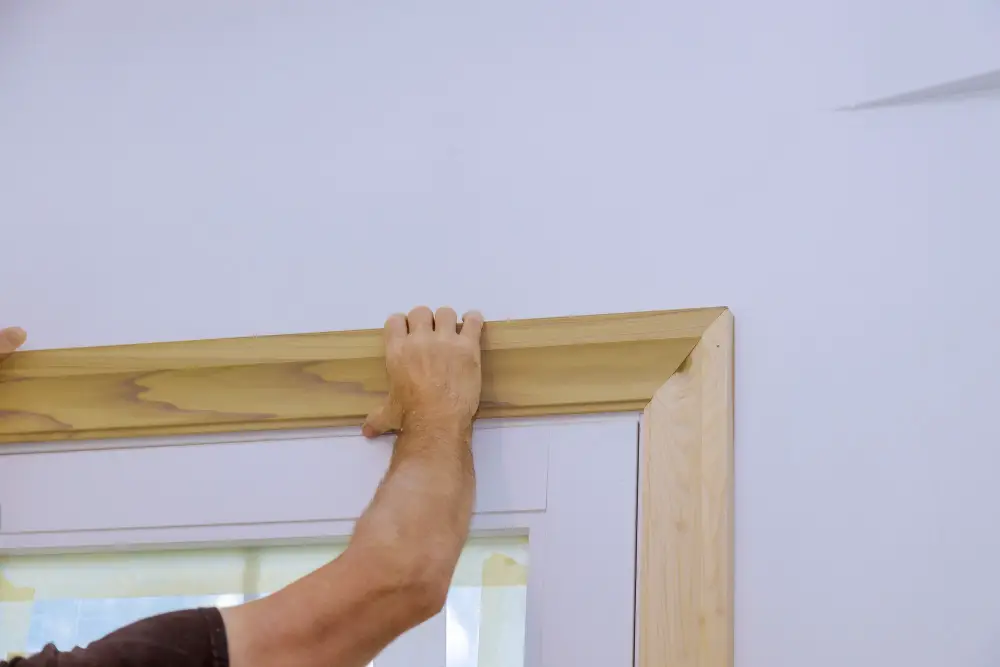
The trim will not only enhance your home’s aesthetic appeal but also provide a seal around your window to prevent air and water leaks.
To install the trim, measure each side of your window and cut pieces of wood or PVC material accordingly. Make sure that they fit snugly against each other and are flush with both sides of the wall.
Next, attach them using nails or screws at an angle towards one another for added stability. Be careful not to overdrive them as this can cause damage to both materials.
Fill any gaps between the wall and trim with caulk for a seamless finish. Allow it enough time to dry before painting or staining according to your preference.
Cleaning and Finishing Touches

First, remove any excess insulation or debris from the area around the window. Then, use a damp cloth to wipe down both sides of the glass and remove any smudges or fingerprints.
Next, install your chosen trim around the perimeter of your new window. This will not only give it a polished look but also help seal out drafts and moisture.
Take a step back and admire your handiwork! Replacing windows can be an intimidating task for many homeowners but with this method that doesn’t require removing siding; you’ve saved yourself time and money while improving energy efficiency in your home.
Replacing windows without removing siding is possible with proper tools like rain jacket flashing tape designed specifically for this purpose.
Properly Disposing of the Old Window
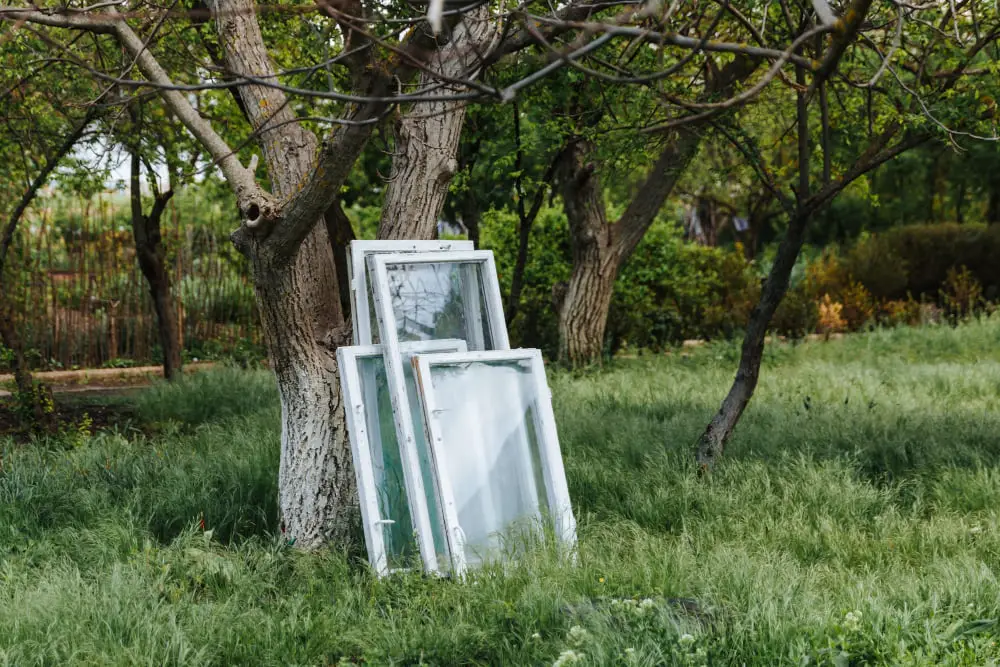
Proper disposal is crucial for safety and environmental reasons. You can’t just throw it in the trash or leave it on the curb for pickup.
Firstly, check with your local waste management facility to see if they accept windows as part of their recycling program. If so, make sure to follow their guidelines on how to prepare and transport the window.
If there are no recycling options available in your area, consider donating or repurposing the old window instead of throwing it away. Old windows can be used for various DIY projects such as picture frames or garden decorations.
Whatever method you choose, make sure that all glass shards are safely contained and disposed of properly before discarding any parts into a landfill site.
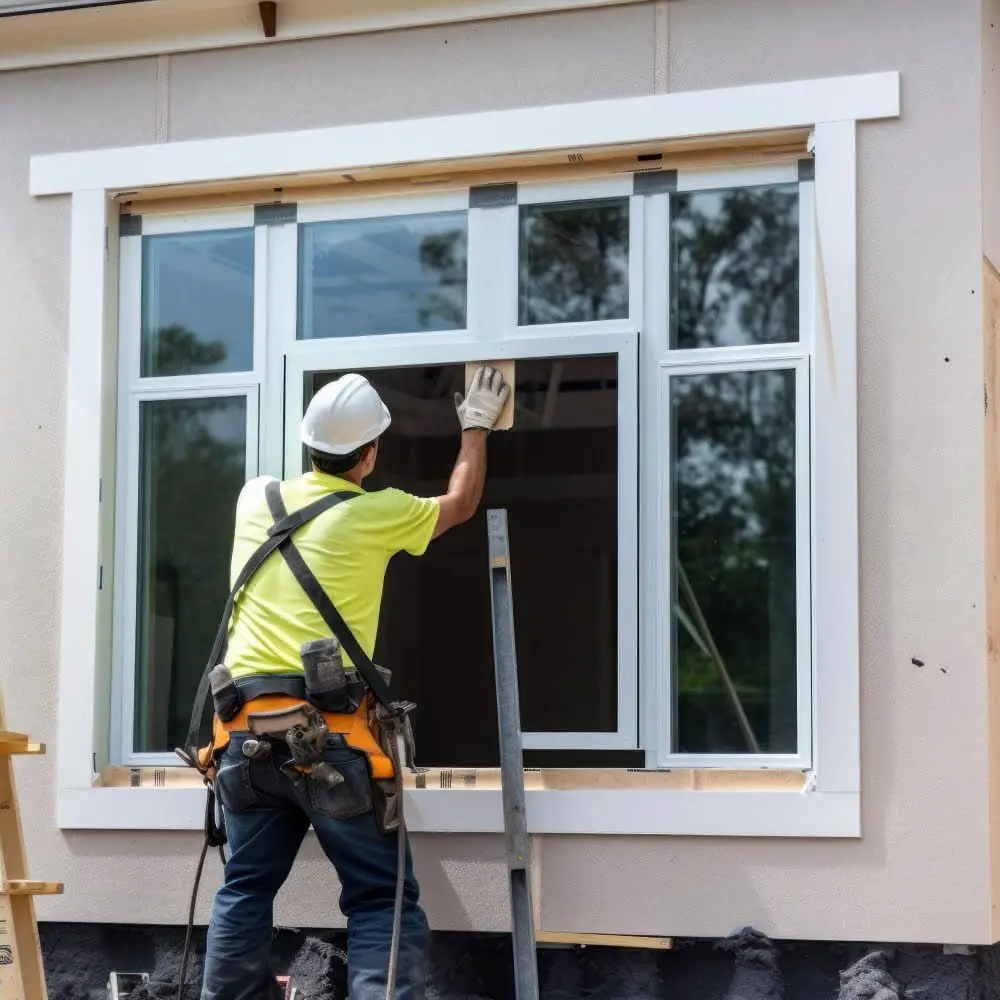
Replacement Windows Do Not Require Removing Vinyl Siding

The good news is that replacement windows do not require removing vinyl siding. This means that you can enjoy a hassle-free window replacement process without worrying about damaging your home’s exterior.
The key to replacing windows without removing vinyl siding is using the right installation method and tools. A professional installer will use a special technique called “retrofitting” or “inserting,” which involves fitting the new window into the existing frame of your old one.
This method allows for an easy and efficient installation process while also ensuring that there are no gaps between the new window and your home’s exterior wall. Retrofitting helps maintain energy efficiency by reducing air leakage around newly installed windows.
Patented Rain Jacket Flashing Window Replacement Method
This method involves installing a new window over the existing one, which eliminates any need for removing or damaging your home’s siding.
The Rain Jacket Flashing system is designed with an innovative flashing that channels water away from your home’s interior. It also features an air barrier that prevents drafts and improves energy efficiency.
The installation process is quick and easy, making it ideal for homeowners who want to upgrade their windows without disrupting their daily routine.
However, keep in mind that this method may not be suitable for all types of homes or situations. It’s always best to consult with a professional before deciding on any window replacement method.
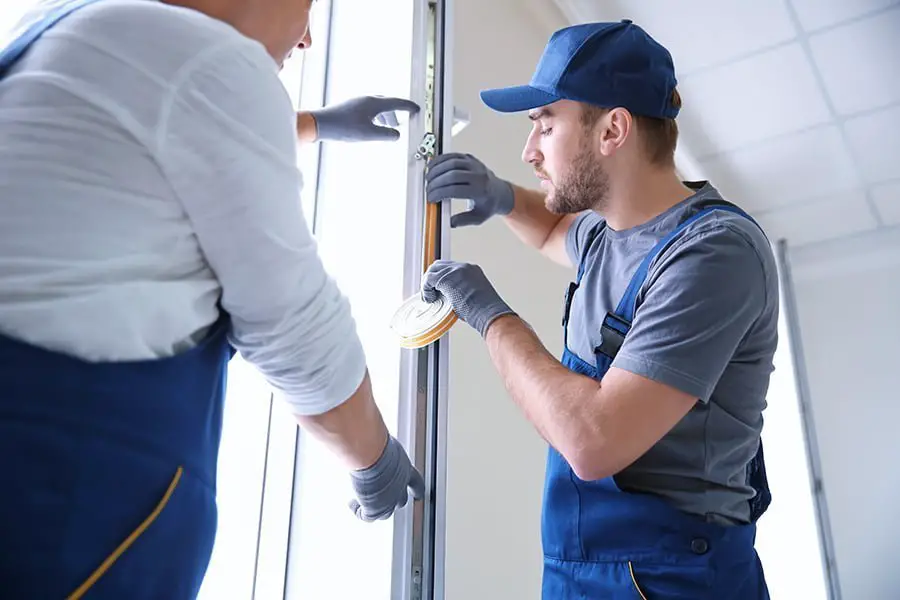
Allow the Professionals to Do It

If you’re unsure about your skills or lack the necessary tools and equipment, it’s best to leave this job to professionals. Hiring a professional window installer will ensure that your new windows are installed correctly and efficiently without causing any damage to your home’s exterior.
Professional installers have years of experience working with different types of windows and know how to handle unexpected issues that may arise during installation. They also have access to specialized tools and materials needed for proper installation.
Moreover, hiring professionals can save you time as they work quickly while ensuring quality results. You won’t need to worry about cleaning up after yourself or disposing of old materials since they’ll take care of everything from start-to-finish.
How to Know It’s Time to Replace Your Windows
There are several signs that indicate your windows need replacing. If you notice drafts coming through your windows, difficulty opening or closing them, condensation between panes of glass or visible damage such as cracks and rotting frames – these are all indications that it may be time for new windows.
Older homes with original single-pane windows can also benefit from replacements as they tend to be less energy-efficient than modern double-paned options. Upgrading your home’s insulation is an investment in both comfort and savings on energy bills.
By keeping an eye out for these warning signs and taking action promptly, you can ensure that your home remains comfortable while avoiding more costly repairs down the line.
How Much Does It Cost to Replace a Window?

On average, a single replacement window can cost anywhere from $300 to $1,000 or more. If you’re planning on replacing multiple windows at once or opting for higher-end materials like wood frames instead of vinyl ones that could increase the overall price.
While hiring professionals may seem expensive upfront but doing so will save time and ensure proper installation which in turn saves money in future repairs due to improper installation. It’s important also consider energy efficiency when choosing new windows because they can help reduce heating and cooling costs over time.
What’s the Difference Between Replacement Windows and New Construction Windows?
It’s important to understand the difference between these two options before making a decision.
New construction windows are designed for new homes or major renovations where the studs of the walls are exposed. These types of windows have a nailing fin that attaches directly to the frame of your home during installation.
On the other hand, replacement windows are made specifically for existing homes and can be installed without removing any siding or trim. They’re designed with a retrofit frame that fits into your existing window opening without disturbing surrounding materials.
While both options offer benefits, choosing between them depends on your specific needs and situation. If you’re building a new home or doing major renovations where wall studs will be exposed, then new construction is likely your best option.
Tips for a Successful Window Replacement
First and foremost, safety should always be your top priority. Make sure to wear protective gear such as gloves and goggles when handling tools or materials.
Another important tip is to measure twice before making any cuts or adjustments. This will help prevent mistakes that could lead to costly errors down the line.
It’s also crucial to choose the right replacement window for your home’s style and needs. Consider factors such as energy efficiency, durability, and aesthetics when selecting a new window.
Proper installation is key for ensuring optimal performance of your new windows. Follow manufacturer instructions carefully or consider hiring a professional if you’re not confident in your DIY skills.
Lastly, don’t forget about finishing touches like cleaning up debris and adding trim around the newly installed windows for an added touch of elegance. By following these tips along with our step-by-step guide on how to replace a window without removing siding; you can achieve success with ease!
FAQ
Can you install replacement windows without removing siding?
Yes, you can install replacement windows without removing siding, as window manufacturers design them to accommodate projects that do not include new siding.
Can you replace a window without removing the frame?
Yes, you can replace a window without removing the frame by using insert window installation, which is designed to preserve the original frame, exterior trim, exterior siding, and interior casing.
Can I install windows over siding?
Yes, you can install windows over siding as replacement windows are installed from the interior, but it is essential to consult your contractor to ensure proper framing and moisture barrier.
Should you install windows before or after siding?
You should install windows before siding.
What are the best techniques for replacing a window without damaging the siding?
One sentence The best techniques for replacing a window without damaging the siding include carefully removing the old window, using a flat pry bar to detach or loosen the siding, and ensuring correct measurements before installation.
What precautions should be taken when installing a new window without removing the existing frame?
Precautions for installing a new window without removing the existing frame include ensuring proper measurements, using a high-quality sealant, and providing adequate support to the new window.
Are there specific window models designed for installation without the need to remove siding?
Yes, there are specific window models, such as pocket replacement windows, designed for installation without the need to remove siding.
Read More
 Aluminum Window Latch Replacement: A Simple Guide to Security and Style
 Custom Aluminum Window Screens Buying Guide
 Aluminum Window Removal Tool: Easy Steps for a Hassle-Free Window Replacement
 Screw for Aluminum Window Frame: Your Ultimate Fixing Guide
 Replace Aluminum Window Glass: A Beginner’s Guide to a Clearer View
Recap