Discover the simple steps to effectively remove a window sash from its frame, making your home improvement tasks effortless and efficient.
Have you ever tried to clean your windows and found it difficult to reach all the nooks and crannies? Or maybe you’re planning on replacing your window glass, but don’t know where to start? Removing the window sash from the frame is a crucial step in both scenarios. It might seem like a daunting task, but with the right tools and steps, it can be done with ease.
In this blog post, we’ll guide you through the process of removing a window sash from its frame so that you can tackle any window-related project like a pro!
Key takeaways:
- Wear protective gear and have someone assist you.
- Gather necessary tools like a screwdriver, putty knife, pliers, and hammer.
- Prepare the work area by clearing furniture, covering surfaces, and opening windows fully.
- Identify your window type (double-hung, casement, sliding, or fixed) for the correct removal method.
- Follow specific steps to remove interior trim, disconnect hardware, release window springs, and remove the sash from the frame.
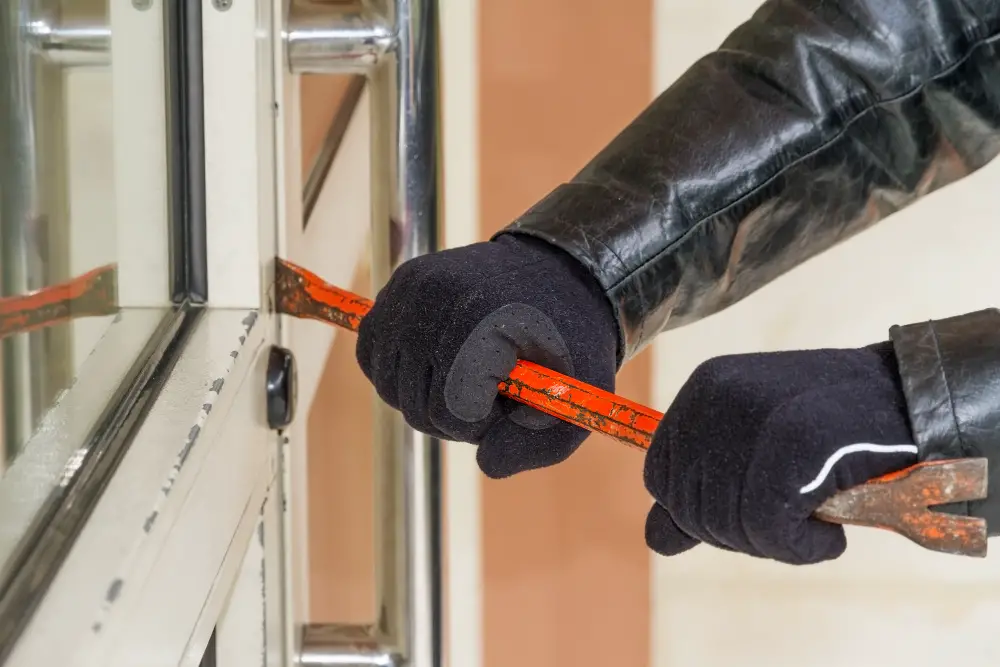
Safety Precautions

First and foremost, make sure you have someone with you to assist in case of an emergency. Wear protective gear such as gloves and goggles to protect your hands and eyes from any debris or broken glass that may come loose during the removal process.
Ensure that all power tools are unplugged before starting work on your windows. If using a ladder or step stool for higher windows, make sure they’re stable on level ground before climbing up.
By taking these simple safety measures beforehand, you can avoid accidents while working on your home improvement project.
Gather Necessary Tools
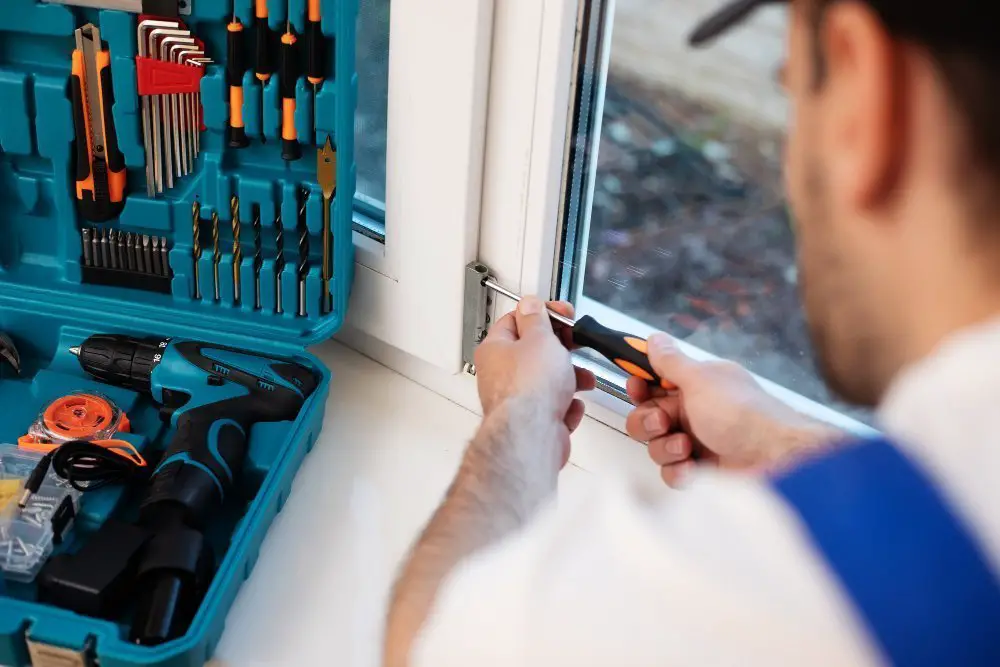
Having everything on hand will make your job easier and prevent any unnecessary delays or frustration. Here are some of the tools you’ll need:
1. Screwdriver: You’ll need a screwdriver to remove screws from hardware and trim.
2. Putty Knife: A putty knife is useful for prying off interior trim without damaging it.
3. Pliers: Pliers can help with disconnecting hardware components such as sash cords or springs.
4. Hammer: A hammer can be used to tap out stubborn pins that hold double-hung windows in place.
- Safety Glasses/Gloves/Mask: It’s important always to wear safety gear when working with glass, dust, or debris that may fly around during removal.
- Tape Measure/Level/Square- These measuring devices ensure accurate measurements before reinstallation
Preparing the Work Area
This will ensure that you have enough space to maneuver and prevent any damage or injury during the process.
Firstly, clear out any furniture or objects near the window. You’ll need ample room to move around and place tools as needed.
Cover nearby surfaces with a drop cloth or plastic sheeting to protect them from dust, debris, and scratches.
Next, open up your windows fully so that they’re perpendicular to their frames; this will give you better access when working on them. If possible remove screens from windows before starting work.
Lastly make sure there is adequate lighting in your workspace so that you can see what you’re doing clearly – natural light is best if available but artificial light sources such as lamps can also be used if necessary.
Identify Window Type
Different types of windows require different methods for removal. The most common types are double-hung, casement, sliding and fixed windows.
Double-hung windows have two sashes that slide up and down within a frame. Casement windows open outward like a door with hinges on one side.
Sliding or gliding windows move horizontally along tracks in the frame while fixed or picture-windows do not open at all.
To determine your window type, examine how it operates by opening and closing it several times while observing its movement pattern carefully.
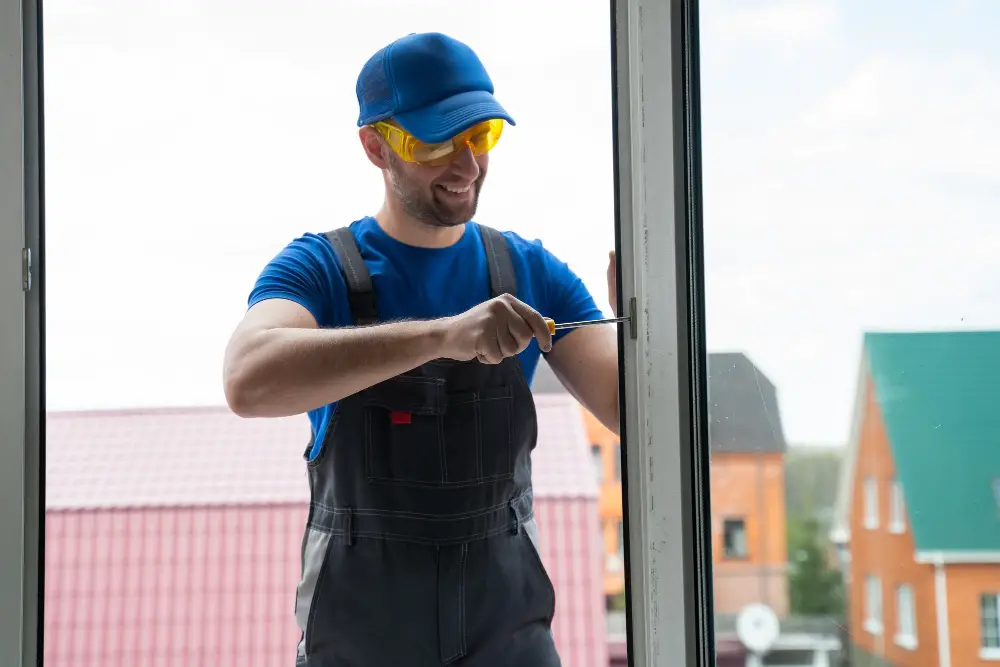
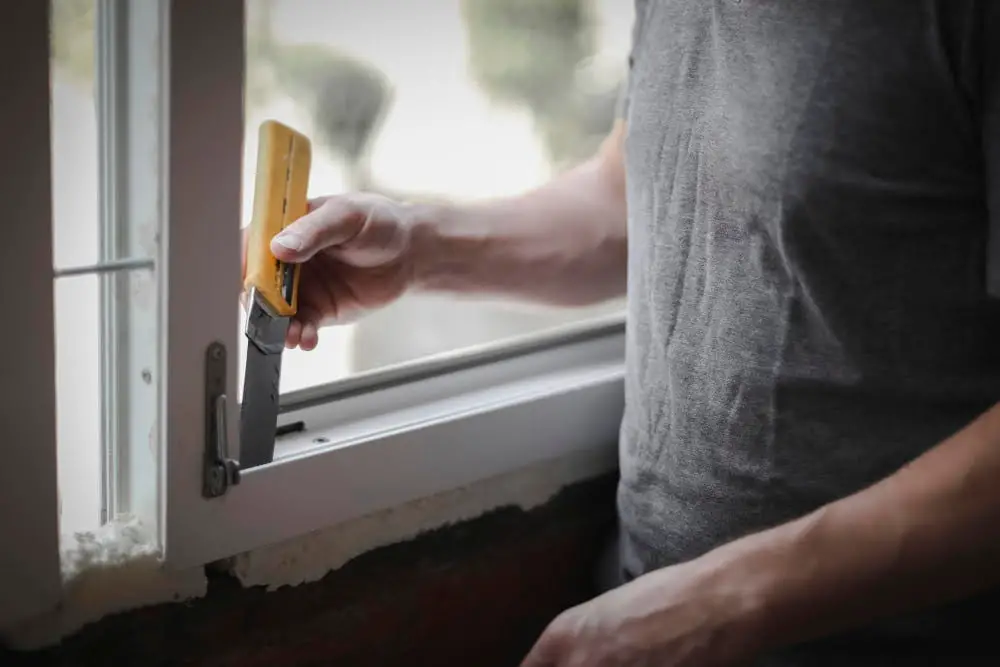
Remove Interior Trim
The trim is usually held in place by nails or screws, so use a pry bar or screwdriver to carefully remove them. Be sure not to damage the surrounding wall as you work.
Start at one corner and gently pry away from the wall until you can get your fingers behind it. Slowly work your way around each side of the window until all four pieces are removed.
If there is any caulking present between the trim and wall, use a utility knife to cut through it before removing each piece of trim. Once all four pieces are removed, set them aside in a safe location for reinstallation later on.
Disconnect Hardware

This step is crucial in removing a window sash from its frame. The hardware may vary depending on your specific window type, but generally, there will be screws or clips holding the sash in place.
For double-hung windows, you’ll need to locate and remove any stops that prevent the lower sash from sliding out of its track. Then look for metal brackets or pins that hold each side of both upper and lower sashes together with cords running through them.
Casement windows usually have hinges at one end which can be unscrewed using a screwdriver while awning-style casements might require removal of locking mechanisms before they can be opened fully.
Sliding windows often feature latches on either side which must first release before attempting to slide open while fixed-pane models typically use clips or screws along their edges for attachment purposes.
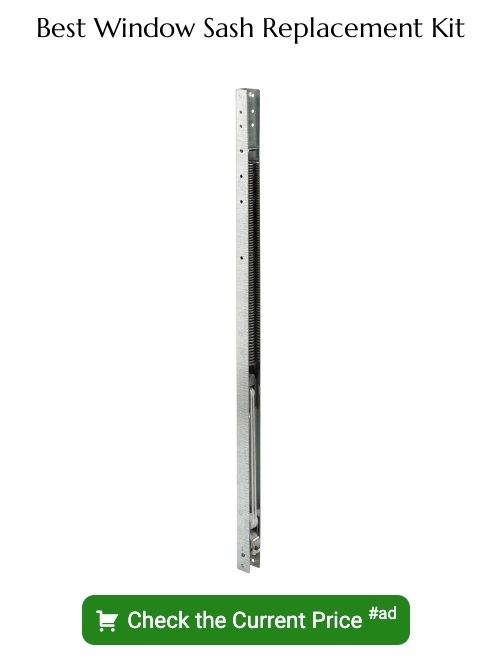
Release Window Spring

This step is crucial for double-hung windows as they rely on a balance system that uses springs to keep them in place. To release the spring, locate it at either side of the window frame and use a pair of pliers or a special tool designed for this purpose to disengage it from its bracket.
Be careful when releasing tension from these springs as they can be dangerous if not handled properly. If you’re unsure about how to do this safely, consult with an expert before proceeding.
With both sides released, gently tilt one side of your sash towards yourself while lifting up slightly until you feel resistance from the other end. Then repeat on another side until both sides are free enough for removal.
Removing Casement Sash
To remove the sash, you’ll need to start by opening it fully. Next, locate the hinge arms that connect the sash to the frame and use a screwdriver or wrench to loosen them.
Once they’re loose enough, lift up on one side of the window while pushing down on the other until it clears its track in both directions.
With both sides free from their tracks, pull outwards gently but firmly until you feel resistance from any weatherstripping or caulking around its perimeter. If necessary, use a putty knife or scraper tool to break any seals before continuing with removal.
Once all seals have been broken and there is no more resistance holding your casement window in place – carefully slide it out of its frame taking care not damage surrounding areas such as walls or trim work during this process.
Removing Double-Hung Sash
Then, release the balance mechanism on each side of the top sash by pulling down on them until they click into place. Next, locate and remove any screws or nails that are holding the window stops in place.
These are typically located at either end of the frame where it meets with each sash.
Once you’ve removed these stops, carefully lift out both top and bottom sashes from their tracks simultaneously to avoid damaging any components. Be sure to keep your hands steady as you do this since double-hung windows can be heavy.
With both pieces removed from their tracks, inspect them for damage or wear before proceeding further with your project.
Removing Sliding Sash
To remove the sliding sash, start by opening the window fully. Locate the screws that secure the sash in place on both sides of the frame and unscrew them using a screwdriver.
Next, lift up one side of the sash while keeping it level with your other hand to prevent it from falling out. Once you have lifted one side high enough, tilt it towards you until it clears its track on that side.
Repeat this process for each section until all sections have been removed from their tracks. Be sure to label each section as they come out so that you can easily reassemble them later.
Removing Fixed Sash
If you need to replace the glass or clean it thoroughly, removing a fixed sash can be done with ease.
Firstly, remove any interior trim around the window frame using a pry bar and hammer. Be careful not to damage any surrounding surfaces during this process.
Next, use a utility knife to cut through any paint or caulk between the frame and sash. This will help loosen up any adhesives holding them together.
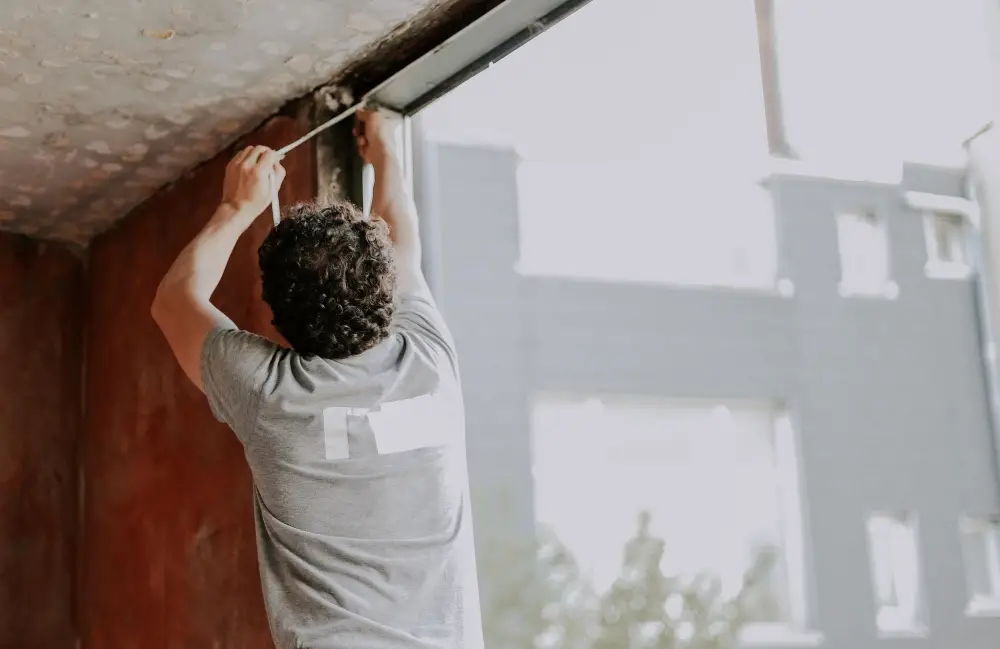
Slide Sash Out of Frame

This step is crucial and requires a bit of finesse to avoid damaging any components or injuring yourself. Start by gently tilting the sash towards you while keeping it level with your other hand.
Slowly guide one side of the sash out of its track, then repeat on the other side until both sides are free from their tracks.
If your window has a tilt-in feature for easy cleaning, make sure that this mechanism is disengaged before attempting to remove the sash completely. Once both sides are free from their tracks and any additional mechanisms have been disengaged, carefully lift up on one end while guiding it towards you until fully removed.
It’s important not to force anything during this process as doing so can cause damage or injury. If at any point something feels stuck or difficult to move, double-check that all necessary steps have been completed correctly before proceeding further.
Detach Sash Cord
This step is crucial if you’re planning on replacing or repairing any of the components in your window. The sash cord is what holds up and balances your window, so it’s important to handle it with care.
To detach the sash cord, start by locating where it connects to your weight pocket inside of the frame. You’ll need a pair of pliers or a utility knife for this step depending on how tightly secured they are.
If there are knots tied around screws at either end of each weight pocket opening (which is common), use pliers to loosen them until they can be pulled out easily without damaging anything else nearby like trim pieces etc., then remove all four screws holding onto one side first before moving over and doing same thing again but opposite direction – this will ensure that both sides come off evenly without causing any damage along way!
With both cords detached from their respective weights pockets, gently pull them through their pulleys until they’re free from any obstructions within reach such as nails or staples which may have been used during installation process years ago when windows were originally installed into home construction project.
Now that you’ve successfully detached your sash cords, take some time inspecting them for wear and tear.
Clean Frame Area
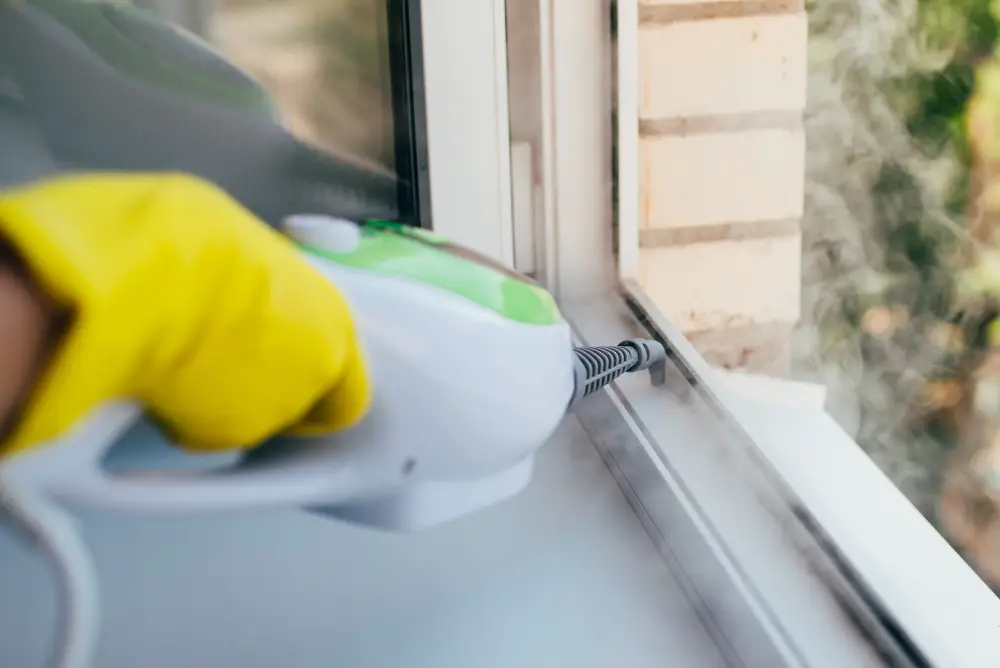
Dirt and debris can accumulate in this space over time, which can affect your window’s performance. Use a vacuum cleaner or a brush to remove any loose dirt or dust particles from the frame area.
Next, use a damp cloth with mild soap solution to wipe down all surfaces of the frame carefully. Be sure not to saturate any wooden parts as excess moisture may cause damage over time.
If there are stubborn stains on metal frames that won’t come off with soap and water alone, try using an appropriate cleaning agent recommended by your manufacturer or supplier.
Cleaning your window frames is an important step in maintaining their longevity and ensuring they function correctly for years to come.
Inspect for Damage
This step is crucial because it allows you to identify any issues that may need repair or replacement before reinstalling the window.
Check for cracks, chips, or warping on both sides of the sash and around its edges. If you notice any damage, consider repairing or replacing them before reinstallation.
Next up is checking your window frame for signs of wear and tear such as rotting wood or rusted metal components. These damages can compromise your windows’ structural integrity if left unattended.
If there are no visible damages found during inspection but still experience difficulty in opening/closing your windows after reinstallation; this could be a sign that some parts were not correctly installed during reassembly.
Repairing or Replacing Components
If you notice any issues, repairing or replacing them is essential before reinstalling the sash. Common problems include broken cords on double-hung windows, damaged springs on casement windows, and worn-out weatherstripping.
If you’re unsure about how to repair or replace these components yourself, it’s best to consult with a professional window technician who can guide you through the process. They will be able to identify what needs fixing and provide recommendations for replacement parts if necessary.
Remember that proper maintenance of your windows can extend their lifespan significantly while also improving energy efficiency in your home.
Prepare for Reinstallation

Before reinstalling the sash, make sure that you clean and inspect both the frame and sash thoroughly. Check for any damage or wear on components such as springs, cords, or pulleys.
If there is any damage found during inspection of either component(s), repair them before proceeding with reinstallation. If necessary replace damaged parts with new ones.
Next step is to lubricate all moving parts like hinges and tracks so that they move smoothly without sticking or squeaking sounds when opening/closing windows.
Ensure that all hardware pieces are in good condition before putting everything back together again – this includes screws/bolts/nuts/washers etc., which should be tightened securely but not too tight as it may cause damage over time due to excessive pressure applied while tightening them up.
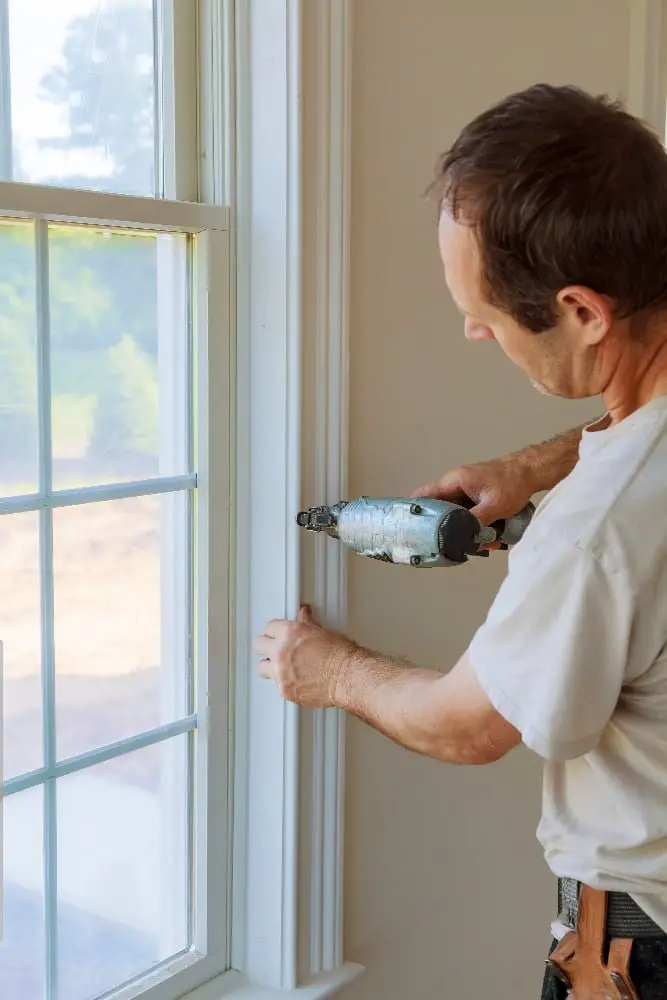
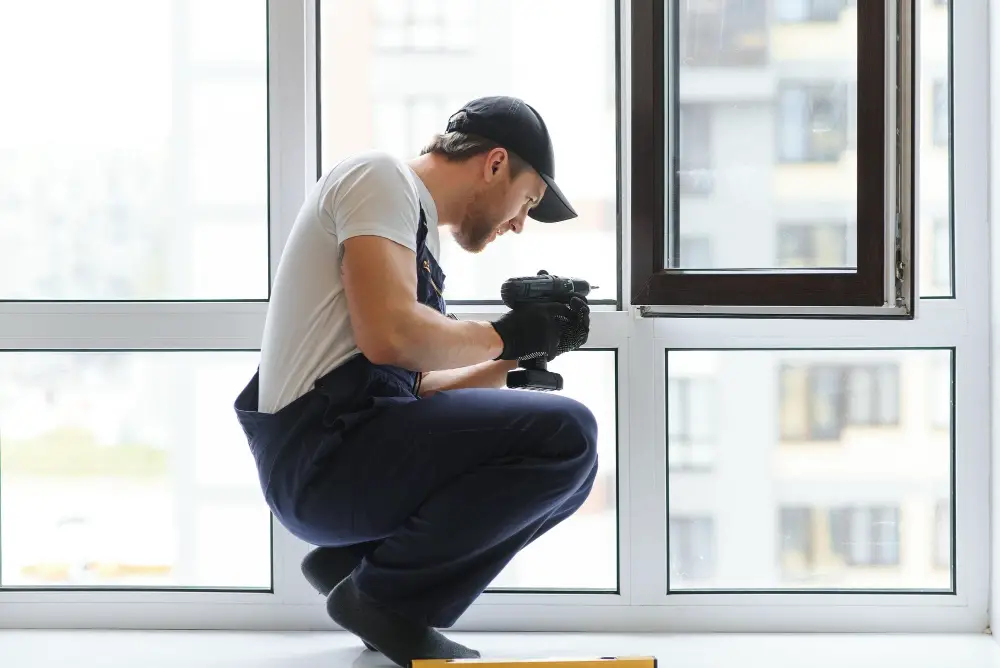
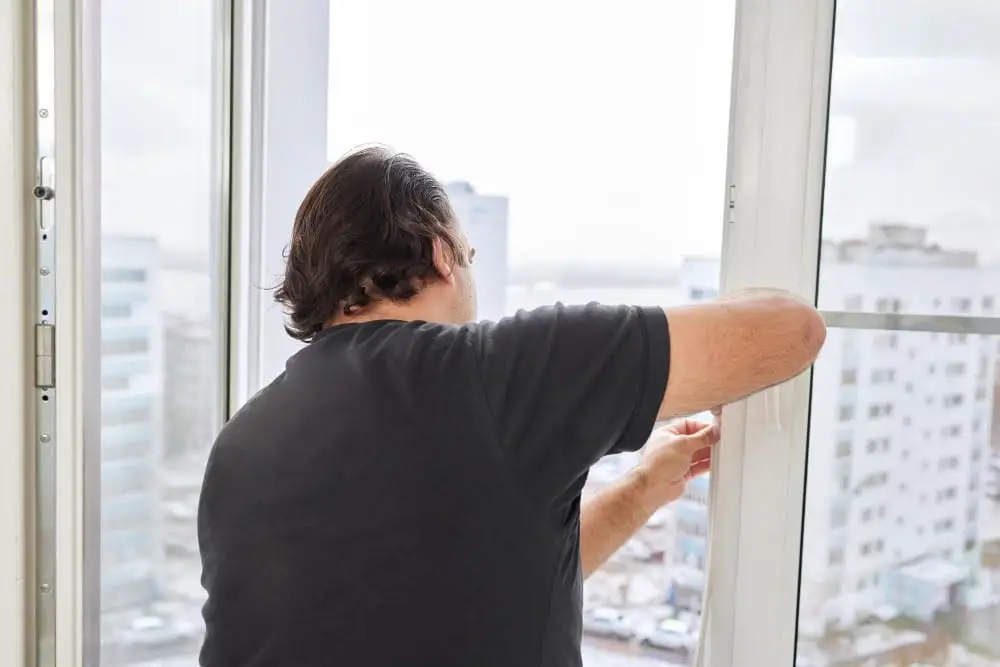
Reassemble Window

This process is essentially a reversal of the steps taken during removal. Begin by cleaning any debris or dirt from both sides of the frame and sash using a soft cloth.
Next, inspect all components for damage or wear and replace as necessary before proceeding with reassembly. If there are no issues, begin by attaching any hardware that was previously disconnected such as locks or latches.
For double-hung windows, start with replacing weights into their respective pockets if applicable before reinstalling cords onto pulleys and then securing them in place on each side of the sash.
For casement windows, ensure hinges are properly aligned before screwing them back into place on both sides of each panel.
Slide your newly assembled window back into its frame carefully ensuring it fits snugly without gaps between glass panes and weatherstripping (if present). Test functionality by opening/closing multiple times to confirm proper operation.
Test Window Function

This step is crucial to ensure that everything is working correctly before reassembling the window. Start by checking if there are any damages or defects on both the sash and frame.
If there are any issues, repair them before proceeding with reinstallation.
Next, slide your newly cleaned sash back into place and make sure it fits snugly in its tracks or channels. Test how smoothly it slides up and down or side-to-side depending on your type of window.
If you’re satisfied with how well your new glass panes fit into their respective frames without rattling around too much when closed tightly together then congratulations! You’ve successfully completed this DIY project like a pro!
Removing a window sash from its frame may seem daunting at first but following these simple steps will help make this task effortless for anyone looking to improve their home’s windows’ functionality while also saving money by doing so themselves instead of hiring professionals who charge exorbitant fees for such services!
FAQ
What are the essential tools and materials needed to remove a window sash from its frame safely and efficiently?
Essential tools and materials needed to remove a window sash from its frame safely and efficiently include a utility knife, screwdriver, pry bar, hammer, safety goggles, and work gloves.
Can you describe a step-by-step process for detaching both single and double-hung window sashes from their respective frames?
To detach single and double-hung window sashes, first remove the trim, then unlock and raise the lower sash, disconnect the balancers, and finally lift the sash out of the frame; for the upper sash, remove any stops, lower it, disconnect the balancers, and lift it out of the frame.
What precautions should be taken during the removal process to prevent damage to the window frame, sash, and surrounding area?
To prevent damage to the window frame, sash, and surrounding area during the removal process, ensure proper handling, use of appropriate tools, and protection of surfaces.
Read More
 Aluminum Window Latch Replacement: A Simple Guide to Security and Style
 Custom Aluminum Window Screens Buying Guide
 Aluminum Window Removal Tool: Easy Steps for a Hassle-Free Window Replacement
 Screw for Aluminum Window Frame: Your Ultimate Fixing Guide
 Replace Aluminum Window Glass: A Beginner’s Guide to a Clearer View
Recap