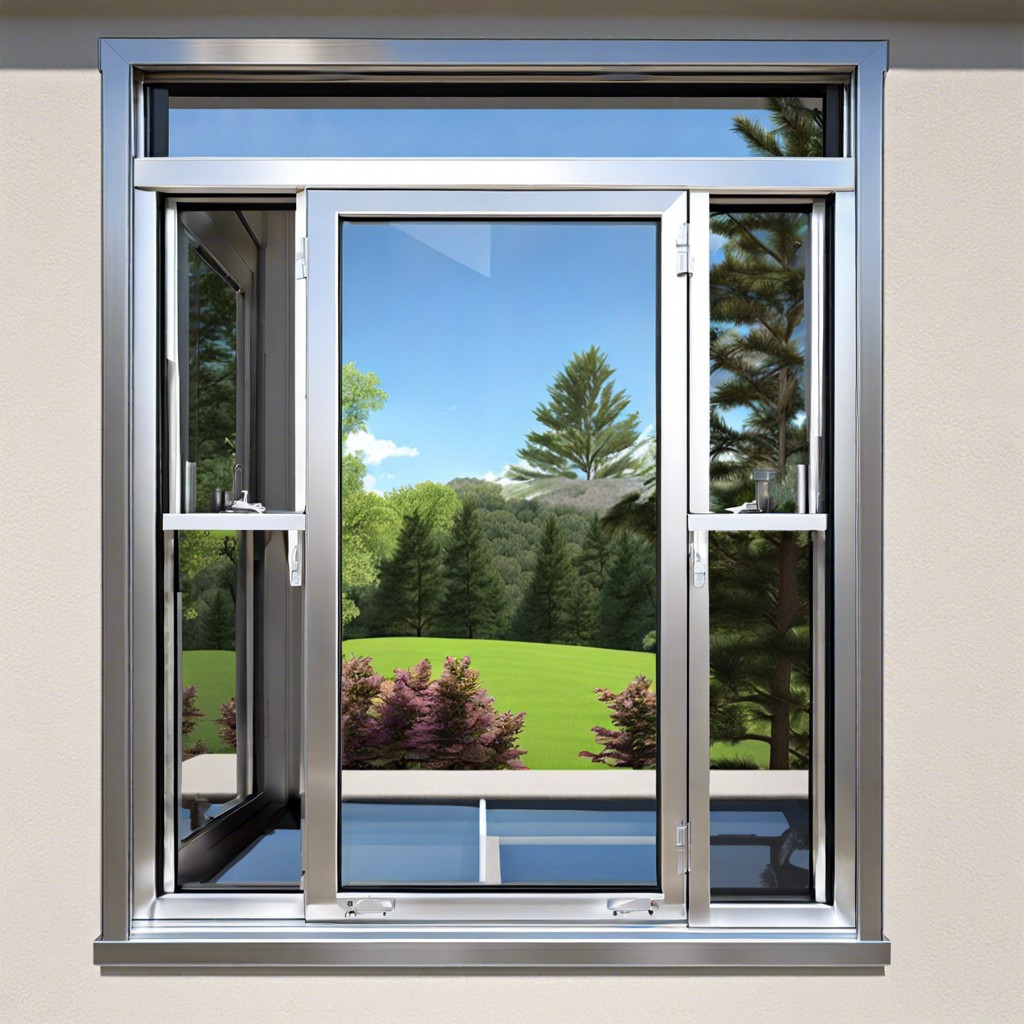
Learn the step-by-step process to safely remove an aluminum window frame from your home.
Key takeaways:
- Prioritize safety: wear protective gear and secure your work area.
- Assess the frame and surrounding materials for construction and damage.
- Remove screws and fasteners carefully, using penetrating oil if needed.
- Cut sealant or caulk with a utility knife to free the frame.
- Prepare the opening by cleaning, measuring, and applying weatherproofing materials.
Safety Precautions and Necessary Protective Gear

Before beginning the removal process, prioritize your safety. Ensure you have heavy-duty gloves to protect your hands from sharp edges and potential glass breakage. Wear safety goggles to shield your eyes from debris, particularly when working with older frames that may shatter or disintegrate. Long sleeves and work pants are advisable to prevent cuts and abrasions. If you are working at a height, secure yourself with a harness or use a sturdy ladder with someone to spot you. Keep your work area clear of obstacles to avoid trips and falls, and position tools within easy reach to maintain a stable posture. Remember, staying safe is paramount to any home improvement project.
Assessing the Window Frame and Surrounding Materials
Before diving into the physical removal, evaluate the window frame’s specific construction and the material it’s set into. Differences between a frame fitted into wood, brick, or siding can greatly affect the approach and tools required.
Consider the age of the frame, as older aluminum frames may have been installed with different methods compared to modern ones. Look for any signs of corrosion or damage that could complicate the removal process.
Additionally, examine any visible fasteners or clips that might be holding the frame in place. They could be concealed under a cap or trim that requires careful removal to access the screws. Taking the time to thoroughly assess these elements can prevent damage to the surrounding materials and ensure a smoother removal.
Loosening and Removing Screws or Fasteners
Begin the process by locating all the screws or fasteners securing the frame to the window opening. If paint or other materials cover them, use a putty knife to expose the heads. Employ a screwdriver or a drill with the appropriate bit to carefully remove screws. For riveted frames, a drill may be needed to drill out the rivets.
In cases of corrosion or paint-sealed fasteners, apply a penetrating oil. Allow the oil to soak in, easing the removal. For stubborn screws, additional tools like pliers may be required for extra leverage. Ensure each fastener is completely removed before attempting to pry the frame from its position to avoid bending or damaging the frame or surrounding materials.
As you progress, keep the removed fasteners in a container to prevent loss or accidental injury from stepping on them. The careful detachment of these elements is pivotal for a clean removal and prepares for a smoother installation of a new frame.
Cutting Any Sealant or Caulk With a Utility Knife
Once you’ve removed the fasteners, your next focus is on the bond created by the sealant or caulk. Over the years, this adhesive can become as tough as the frame itself, ensuring a tight seal against weather elements. However, this bond must be broken securely to free the frame.
Employ a sharp utility knife for this purpose. Glide the knife along the junction where the frame meets the wall, meticulous not to damage the surrounding surface. A steady hand is crucial; multiple passes may be required. Apply consistent pressure to cut through the sealant’s entirety.
Where the frame meets the glass, exercise caution. Slicing around this juncture releases the frame without compromising the glass. Remember, replacing window glass is a separate, more intricate task.
The goal is to create a gap sufficient to introduce leverage for prying. Once the seal is cut, the frame should begin to detach from the wall, moving closer to complete extraction.
Preparing the Opening for a New Window Installation
Once the old aluminium frame is out, focus turns to preparing for the new window. Start by cleaning the exposed surfaces. Any debris, dust, or old sealant remnants hinder proper installation. Check for rot or damage, especially in wooden sills or jambs. Repairing any compromised areas ensures a solid foundation for the new unit.
Measure the opening to confirm it matches the specifications of the new window. Adjustments are more straightforward at this stage than post-installation. Apply flashing or weatherproofing materials as needed. This step is crucial; it prevents water and air infiltration, safeguarding the home against the elements and enhancing energy efficiency.
Lastly, dry-fit the new window before sealing and fastening. This trial run catches potential issues before they become headaches. With these preparations, the new window is set for a smooth installation.
Recap


