Discover the simple steps to safely and efficiently remove a window screen for cleaning or replacement in this easy-to-follow guide.
Windows are an essential part of any home, providing natural light and fresh air. But what happens when you need to clean your windows or replace them? You’ll probably need to remove the window screens first.
Removing a window screen may seem like a daunting task, but don’t worry – it’s actually quite simple! In this blog post, we will guide you step-by-step on how to remove a window screen without damaging it. So if you’re ready to learn something new and improve your DIY skills, keep reading!
Key takeaways:
- Wear gloves and use a ladder for safety.
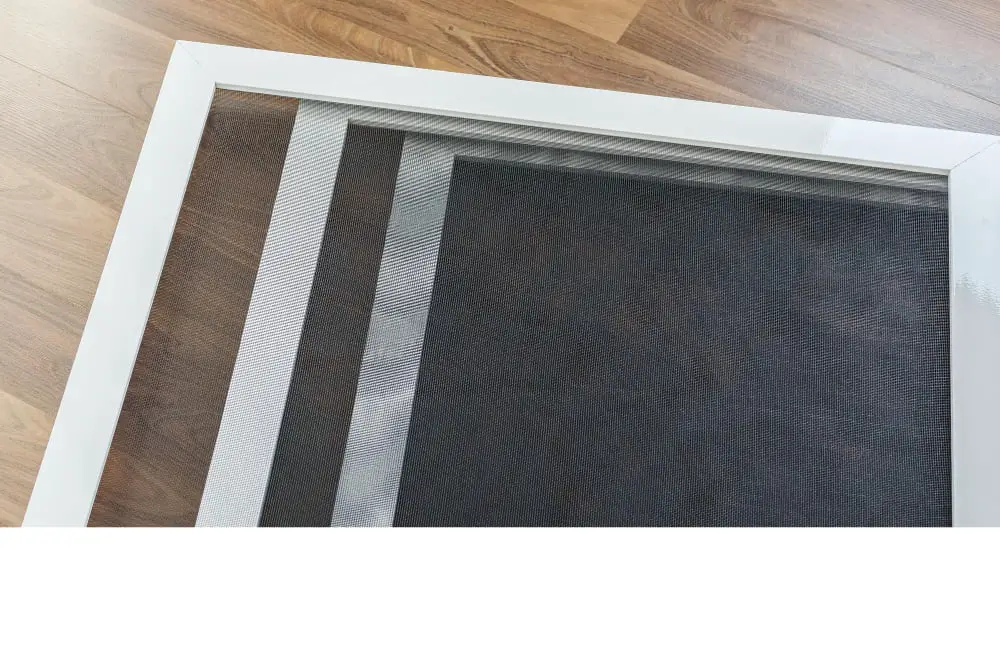
- Different types of window screens available: fiberglass, solar, pet-resistant, and security.
- Essential tools for screen removal: screwdriver, pliers, utility knife, ladder.
- Identify the correct screen type for proper removal.
- Follow specific steps to remove screens from different window styles.
Safety Precautions

First and foremost, make sure you’re wearing gloves to protect your hands from sharp edges or debris that may be on the screen. If you’re working on an upper floor of your home or building, use a sturdy ladder and have someone hold it steady while you work.
Another important safety tip is to avoid using excessive force when removing the screen. If it doesn’t come out easily with gentle pressure, stop and reassess what might be holding it in place before proceeding further.
By taking these simple precautions before starting any DIY project involving windows or screens removals can help prevent accidents and injuries from happening.
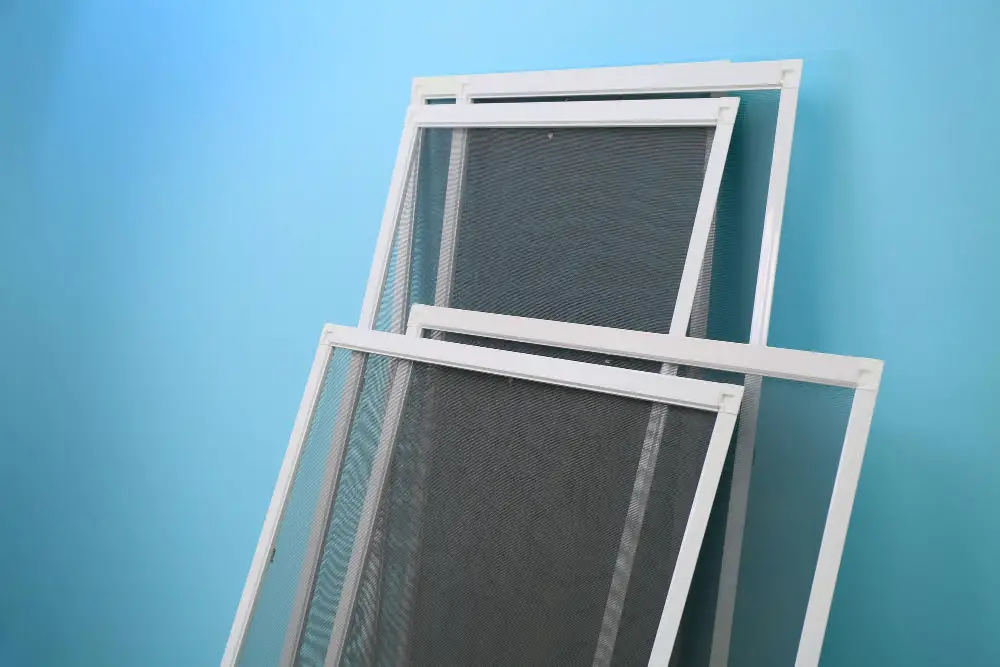
Types of Window Screens
There are several types of window screens available in the market, and each one has its unique features and benefits.
The most common type is a standard fiberglass screen that comes with an aluminum frame. These are affordable and easy to install but can be prone to damage over time.
Another popular option is a solar screen that blocks UV rays from entering your home while still allowing natural light in. They’re perfect for hot climates where air conditioning bills can skyrocket during summer months.
Pet-resistant screens are also available for homeowners with furry friends who love scratching or jumping on windowsills. These durable mesh materials prevent pets from damaging your window screening while still providing ventilation.
There’s also security screening designed to keep intruders out by using heavy-duty metal mesh material instead of traditional fiberglass or aluminum frames.
Gather Required Tools
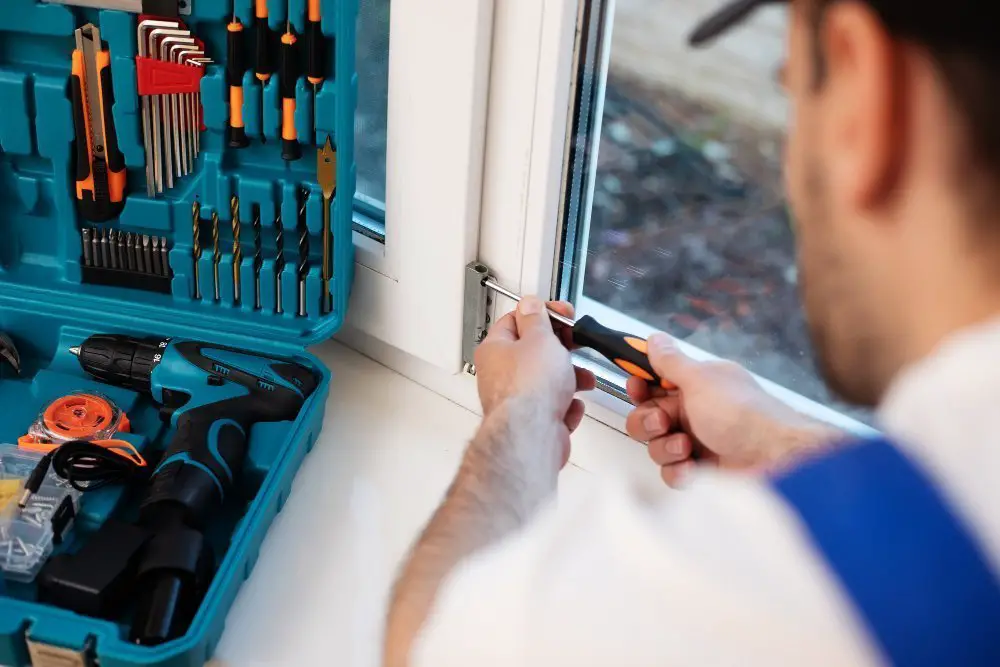
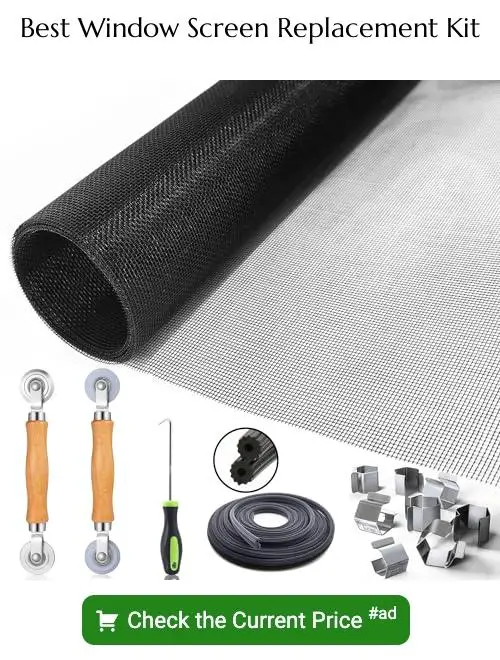
Having the right tools on hand will make the process much easier and prevent any damage to your screens or windows. Here are some of the essential tools you’ll need:
1. Screwdriver: You’ll need a screwdriver to remove any screws holding your screen in place.
2. Pliers: Pliers can be used for releasing tension springs that hold some types of window screens in place.
3. Utility Knife: A utility knife is useful for cutting through paint or caulk that may be sealing a screen into its frame.
4. Ladder (if needed): Depending on where your windows are located, you may need a ladder to reach them safely.
5. Cleaning Supplies (optional): If you plan on cleaning your window frames while they’re removed, have cleaning supplies ready such as soap and water or glass cleaner.
Make sure all these items are within easy reach before starting work so that there is no delay during removal process due to missing tool(s).
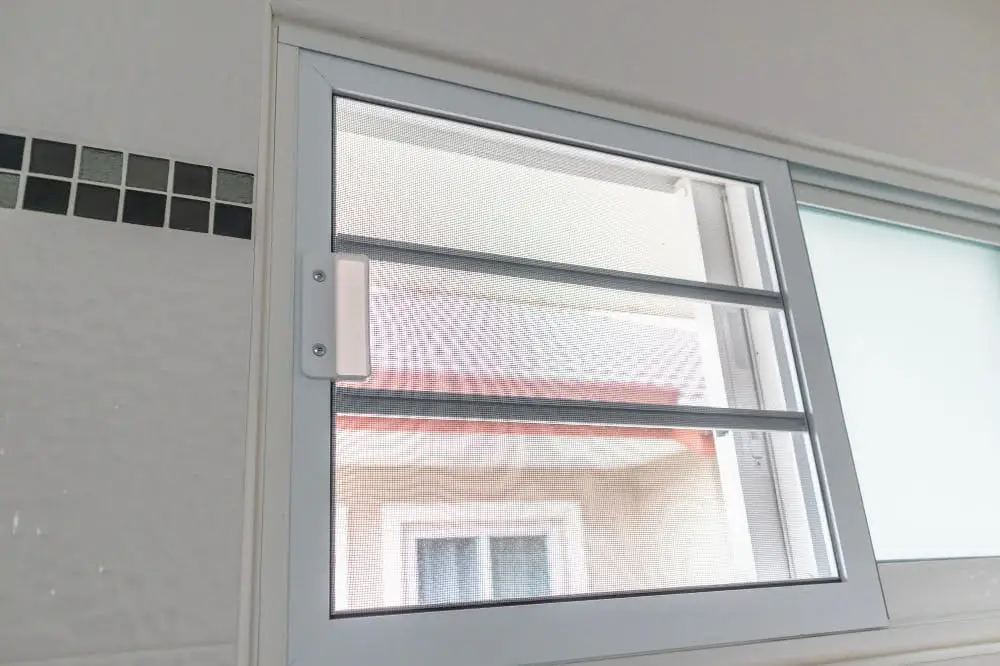
Identify Screen Type
Different types of screens require different removal methods, so identifying the correct type is crucial for a successful removal process. There are three main types of window screens: hung windows, slider windows and casement windows.
Hung Windows: These are traditional double-hung or single-hung sash windows that slide up and down within their frame.
Slider Windows: These consist of two or more panels that slide horizontally along tracks in their frame.
Casement Windows: These open outward from hinges on one side like a door. Identifying your window screen type will help ensure that you use the right tools and techniques when removing them.
Removing Window Screens From Hung Windows

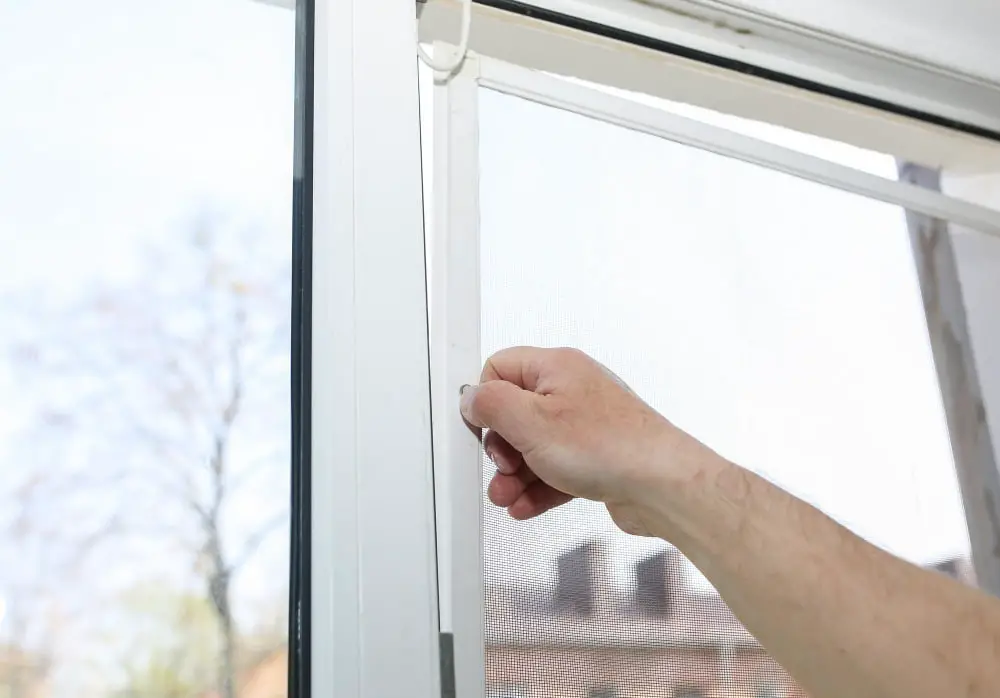
First, you need to unlock the screen by locating the latches on either side of the frame and releasing them. Once unlocked, lift up on the screen tabs located at each end of your window’s bottom sash until they clear their respective slots in order to remove it.
Next, lower your window sash halfway down so that you can access both sides of your screen easily. Then locate and release any tension springs holding onto its frame by gently pulling them away from their clips or hooks.
Grasp one corner of your screen with both hands while simultaneously pushing against its opposite edge with a flat tool such as a putty knife or screwdriver until it pops out completely from its track.
Repeat this process for all remaining screens before cleaning or replacing them as needed.
Unlock the Screen
This step is crucial as attempting to remove a locked screen can cause damage or injury.
For hung windows, look for the locking mechanism on either side of the lower sash and slide them towards each other until they click into place.
Slider windows usually have a latch located in the center that needs to be lifted up or pushed down depending on your window model.
Casement windows typically feature a lever handle that must be turned counterclockwise before pulling outwards from its frame.
Full-height screens are often secured by clips at both ends which need to be released before removing them from their tracks.
Lift the Screen Tabs

These are small plastic or metal pieces located on either side of the window frame that hold the screen in place. To remove them, simply push them up and towards each other until they release from their slots.
It is important to note that some screens may not have tabs but instead use a different mechanism for securing them in place. In this case, refer to your manufacturer’s instructions for proper removal.
Be gentle when lifting these tabs as they can be fragile and easily break if too much force is applied. Once both tabs are lifted out of their slots, you should be able to pull out the bottom edge of your window screen with ease.
Remove Lower Window Sash
This step is necessary for removing screens from hung windows. The lower sash is usually held in place by two metal clips on either side of the frame.
To release these clips, gently push them towards each other while pulling down on the sash at the same time.
Be careful not to apply too much force as this can damage your window or screen. If you encounter any resistance, stop immediately and check if there are any obstructions preventing smooth removal of your window sash.
Once both clips are released, carefully tilt outwards and lift up one side of your lower window until it clears its track before repeating with another side until fully removed from its frame.
Release Screen Tension Springs
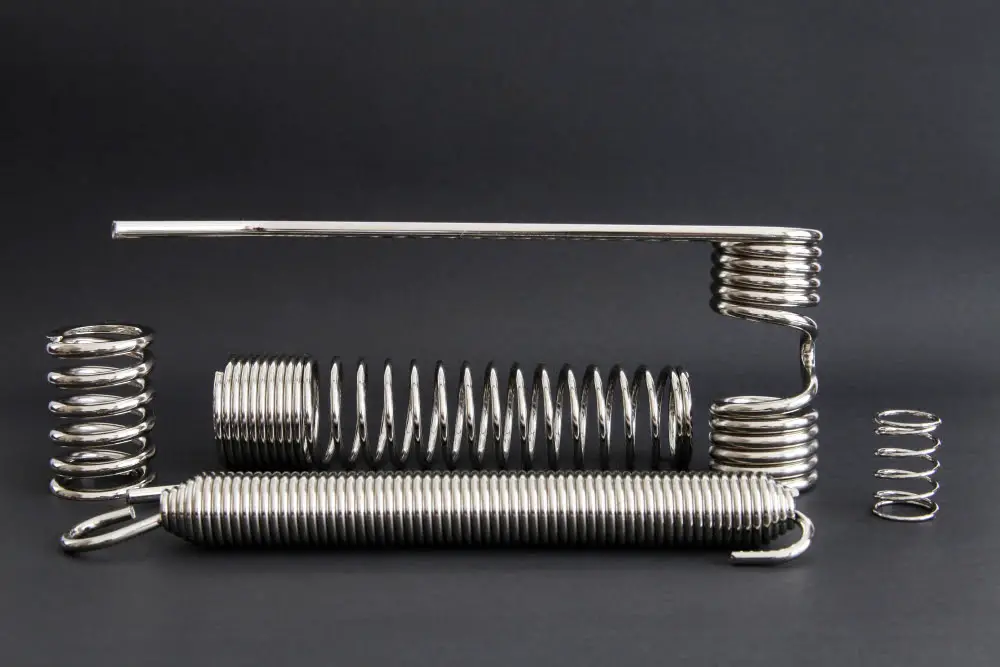
Tension springs are used to hold window screens in place, so they don’t fall out of their frames. To remove a screen with tension springs, you need to carefully release them from their slots.
To do this, use a flathead screwdriver or another tool that can fit into the slot where each spring is located. Gently push down on one end of the spring while pulling up on its opposite end until it pops out of its slot.
Repeat this process for all tension springs holding your window screen in place until they’re all released from their slots. Once all tension springs are removed from your window frame, gently pull outwards on both sides of your screen frame simultaneously and lift it free from its track.
Removing Window Screens From Slider Windows

Slider windows have two sashes that slide horizontally, and the screen is usually located on the outside of one of these sashes. To remove it, you’ll need to follow these steps:
- Slide open one side of the window.
- Locate the tabs at each end of the screen frame.
- Push down on both tabs simultaneously while pulling towards you to release them from their slots in the window frame.
- Carefully lift up and outwards to remove.
It’s important not to force anything when removing your slider window screens as they can be easily damaged if handled improperly or with too much force applied during removal.
Removing Window Screens From Casement Windows
Removing the window screens from casement windows is a bit different than removing them from hung or slider windows, but it’s still an easy process that you can do yourself.
To remove the screen from your casement window, start by unlocking and opening the window fully. Look for any tabs or clips holding the screen in place on either side of the frame.
Once you’ve located these tabs or clips, gently push them inward while pulling outwards on one side of the screen until it pops free.
If there are no visible tabs or clips holding your casement window screens in place, check around all four sides of each individual pane to see if there is any kind of locking mechanism present. If so, release this mechanism before attempting to remove your screens.
Removing Full Height Window Screens
However, with the right tools and techniques, it’s still an easy task to accomplish. Full height window screens are typically found in larger windows or sliding glass doors that span from floor to ceiling.
To remove a full-height screen, start by locating the tabs on either side of the screen frame at the bottom. These tabs may be hidden behind curtains or blinds so you might need to move them aside first.
Next, lift up on one tab while pulling down slightly on that side of the screen frame until it pops out of its track. Repeat this process for each tab until all sides are free from their tracks.
Once all tabs have been released and removed from their tracks, gently pull outwards towards yourself while holding onto both sides simultaneously until you feel resistance loosen up completely then lift straight upwards away from your body as far as possible without tilting it too much which could cause damage if not done carefully enough!.
Pull Screen From Frame
To do this, gently pull on one of the corners of the screen until it pops out of its track. Then, carefully work your way around each corner until all sides are free from their tracks.
Be sure to handle your window screens with care as they can be fragile and easily damaged during removal or cleaning. If you encounter any resistance while removing a particular section of the screen, stop pulling immediately and inspect for any obstructions that may be preventing smooth removal.
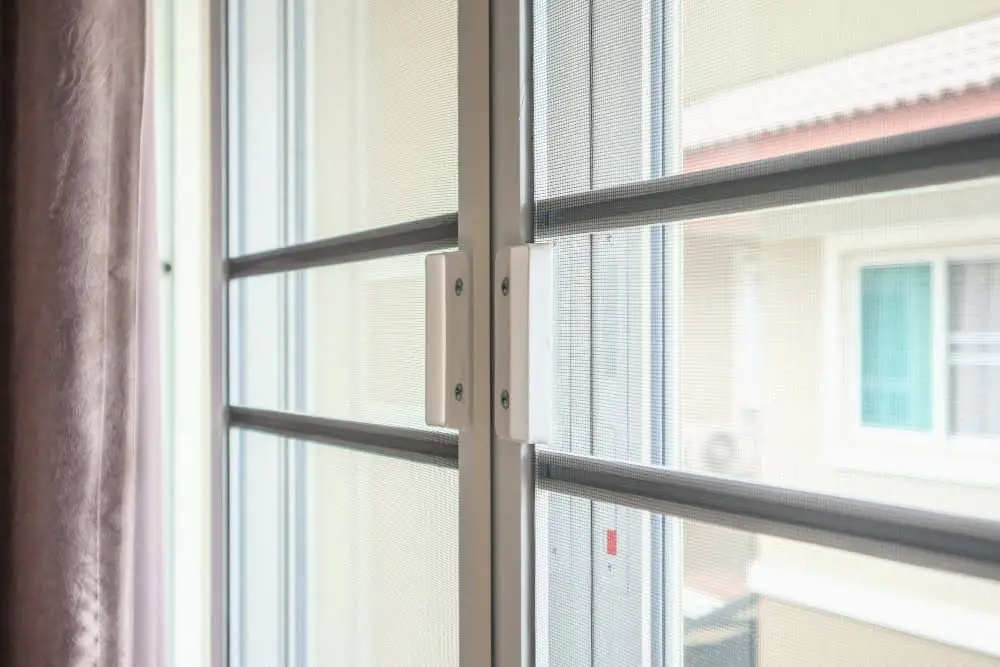
Remove Screen Clips
Screen clips are small plastic or metal pieces that hold the screen in place on the window frame. They can be found at each corner of your window screen and sometimes along its sides.
To remove them, gently push down on one end of a clip with your finger while pulling up on the other end with a pair of pliers. Repeat this process for all four corners until all clips are removed.
Be careful not to damage or lose any of these small parts as they will need to be reinstalled when you’re ready to put your screens back in place.
With all clips removed, carefully pull out and away from both sides simultaneously until it is free from its track. Set aside safely before cleaning or storing for future use.
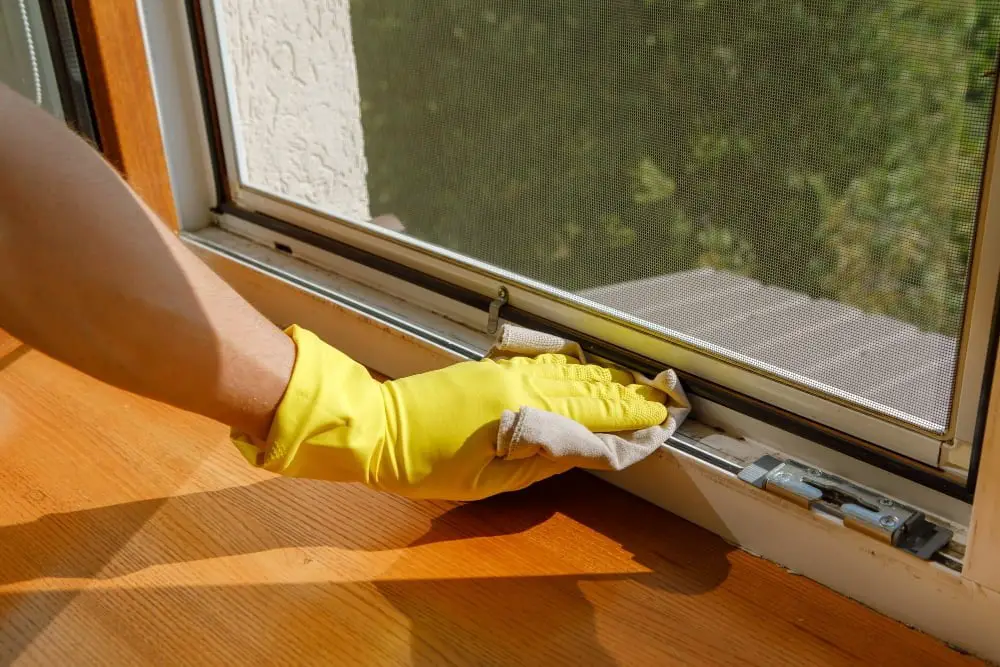
Clean Window Area

This is an important step because dirt and debris can accumulate on the frame and sill over time, which can cause damage or prevent a proper seal when reinstalling your screen.
To clean this area, use a soft-bristled brush or vacuum cleaner attachment to remove any loose dirt or debris. Then wipe down the frame and sill with a damp cloth using mild soap if necessary.
Be sure not to get water inside of your home through open windows.
Cleaning this area will also help you identify any potential issues that may need attention before reinstalling your screens such as rotting wood frames or damaged sills that could compromise energy efficiency in addition to being unsightly.
Inspect Screen for Damage
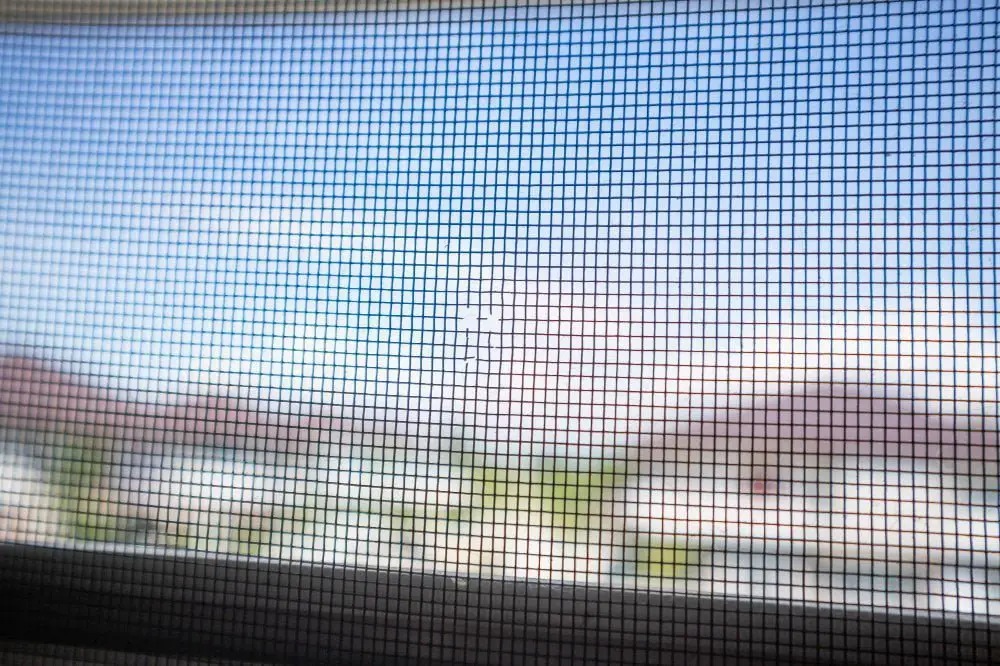
This step is crucial because a damaged screen can let in unwanted pests or debris and compromise your home’s security. Check the entire surface of the screen for holes, tears, or other signs of wear and tear.
If you notice any damage on your window screens during inspection, don’t worry! Most minor damages can be easily repaired with a patch kit available at most hardware stores. However, if there are significant damages that cannot be fixed with a patch kit or if multiple areas need repair/replacement then consider contacting professionals to replace them.
Troubleshooting Common Screen Removal Issues

One of the most common problems is when the screen seems to be stuck and won’t come out of its frame. If this happens, don’t force it! Instead, try gently wiggling the screen back and forth while pulling it towards you.
Another issue that can arise during window screen removal is when one or more tabs break off from the frame. This can happen if they’re old or brittle due to exposure to sunlight over time.
In this case, you’ll need to replace them before reinstalling your screens.
If your screens have been in place for a long time without being removed for cleaning or maintenance purposes, they may be difficult to remove due to dirt buildup around their edges. To solve this problem easily and quickly use a soft-bristled brush like an old toothbrush dipped in soapy water (mild detergent) then scrub around all edges until clean before attempting removal again.
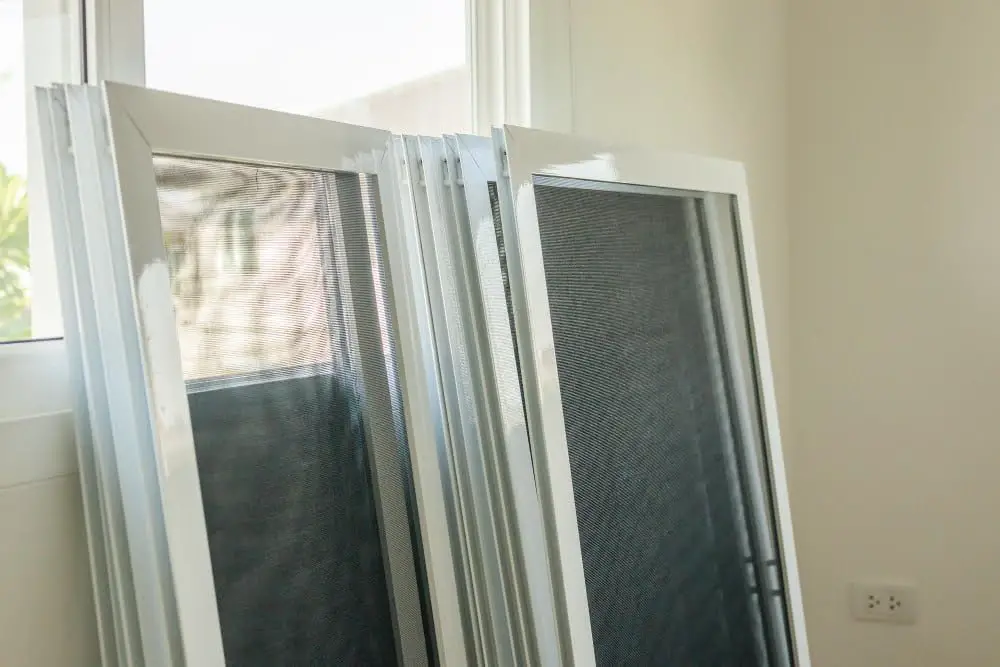
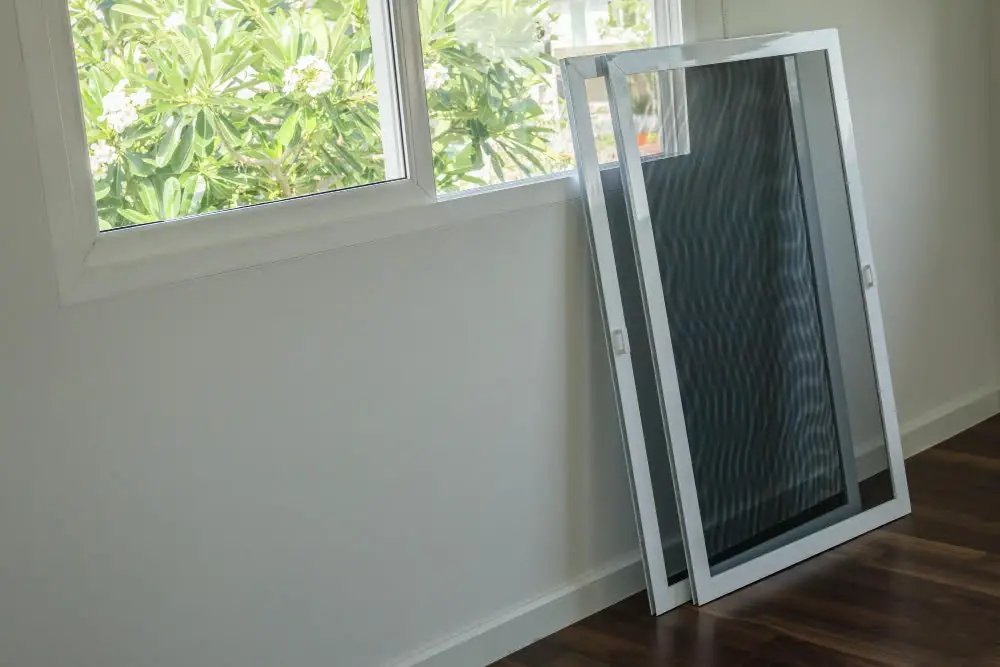
Proper Storage of Removed Screens
This will help prevent any damage or warping that could occur if they are not stored correctly. The first step is to clean the screen thoroughly with a soft brush and mild soap solution before storing it away.
Next, make sure the screen is completely dry before storing it in a cool and dry place such as a garage or basement. Avoid exposing the screens to direct sunlight or extreme temperatures as this can cause warping.
If you need to stack multiple screens on top of each other, be sure to separate them with cardboard sheets so they don’t scratch against one another. You can also label each screen according to its location in your home for easy reinstallation later on.
Reinstalling Window Screens
The process of reinstalling a window screen is essentially the reverse of removing it. First, inspect the screen for any damage or wear and tear that may require repair before reinstallation.
Next, identify which side of the screen faces outward by looking for any labels or markings on its frame. Then align the tabs on one end of the screen with their corresponding slots in either side jamb or top track.
Gently push down on each tab until they snap into place securely. Repeat this process with all remaining tabs until your window screen is firmly in place.
Test your newly installed window screens by opening and closing windows to ensure they are properly seated without any gaps between frames and sashes that could allow insects inside.
By following these simple steps when reinstalling your windows screens after cleaning or replacement will help keep them functioning correctly while protecting against unwanted pests entering through open windows during warm weather months!.
FAQ
What are the different types of window screen removal techniques for various window styles?
The different types of window screen removal techniques include leveraging from the inside or outside for slider windows, using pull tabs for double-hung windows, and removing clips or latches for casement and awning windows.
What precautions should be taken while removing a window screen to avoid damage or injury?
To avoid damage or injury while removing a window screen, ensure to wear gloves, gently lift the screen by its tabs or frame, and use a flathead screwdriver to ease tension if necessary.
Which tools or materials might be needed to safely and effectively remove a window screen?
To safely and effectively remove a window screen, one might need a flathead screwdriver, gloves, and protective eyewear.
Read More
 Aluminum Window Latch Replacement: A Simple Guide to Security and Style
 Custom Aluminum Window Screens Buying Guide
 Aluminum Window Removal Tool: Easy Steps for a Hassle-Free Window Replacement
 Screw for Aluminum Window Frame: Your Ultimate Fixing Guide
 Replace Aluminum Window Glass: A Beginner’s Guide to a Clearer View
Recap