Discover the simple steps to effectively fix a window that refuses to stay up, ensuring a comfortable and well-ventilated space in your home.
Have you ever had a window that just won’t stay up no matter how hard you try to prop it open? It can be frustrating, especially during the hot summer months when all you want is some fresh air circulating through your home. But don’t worry, fixing a window that won’t stay up is easier than you might think! In this blog post, we’ll go over some common reasons why windows won’t stay open and provide step-by-step instructions on how to fix them.
So grab your tools and let’s get started!
Key takeaways:
- Check for debris or dirt in the window track.
- Inspect sash cords or balances for wear or damage.
- Tighten fasteners to address frame alignment issues.
- Wear gloves and eye protection when handling glass or sharp objects.
- Gather necessary tools such as a screwdriver and pliers.
Assessing the Problem
There are several reasons why your window may not be staying open, and identifying the root cause will help you determine the best course of action.
Firstly, check if there is any debris or dirt in the track preventing smooth operation. If this is not an issue, then inspecting sash cords or balances could be necessary as they might have worn out over time causing them to break or become loose.
Another common reason for windows failing to stay open is due to frame alignment issues caused by warping from weather changes. In some cases tightening fasteners can solve this problem but sometimes more extensive repairs are needed.
Safety Precautions

First and foremost, make sure you have a sturdy ladder or step stool that can support your weight. If the window is on an upper floor of your home, consider hiring a professional to do the job for you.
Wear gloves and eye protection when handling glass or sharp objects. Be careful not to damage any surrounding surfaces while removing the window from its frame.
If you’re working with older windows that may contain lead paint or asbestos materials, take extra care by wearing protective clothing and using proper ventilation techniques.
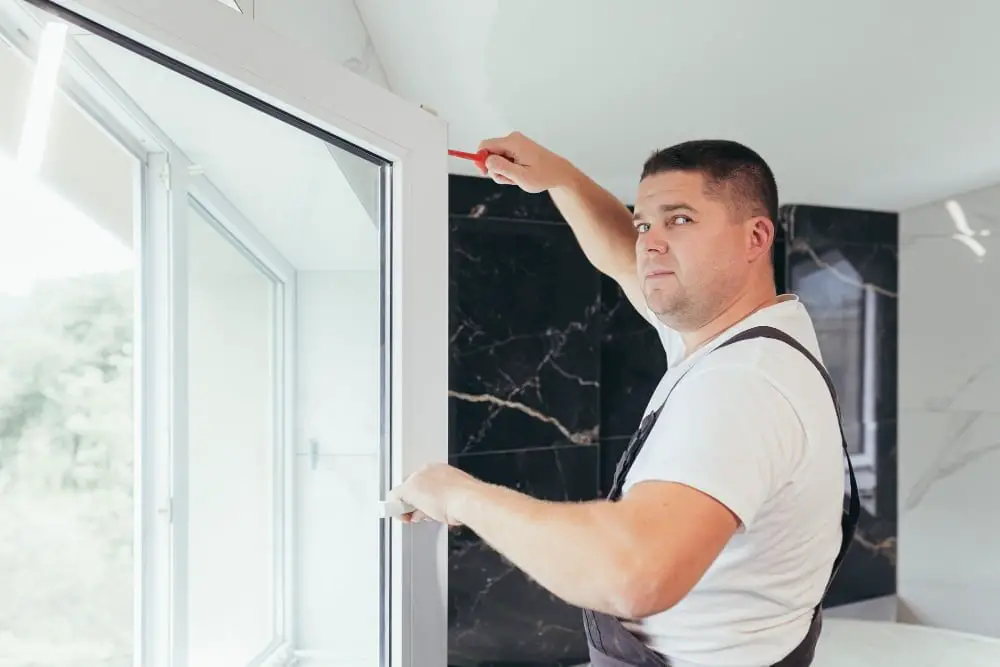
Gather Necessary Tools
This will save you time and frustration later on. Here are some of the tools that you’ll need:
1. Screwdriver: You’ll need a screwdriver to remove any screws holding the window in place.
2. Pliers: Pliers can be used to grip and manipulate small parts like sash cords or balances.
3. Putty knife: A putty knife is useful for removing old paint or caulk from around the window frame.
4. Hammer: A hammer may come in handy if there are any stubborn nails that need removing.
5. Lubricant spray (optional): If your windows have spiral balances, lubricating them with a silicone spray can help improve their operation.
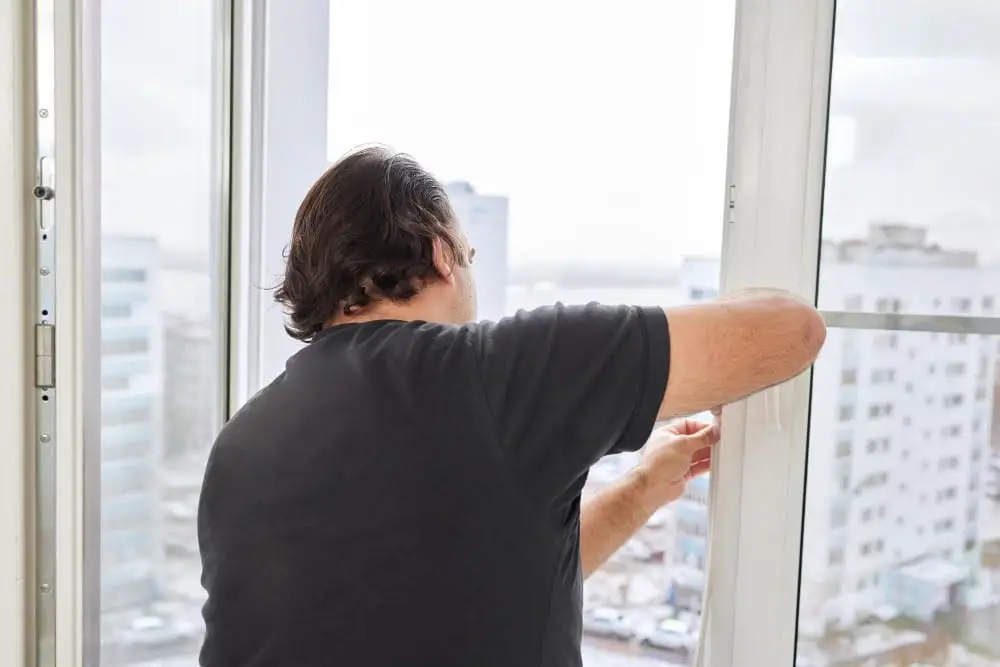
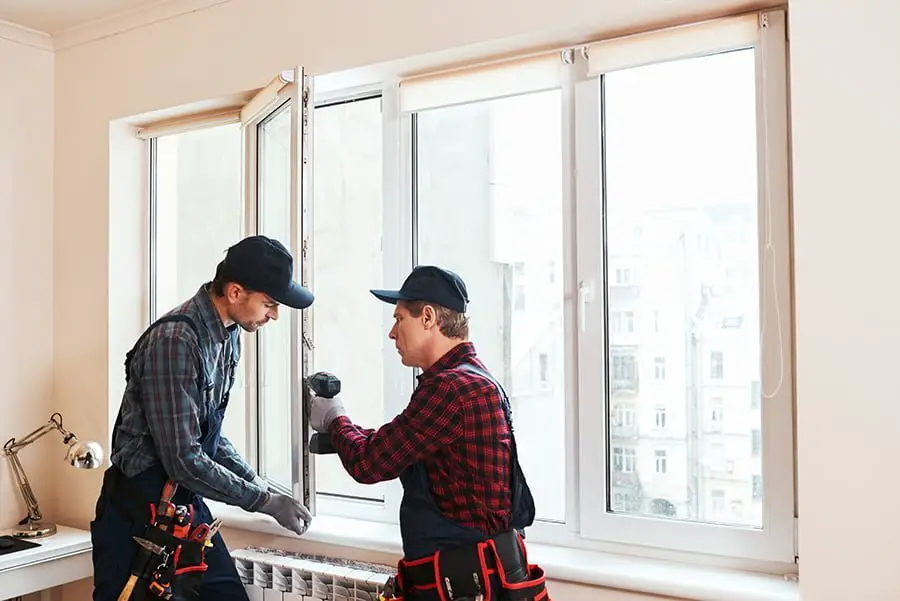
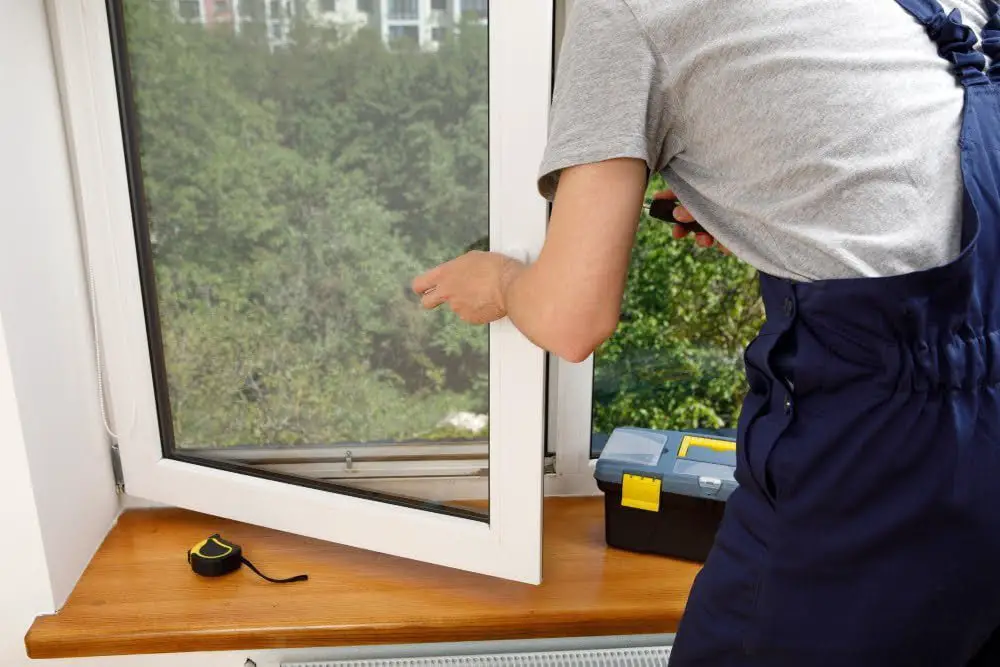
Removing the Window
Before beginning, make sure to take all necessary safety precautions such as wearing gloves and eye protection.
To remove the window, start by opening it fully. Next, locate any screws or fasteners holding the sash in place and remove them using a screwdriver or pliers.
If there are no visible screws or fasteners on your particular type of window frame, check for spring-loaded clips located at each side of the sash.
Gently lift one side of the sash up while pushing down on its opposite end until you can tilt it towards yourself at an angle. Once tilted inwardly enough (usually around 45 degrees), pull out one side from its track before lifting up slightly so that both sides come free from their tracks simultaneously.
Inspect Sash Cords
Sash cords are responsible for holding up your window and allowing it to move smoothly up and down. Over time, these cords can become worn or damaged, causing your window to stay closed or fall shut unexpectedly.
To inspect your sash cord, you’ll need to remove any stops that are holding it in place. Once removed, carefully pull out the bottom of the sash so that you can access both sides of the cord.
Check for any signs of wear or damage such as fraying or knots in a rope-style cord. If there is visible damage present on either side of a pulley system style cord then replacement may be necessary.
Repairing Sash Cords
One of the most common reasons why windows won’t stay open is due to broken or frayed sash cords. Sash cords are responsible for holding up a window’s weight, so if they’re damaged, you’ll need to repair them.
To repair sash cords, start by removing any hardware that holds the lower sash in place. Then carefully remove both upper and lower sashes from their tracks and lay them on a flat surface.
Next, locate where each cord attaches to its respective weight inside of each side jamb pocket. Carefully detach one end of each cord from its corresponding weight using pliers or wire cutters.
Once all old cords have been removed completely from both sides of the window frame (upper & lower), measure out new replacement cord material according to length needed plus an additional 6 inches per side as allowance before cutting with scissors or utility knife blade into appropriate lengths required based on measurement taken earlier during removal process mentioned above.
Finally thread one end through hole at bottom corner edge near pulley wheel then tie knot securely around this point before threading other end through opposite hole located near top corner edge next pulley wheel; repeat same process for second set of holes found on opposite side jamb pocket area.
Check Balances
Balances are responsible for keeping your window in place when it’s open and preventing it from slamming shut. If a balance is damaged or broken, your window won’t stay up.
To check if there’s an issue with your balances, you’ll need to remove the sash from its frame and examine each balance closely. Look for any signs of damage or wear such as cracks on plastic parts or frayed cords on spiral balances.
If you notice any issues with your balances during inspection, they will need to be replaced before reinstalling the window back into its frame. It’s important not to skip this step as faulty balances can cause serious safety hazards like windows falling unexpectedly which could lead to injury.
Adjusting Spiral Balances
Balances are responsible for holding up and keeping your windows in place. If they become damaged or worn out over time, you may need to adjust them.
For windows with spiral balances (a type of balance system), adjusting them is relatively easy. First, remove any screws that hold the balance cover in place and slide off the cover from both sides of your window frame.
Next, locate a small adjustment rod at one end of each spiral balance; this will be either a metal or plastic piece sticking out from inside its tube-like housing. Use pliers to turn this rod clockwise or counterclockwise until you achieve proper tension on both sides.
Lubricating Balances
Over time, dirt and debris can accumulate on the balance tracks causing friction which makes it difficult for your window to stay open. To lubricate your balances, start by cleaning any dirt or debris from the track with a soft brush or cloth.
Then apply a silicone-based spray lubricant directly onto the track where it meets with each balance shoe.
Be sure to avoid using oil-based products as they can attract more dust and grime over time which will only make matters worse. Once you have applied enough lubricant, move your window up and down several times to ensure smooth operation.
Lubricating balances is an easy task that should be done at least once every year as part of regular maintenance routine for all windows in your home.
Inspect Window Frame
The frame is an essential component of a window that holds everything together. Over time, frames can become damaged or misaligned due to wear and tear or improper installation.
To inspect your window frame, start by checking for any visible damage such as cracks or warping. If you notice any issues with the frame itself, you may need to replace it entirely.
Next, check if there are gaps between the sash and the frame when closed. These gaps can cause air leaks which lead to energy loss in your home.
Fixing Frame Alignment
Over time, a window frame can become misaligned due to various reasons such as weather changes or structural shifts in your home. Misalignment can cause issues with opening and closing windows smoothly.
To fix this issue, you’ll need to adjust the position of the window within its frame. Start by checking for any visible gaps between the sash and jamb on all sides of your window when it is closed.
If there are gaps present on one side but not another, then you may need to adjust that particular side.
Using a pry bar or screwdriver (depending on what type of fasteners hold your windows in place), gently loosen them from their current position without removing them completely. Then shift that part of the frame slightly until it aligns correctly with other parts.
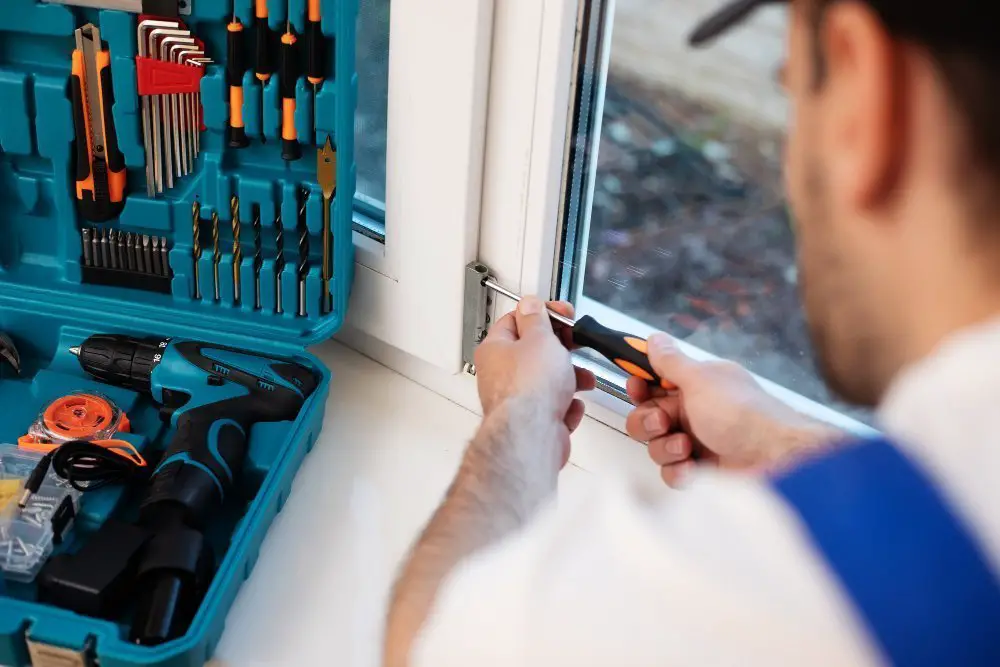
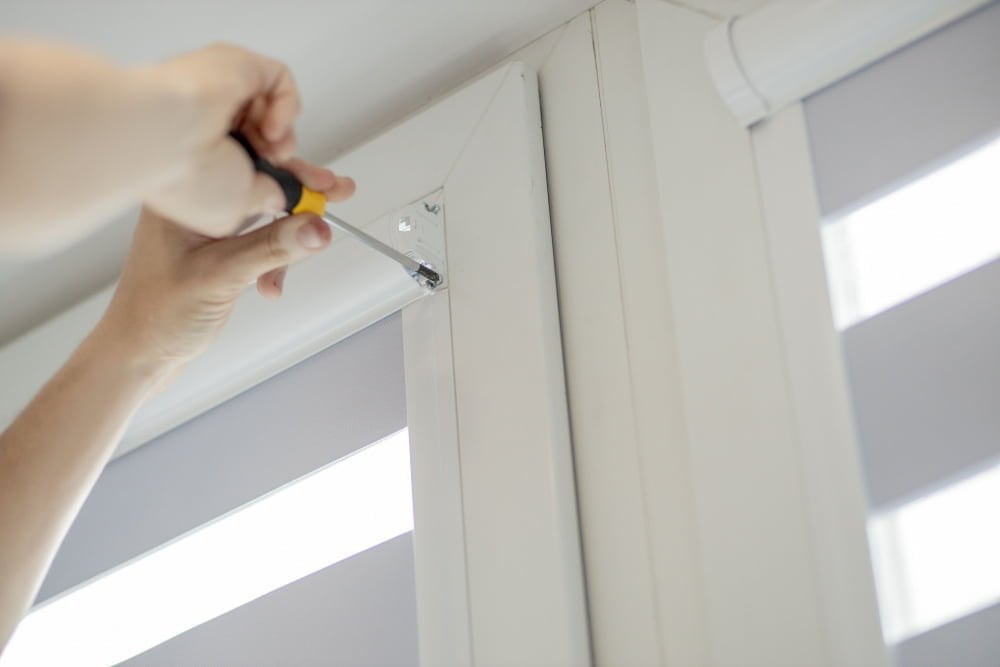
Tightening Fasteners

Over time, screws and bolts can become loose due to constant use or exposure to weather elements. Loose fasteners can cause the window sash not to stay up properly.
To tighten the fasteners, you’ll need a screwdriver or wrench depending on what type of screws your windows have. Start by checking all visible screws around the window frame and sash tracks.
Tighten any that are loose but be careful not to overtighten as this could strip out threads in wood frames.
If you find stripped-out holes in metal frames where a screw won’t hold tight anymore, remove it completely then fill with epoxy putty before reinserting another screw into place once dry.
Cleaning the Window Track
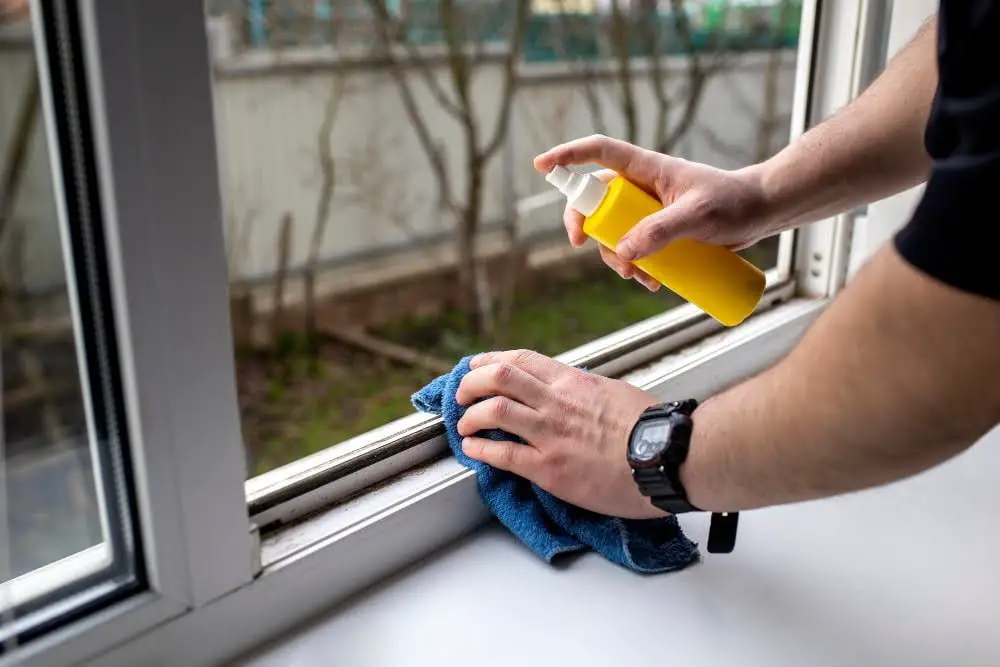
Over time, dust and other particles can accumulate in the track, making it difficult for your window to slide smoothly. To clean out this buildup, use a stiff brush or vacuum cleaner attachment to remove as much of it as possible.
Next, take a damp cloth and wipe down both sides of the track until all remaining dirt is gone. If there are any stubborn spots that won’t come off with just water alone, try using a mild detergent solution instead.
Check Weatherstripping
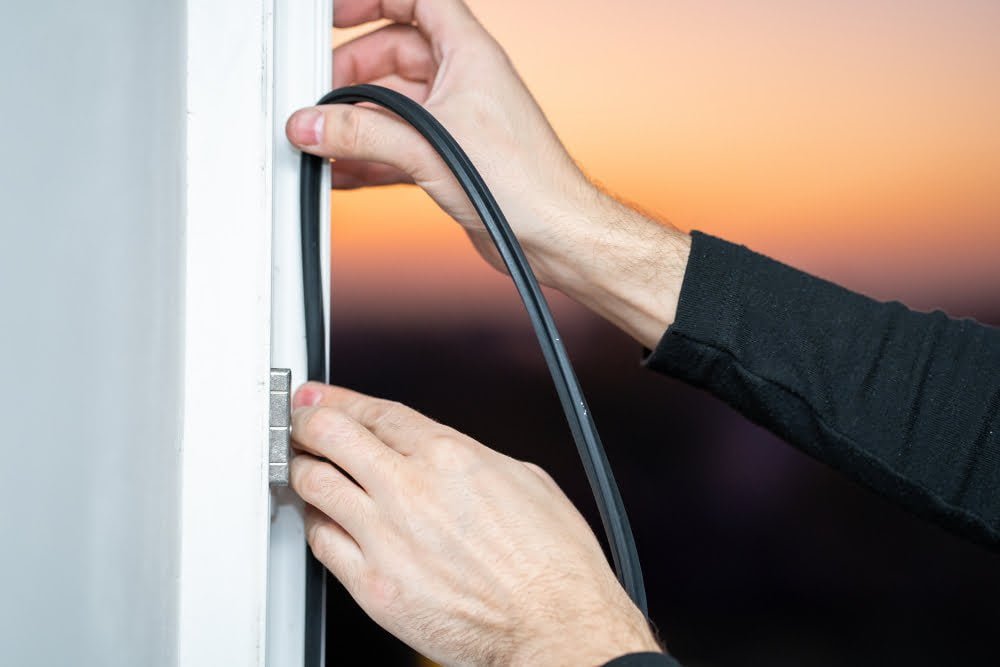
Weatherstripping is a thin material that seals gaps around windows and doors, preventing drafts from entering your home. Over time, weatherstripping can become worn or damaged, causing air leaks that make it difficult for your window to stay open.
To check if your weatherstripping needs replacing, close the window on a strip of paper. If you can easily pull out the paper without tearing it or feeling resistance from the sealant strip then you need new weather stripping.
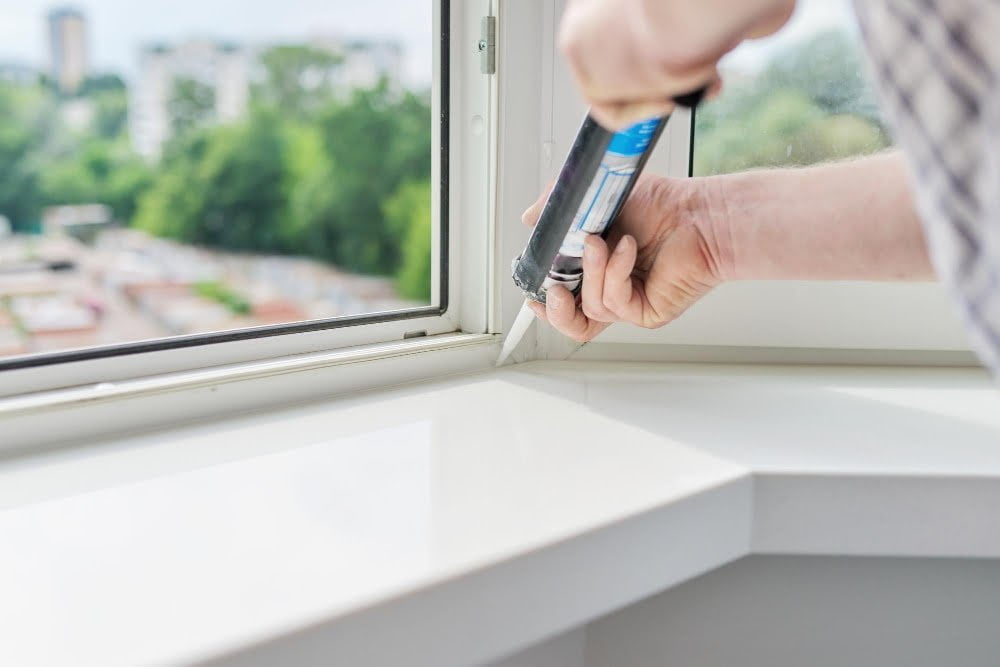
Replacing old or damaged weather stripping is an easy DIY task that requires minimal tools and materials such as adhesive-backed foam tape which comes in different sizes depending on how wide are gaps between frame and sash. By ensuring proper sealing with new strips of foam tape will not only help keep bugs out but also reduce energy costs by keeping cool air inside during summer months while maintaining warm temperature inside during winter months.
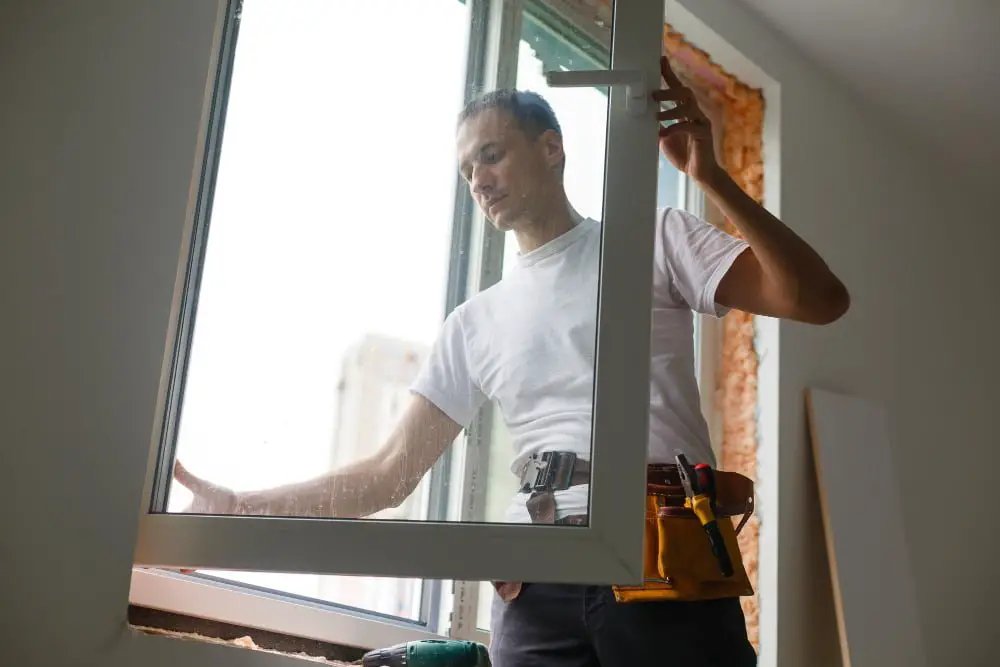
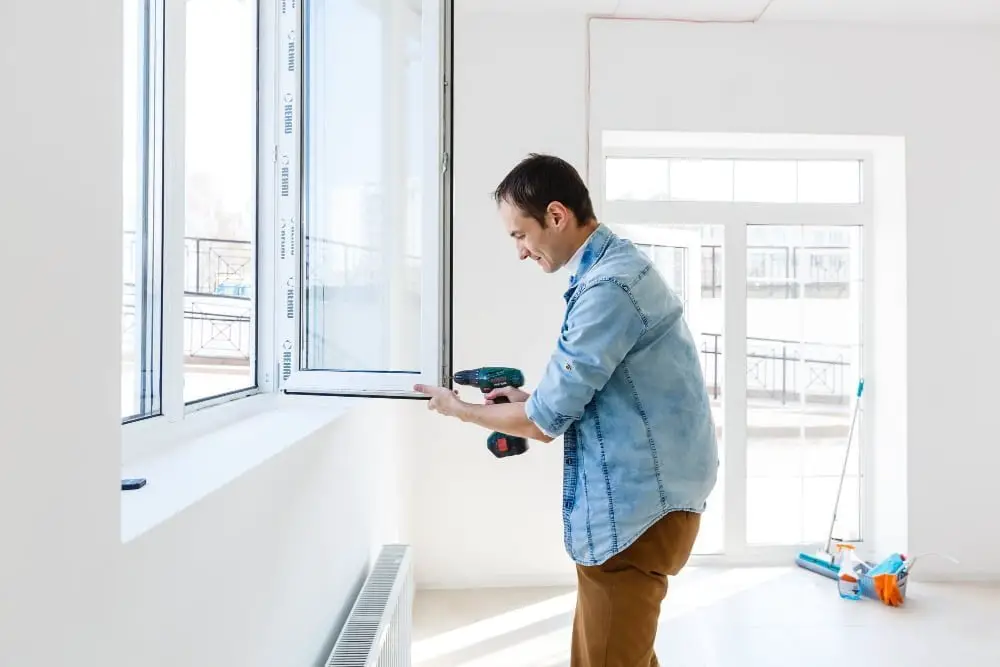
Reinstalling the Window
Begin by carefully lifting the sash back into place and aligning it with the frame. Make sure that all of your repair work has been properly secured before attempting to close or lock the window.
Next, test out your handiwork by opening and closing the window a few times to ensure smooth operation. If everything seems in order, give both sides of your newly repaired windows a good cleaning using mild soap and water.
Take some preventative measures for future maintenance needs by applying silicone spray lubricant on any moving parts such as balances or tracks. This will help keep them operating smoothly over time.
Ensure Smooth Operation
To do this, test the window by opening and closing it a few times. If there is any resistance or difficulty in operation, check for any obstructions such as debris or dirt in the tracks.
Clean out any debris and lubricate the tracks with silicone spray if necessary.
If your window still doesn’t operate smoothly after cleaning and lubricating, double-check that all fasteners are tightened properly and that balances are adjusted correctly. It’s also possible that there may be an issue with weatherstripping which can cause friction when opening or closing windows.
By ensuring smooth operation of your newly repaired window, you’ll prevent future issues from arising while also improving energy efficiency by reducing air leaks around gaps caused by poor alignment of sashes within frames.
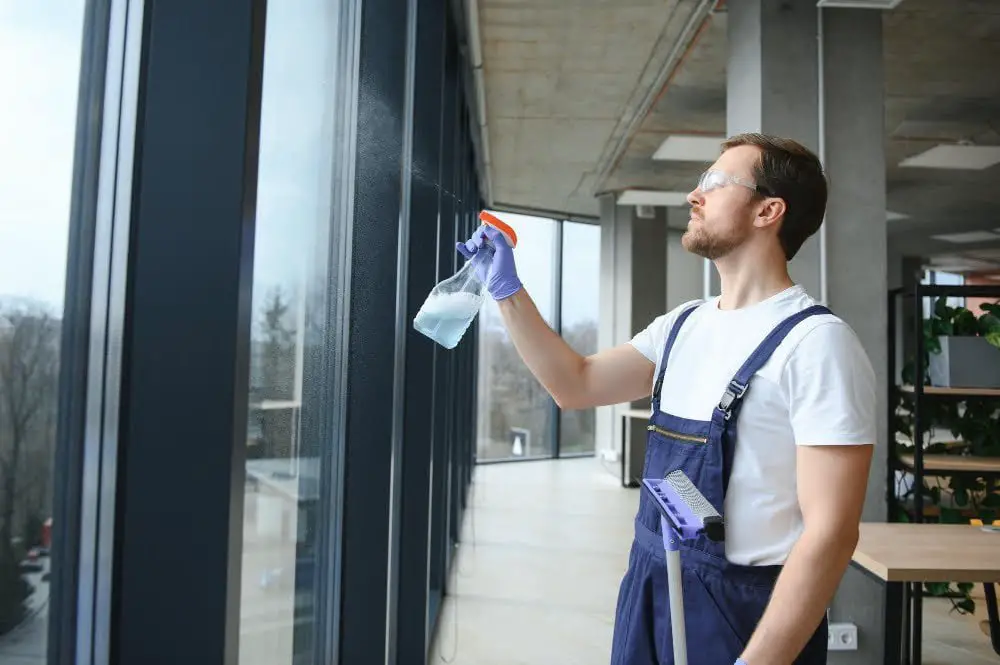
Final Check and Clean

This will ensure that the window operates smoothly and looks great too! First, test the window by opening and closing it several times to make sure everything is working properly. If there are any issues, go back through the steps again until they are resolved.
Next, give your newly repaired window a good cleaning. Use a soft cloth or sponge with mild soap and water to wipe down all surfaces of the frame and glass panes.
Be careful not to scratch or damage any newly repaired parts.
Take some time for maintenance tips that can help prevent future problems with your windows such as regular cleaning of tracks & weatherstripping replacement when needed.
Maintenance Tips
Here are some maintenance tips that can help keep your windows in good condition:.
- Regularly clean the tracks and frames of your windows with a soft brush or cloth.
- Lubricate the moving parts of the window, such as sash cords and balances, with silicone spray or another recommended lubricant.
- Check weatherstripping regularly for signs of wear and tear; replace if necessary.
- Keep an eye out for any cracks or damage in the glass panes; repair them promptly to avoid further damage.
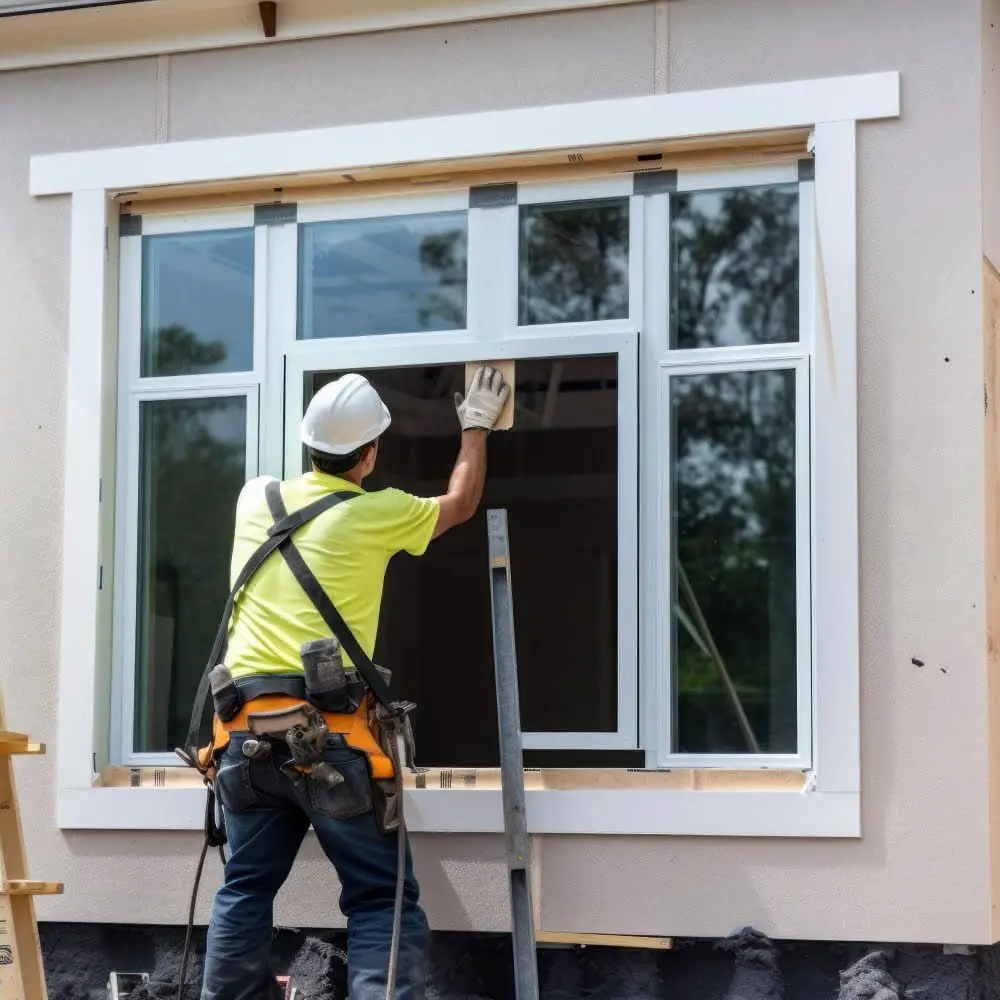
When to Call a Professional

There are some situations where DIY repairs just won’t cut it. For example, if your window frame is severely damaged or warped, attempting to fix it yourself could cause further damage and compromise the safety of your home.
If you’re not comfortable working with power tools or climbing ladders to access high windows, calling a professional is always the safer option. A trained technician will have the necessary experience and equipment needed to diagnose and repair any issues with your windows safely.
Remember that investing in proper maintenance for your windows can save you money on costly repairs down the line. If you notice any signs of wear or damage early on – such as difficulty opening/closing or drafts coming through – don’t hesitate to call a professional for an inspection before things get worse.
While fixing a window that won’t stay up can be done by most homeowners themselves following these simple steps; there are times when calling in professionals becomes necessary due either lack of expertise/tools/safety concerns/complexity/damage beyond repair etcetera.
FAQ
How do you fix a window that won’t stay up?
To fix a window that won’t stay up, replace the damaged pivot bar, which connects the balances to the sash and holds the window securely in place.
What holds a window up?
The frame, consisting of the head, jambs, and sill, holds a window up by securing it in the wall and adding style.
What are common reasons for a window not staying up?
Common reasons for a window not staying up include: worn-out or damaged balances, sash support issues, or broken hardware components.
Which tools and materials are typically needed for repairing a window that won’t stay up?
Typically, the tools and materials needed for repairing a window that won’t stay up include a screwdriver, replacement window balance, pliers, and a utility knife.
Are there any precautions to take while fixing a window that won’t stay up?
When fixing a window that won’t stay up, it is essential to exercise caution by ensuring the window is securely supported, using proper tools, and following safety guidelines.
Read More
 Aluminum Window Latch Replacement: A Simple Guide to Security and Style
 Custom Aluminum Window Screens Buying Guide
 Aluminum Window Removal Tool: Easy Steps for a Hassle-Free Window Replacement
 Screw for Aluminum Window Frame: Your Ultimate Fixing Guide
 Replace Aluminum Window Glass: A Beginner’s Guide to a Clearer View
Recap