Discover the step-by-step process of creating a window in this comprehensive guide, perfect for both beginners and experienced DIY enthusiasts.
Windows are an essential part of any home. They provide natural light, fresh air, and a view of the outside world.
But have you ever wondered how windows are made? It may seem like a complex process, but with the right knowledge and tools, it’s actually quite simple. In this blog post, we’ll guide you through the step-by-step process of making a window from scratch.
Whether you’re a DIY enthusiast or simply curious about the manufacturing process, this guide will provide valuable insight into how one of your home’s most important features is created. So let’s get started!
Key takeaways:
- Choose the right materials: Wood, vinyl, aluminum, or fiberglass.
- Select the appropriate window frame type: Wood, vinyl, aluminum, or fiberglass.
- Consider the different glass options: Tempered, laminated, insulated, or low-e glass.
- Gather the necessary tools: Measuring tape, saw, hammer, nails, glass cutter, insulation material, caulking gun, safety equipment.
- Follow proper measurement techniques and ensure a proper fit.
Before You Begin
First and foremost, ensure that you have the necessary skills and tools for the job. While making your own window can be a rewarding experience, it requires precision and attention to detail.
Next, determine what type of window will best suit your needs. Consider factors such as size, style, energy efficiency requirements (if any), and budget constraints.
It’s also essential to choose high-quality materials that are durable enough to withstand weather conditions in your area. This includes selecting appropriate wood or metal frames as well as glass options with proper insulation properties.
Make sure you have ample time set aside for this project – rushing through any step could result in an improperly constructed or installed window which may lead to safety hazards or costly repairs down the line.
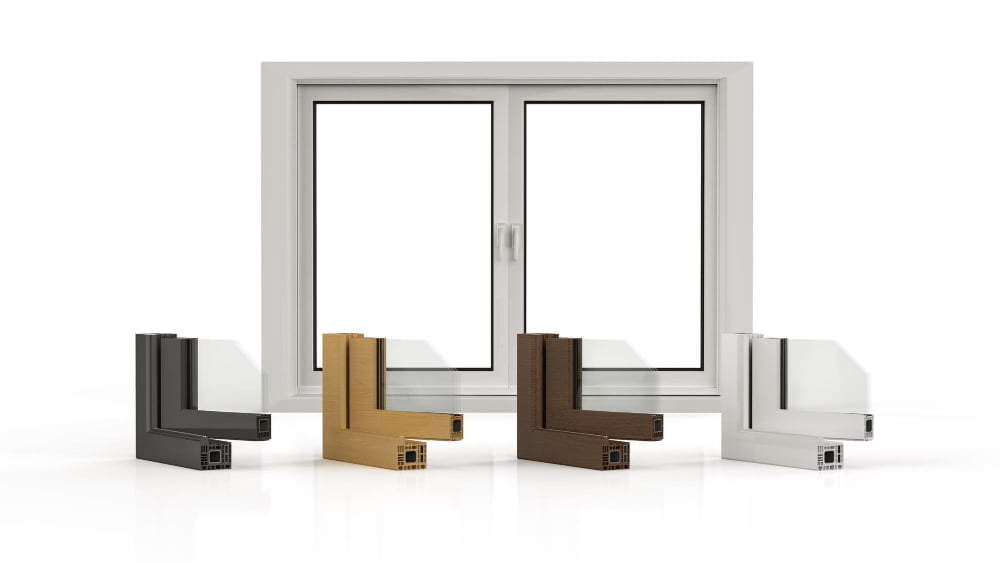
Choosing the Right Materials
The most common materials used in window construction include wood, vinyl, aluminum and fiberglass. Each material has its own unique advantages and disadvantages.
Wooden windows offer a classic look that can complement any home’s style. They are also energy-efficient and provide excellent insulation against heat loss or gain.
However, wooden windows require regular maintenance such as painting or staining to prevent rotting.
Vinyl windows have become increasingly popular due to their low cost and durability. They require little maintenance beyond occasional cleaning with soap and water but may not be as aesthetically pleasing as other options.
Aluminum is another durable option that requires minimal upkeep but may not be ideal for colder climates since metal conducts heat easily which could lead to higher energy bills during winter months.
Fiberglass offers superior strength while being lightweight at the same time making them an excellent choice for larger sized windows where weight might pose a problem on other types of frames like wood or aluminum.
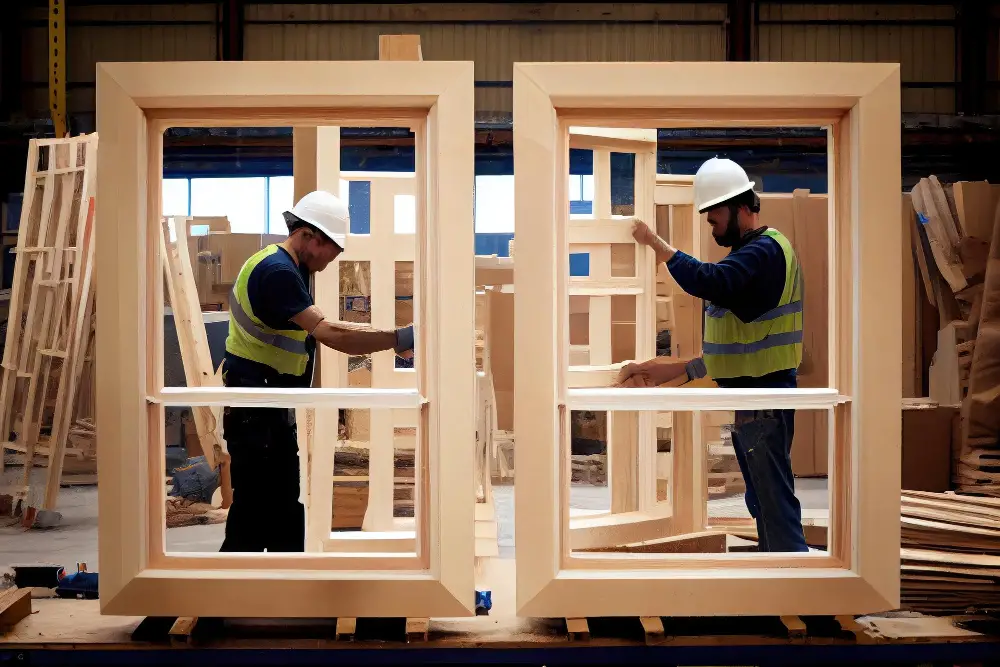
Window Frame Types

The most common materials used for window frames include wood, vinyl, aluminum and fiberglass. Each material has its own unique benefits and drawbacks.
Wooden frames offer a classic look that many homeowners love. They can be painted or stained in any color you desire and provide excellent insulation against the elements.
However, they require regular maintenance such as painting or staining every few years.
Vinyl is another popular choice due to its affordability and low-maintenance nature. It’s also energy-efficient since it doesn’t conduct heat like metal does but may not have the same aesthetic appeal as wooden windows.
Aluminum is strong yet lightweight making them ideal for larger windows with thinner profiles which allows more light into your home than other frame options but can be prone to condensation if not properly insulated.
Fiberglass offers superior strength while being resistant to warping over time which makes them an excellent option for areas with extreme weather conditions where durability is essential.
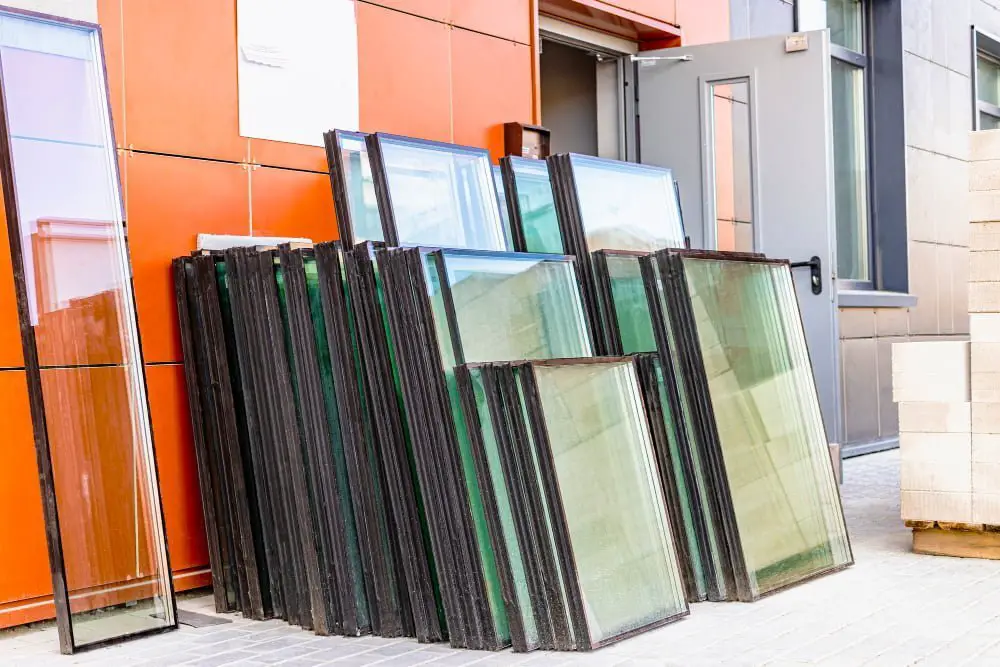
Selecting Glass Options
First and foremost is the type of glass you want to use. There are several types available, including tempered, laminated, insulated and low-e (low-emissivity) glass.
Tempered glass is heat-treated and shatter-resistant making it ideal for safety purposes in high traffic areas or where children may be present. Laminated glass consists of two or more layers with an interlayer that holds them together if they break; this type of glazing provides additional security against forced entry.
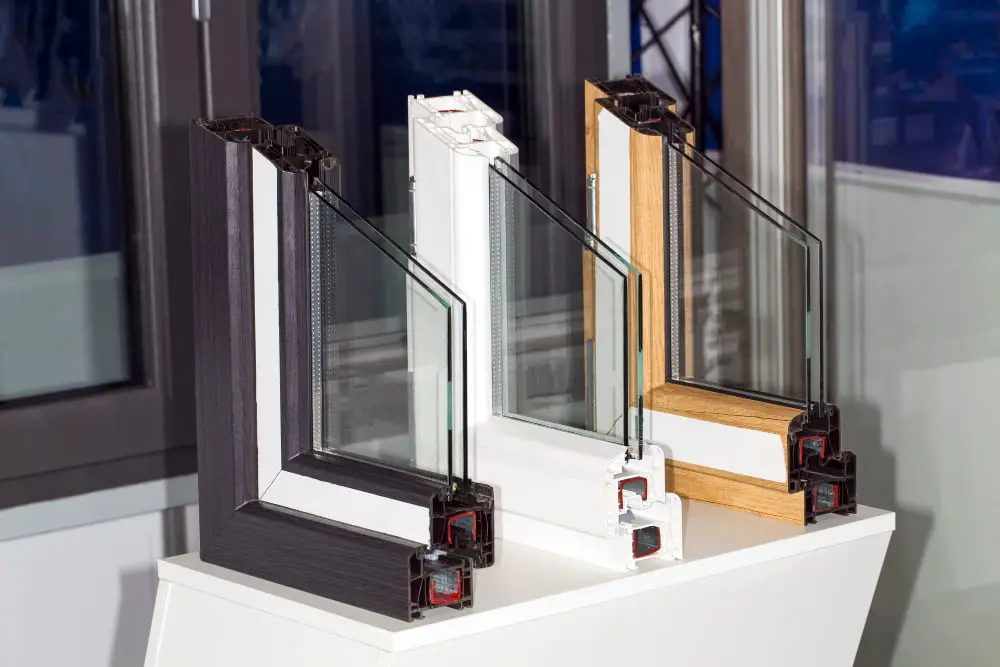
Insulated Glass Units (IGUs) consist of two panes separated by a spacer bar filled with air or gas such as argon which helps reduce energy loss through the window while also reducing noise transmission from outside sources into your home.
Low-Emissivity (Low-E) coatings can be applied on one side of the IGU’s inner surface which reduces heat transfer between indoors/outdoors while still allowing natural light inside without sacrificing visibility outwards.
What You’ll Need

Here are some items you’ll need:.
1. Measuring tape: Accurate measurements are crucial for ensuring your window fits properly.
2. Saw: You’ll need a saw to cut your frame boards to size.
3. Hammer and nails or nail gun: These will be used for securing the frame together.
4. Glass cutter or pre-cut glass panels: Depending on your skill level, you can either purchase pre-cut glass panels or use a glass cutter to create custom-sized pieces.
5. Insulation material (optional): This is important if you want an energy-efficient window that keeps out drafts and noise pollution.
6. Caulk gun and weatherproofing sealant: To ensure proper insulation around the edges of your new window, use caulk gun with weatherproofing sealant.
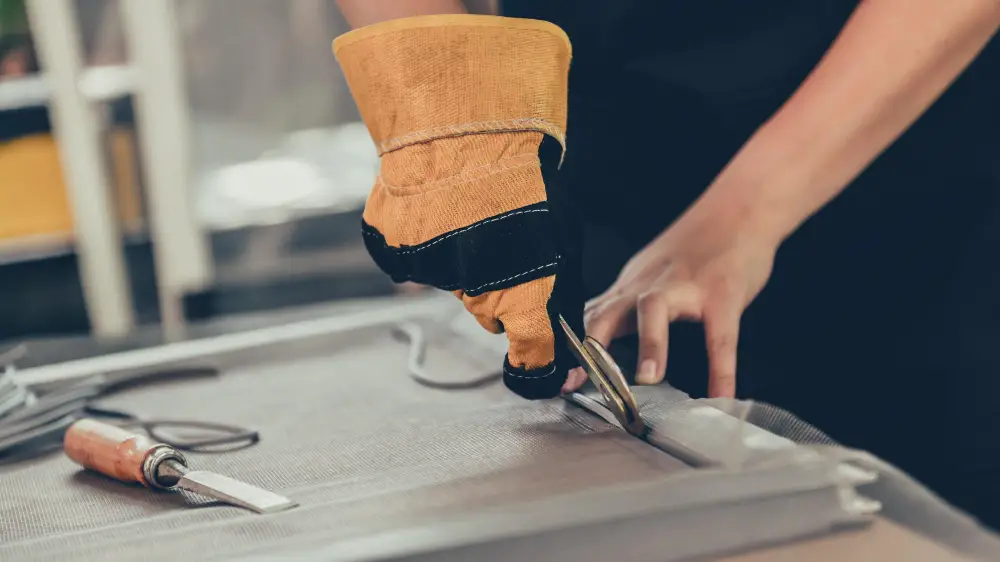
7. Safety equipment such as gloves, goggles etc.: Safety should always come first when working with power tools like saws.
Equipment / Tools
Here’s a list of what you’ll need:.
- Measuring tape
- Saw (hand or power)
- Hammer
- Nails or screws
- Screwdriver (flathead and Phillips head)
- Drill with drill bits
- Caulking gun
- Putty knife
These are the essential tools that will help you construct your window frame, secure the glass in place, and install it properly into your home’s opening.
Before starting any project involving power tools like saws or drills, be sure to read all safety instructions carefully to avoid accidents.
Measuring for Proper Fit
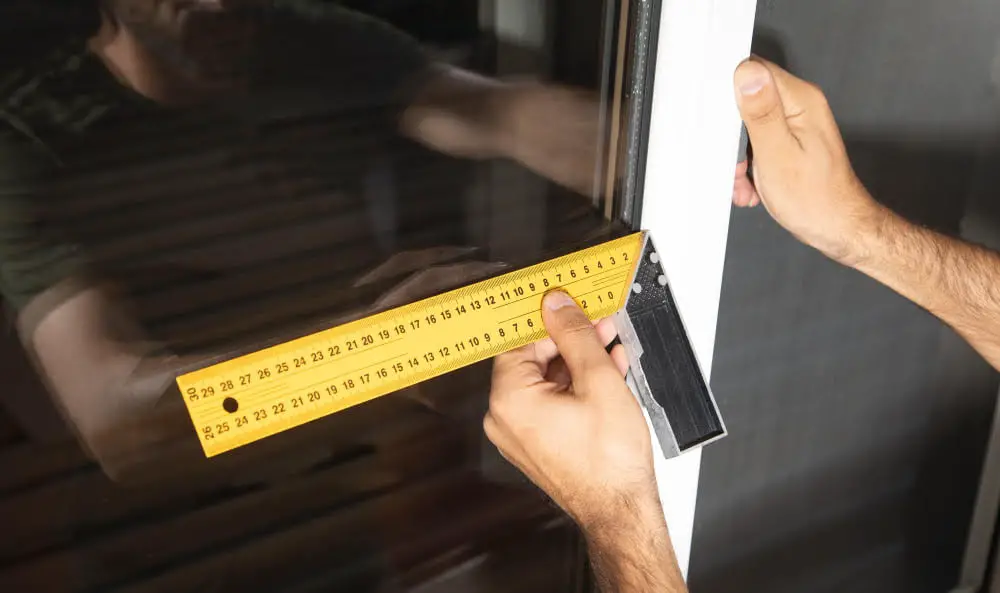
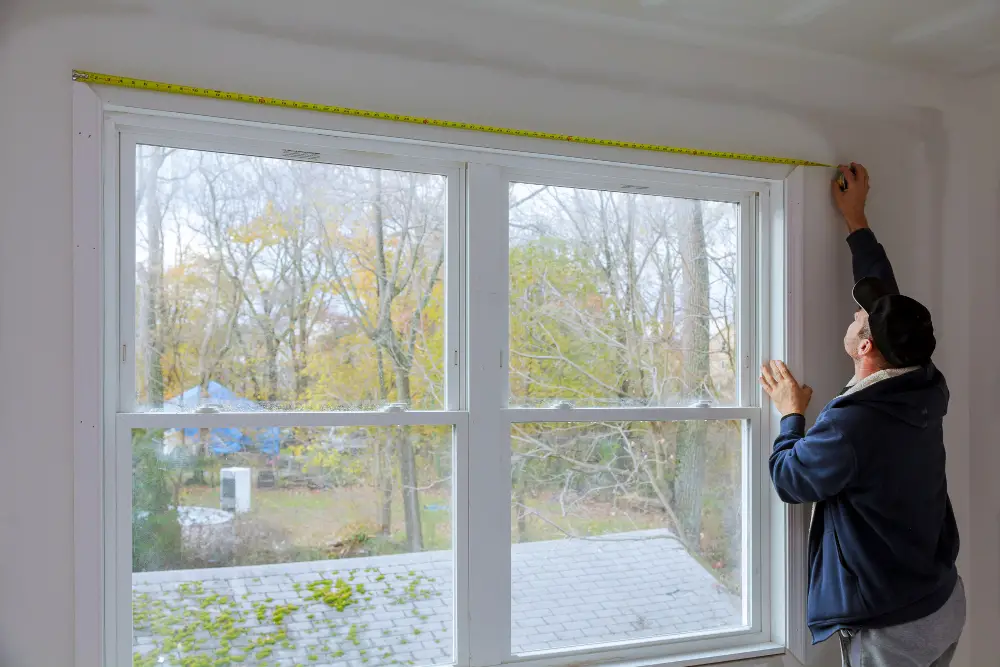
Accurate measurements are crucial to ensure that your window fits correctly and functions properly. To get started, use a tape measure to determine the height and width of the opening at three different points: top, middle, and bottom.
Record each measurement separately as windows can have slight variations in size due to settling or shifting over time. Once you have all three measurements for both height and width recorded down on paper or digitally (whichever is more convenient), take note of the smallest measurement in each category.
This will be your final measurement when ordering materials or constructing a custom-sized frame yourself.
Preparing the Opening
This step is crucial because an improperly prepared opening can lead to a poorly fitting window that may not function correctly or provide adequate insulation.
To begin, measure the height and width of the existing window frame or rough opening. If there isn’t one already in place, create a new rough opening by cutting through the wall studs with a reciprocating saw.
Next, check for any obstructions such as pipes or electrical wires that may interfere with installing your new window. Remove any obstacles and ensure that there are no protruding nails or screws from previous installations.
Clean out any debris from inside of the framing area so that you have a clear workspace for installing your new windows.
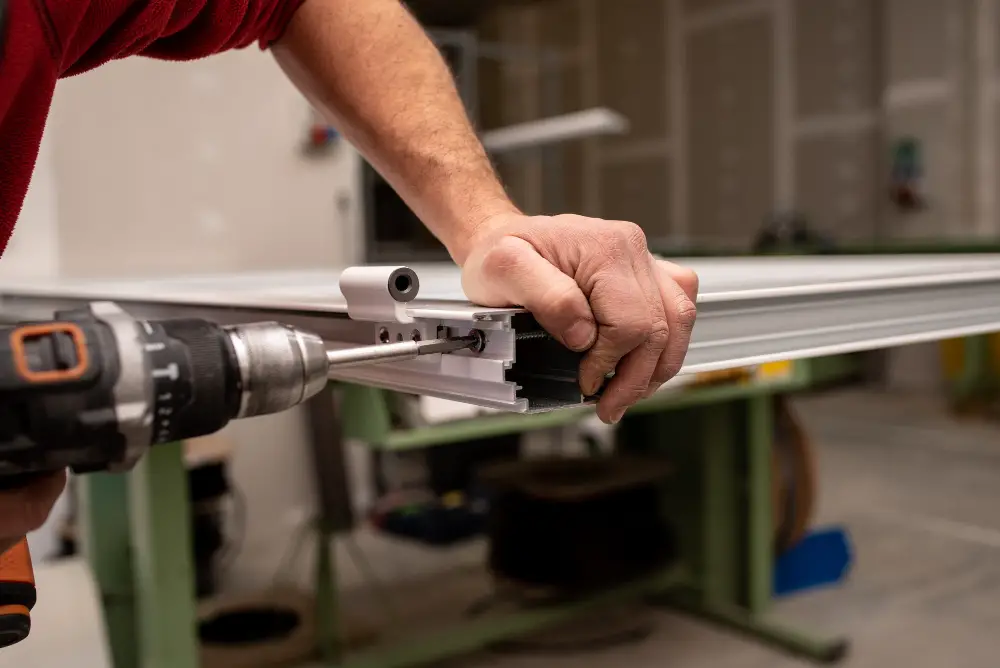
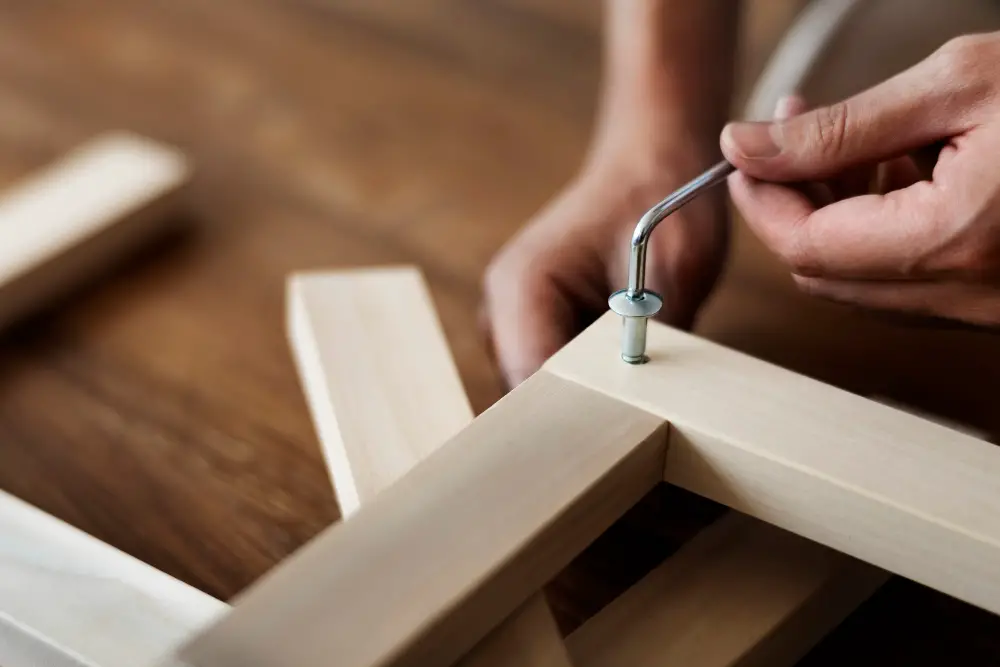
Constructing the Window Frame

The first step is to cut your frame boards to length according to your measurements. You can use a saw or a miter box for this task.
Next, you’ll need to assemble the pieces of wood into a rectangular shape using nails or screws. Make sure that all corners are square and flush with each other before securing them in place.
If you want extra reinforcement for your window frame, consider adding diagonal braces at each corner. These will help prevent warping over time and ensure that your window stays sturdy.
Once the basic structure of the frame is complete, it’s time to install any necessary hardware such as hinges or locks before moving on with glass installation. Remember: precision is key when constructing a window frame since even small errors can lead to significant problems down the line.
Cut Frame Boards to Length
This step is crucial in ensuring that your window fits perfectly into its designated opening. To begin, measure each side of the frame and mark where you need to make cuts on each board.
Using a saw, carefully cut along these marks until all four sides are trimmed down to their proper lengths. It’s important that your cuts are precise and straight so that there aren’t any gaps between the frame and opening.
If you’re using a power saw for this step, be sure to wear protective eyewear and gloves as well as follow manufacturer instructions for safe operation.
Nail Joints (Optional)
To create nail joints, you’ll need to use a saw or router to cut a groove into the end of each frame board. The groove should be about 1/4 inch deep and wide enough for your nails.
Once you’ve created the grooves, apply wood glue along each joint and insert nails through them at an angle. This will help hold everything together while the glue dries.
While nail joints aren’t necessary for every window project, they can provide added strength and durability over time. If you’re unsure whether or not to include this step in your build process, consult with a professional or experienced DIYer before proceeding.
Securing the Glass
There are several options for securing glass in a window frame, including glazing putty or silicone caulk. Glazing putty is a traditional method that involves applying a thin layer of putty around the edge of the glass and pressing it into place with glazier points.
Silicone caulk is another option that provides a more modern look.
To use glazing putty, first apply linseed oil to your hands to prevent sticking. Then take small pieces of putty and roll them into thin ropes between your palms before pressing them onto one side of each pane’s rabbet (the groove cut on either side).
Next, press each piece firmly against its respective rabbet until they’re flush with both sides’ surface.
If using silicone caulk instead, apply an even bead along all four edges where you want your pane secured before carefully placing it inside its opening so as not to disturb any sealant already applied elsewhere within this area (such as around other panes).
Installing Insulation
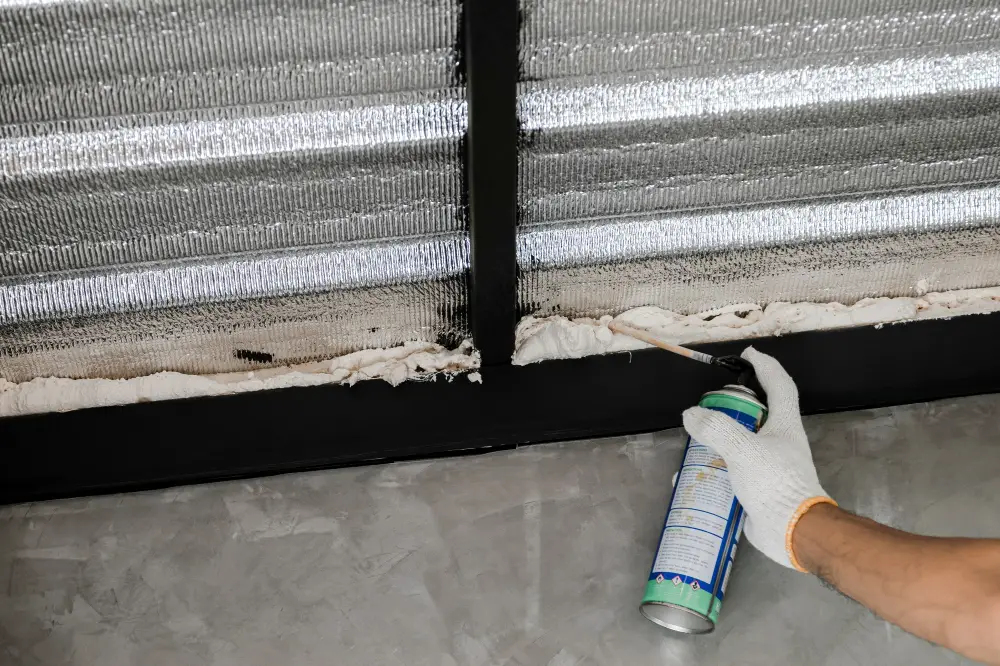
Insulation is essential for keeping your home warm in winter and cool in summer by preventing air leaks around your windows. There are several types of insulation available, including fiberglass batts, spray foam, and rigid foam boards.
To install fiberglass batts insulation:.
- Cut the batts to fit snugly between the window frame and rough opening.
- Place them into position with a slight pressure so that they fill any gaps or voids.
- Use a utility knife or scissors to trim excess material if necessary.
For spray foam insulation:.
- Apply expanding spray foam around all sides of the window frame where it meets with rough opening.
- Allow it to expand fully before trimming off any excess using a serrated blade once dry.
Rigid Foam Board installation involves cutting pieces of board slightly larger than each space between studs surrounding your new windows then fitting them tightly into place against these surfaces until there are no gaps left unfilled along edges where they meet up against other materials such as wood framing members (studs).
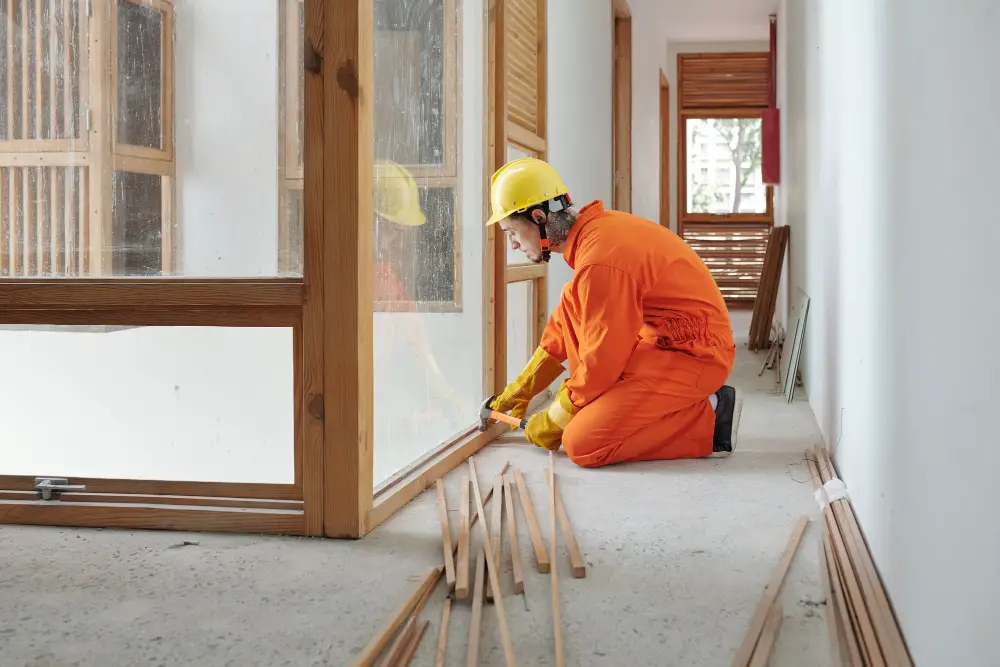
Installing the Window

Begin by placing the window into the opening from outside of your home. Make sure that it is level and square before securing it in place with screws or nails.
Next, add insulation around all sides of the frame to prevent drafts and improve energy efficiency. Use a foam sealant or weatherstripping tape for best results.
Finish off any remaining gaps between your new window and its surrounding structure with caulk or trim pieces as needed. This will help ensure that no air leaks occur around your newly installed windows.
Finishing Touches
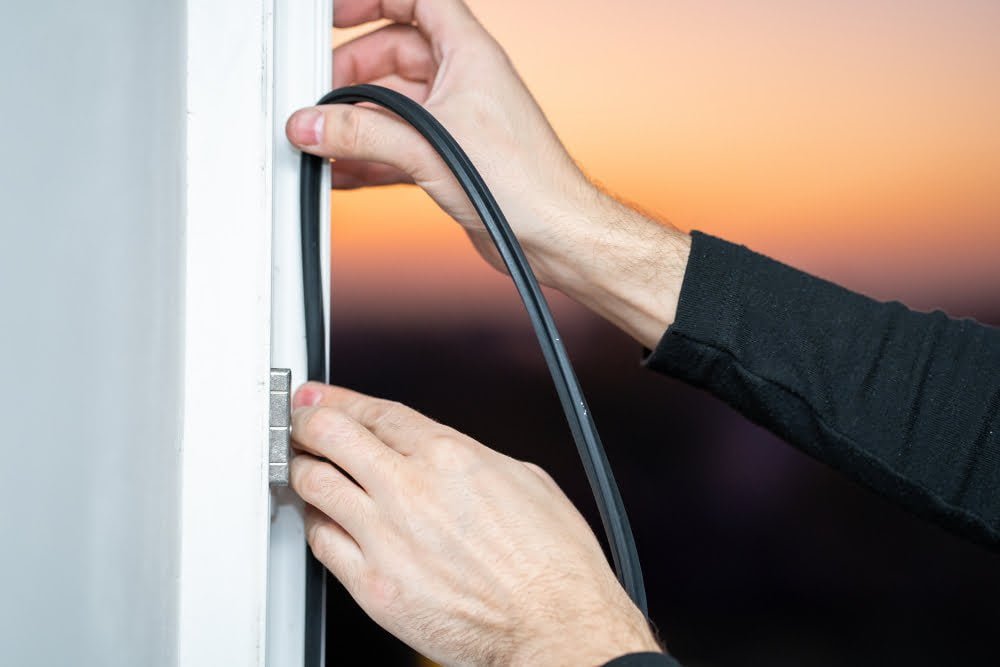
This step is crucial for ensuring that your window looks great and functions properly. One of the most important things to consider when finishing a window is weatherproofing.
You’ll want to make sure that there are no gaps or cracks around the frame where air or water can seep in.
To prevent this from happening, use caulk or weatherstripping around the edges of your new window. Caulk should be applied between the frame and wall on both sides of each corner joint as well as along any seams where two pieces meet.
Another important consideration when finishing a window is aesthetics. You may choose to paint or stain your new windows so they match with other elements in your home’s decor scheme.
Don’t forget about hardware! Adding handles and locks will not only enhance security but also improve functionality by making it easier for you to open and close them smoothly without putting too much strain on their hinges over time.
Weatherproofing Considerations

This will help prevent drafts, leaks, and other issues that can compromise the integrity of your home. One key consideration when weatherproofing a window is selecting the right sealant or caulk for the job.
Look for products specifically designed for use on windows and doors, as these will provide superior protection against moisture infiltration.
Another important factor to consider is proper installation of flashing around the perimeter of your window frame. Flashing helps direct water away from vulnerable areas such as joints and corners where leaks are most likely to occur.
Be sure to inspect your windows regularly for signs of wear or damage that could compromise their ability to keep out wind and rain. If you notice any issues such as cracked glass or damaged frames, take action promptly before more serious problems arise.
Maintaining Your Window

Regular cleaning and upkeep will help ensure that your window lasts for years to come. Here are some tips for maintaining your new window:
1. Clean the glass regularly with a non-abrasive cleaner and a soft cloth.
2. Check the weatherstripping around the frame periodically to make sure it’s still in good condition.
3. Lubricate any moving parts, such as hinges or locks, with a silicone-based lubricant.
4. Inspect the caulking around the exterior of the frame every year or so and reapply if necessary.
5. Keep an eye out for any signs of damage or wear and tear on both interior and exterior components of your windows; address them promptly before they become bigger problems.
Safety Tips

Here are some tips to keep in mind:.
1. Wear protective gear: Always wear safety glasses, gloves, and a dust mask when cutting or sanding wood.
2. Use caution with power tools: Power saws and drills can be dangerous if not used properly.
Make sure you read the instructions carefully before using them.
3. Work in a well-ventilated area: When working with chemicals such as paint or sealant, make sure you have proper ventilation to avoid inhaling harmful fumes.
4. Keep your workspace clean and organized: Cluttered workspaces can lead to accidents and injuries.
5. Ask for help if needed: If you’re unsure about how to use a tool or perform a certain task safely, don’t hesitate to ask for help from someone more experienced.
Enhancing Energy Efficiency
By making some simple adjustments during the window-making process, you can reduce your energy bills and help protect the environment.
One way to enhance energy efficiency is by selecting double-paned glass for your windows. Double-paned glass consists of two panes of glass separated by an insulating layer that helps keep heat inside during cold weather and outside during hot weather.
Another option is to use low-emissivity (low-e) coatings on your window glass. These coatings reflect infrared radiation from both sides of the pane, helping regulate indoor temperatures throughout all seasons.
Consider using insulated frames made from materials such as vinyl or fiberglass instead of traditional wood frames. Insulated frames are less prone to warping or rotting over time while still providing excellent insulation properties.
By incorporating these enhancements into your window-making process, you’ll not only save money on heating and cooling costs but also contribute towards a more sustainable future for our planet!.
FAQ
Can I build my own window?
Yes, you can build your own window if you have carpentry skills, considering the variety of styles available such as awning, casement, and double-hung.
What materials and tools do I need to construct a window from scratch?
Materials and tools needed to construct a window from scratch include: measuring tape, glass cutter, glazier’s points, glass panels, window frame material, putty knife, wood chisel, silicone, rubber gaskets, drill, screws, paint, and a saw.
What are the different types of window designs that can be built by a DIY enthusiast?
Some window designs that can be built by a DIY enthusiast include hung, sliding, casement, awning, hopper, jalousie, fixed, bay, and bow windows.
How can I ensure proper insulation and sealing when constructing a window?
To ensure proper insulation and sealing when constructing a window, carefully install quality insulating materials and apply weatherstripping or sealant around the edges.
Read More
 Aluminum Window Latch Replacement: A Simple Guide to Security and Style
 Custom Aluminum Window Screens Buying Guide
 Aluminum Window Removal Tool: Easy Steps for a Hassle-Free Window Replacement
 Screw for Aluminum Window Frame: Your Ultimate Fixing Guide
 Replace Aluminum Window Glass: A Beginner’s Guide to a Clearer View
Recap