Discover the simple steps to transform and protect your metal window frames with a fresh coat of paint in this easy-to-follow guide.
Metal window frames can add a sleek and modern touch to any home, but over time they may start to look worn out or dull. If you’re looking for an easy and affordable way to give your metal window frames a fresh new look, painting them is the perfect solution.
Not only will it improve their appearance, but it can also protect them from rust and other damage. In this blog post, we’ll guide you through the step-by-step process of painting metal window frames so that you can achieve professional-looking results without breaking the bank.
So grab your paintbrushes and let’s get started!
Key takeaways:
- Prepare the workspace: Clear area, cover surfaces, ensure ventilation.
- Gather materials: Brushes, tape, sandpaper, primer, paint, thinner.
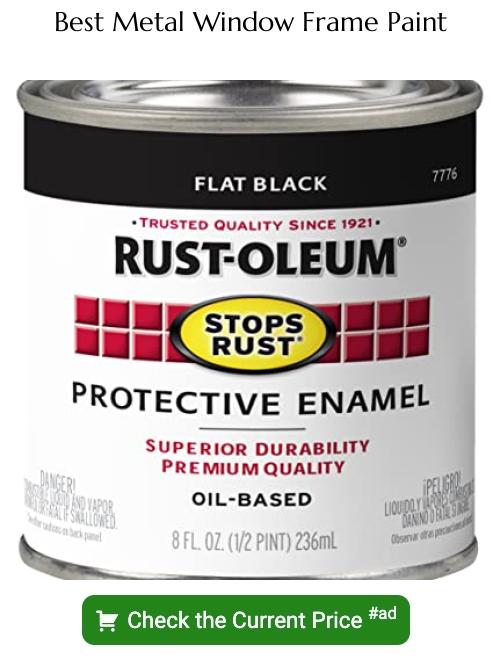
- Choose the right paint: Use enamel or oil-based paint designed for metal surfaces.
- Remove hardware: Carefully take off handles, locks, and hinges.
- Prep the surface: Clean, sand, and remove old paint.
Preparing the Workspace
Before you start painting your metal window frames, it’s important to prepare the workspace properly. This will ensure that you have a clean and safe area to work in, and that your paint job turns out perfectly.
Start by clearing the area around your windows of any furniture or other objects that might get in the way. Cover nearby surfaces with drop cloths or plastic sheeting to protect them from accidental spills or splatters.
Next, make sure there is adequate ventilation in the room where you’ll be working. Open windows and doors if possible, or use fans to circulate air throughout the space.
Gather all of your materials together so they’re within easy reach when you need them. This includes paint brushes and rollers, sandpaper for smoothing rough spots on metal frames before painting begins; masking tape for protecting glass panes from stray brushstrokes; primer (if necessary); rust inhibitor (if needed), as well as any other tools required according to manufacturer instructions.
Gathering Materials
Here are some of the essential items you’ll need:
1. Paintbrushes: Choose high-quality brushes that are suitable for use with oil-based paints.
2. Painter’s tape: This will help protect areas around the frame that you don’t want to paint.
3. Sandpaper or sanding block: You’ll need this to smooth out any rough spots on the surface of your window frames before painting.
4. Rust inhibitor: If there is rust present on your metal window frames, a rust inhibitor can help prevent further corrosion and ensure a smoother finish when painted over.
- Primer and paint: Choose an oil-based primer and paint specifically designed for use on metal surfaces in order to achieve optimal results.
- Paint thinner or mineral spirits: These solvents can be used during cleaning up after applying primer or base coat
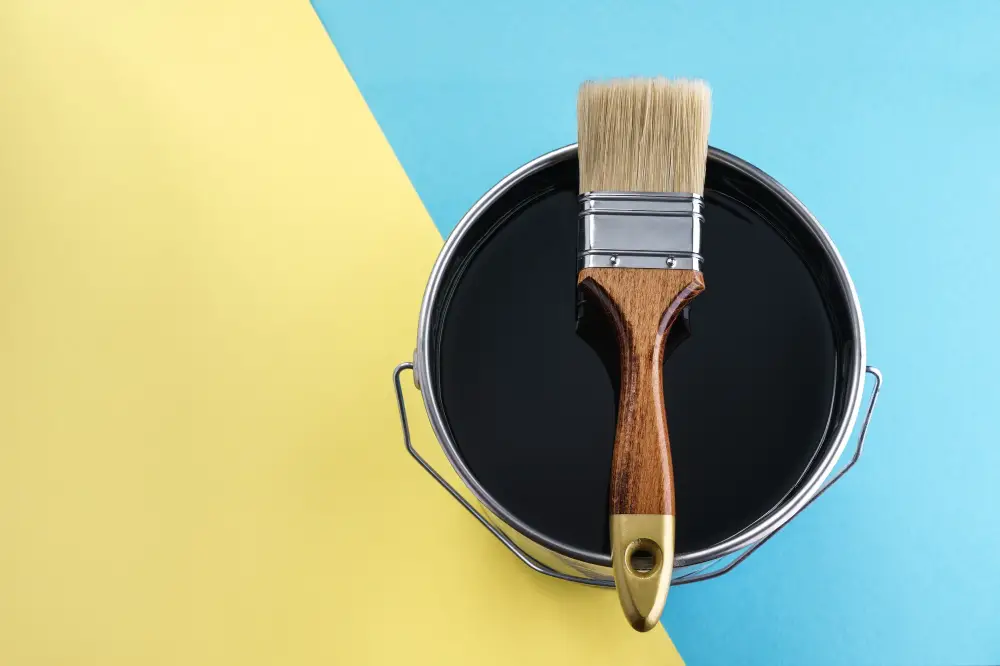
Choosing the Right Paint
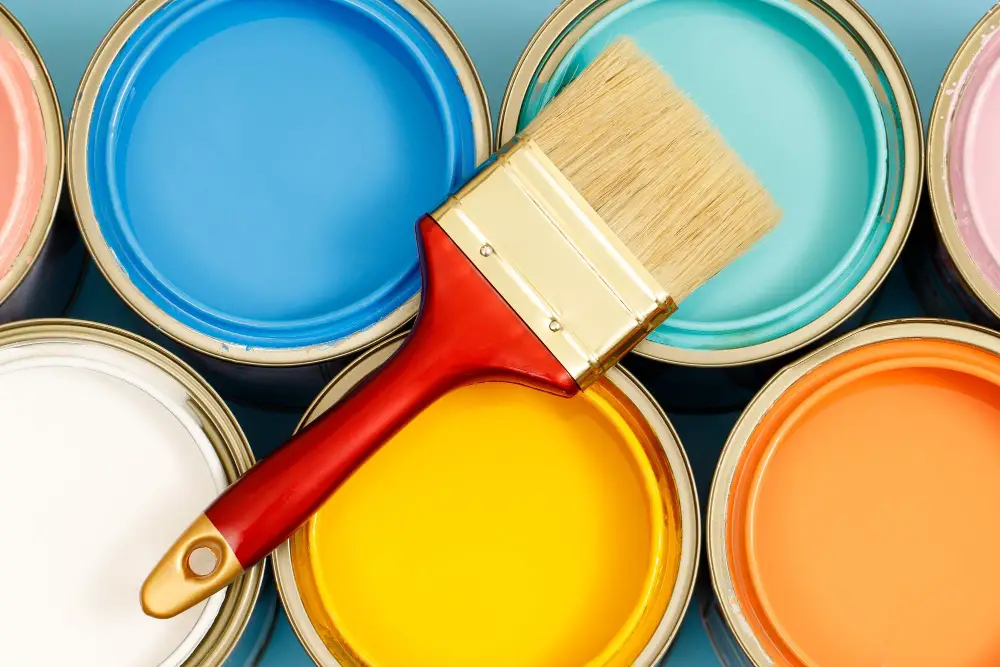
When selecting paint, it’s important to consider factors such as durability, color options, and compatibility with metal surfaces.
For best results, choose a high-quality enamel or oil-based paint that is specifically designed for use on metal surfaces. These types of paints are known for their durability and resistance to chipping and peeling.
When it comes to color selection, you’ll have plenty of options available in both glossy and matte finishes. Keep in mind that lighter colors may require more coats than darker shades.
It’s also essential to ensure that the chosen paint is compatible with your specific type of metal frame material (e.g., aluminum or steel). Some paints may not adhere well or could cause damage if used incorrectly.
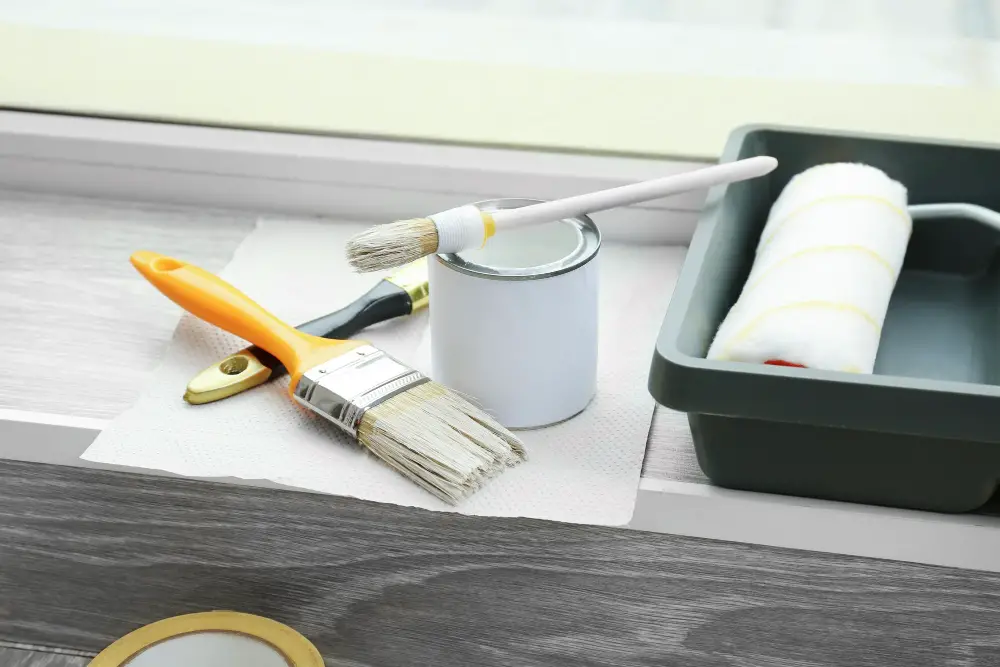
Gathering Necessary Tools
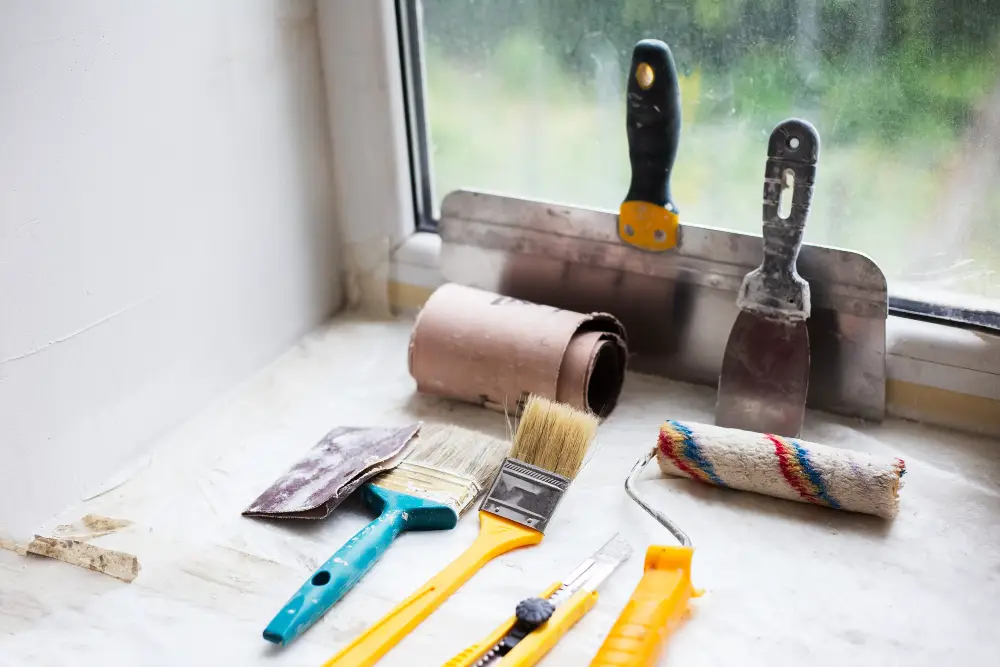
This will ensure that you have everything on hand and won’t need to stop halfway through the project. Here are some of the essential tools that you’ll need:
1. Paintbrushes: Choose a high-quality brush with synthetic bristles for smooth application.
2. Roller: A small roller can be used for larger areas or flat surfaces.
3. Sandpaper: Use sandpaper with a grit between 120-220 to remove any rust or old paint from the surface of your frame.
4. Rust inhibitor: Apply this product before painting if there is any sign of rust on your metal window frames.
5. Painter’s tape and drop cloths: Protect surrounding areas by covering them up with painter’s tape and drop cloths so they don’t get splattered with paint during application.
6. Primer & Paint: Choose an oil-based primer specifically designed for use on metal surfaces, followed by an oil-based enamel paint in your desired color.
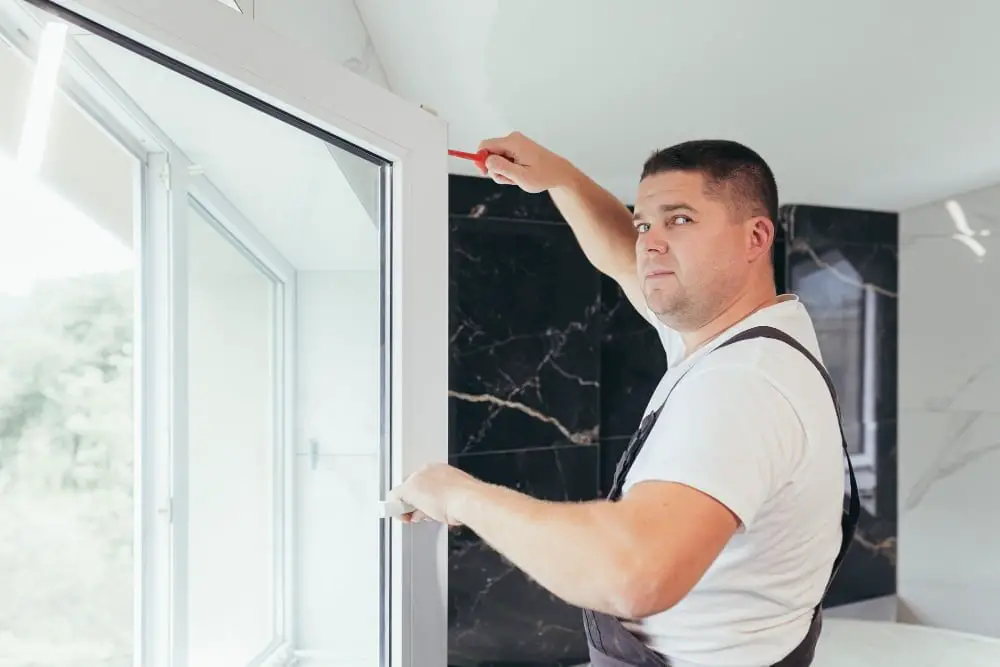
Removing Hardware
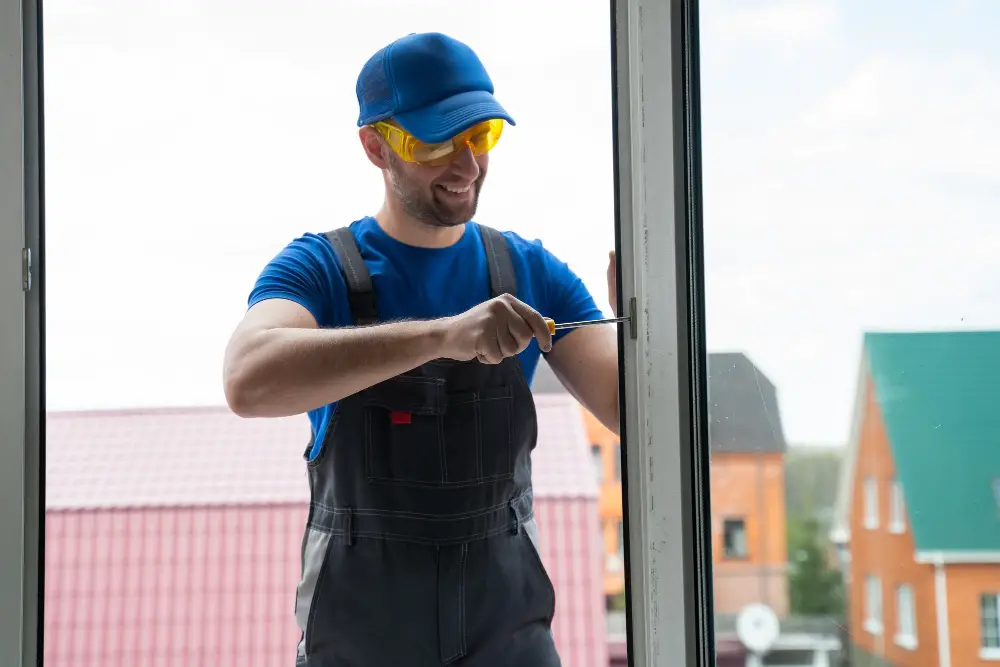
This will make the process much easier and ensure that you don’t accidentally paint over them. Use a screwdriver to carefully remove all hardware from the frame and place them in a safe location where they won’t get lost or damaged.
If there are any stubborn screws that won’t budge, try using some penetrating oil like WD-40 to loosen them up before attempting again with your screwdriver. Once all of the hardware has been removed, take some time to inspect each piece for damage or wear and tear.
If anything needs replacing or repairing now is an excellent opportunity while everything is disassembled.
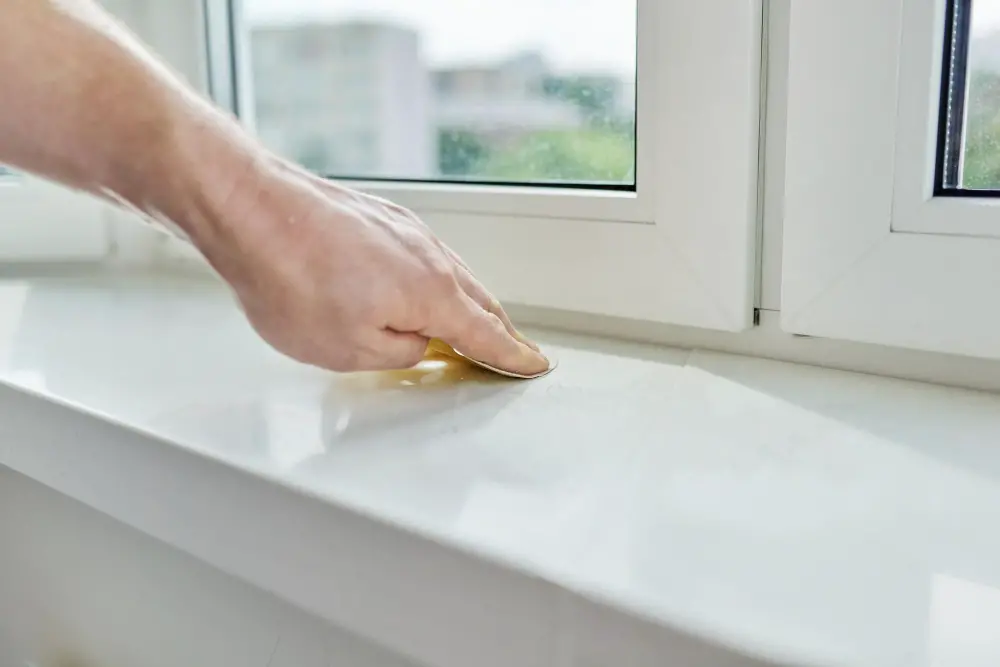
Preparing the Surface
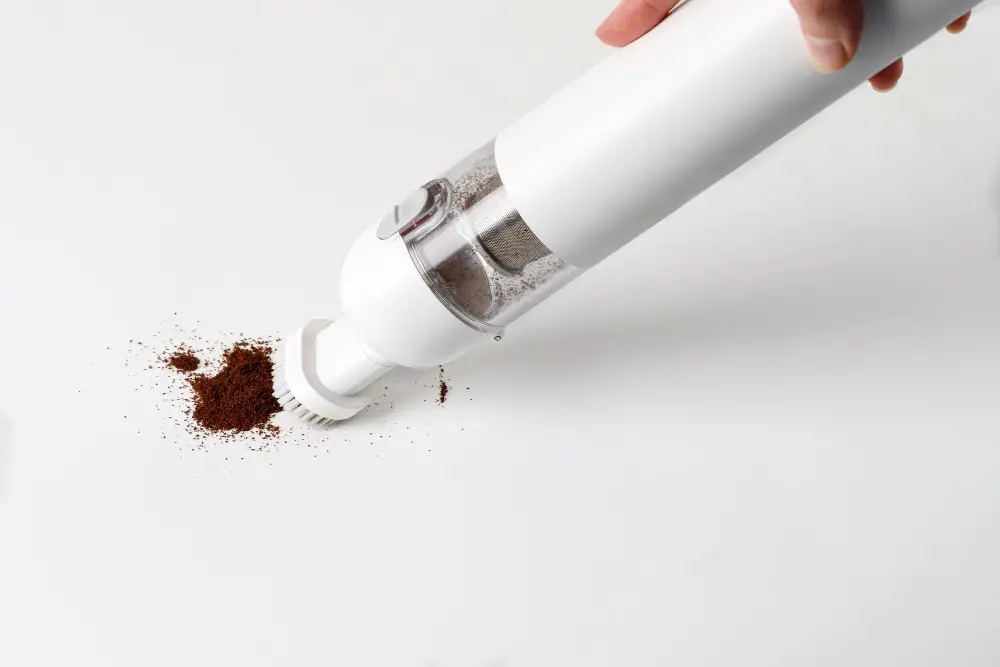
This step is crucial as it ensures that the paint adheres well and lasts longer. The first thing you need to do is remove any dirt, dust or debris from the frame using a soft-bristled brush or a vacuum cleaner with an attachment suitable for cleaning windows.
Next, use sandpaper (120-grit) to smooth out any rough spots on the frame’s surface. Be sure not to over-sand as this can damage your window frames’ finish and make them more susceptible to rusting.
After sanding, wipe down all surfaces with a clean cloth dampened in warm water mixed with mild soap detergent solution. Rinse thoroughly until no soapy residue remains on surfaces before allowing them time dry completely.
Removing Old Paint
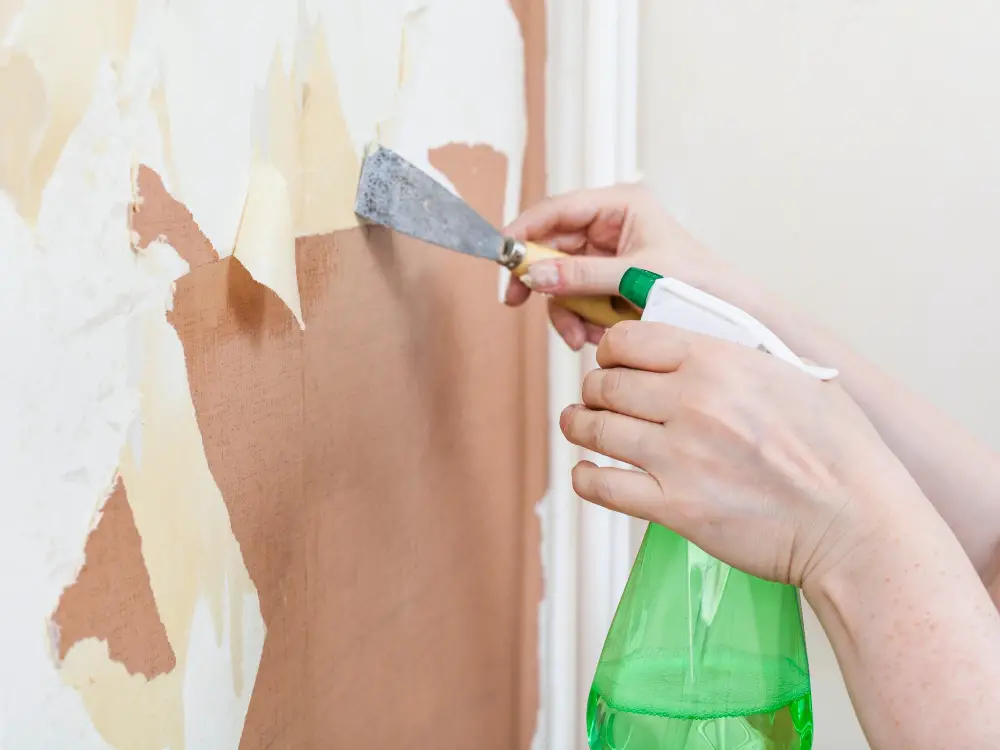
This will ensure that the new coat of paint adheres properly and looks smooth and even. To remove old paint from your metal window frames, you have a few options.
One method is to use a chemical stripper specifically designed for removing paint from metal surfaces. These strippers work by softening the old layers of paint so they can be easily scraped away with a putty knife or scraper tool.
Another option is to use sandpaper or an abrasive blasting technique such as sandblasting to strip away the old layers of paint manually. This method requires more physical effort but can be effective in removing stubborn areas of peeling or chipped off paints.
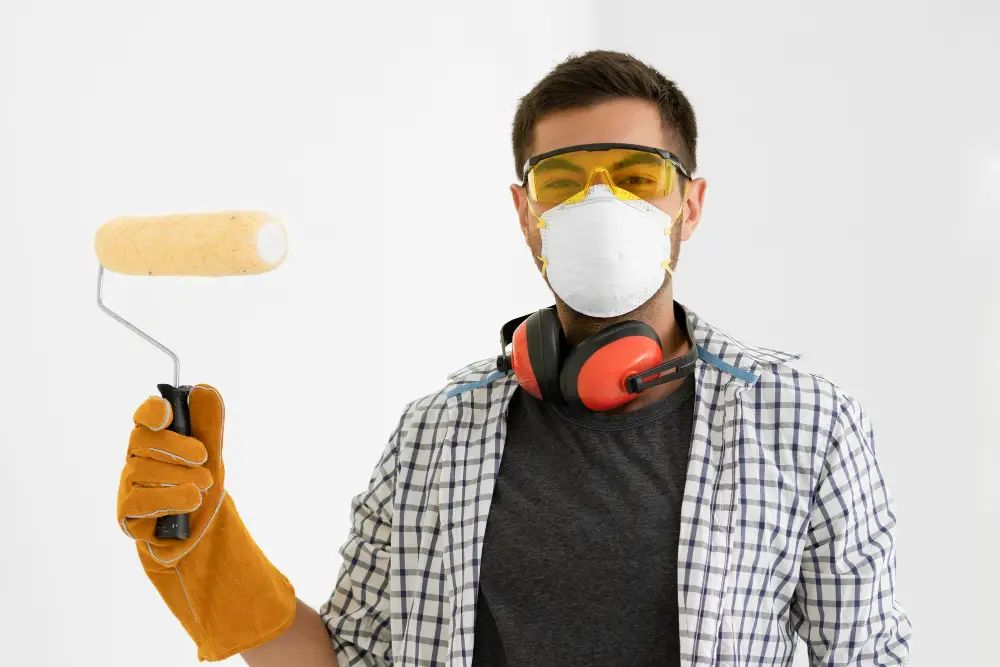
Whichever method you choose, make sure to wear protective gear such as gloves and goggles when handling chemicals or using abrasive tools like sandpaper.
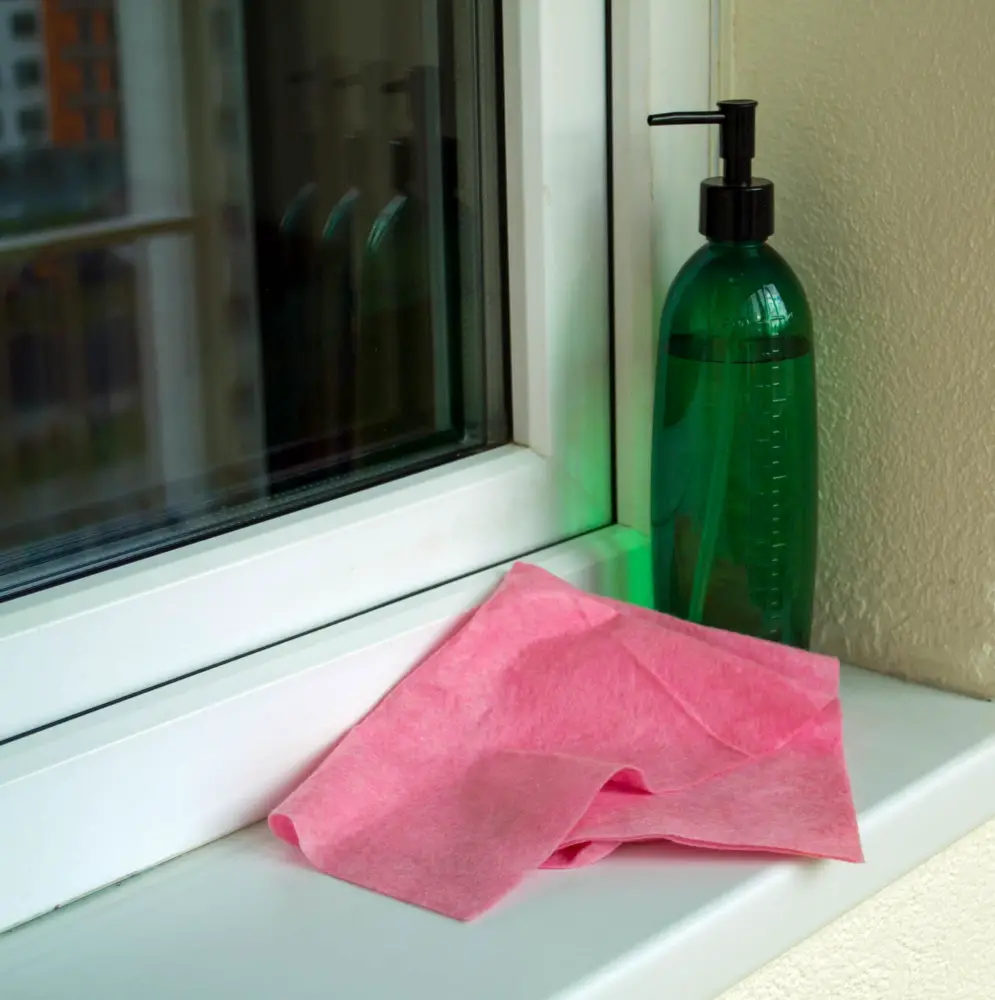
Cleaning and Sanding the Frame
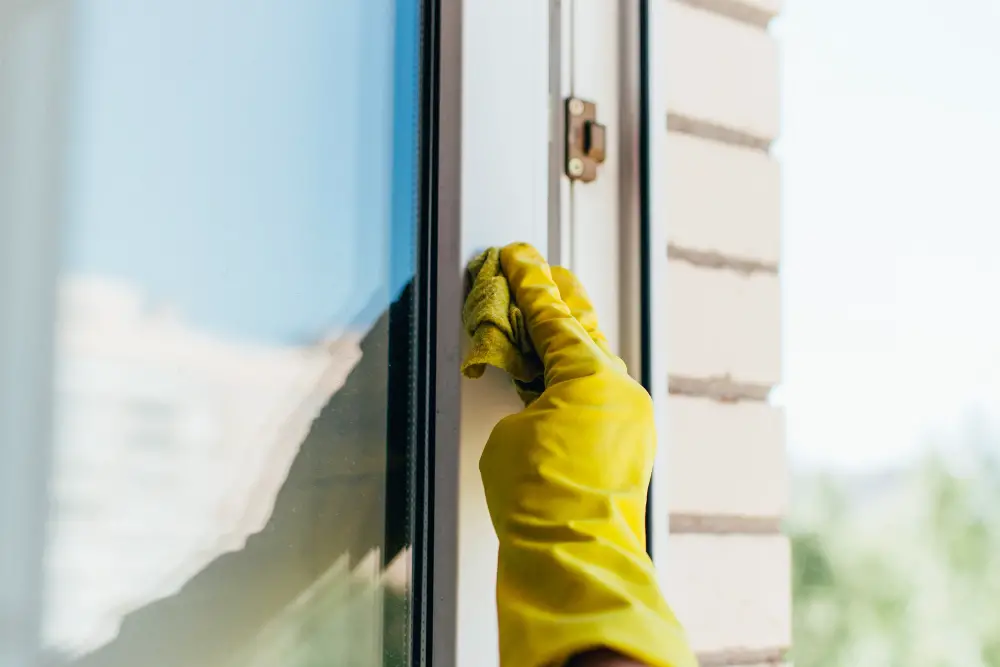
This step is crucial as it ensures that the new paint adheres well to the surface of your metal window frames. Start by wiping down each frame with a damp cloth or sponge to remove any dust or debris.
Then, use a fine-grit sandpaper (around 220 grit) to gently rough up the surface of each frame.
Be sure not to oversand as this can damage your frames’ finish and create uneven surfaces that will show through when painted over. After sanding, wipe down each frame again with a clean cloth or sponge.
If there are any stubborn spots on your metal window frames that won’t come off with just water and soap, try using mineral spirits instead. Apply some onto a rag then rub gently until all dirt has been removed from those areas.
Applying Rust Inhibitor
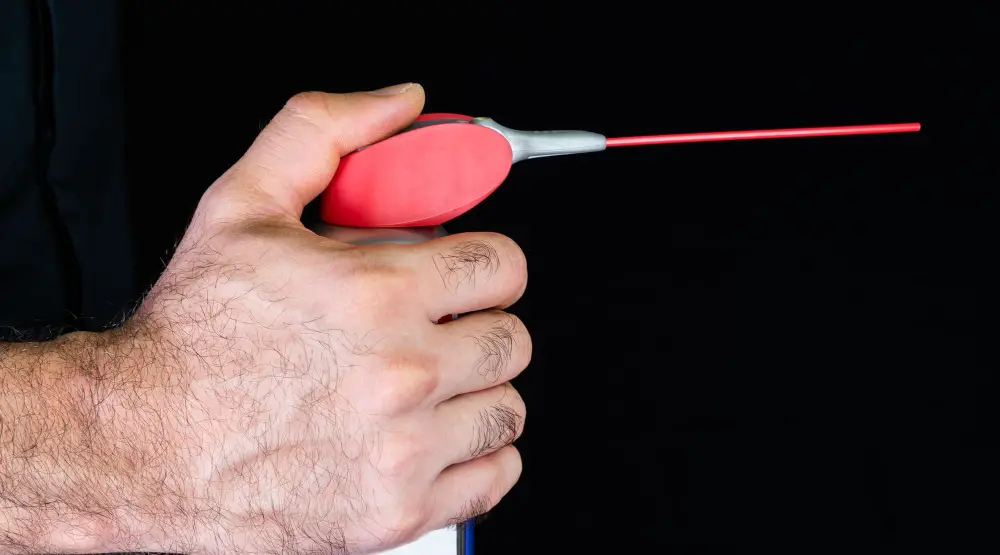
This step is crucial in preventing future rust and corrosion from forming on the surface of your frames. Rust inhibitors come in different forms such as sprays or liquids, and you can easily find them at your local hardware store.
To apply the rust inhibitor, start by cleaning the frame thoroughly with soap and water. Once dry, use a clean cloth to wipe down the entire surface of each frame with an even layer of rust inhibitor solution or spray.
Be sure not to miss any spots as this will leave areas vulnerable to future damage. Allow ample time for drying before moving onto priming and painting steps.
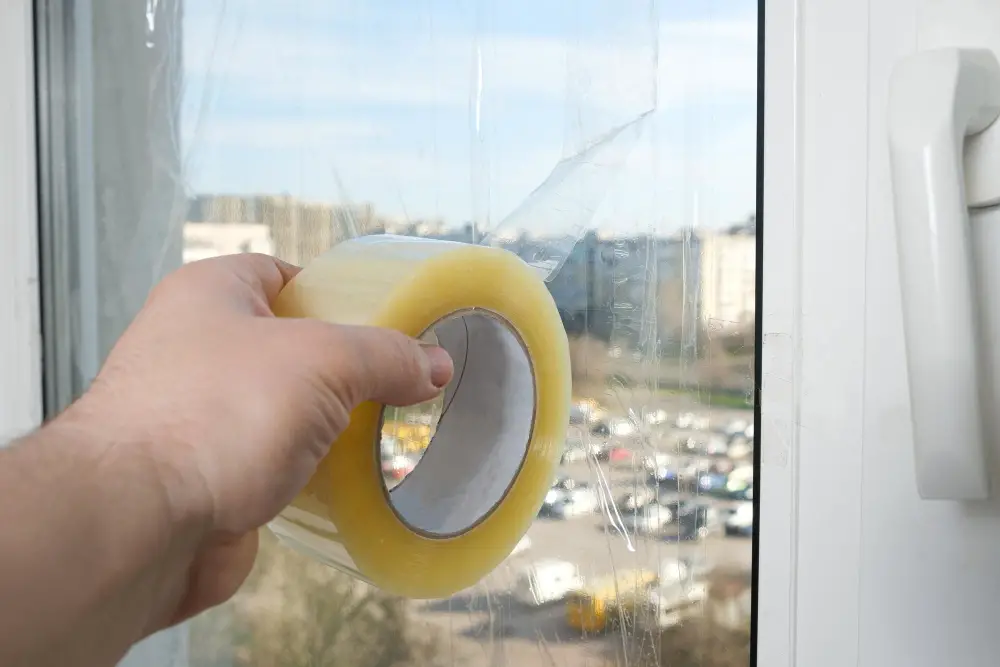
Masking and Protecting
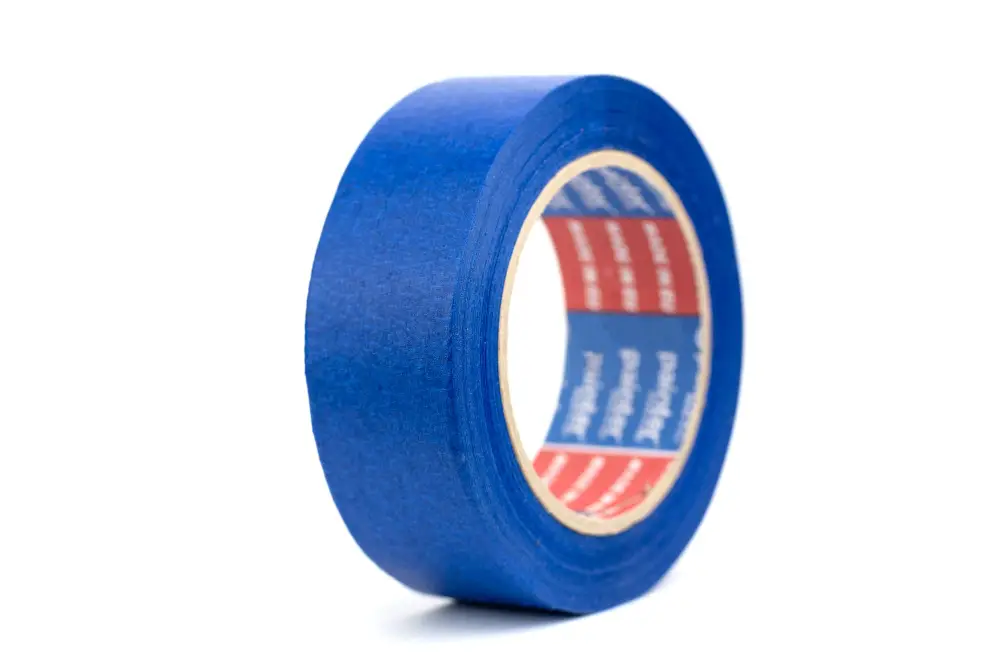
This will prevent any accidental paint splatters or drips from damaging your walls, floors, or furniture. Use painter’s tape to cover the edges of your window panes and any other areas that you don’t want to get painted.
You can also use plastic sheeting or drop cloths to cover larger surfaces such as floors.
Make sure that all masking materials are securely in place before starting with primer application. If there are gaps between the tape and surface area being masked off then paint may seep through causing an uneven finish.
Applying Primer
Primer is essential for creating a smooth and even base for your paint to adhere to. It also helps prevent rust and other damage from occurring in the future.
Before applying primer, make sure that the surface is completely clean and dry. Use a high-quality brush or roller to apply an even coat of primer over all surfaces that will be painted.
Be sure not to overload your brush or roller with too much primer as this can cause drips and uneven coverage. Allow the first coat of primer enough time (usually 2-4 hours) before applying another layer if necessary.
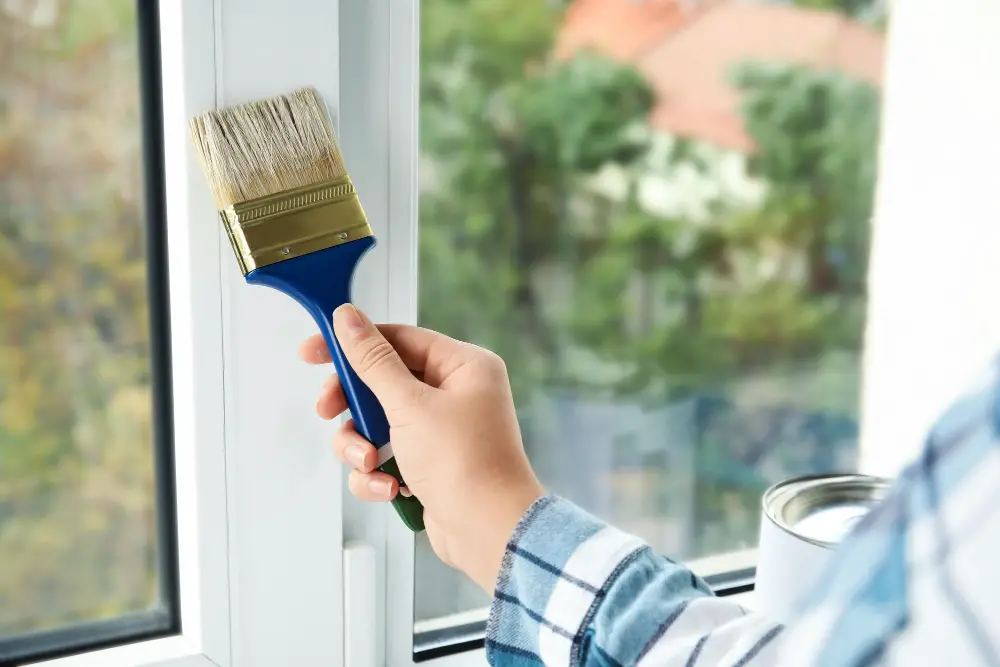
Painting Techniques
There are several techniques that you can use to achieve a smooth and even finish.
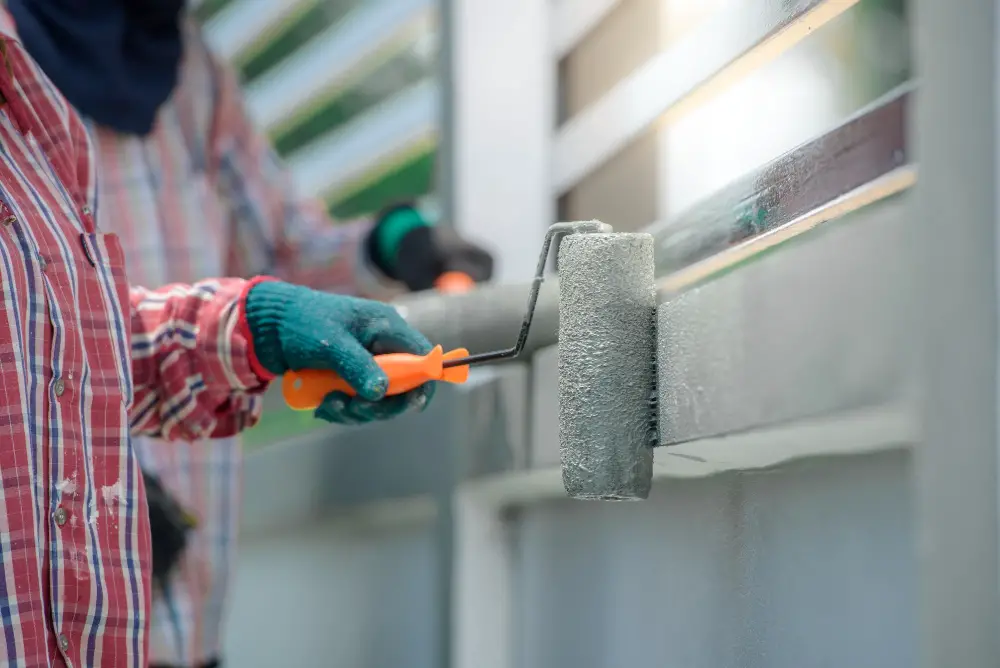
One of the most common techniques is using a paintbrush. This method allows for more control over the application of paint, especially in tight spaces or corners where rollers cannot reach.
When using this technique, make sure to apply thin coats of paint and avoid overloading your brush with too much product.
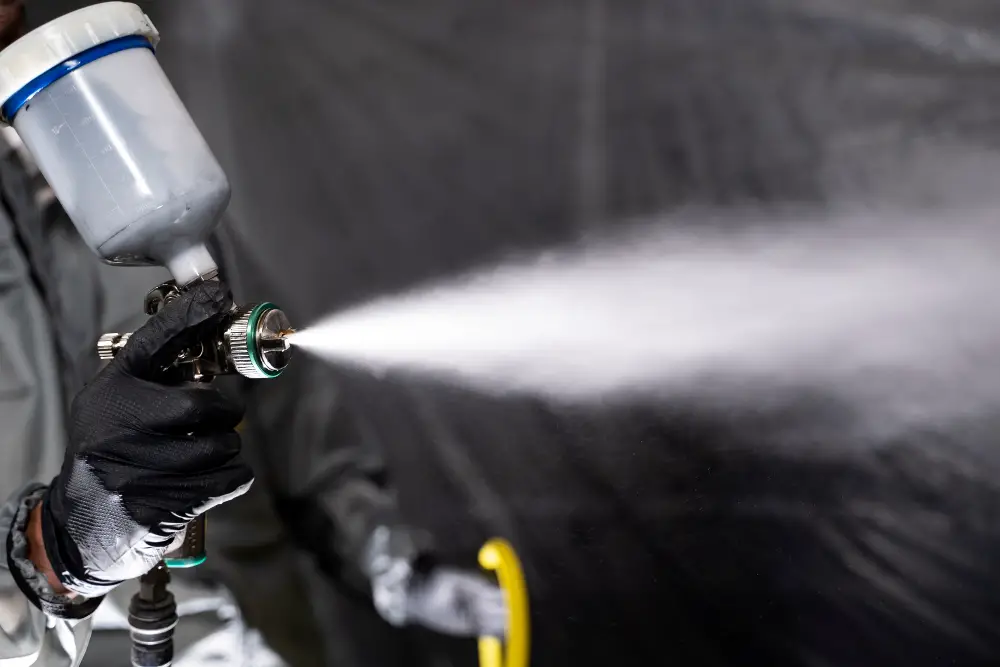
Another popular technique is spray painting. This method provides an even coat without leaving any brush marks behind but requires more preparation work such as masking off areas around windows or doors that should not be painted.
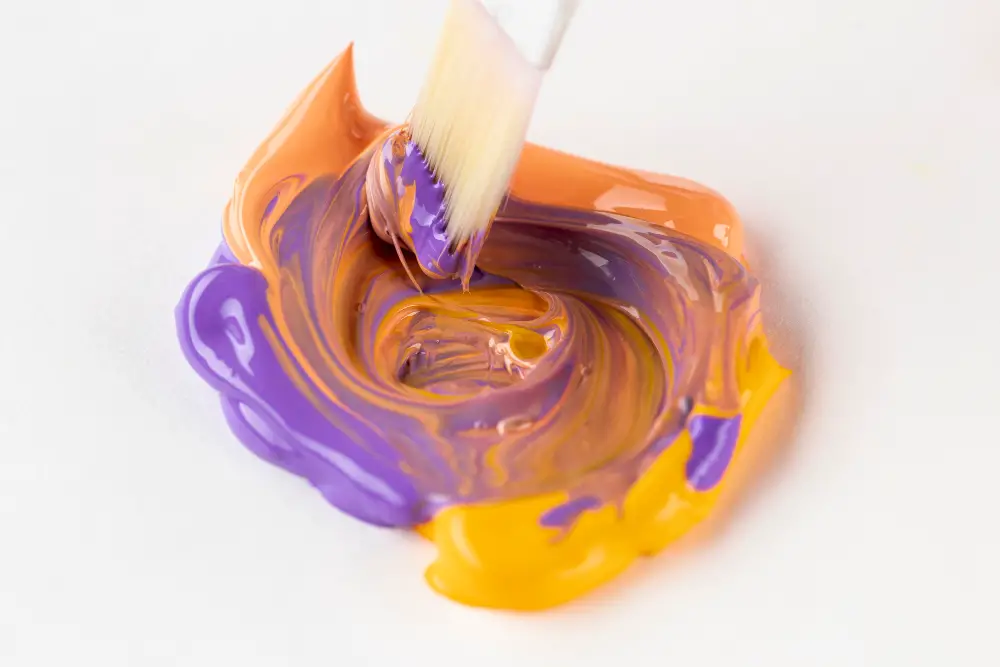
Mixing the Paint
Before mixing, make sure that the paint is at room temperature and has been stirred well. If you’re using a two-part epoxy or enamel-based paint, be sure to follow the manufacturer’s instructions carefully.
When mixing your own custom color or tinting an existing one, start with small amounts of pigment and gradually add more until you achieve the desired shade. Use a clean stir stick or palette knife to blend in each addition thoroughly.
It’s important not to overmix as this can cause air bubbles in your final coat which will affect its appearance once dry. Once mixed correctly, pour some into a tray ready for application onto your prepared surface.
Applying the Base Coat
The base coat is essential as it provides a foundation for your paint color and helps ensure that your final result looks smooth and even.
Before applying the base coat, make sure to mix your paint thoroughly. You can use either a brush or spray gun depending on what works best for you.
If using a brush, start by dipping it into the paint about 1/3 of its length then tap off any excess before starting.
Begin painting at one corner of the frame working in small sections at first until you get comfortable with how much coverage each stroke gives. Make sure not to overload your brush with too much paint as this will cause drips or unevenness in coverage.
If using spray guns, follow manufacturer instructions carefully regarding pressure settings and distance from surface while spraying so that there are no runs or sags on metal frames after drying.
Multiple Paint Coats
This is where your patience will be tested as you’ll need to wait for each layer of paint to dry before applying the next one. It’s important not to rush this process as it can affect the final outcome of your painted metal window frames.
When adding multiple coats, make sure that each layer is thin and even. This will help prevent drips and ensure a smooth finish once everything has dried completely.
Depending on how dark or light you want your frames, two or three layers should suffice. However, if you’re looking for a more opaque finish or if there are any imperfections in the surface that need covering up, additional layers may be necessary.
Finishing Touches
First, remove any masking tape or protective coverings that you used during the painting process. Then, inspect your work and touch up any areas that may need additional coverage.
If there are any drips or imperfections in the finish, use a fine-grit sandpaper to smooth them out before applying another coat of paint. Once you’re satisfied with how everything looks, let the frames dry completely according to manufacturer instructions.
Reattach all hardware such as locks and handles once everything is fully dried. This will ensure that your windows function properly while also looking great with their new fresh coat of paint.
Drying Time
Drying times can vary depending on the type of paint used, humidity levels, and temperature. As a general rule of thumb, most paints will require at least 24 hours to dry fully.
It’s essential not to rush this process as premature handling could cause smudging or damage that would ruin all your hard work. If you’re unsure whether your frames are entirely dry yet, gently touch an inconspicuous area with a finger; if it feels tacky or sticky in any way – give it more time.
Remember that drying times may be longer in humid conditions so ensure proper ventilation during application and drying stages for best results.
Reattaching Hardware
This includes handles, locks, and hinges. Make sure that all screws are tightened securely but not too tight as this can cause damage to the frame or hardware.
If you notice any scratches or chips on your newly painted metal window frames while reattaching the hardware, don’t worry! Simply touch up those areas with a small brush and some leftover paint.
It’s important to note that if you’re unsure about how to properly remove or reattach your window frame’s hardware, it may be best to consult a professional for assistance. They can ensure everything is done correctly without causing damage in the process.
Maintaining Painted Metal Frames
One of the most important things you can do is regularly clean them with a soft cloth and mild soap solution. Avoid using abrasive cleaners or scrubbers that could scratch the paint surface.
Inspect your painted metal frames periodically for any signs of damage or wear, such as chipping or peeling paint. If you notice any issues, address them promptly by touching up the affected areas with fresh paint.
Another way to protect your newly-painted metal window frames is by applying a clear coat sealant over the top of the finished product once it has dried completely. This will help prevent scratches and other types of damage from occurring in everyday use.
Safety Precautions
First and foremost, make sure that the area where you’ll be working is well-ventilated. This will help prevent inhaling any fumes from the paint or other chemicals used in the process.
Wear protective gear such as gloves and a mask to avoid skin irritation or inhalation of harmful particles. If possible, work outside on a sunny day when there is no wind blowing dust around.
Keep children and pets away from your workspace while painting so they don’t accidentally ingest any paint chips or get exposed to toxic substances.
By taking these simple safety measures before starting your project can ensure that both you and those around you stay safe throughout the entire process!
FAQ
Is it OK to paint metal window frames?
Yes, it is OK to paint metal window frames, provided the surface is properly prepared and a suitable paint is used for a long-lasting finish in any desired color.
What is the best way to paint metal window trim?
The best way to paint metal window trim is to apply an etching primer first, followed by acrylic latex paint for a strong and long-lasting finish.
Should you paint aluminum window frames?
Yes, you can paint aluminum window frames successfully as long as the surface is prepared beforehand, and the finish will last for many years.
What type of primer should be used on metal window frames before painting?
A corrosion-inhibiting primer, such as zinc-based or epoxy-based, should be used on metal window frames before painting.
How can you ensure proper adhesion of paint on metal window surfaces?
To ensure proper adhesion of paint on metal window surfaces, one must clean the surface, apply a primer, and use paint specifically designed for metal surfaces.
Are there any specific paint types or finishes recommended for metal window frames?
Paint types or finishes recommended for metal window frames include acrylic latex paint, alkyd paint, or enamel paint for durability and rust prevention.
Read More
 Aluminum Window Latch Replacement: A Simple Guide to Security and Style
 Custom Aluminum Window Screens Buying Guide
 Aluminum Window Removal Tool: Easy Steps for a Hassle-Free Window Replacement
 Screw for Aluminum Window Frame: Your Ultimate Fixing Guide
 Replace Aluminum Window Glass: A Beginner’s Guide to a Clearer View
Recap