In this blog post, I will guide you through the step-by-step process of sealing your windows to improve their energy efficiency and help reduce your electricity bill.
As the chilly winter winds began to blow, I noticed a draft in my living room. It was coming from the windows, and no matter how much I turned up the heat, it just wouldn’t go away.
Frustrated and determined to find a solution, I delved into the world of window sealing.
Through my research and experience, I discovered that proper window sealing not only improves energy efficiency but also makes your home more comfortable. Whether you’re dealing with drafts or trying to reduce your energy bills, this DIY guide on window sealing has got you covered.
In this post, we’ll explore everything you need to know about window sealing – from identifying air leaks to choosing the right materials for your project. So grab a cup of coffee and let’s get started on making your home cozier and more efficient!
Introduction to Window Sealing
When I first started researching window sealing, I was overwhelmed by the amount of information available. But as I delved deeper into the topic, it became clear that there are a few key things to keep in mind when it comes to improving your home’s energy efficiency through window sealing.
Firstly, you need to identify any air leaks around your windows. These can be caused by gaps between the frame and wall or cracks in the glass itself.
Once you’ve identified these areas, you can start thinking about how best to seal them up.
As someone who loves DIY projects and saving money on my energy bills, learning about window sealing has been an eye-opening experience for me. Not only does proper insulation make my home more comfortable during those cold winter months but also helps reduce my carbon footprint.
In this guide on window sealing for improved efficiency, we’ll explore everything from identifying air leaks around your windows to choosing materials that will help keep heat inside where it belongs!
Benefits of Improved Efficiency
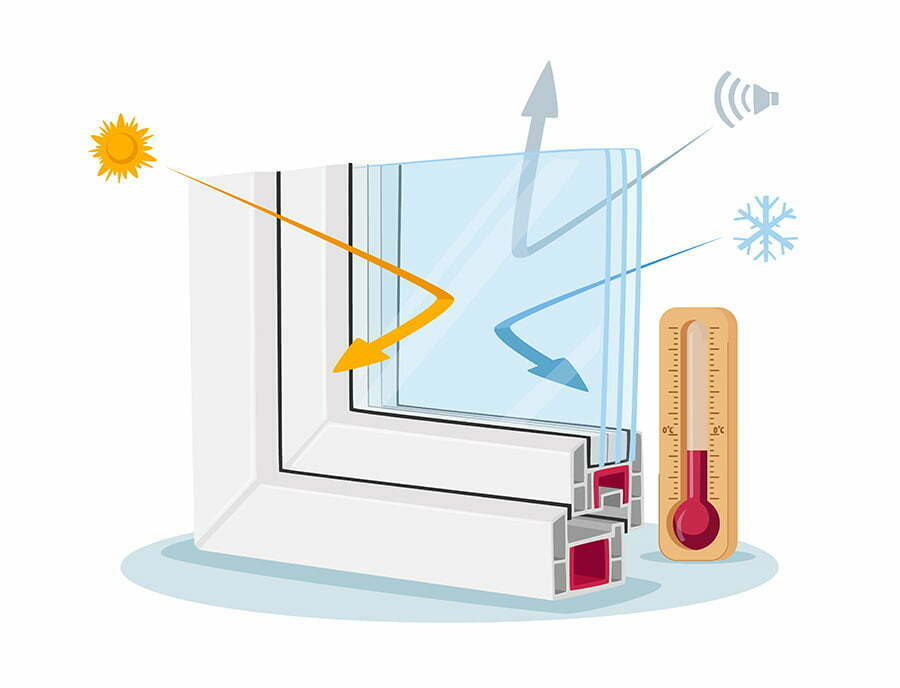
As I continued my research on window sealing, I discovered that improving the efficiency of your windows has numerous benefits beyond just reducing drafts. For one, it can significantly lower your energy bills by preventing heat loss during the winter and keeping cool air inside during the summer months.
Proper window sealing can make your home more comfortable by eliminating cold spots and reducing noise pollution from outside. It also helps to prevent moisture buildup which can lead to mold growth or damage to walls and floors.
After learning about these benefits, I was even more determined to tackle my drafty windows head-on. With a little bit of effort and some basic DIY skills, anyone can improve their home’s energy efficiency through proper window sealing techniques.
Types of Window Sealants
After identifying the air leaks in my windows, I realized that choosing the right sealant was crucial to ensure maximum efficiency. There are various types of window sealants available on the market, each with its own set of advantages and disadvantages.
One popular option is silicone caulk. It’s easy to apply and can be used on a variety of surfaces such as wood, metal or vinyl frames.
However, it takes longer to dry than other options like acrylic caulk.
Acrylic latex caulk is another common choice for sealing windows. It dries quickly and can be painted over once it has cured completely.
However, it may not adhere well in extreme temperatures or moisture-prone areas.
For those looking for an eco-friendly option, there are also natural-based sealants made from materials like linseed oil or beeswax that provide excellent insulation properties while being environmentally friendly.
When selecting a window sealant type for your project consider factors such as durability against weather conditions specific to your area; ease-of-application; drying time; cost-effectiveness among others. By choosing the right type of window sealer you’ll save money by reducing energy bills while keeping your home comfortable all year round!
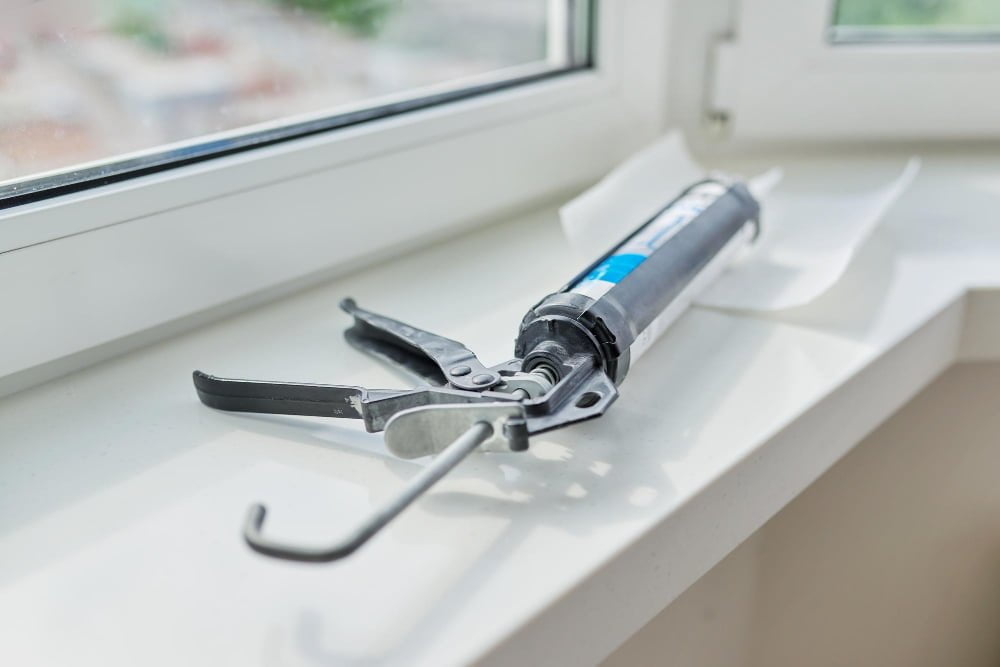
Tools and Materials Needed

Now that we’ve established the importance of window sealing, let’s dive into what you’ll need to get started. The good news is that most of the tools and materials required for this project are readily available at your local hardware store or online.
Here’s a list of what you’ll need:
- Caulk gun
- Weatherstripping tape
- Silicone caulk
- Putty knife or scraper tool
- Window insulation film kit (optional)
As I gathered my supplies, I couldn’t help but feel excited about finally tackling those pesky drafts in my living room windows once and for all! With these tools in hand, it was time to roll up my sleeves and get started on improving the energy efficiency of my home through proper window sealing techniques.
Inspecting Windows for Leaks

Now that we’ve established the importance of window sealing, it’s time to identify where your windows are leaking. Inspecting your windows for leaks is a crucial step in the process and can help you determine which areas need attention.
To start, close all doors and windows in your home and turn off any fans or ventilation systems. Next, light a candle or incense stick near each window frame.
If there is an air leak present, you’ll notice the flame flickering or smoke being drawn towards it.
Another way to check for leaks is by running your hand around the edges of each window frame on a cold day. If you feel cold air coming through gaps between the frame and wall or sash (the part that moves), then there’s likely an issue with sealing.
Once you’ve identified where air leakage occurs, mark those spots with tape so they’re easy to find later when applying sealant materials.
Remember: proper inspection will save time during installation as well as ensure maximum efficiency from newly sealed windows!
Preparing the Surface
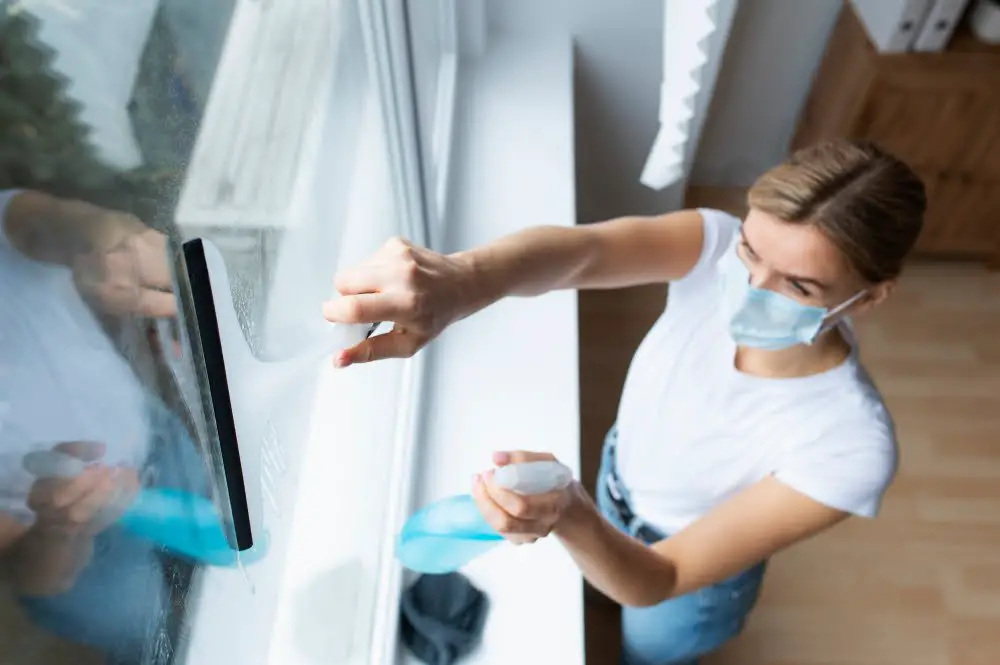
Now that you’ve identified the areas where air is leaking through your windows, it’s time to prepare the surface for sealing. This step is crucial as it ensures that the sealant adheres properly and lasts longer.
Start by cleaning the window frames and sills with a damp cloth to remove any dirt or debris. If there are old caulking or weatherstripping materials, use a putty knife to scrape them off gently.
Next, make sure that all surfaces are completely dry before applying new sealant. Any moisture left on the surface can prevent proper adhesion of your new sealant material.
Once everything is clean and dry, you’re ready to move on to choosing your preferred sealing method – whether using caulk or weatherstripping tape.
As I began preparing my own windows for sealing, I realized how much of an impact this simple DIY project could have on my home’s energy efficiency. Not only would it save me money in heating bills but also reduce my carbon footprint by minimizing energy waste.
So take some time out of your day and give this DIY guide a try! You’ll be surprised at how easy it can be once you get started!
Applying Weatherstripping
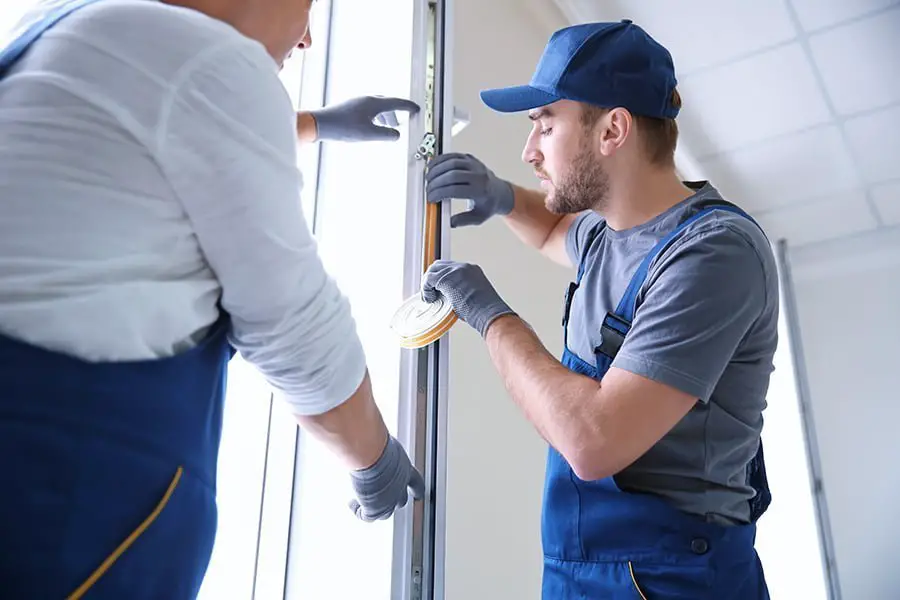
After identifying the air leaks in my windows, I knew that weatherstripping was the next step to take. Weatherstripping is a simple and cost-effective way to seal gaps around your windows and doors, preventing drafts from entering your home.
To apply weatherstripping, start by cleaning the surface where you’ll be applying it. Next, measure the length of each gap you need to fill and cut a piece of weatherstripping material accordingly.
Peel off one side of its adhesive backing tape and carefully press it onto one edge of the gap while keeping tension on it as you go along. Once applied correctly, close your window or door gently but firmly against this new barrier for maximum effectiveness.
There are different types of materials available for weather stripping such as foam tapes or V-strip which can be used depending on what suits best with your needs.
Remember that proper application is key when using any type of sealing material; otherwise they may not work effectively at all!
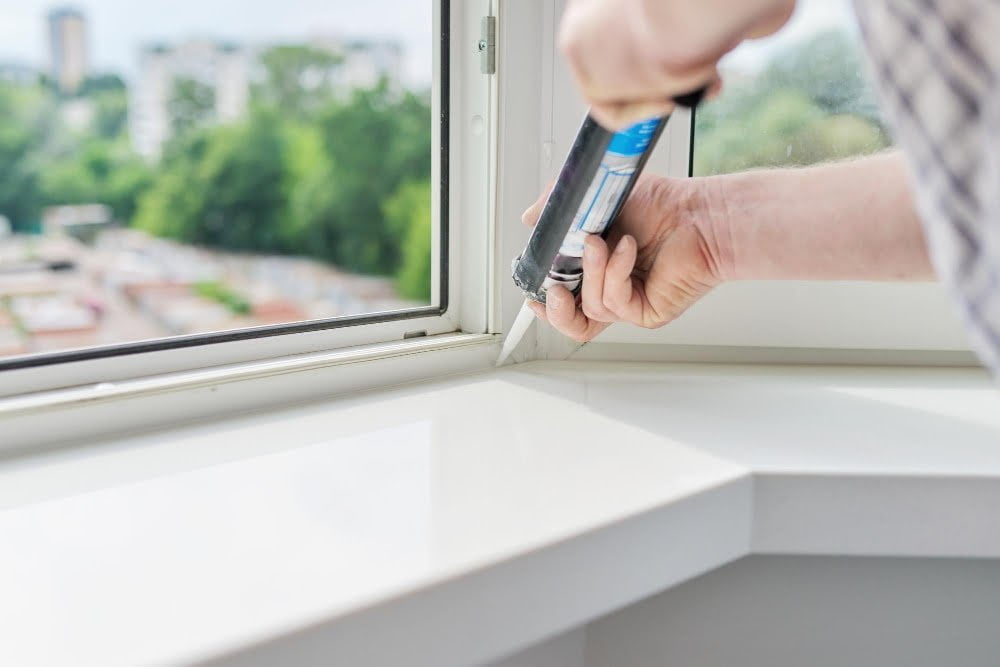
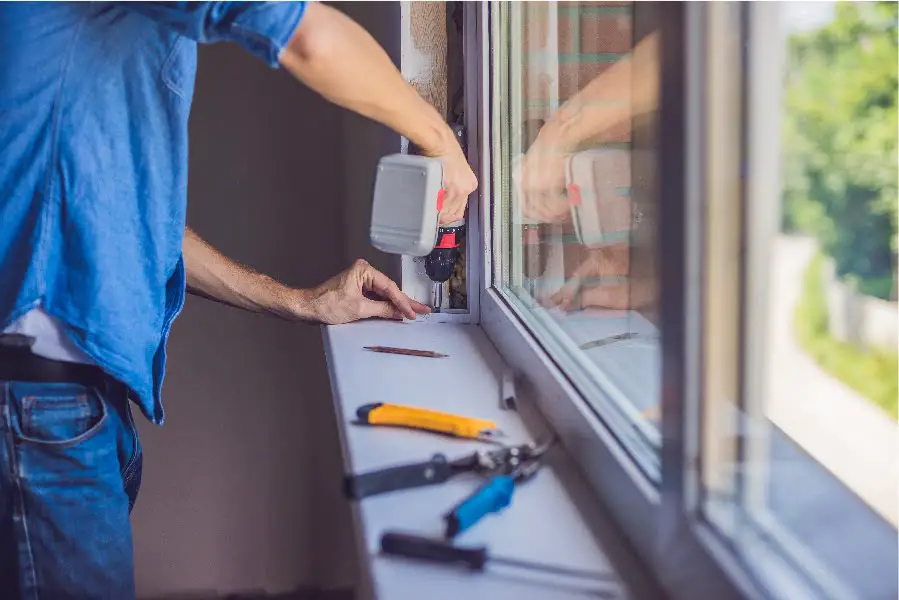
Caulking Gaps and Cracks

After identifying the source of the draft, I realized that there were gaps and cracks around my windows that needed to be sealed. Caulking is an easy and effective way to seal these gaps and prevent air leaks.
To start, you’ll need a caulking gun, caulk (either silicone or acrylic), a putty knife or scraper for smoothing out the caulk, and some rubbing alcohol for cleaning up any excess residue. Begin by thoroughly cleaning the area around your window with soap and water.
Once it’s dry, use your caulking gun to apply a steady stream of caulk along any visible gaps or cracks in your window frame. Be sure not to overfill them as this can cause unevenness when smoothing out later on.
Next comes the fun part – using your putty knife or scraper tool! Gently smooth out any excess caulk until it’s flush with both sides of the gap/crack you’re sealing. If necessary, dip your finger into some rubbing alcohol before running it along where you’ve applied caulking; this will help create an even smoother finish while also removing any leftover residue from previous attempts at sealing up drafts! By taking these simple steps towards properly sealing off those pesky air leaks in our homes’ windows we can save money on energy bills while also making our living spaces more comfortable during colder months!
Installing Draft Stoppers
After identifying the air leaks in my windows, I knew that installing draft stoppers was a crucial step to sealing them. Draft stoppers are an affordable and easy-to-install solution for preventing cold air from entering your home through gaps under doors or windows.
To make my own draft stopper, I measured the length of each window sill and cut a piece of foam pipe insulation to fit. Then, I covered it with fabric and secured it with hot glue.
I placed the draft stopper on each window sill to block any drafts from coming in. If you don’t have time for a DIY project or prefer ready-made solutions, there are plenty of options available online or at your local hardware store.
Installing draft stoppers is just one way to improve energy efficiency in your home by reducing heat loss during colder months. Keep reading this DIY guide on window sealing for more tips on how you can make your house cozier while saving money on energy bills!
Maintenance Tips

1. Clean the window tracks regularly: Dirt and debris can accumulate in the tracks of sliding windows, causing them to stick or not close properly.
2. Check for damage: Inspect your window frames for any signs of damage such as cracks or rotting wood.
If you notice any issues, repair or replace them promptly.
3. Reapply sealant if necessary: Over time, weatherstripping and caulking can wear down due to exposure from sunlight and extreme temperatures.
Check these areas periodically and reapply sealant as needed.
By following these simple maintenance tips, you’ll ensure that your newly sealed windows continue to provide energy efficiency benefits for years to come. Remember – a little bit of effort goes a long way when it comes to maintaining an efficient home!
Read More
 Aluminum Alloy Window: Revolutionizing Home Efficiency
 Aluminum Storm Window Frame: Your Guide to Cozy, Draft-Free Living
 Aluminum Window Glass Retainer: Enhance Your Home’s Efficiency
 15 Aluminum Window Spacer Benefits
 5 Key Factors to Consider When Switching Energy Providers
Recap