This comprehensive guide teaches you how to weatherstrip and caulk your windows for optimal energy efficiency.
As I sat in my living room on a chilly winter evening, I couldn’t help but notice the cold draft coming from my windows. Despite having energy-efficient windows installed just a few years ago, it seemed like they weren’t doing their job anymore.
Frustrated and curious, I decided to dive deeper into window insulation and energy efficiency.
After weeks of research and consulting with industry experts, I discovered that weatherstripping and caulking are crucial in ensuring your windows work efficiently. These small yet mighty tools can make all the difference in keeping your home warm during winter and cool during summer.
I’ll share everything you need about weatherstripping and caulking for energy-efficient windows in this complete guide. We’ll cover everything from understanding what they are to how to apply them correctly.
Energy-Efficient Windows Overview

Before diving into weatherstripping and caulking, let’s first understand what energy-efficient windows are. These types of windows are designed to minimize heat transfer between your home and the outside environment.
They work by using advanced materials such as low-emissivity (Low-E) glass, insulated frames, and gas fills to reduce heat loss during winter months while keeping your home cool in summer.
As I learned more about energy-efficient windows during my research journey, I realized that they’re not just a luxury but a necessity for homeowners looking to save on their utility bills while reducing their carbon footprint.
However, even with these advanced features installed in our homes’ window systems today – there is still room for improvement.
That’s where weatherstripping and caulking come into play! By properly sealing gaps around your window frames with these tools – you can significantly improve the overall efficiency of your existing or new energy-efficient windows system without breaking the bank!
Introduction to Weatherstripping
Now that we’ve established the importance of weatherstripping and caulking let’s dive deeper into each component. First up, weatherstripping.
Weatherstripping is a material used to seal gaps around windows and doors. It helps prevent air leaks, which can lead to energy loss and higher utility bills.
Various types of weatherstripping materials are available in the market, such as foam tape, V-strip, door sweeps, etc., but choosing the right one for your window depends on several factors like window type (casement or sliding), size of gap, etc.
Even though it may seem like a small detail compared to other aspects of home insulation, proper installation, and maintenance can make all the difference in keeping your home comfortable year-round while saving money on energy bills!
Types of Caulking Materials
After realizing the importance of weatherstripping and caulking for energy-efficient windows, I quickly learned that not all caulking materials are equal. Choosing the right type of caulk can make a significant difference in how well it performs over time.
The most common types of caulking materials include silicone, latex/acrylic, and polyurethane. Silicone is known for its durability and flexibility but can be challenging to apply due to its thick consistency.
Latex/acrylic is easy to use and paintable but may not last as long as other options. Polyurethane is excellent for outdoor use due to its resistance to harsh weather conditions.
When selecting a caulking material, consider where it will be applied (indoor or outdoor), the surface you’ll be applying it on (wood or metal), and your budget.
In my case, I opted for a silicone-based caulk since my windows were exposed to extreme temperatures throughout the year. After applying it correctly around each window frame’s perimeter precisely using a putty knife or sealant gun – voila! My home was noticeably warmer during winter without cold drafts seeping through my windows’ edges.
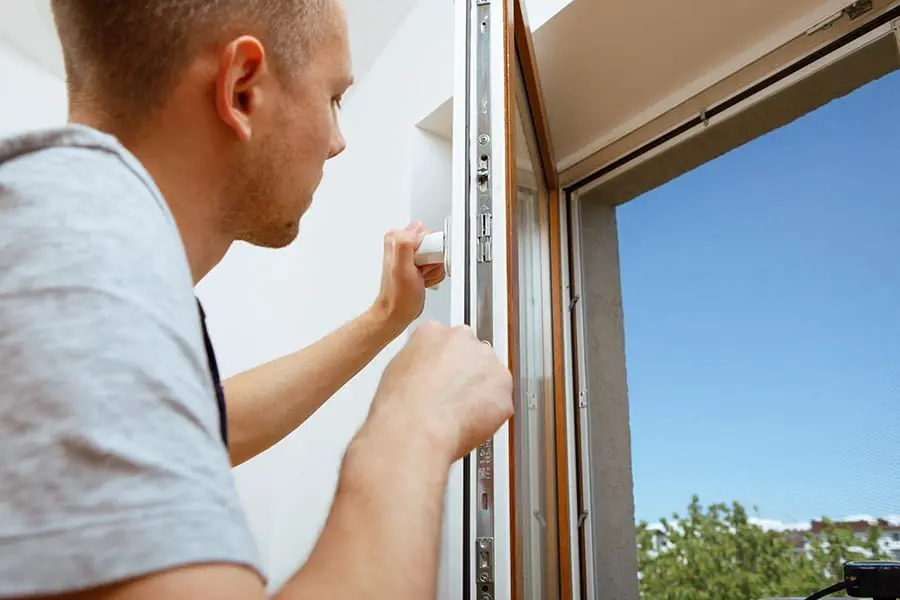
Selecting the Right Weatherstripping
After my research, I realized that selecting the right weatherstripping is crucial in ensuring your windows are energy-efficient. Various types of weatherstripping are available, and each one serves a different purpose.
For instance, adhesive-backed foam tape is ideal for sealing small gaps around window frames and sashes. On the other hand, a V-strip or tension seal can be used to seal larger gaps.
When choosing to weatherstrip for your windows, it’s essential to consider factors such as durability and ease of installation. You want something that will last long without needing frequent replacements and easy enough to install on your own.
It’s worth noting that some weatherstripping types may not work well with certain window materials or designs. Therefore it’s best to consult with an expert before making any purchases.
Selecting the right type of weatherstripping can make all the difference in keeping your home comfortable year-round while saving you money on energy bills over time!
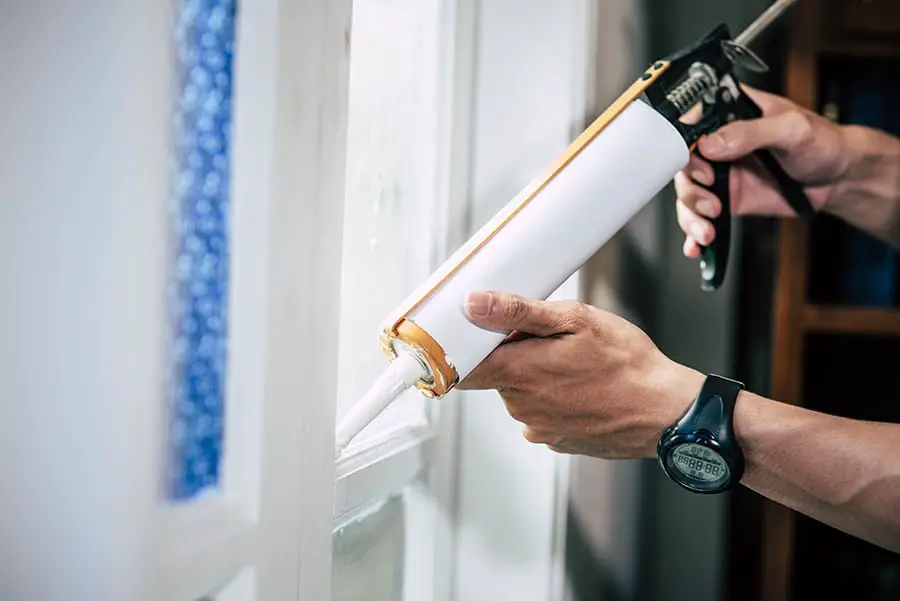
Proper Caulking Techniques

It’s not just about applying any old caulk to the window frame; there are proper techniques you need to follow for optimal results.
Firstly, make sure the surface area around the window frame is clean and dry before applying any caulk. Any dirt or moisture can affect how well the caulk adheres to the surface.
Next, choose a high-quality silicone-based or acrylic latex-based caulking material that’s appropriate for your specific needs.
For example, if you live in an area with extreme weather conditions like heavy rain or snowfall, opt for a waterproof sealant.
When applying the caulk around your windows’ frames and sashes, use steady pressure on your caulking gun while moving it along at an even pace. Be careful not to apply too much pressure, as this can cause excess material buildup and uneven application.
Smooth out any bumps or ridges using either a specialized tool designed specifically for smoothing out fresh caulks (a “caulker” tool) or simply by using damp fingers (make sure they’re clean!). This will ensure that there aren’t gaps where air could leak through.
By following these simple yet effective techniques when caulking around window frames and sashes, you can create an efficient barrier against drafts from outside elements such as wind, rain, snow, etc., keeping you comfortable all year round!
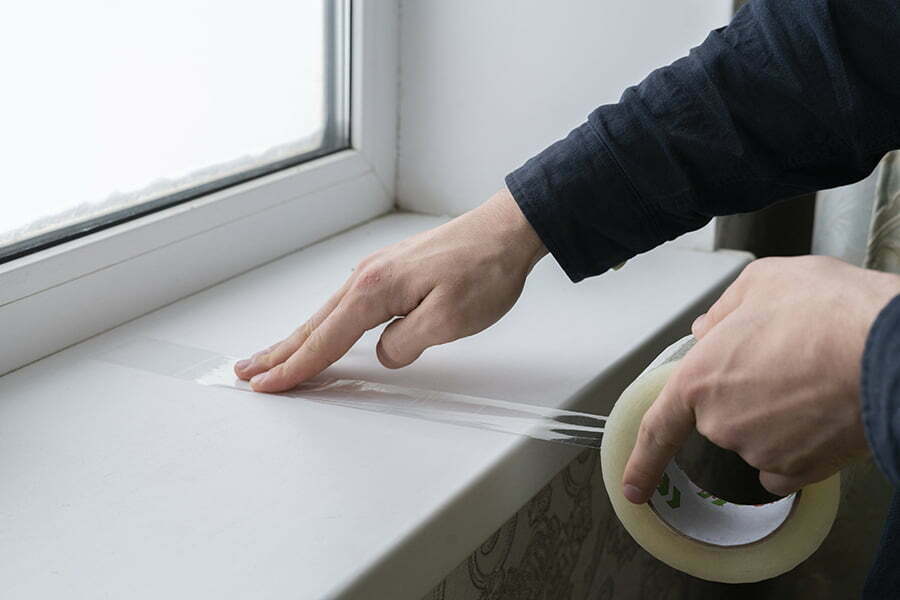
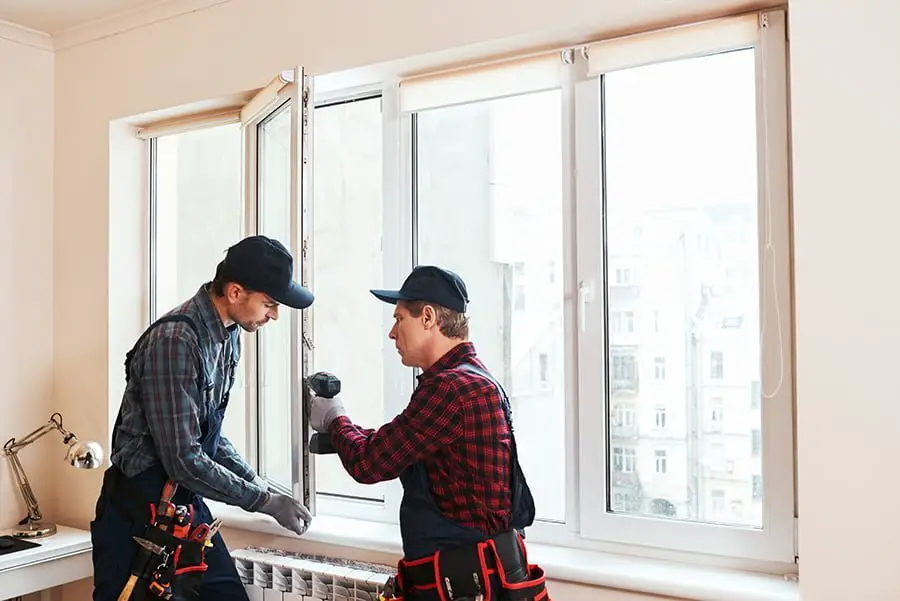
Installation Tips and Tricks
After learning about the importance of weatherstripping and caulking, I was eager to install them in my home. However, as a beginner DIY-er, I quickly realized that there were some tips and tricks that would make the process much smoother.
Firstly, it’s important to choose the right type of weatherstripping for your windows. Several different materials are available such as foam tape or V-strip which work best for different types of windows.
It’s also crucial to measure accurately before cutting any strips so you don’t end up with gaps or overlaps.
When it comes to caulking, preparation is key. Make sure you clean and dry the area thoroughly before applying any caulk.
You can use a putty knife or scraper tool to remove old caulk if necessary.
Another tip is using masking tape around your window frames when applying either weatherstripping or caulk – this will help keep everything neat and tidy while also preventing any accidental smudging onto surrounding surfaces.
By following these installation tips and tricks along with our complete guide on weatherstripping and caulking for energy-efficient windows, you’ll be well on your way towards creating a more comfortable living space while saving money on energy bills!
Maintenance and Replacement
After implementing weatherstripping and caulking, it’s important to maintain them regularly. Check for any signs of wear and tear, such as cracks or gaps in the sealant.
If you notice any damage, replace the weatherstripping or reapply to caulk as needed.
In my case, I realized that my windows were not properly maintained over time, leading to decreased energy efficiency. After replacing the damaged parts with new ones and applying fresh caulk where necessary, I noticed an immediate difference in how well they kept out drafts.
It’s also worth noting that even with proper maintenance, there may come a time when your weatherstripping or caulking needs to be replaced entirely. This is especially true if you live in an area with extreme temperatures or harsh weather conditions.
Staying on top of regular maintenance and being aware of when replacement is necessary will ensure your windows remain energy-efficient for years to come!
Cost-Benefit Analysis

After discovering the importance of weatherstripping and caulking for energy-efficient windows, I was curious about the cost-benefit analysis. Would investing in these tools be worth it in terms of energy savings and overall cost? The answer is a resounding yes.
According to Energy Star, sealing air leaks around your home can save you up to 15% on your annual energy bill. This means that by investing in weatherstripping and caulking for your windows, you could save hundreds of dollars each year while reducing your carbon footprint.
While an initial investment is involved with purchasing materials or hiring a professional to do the job, the long-term benefits far outweigh any upfront costs.
You will see immediate improvements in temperature regulation within your home and significant savings over time.
So don’t let concerns about cost hold you back from making this important upgrade to improve both comfort levels and financial savings!
Read More
 Aluminum Alloy Window: Revolutionizing Home Efficiency
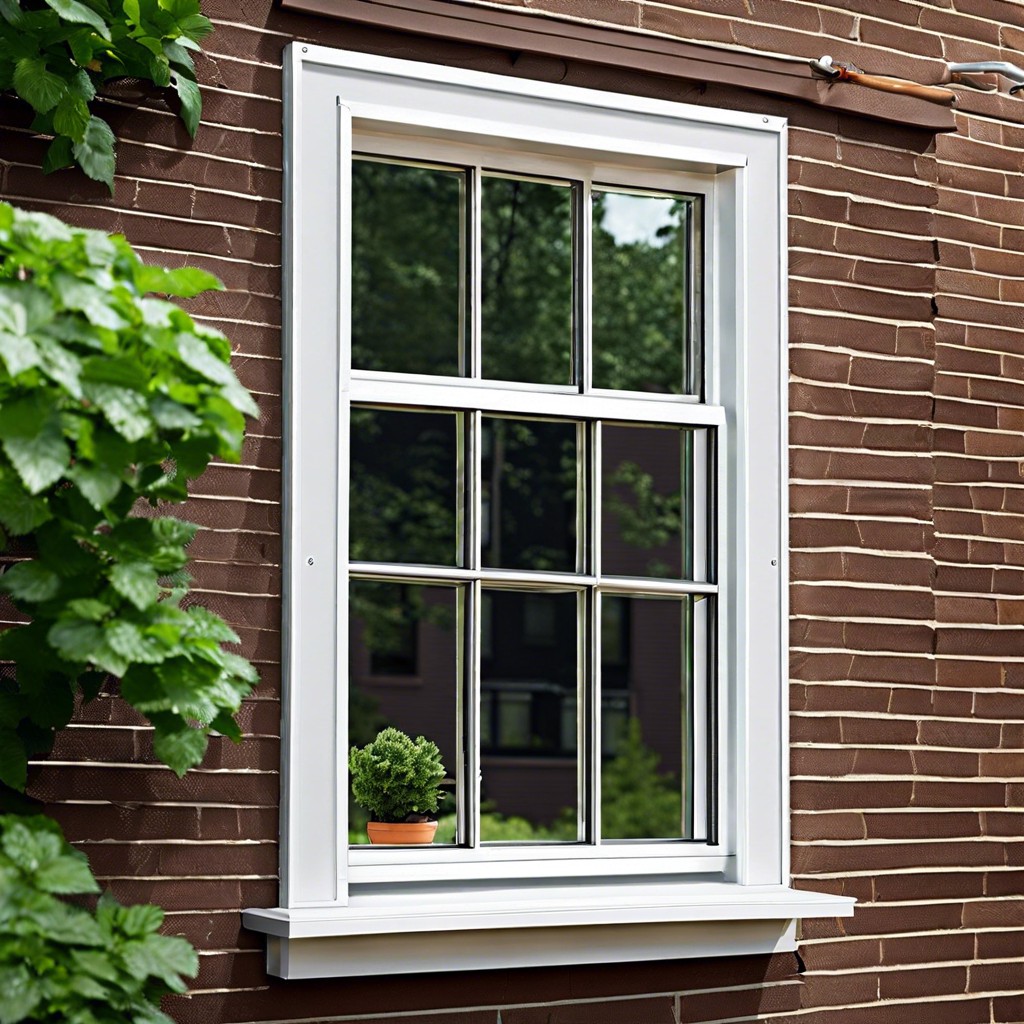 Aluminum Storm Window Frame: Your Guide to Cozy, Draft-Free Living
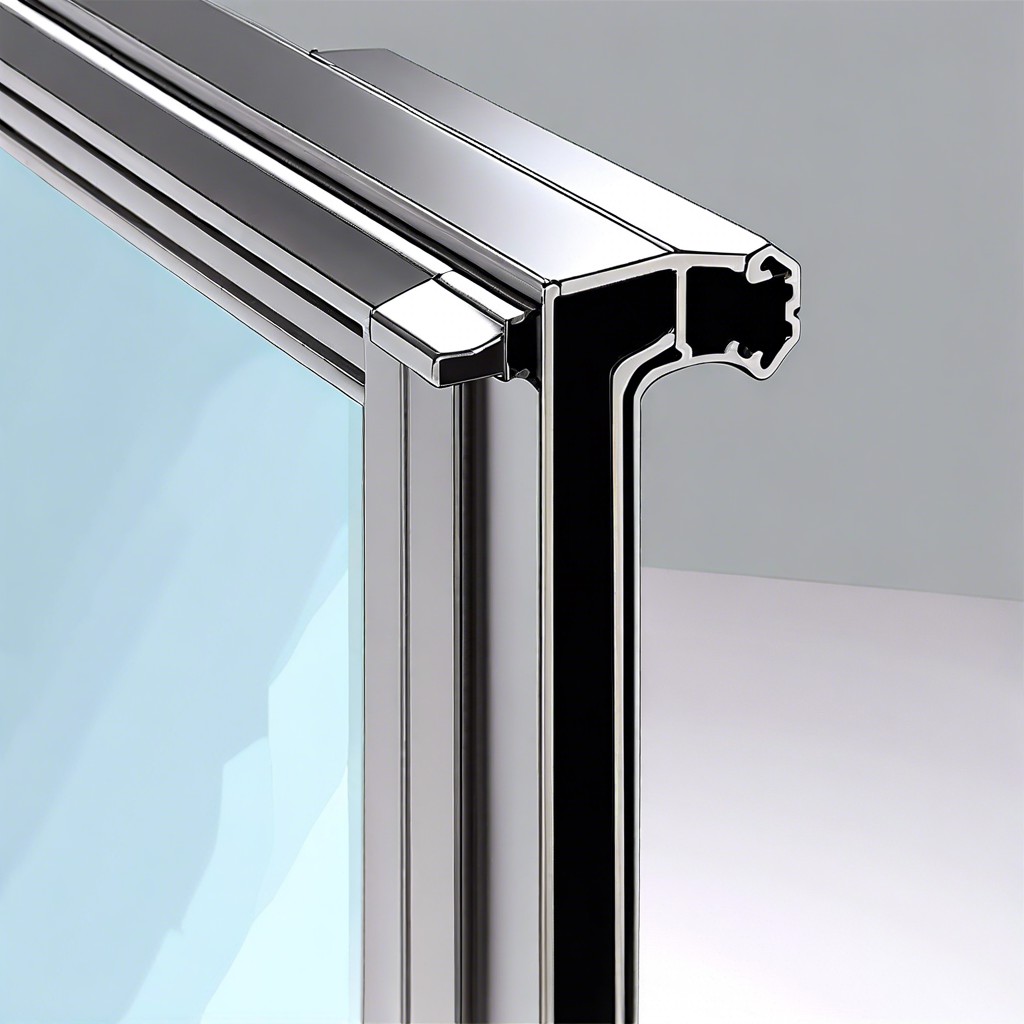 Aluminum Window Glass Retainer: Enhance Your Home’s Efficiency
 15 Aluminum Window Spacer Benefits
 5 Key Factors to Consider When Switching Energy Providers
Recap