Discover the simple steps to effectively tape your windows for protection and insulation, ensuring a secure and energy-efficient home.
Have you ever found yourself staring at a broken window, wondering how to fix it? Whether it’s a crack or a hole, repairing a damaged window can seem like an intimidating task. But fear not! With the right tools and techniques, you can easily tape up your window and make it as good as new.
In this blog post, we’ll walk you through the step-by-step process of taping a window, so you can restore your home’s safety and comfort in no time. So grab some duct tape and let’s get started!
Key takeaways:
- Taping windows prevents air leaks and reduces energy costs.
- Benefits of taping windows include improved energy efficiency and protection against water damage and intruders.
- Use window flashing tape to create a waterproof seal and improve energy efficiency.
- Types of window tape include duct tape, painter’s tape, and window flashing tapes.
- Follow window manufacturer’s installation guidelines and resolve any conflicts with professional help.
Importance of Properly Taped Windows
Not only does it prevent damage from weather elements, but it also helps to insulate your home and reduce energy costs. Without proper window tape, air can easily leak in or out of the house, causing drafts that make heating or cooling systems work harder than necessary.
This not only wastes energy but also increases utility bills significantly.
Moreover, if you live in an area prone to heavy rainfalls or storms with strong winds, properly taped windows can protect against water infiltration and potential flooding damage. In addition to protecting against external factors such as weather conditions and moisture buildup inside the walls due to condensation caused by temperature differences between indoor/outdoor environments.
Benefits of Taping Windows
One of the most significant advantages is improved energy efficiency. By sealing any gaps or cracks around the window frame, you can prevent drafts and air leaks that cause heat loss in winter and cool air loss in summer.
This means that you’ll be able to maintain a comfortable temperature inside your home without relying on heating or cooling systems as much, which translates into lower energy bills.
Another benefit of taping windows is increased protection against water damage caused by rain or snow infiltration through gaps around the window frame. Water intrusion not only damages walls but also creates an environment conducive to mold growth, which poses health risks to occupants.
Moreover, taping windows provides added security against intruders who may try to break into your house through unlocked or poorly secured windows. Window tape reinforces glass panes making it harder for burglars to gain entry quickly.
Damage Prevention With Window Flashing Tape
Water can seep through even the smallest cracks and cause significant damage over time, including rotting wood frames, mold growth, and structural issues. This is where window flashing tape comes in handy.
Window flashing tape is a specialized type of adhesive that creates a waterproof seal around your windows. It’s designed to withstand extreme temperatures and weather conditions without losing its effectiveness or breaking down over time.
By applying window flashing tape around the edges of your windows before taping them up with duct or masking tape, you can ensure that no moisture will penetrate into your home through gaps between the glass panes and frame.
In addition to preventing water damage, using window flashing tape also helps improve energy efficiency by reducing air leaks around windows.
Types of Window Tape
The most common ones include duct tape, painter’s tape, and window flashing tapes. Duct tape is a popular choice for quick fixes but is not recommended for long-term use as it can leave residue and deteriorate over time.
Painter’s tape is another option that works well for temporary repairs or masking off areas during painting projects.
However, when it comes to sealing windows properly and ensuring long-lasting protection against weather elements such as wind-driven rain or snowmelt infiltration into the wall cavity around the window frame opening – using a high-quality window flashing tape specifically designed for this purpose should be your go-to solution.
Window flashing tapes come in different materials like rubberized asphalt-based membranes (self-adhered), polyethylene films with adhesive backing (peel-and-stick), butyl-based adhesives on release paper liners (peel-and-seal) among others. These specialized tapes provide superior adhesion properties that bond tightly to both glass surfaces and framing substrates while remaining flexible enough to accommodate building movement without losing their seal integrity over time.
Reading Window Manufacturer’s Installation Guidelines

These guidelines provide specific instructions on how to install and maintain your windows properly. They also outline any requirements for window tape or other materials that may be necessary for proper installation.
When reading the manufacturer’s installation guidelines, pay close attention to details such as recommended tape types and application methods. Some manufacturers may require a specific type of tape or adhesive, while others may recommend certain techniques for applying the tape.
It’s also essential to note any potential conflicts between different sets of instructions from various sources like building codes and local regulations versus manufacturers’ recommendations. In case there are discrepancies in these directions, consult with a professional installer before proceeding with window taping.
Resolving Guidelines Conflict

Sometimes these guidelines can conflict with other sources of information or even with common sense. In such cases, it’s important to take a step back and evaluate the situation carefully.
For example, if you’re using a certain type of tape that isn’t mentioned in the manufacturer’s instructions but has been recommended by an expert in window repair or insulation, you may be torn between conflicting advice. In this case, consider factors like your climate zone and local building codes before making a decision.
Another scenario where conflicts may arise is when dealing with older homes that have unique architectural features or unconventional window designs. If you encounter any issues while taping such windows according to standard instructions provided by manufacturers or experts online – don’t panic! Instead try reaching out for professional help from experienced contractors who specialize in historic home renovations.
Tools and Materials Needed
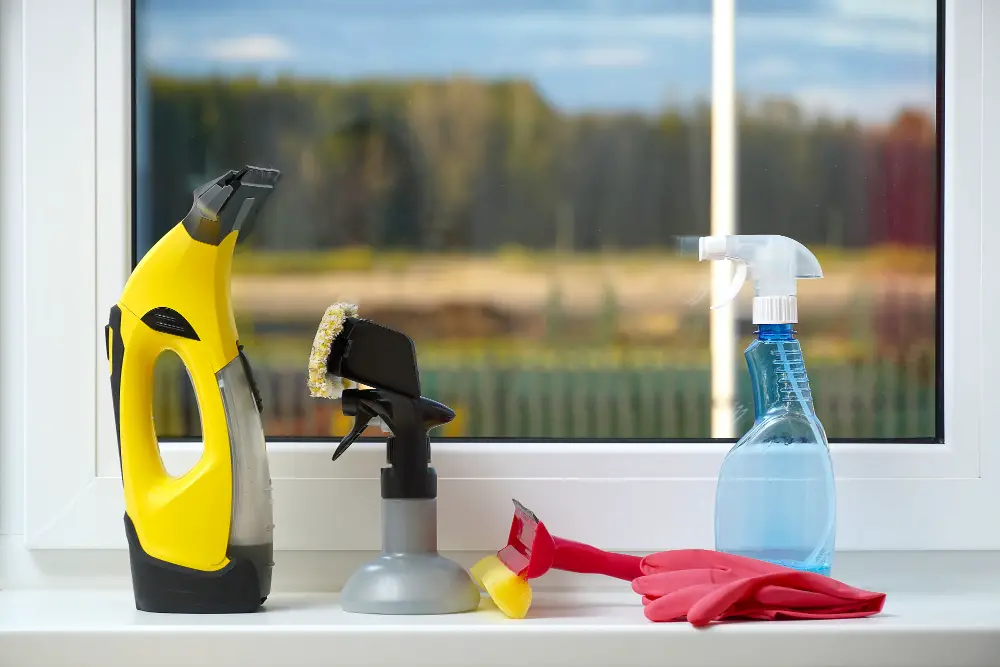
Here are some of the things you’ll need:
- Measuring tape: To measure the dimensions of your window accurately.
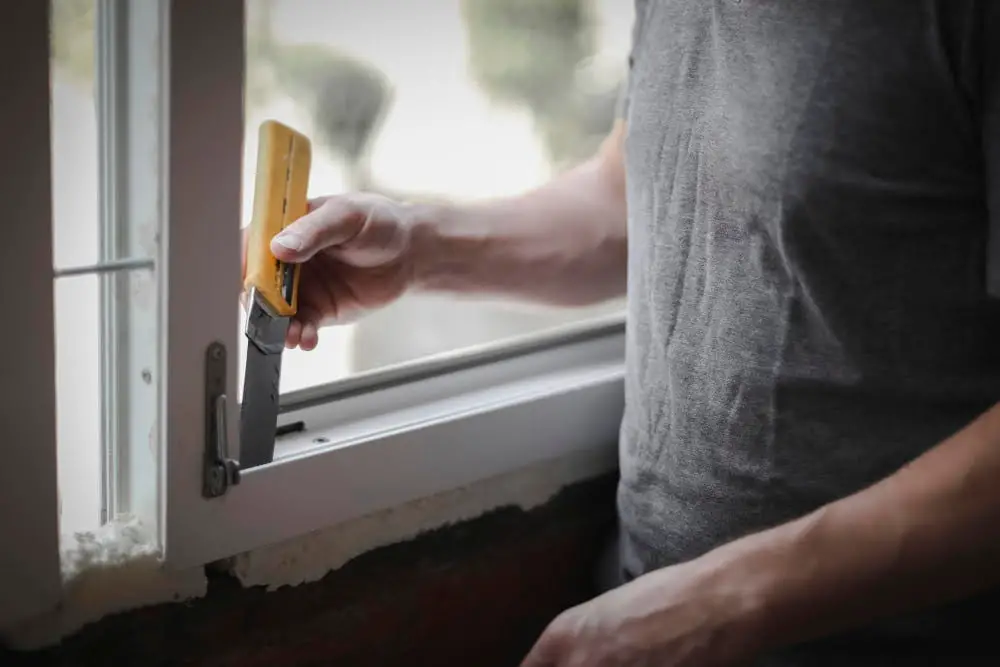
- Utility knife or scissors: To cut the tape to size.
- Window flashing tape: Choose a high-quality, weather-resistant option that is compatible with your window material (e.g., vinyl, wood).
- Cleaning supplies: Use a clean cloth and rubbing alcohol or another mild cleaner to remove any dirt or debris from around the damaged area before applying tape.
- Gloves and safety glasses (optional): Protect yourself while handling sharp tools.
Preparing the Window
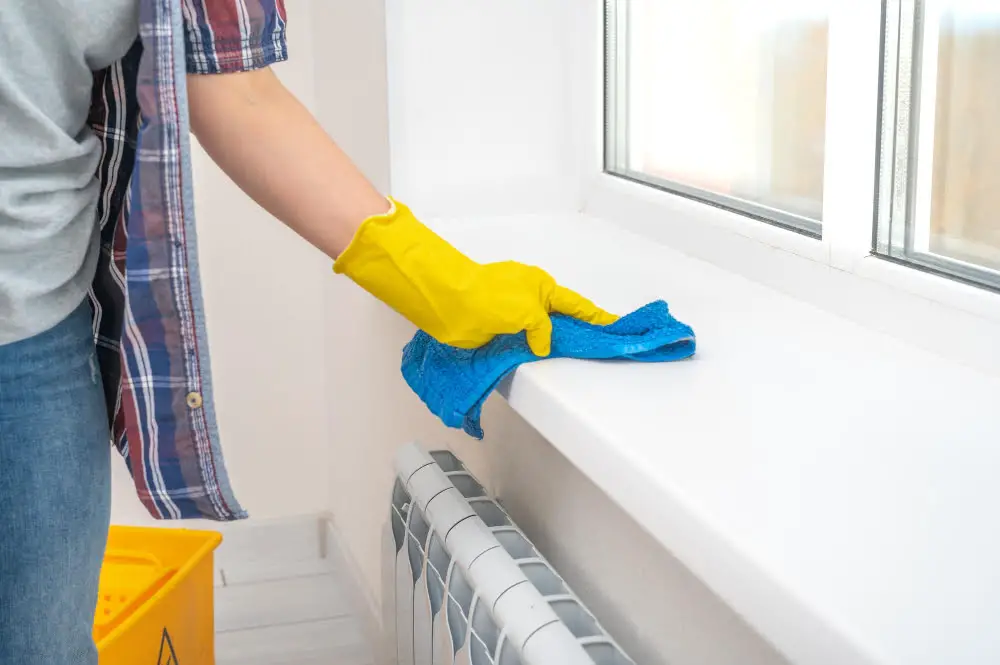
Begin by cleaning the surface of the glass and frame with a damp cloth to remove any dirt or debris that could interfere with adhesion. Next, use a dry cloth to ensure that everything is completely dry before applying tape.
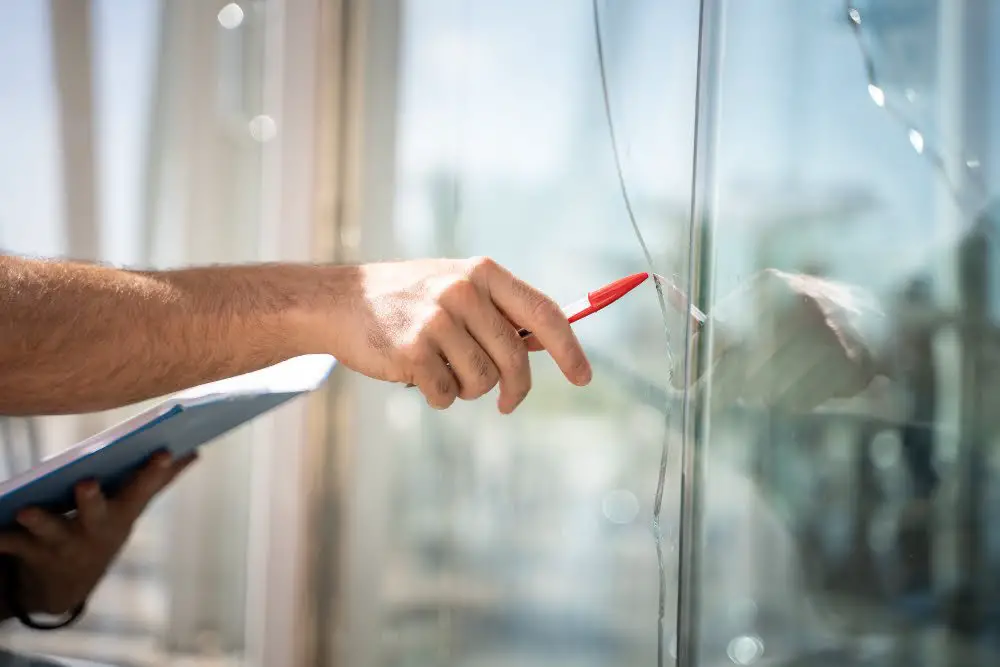
If there are any cracks or holes in your window, be sure to fill them in first using an appropriate sealant material. This will help prevent air leaks and water damage from occurring after you’ve taped up the window.
It’s also essential to inspect both sides of your windows for signs of rotting wood or other structural issues before proceeding with taping. If you notice anything concerning during this inspection process, it may be best to consult a professional contractor for repairs before continuing.
Preparing The Rough Opening With Housewrap And Pan Flashing

This will help prevent any moisture from seeping into your home and causing damage.
First, install a layer of housewrap over the sheathing on the exterior side of the wall. Make sure to overlap each piece by at least six inches and secure it in place with staples or tape.
Next, install pan flashing at the bottom of the rough opening to direct water away from your home’s interior walls. Cut a piece of metal or plastic sheeting that is slightly larger than your window frame and fold up all four sides about an inch.
Then apply adhesive sealant around all edges where water could potentially enter through gaps between framing members or other penetrations such as pipes coming out through walls near windows etc., before installing pan flashing over this area so that there are no gaps left uncovered by either material.
Choosing the Right Tape
First and foremost, you want a tape that is strong enough to hold up against weather conditions and potential damage. Look for tapes specifically designed for windows or outdoor use.
Another important factor is the type of material your window frame is made of. Different tapes adhere better to certain materials than others, so make sure you choose one that will stick securely without damaging the surface.
Lastly, consider whether you need a permanent or temporary solution. Some tapes are designed for long-term use while others can be easily removed when no longer needed.
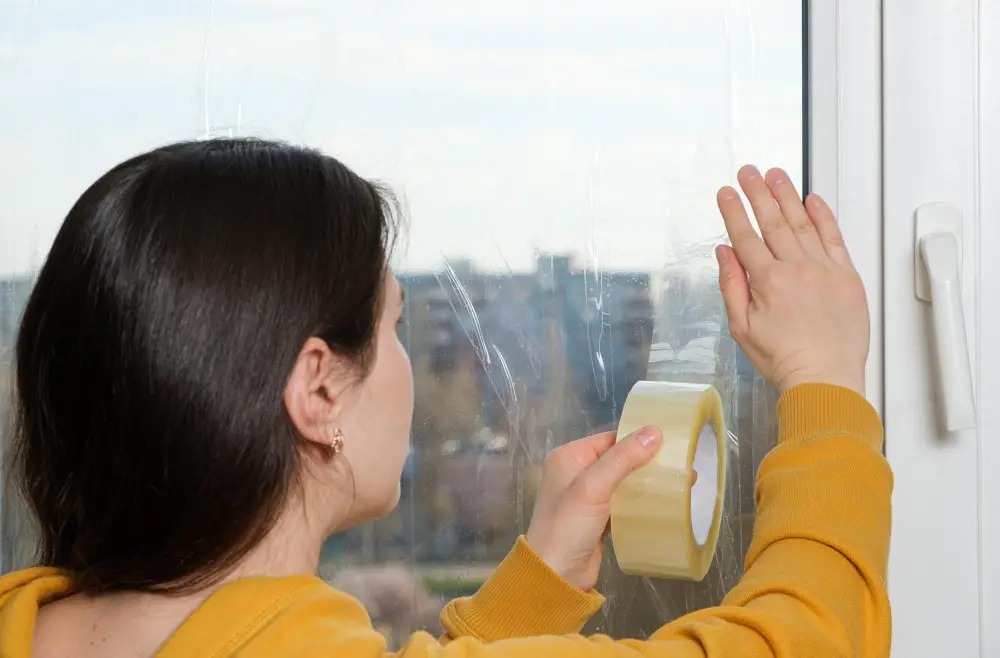
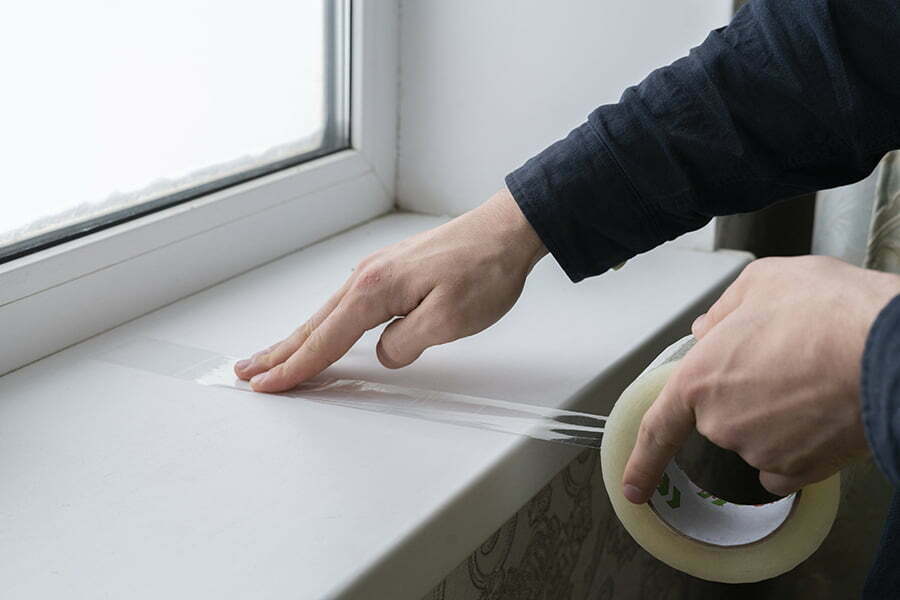
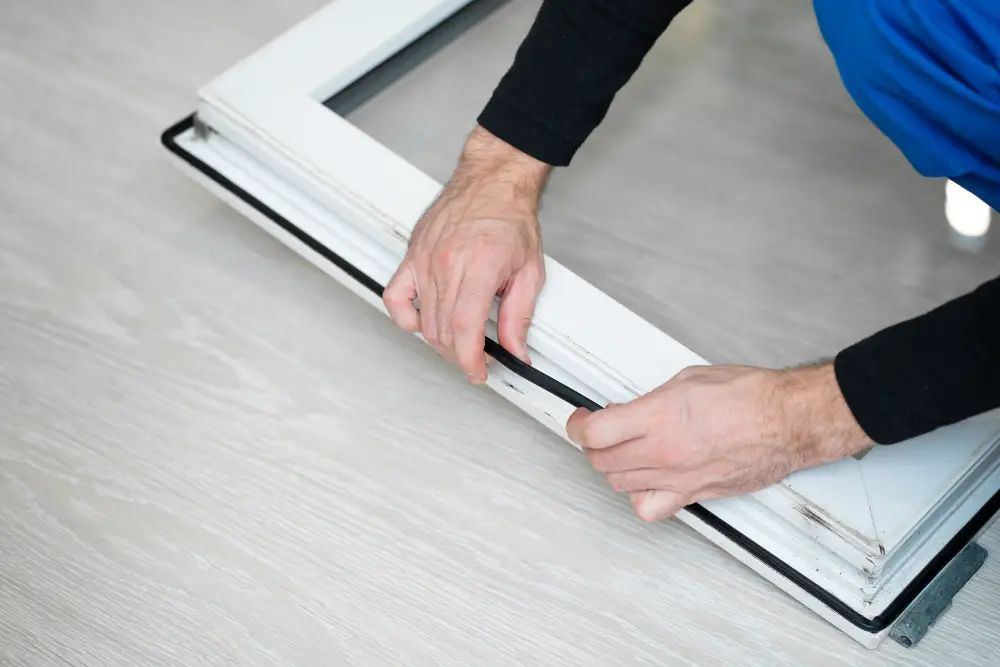
Applying the Tape
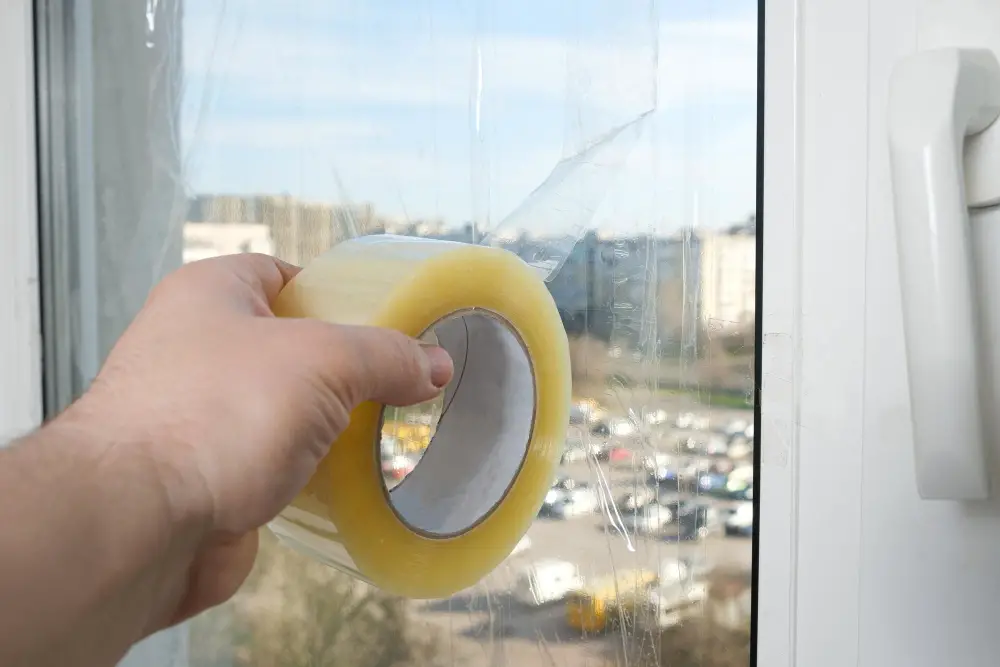
Start by cleaning the surface of the window frame and removing any dirt or debris that may interfere with adhesion. Next, measure and cut a piece of tape that is slightly longer than each side of your window frame.
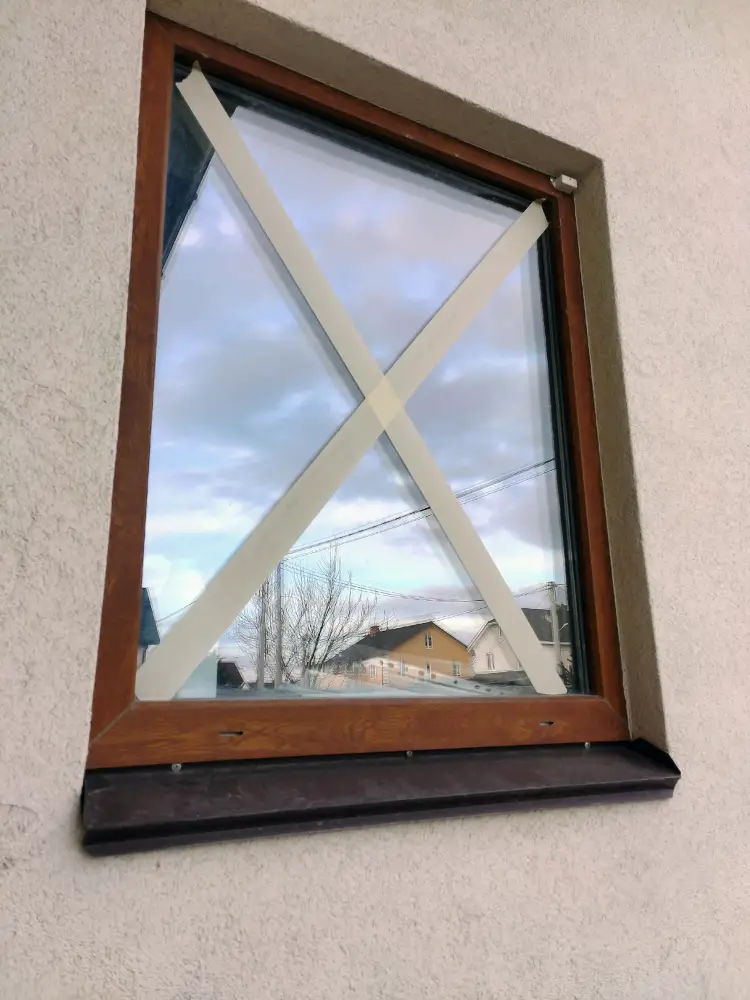
Begin applying the tape at one corner of the frame, making sure to press firmly as you go along. Smooth out any air bubbles or wrinkles in the tape as you work your way around each side until all edges are covered.
When applying horizontal strips across larger windows, make sure they overlap by at least 1 inch to ensure complete coverage. For vertical strips on double-hung windows, start from top to bottom so water can’t seep behind them.
Sealing the Edges
This will ensure that no air or moisture can penetrate through and compromise the effectiveness of your taping job. To do this, use a roller or a flat tool to press down firmly on all edges of the tape.
Make sure there are no gaps or bubbles left behind.
If you notice any areas where the tape is not sticking well, apply more pressure with your tool until it adheres securely. You may also need to add an extra layer of tape in these spots for added protection.
Remember that sealing all edges is crucial for preventing drafts and leaks from entering your home through windows during extreme weather conditions such as storms and heavy rains.
Removing Air Bubbles
Air pockets can compromise the effectiveness of your taping job and leave gaps for drafts or moisture to seep in. To remove any air bubbles, use a squeegee or a credit card and press firmly on the tape while smoothing outwards towards the edges of the window frame.
This will help push out any trapped air and create a tight seal between your window and its surroundings.
If you notice that some areas still have small pockets of air after using this technique, try puncturing them with a needle or pin before pressing down again with your tool. Be careful not to damage the tape itself when doing so.
Securing Loose Corners
Loose corners can allow air and moisture to seep through, reducing the effectiveness of your taping job. To secure loose corners, use a utility knife or scissors to trim any excess tape that may be causing the corner to lift up.
Then apply additional pressure with your fingers or a roller tool until the corner is firmly adhered.
If you find that one of your taped windows has multiple loose corners despite trimming away excess tape and applying pressure, it may be necessary to remove and reapply new strips of tape altogether for optimal results.
Inspecting the Window
Check for any gaps or bubbles in the tape and make sure that all edges are properly sealed. If you notice any issues, remove the tape and start again from scratch.
It’s also a good idea to check for air leaks around your newly taped window by holding a lit candle near its edges. If there is an air leak, you’ll see the flame flicker or move away from the window.
Inspecting your windows regularly can help prevent further damage and ensure that they remain energy-efficient throughout their lifespan.
Retaping and Maintenance
Over time, the tape may start to peel or lose its adhesive properties due to weather conditions or wear and tear. It’s a good idea to check your windows periodically for any signs of damage or deterioration.
If you notice that the tape has started peeling away from the window frame, simply remove it and apply a fresh layer of tape in its place. This will help ensure that your windows remain properly sealed against drafts and moisture.
In addition to retaping as needed, there are other steps you can take to maintain your taped windows. For example, make sure that any nearby trees are trimmed back so they don’t rub against the glass during windy weather.
You should also clean both sides of each window regularly using a mild detergent solution and soft cloth.
Removing the Tape
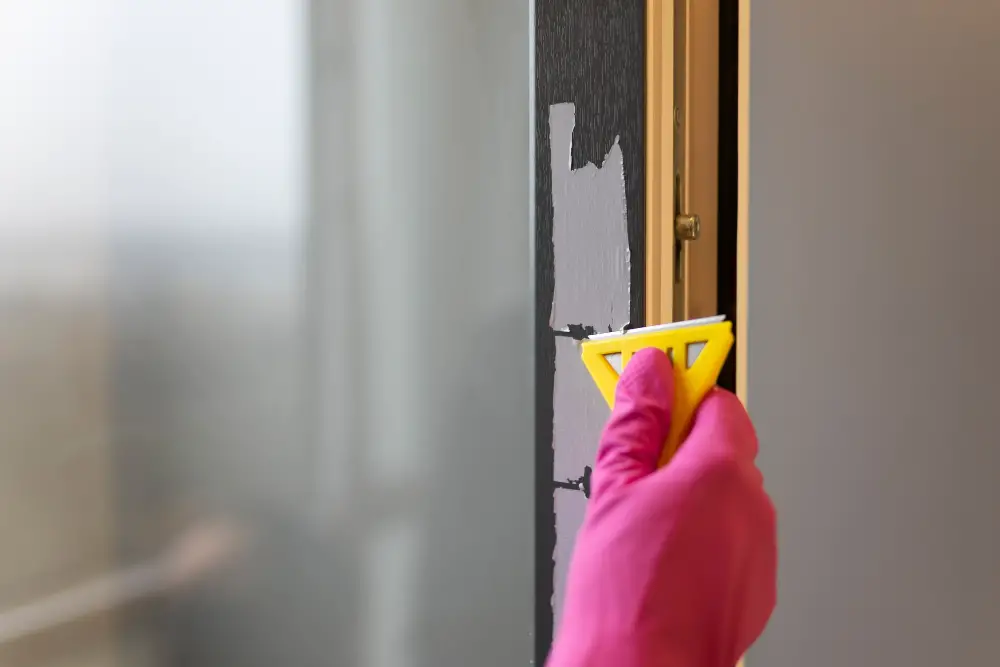
Removing the tape incorrectly can damage your window frame or leave behind sticky residue that is difficult to clean. To avoid these issues, start by gently pulling one corner of the tape away from the glass at a 45-degree angle.
If it comes off easily without leaving any residue, continue peeling until all of the tape has been removed.
If there is any resistance or if you notice adhesive residue left on your window frame after removing some of the tape, stop and use a hairdryer set on low heat to soften up and loosen up stubborn adhesive before continuing with removal.
When to Replace Window Tape
It’s important to inspect your taped windows regularly to ensure that the tape is still in good condition. If you notice any signs of wear or damage, it may be time to replace the tape.
One common sign that your window tape needs replacing is if you feel a draft coming through the edges of the window frame. This could indicate that there are gaps in the seal created by old or worn-out tape.
Another indication that it’s time for new window tape is if you see any cracks or tears in the existing material. These openings can allow water and air infiltration into your home, leading to potential damage from mold growth or rotting wood frames.
If you’re unsure whether your taped windows need replacement, consult with a professional contractor who specializes in insulation installation for expert advice on how best to proceed.
Alternatives to Window Taping
If you’re looking for alternatives to window taping, there are a few options available.
One alternative is using weatherstripping around the edges of your windows. This can help seal any gaps or cracks that may be letting in drafts or moisture.
Weatherstripping comes in various materials such as foam tape, V-strip, and door sweeps.
Another option is installing storm windows over your existing windows. These provide an extra layer of insulation and protection against harsh weather conditions without having to tape up each individual window.
If you’re willing to invest more money into energy-efficient solutions for your home’s heating/cooling system then replacing old single-pane glass with double-pane insulated glass will make a significant difference in reducing heat loss through the windows while also improving soundproofing qualities.
Ultimately, choosing which method works best depends on factors like budget constraints and personal preferences but by considering these alternatives one can find what suits their needs better than just relying on traditional methods like taping alone!
FAQ
Do you put window tape on the bottom of the window?
Yes, you should put window tape on the bottom of the window as it is important to cover all sides, including top, bottom, and corners.
Does window tape go on before house wrap?
Yes, window tape goes on before house wrap.
What is the proper technique for applying window tape to ensure a secure seal?
To ensure a secure seal when applying window tape, one should start by cleaning the surface, then, firmly press the tape along the window edges overlapping the tape ends, and applying continuous pressure to establish proper adhesion.
Can window tape be used effectively on different types of windows, such as single-pane or double-pane?
Yes, window tape can be used effectively on different types of windows, such as single-pane or double-pane.
What factors should be considered when selecting the right window tape for a specific project?
When selecting the right window tape for a specific project, consider factors such as material compatibility, durability, ease of application, and water and air sealing performance.
Read More
 Aluminum Alloy Window: Revolutionizing Home Efficiency
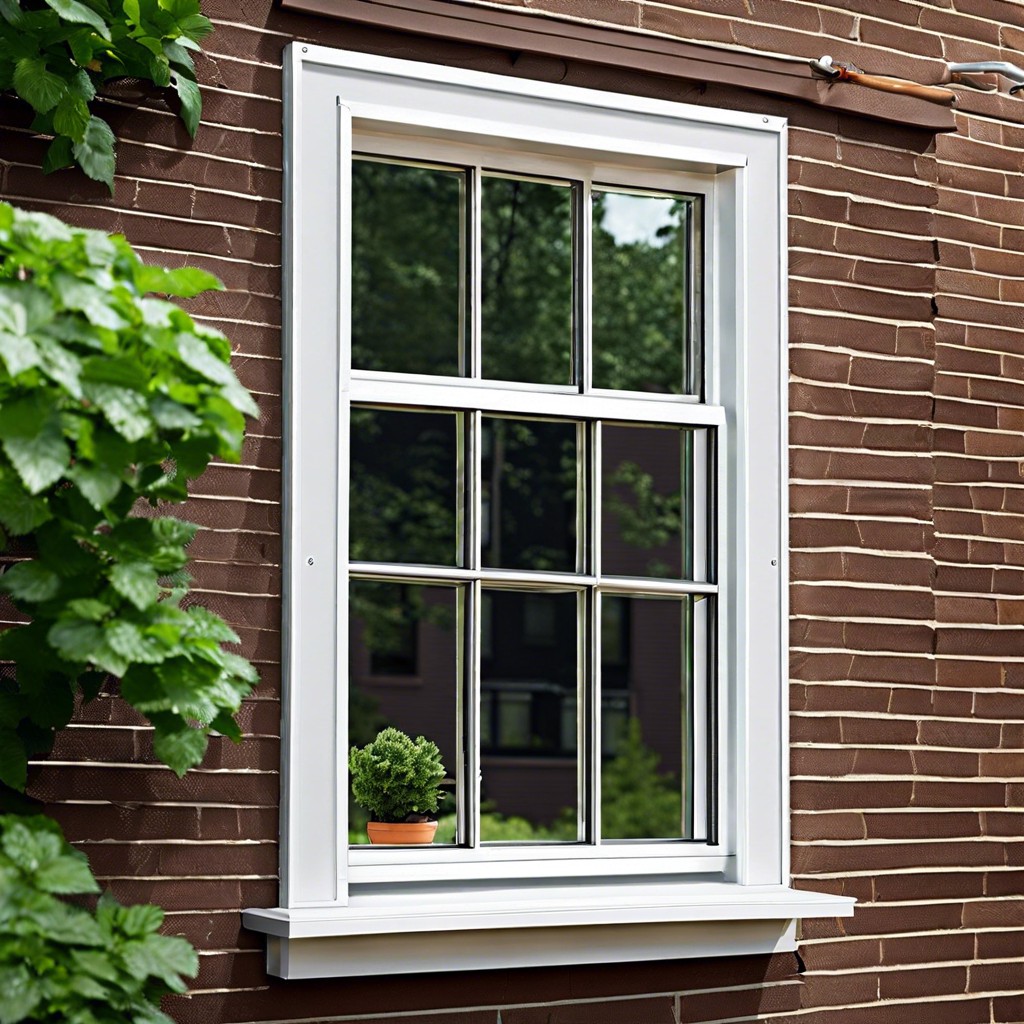 Aluminum Storm Window Frame: Your Guide to Cozy, Draft-Free Living
 Aluminum Window Glass Retainer: Enhance Your Home’s Efficiency
 15 Aluminum Window Spacer Benefits
 5 Key Factors to Consider When Switching Energy Providers
Recap