In this step-by-step guide, you’ll learn the best practices for installing energy-efficient windows to help reduce your carbon footprint and save on energy bills.
As I walked into my friend’s house on a hot summer day, I couldn’t help but notice the temperature difference between the inside and outside. It was like walking into an oven! My friend apologized for the heat, blaming it on their old windows.
As a blogger who writes about house windows, I knew that this was a common issue. Many homeowners overlook the importance of energy-efficient window installation, not realizing how much it can affect their home’s comfort level and energy bills.
That’s why today, I want to share with you some best practices for installing energy-efficient windows in your home. By following these steps, you’ll be able to keep your home comfortable year-round while saving money on your energy bills!
Introduction to Energy Efficiency

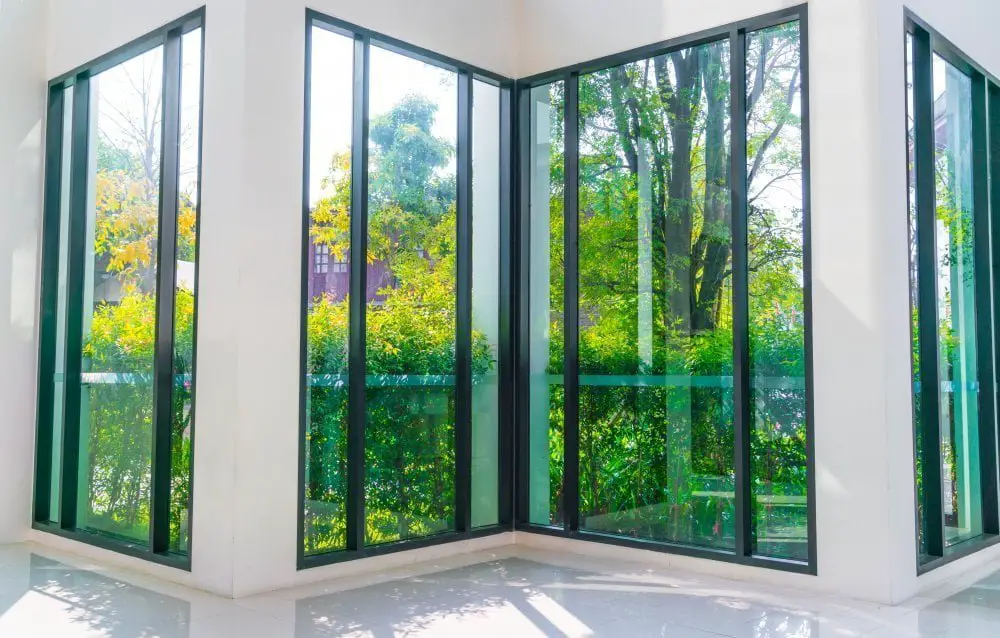
Before we dive into the step-by-step guide for energy-efficient window installation, let’s talk about what energy efficiency means. In simple terms, it refers to using less energy to perform the same task or achieve the same result.
When it comes to windows, this means reducing heat loss during winter and minimizing heat gain during summer.
This is a common issue that many homeowners face when they have inefficient windows that allow too much heat transfer between inside and outside.
By installing energy-efficient windows in your home, you can significantly reduce your heating and cooling costs while also improving comfort levels year-round.
But where do you start? Let’s take a look at some best practices for installing these types of windows in your home!
Choosing the Right Windows
After my friend’s experience, I knew that choosing the right windows was crucial for energy efficiency. The first step is to look for windows with a high Energy Star rating.
This rating system helps homeowners identify products that meet strict energy efficiency guidelines set by the U.S Environmental Protection Agency (EPA).
But it’s not just about the rating; you also need to consider your home’s location and climate when selecting new windows. For example, if you live in an area with extreme temperatures, such as hot summers or cold winters, double-paned or triple-paned glass may be more suitable than single-pane glass.
Another factor to consider is window frame material. Vinyl frames are popular because they’re affordable and low-maintenance but don’t always offer great insulation compared to other materials like wood or fiberglass.
By taking these factors into account when choosing your new windows, you’ll ensure maximum energy savings while keeping your home comfortable year-round!
Proper Window Measurements
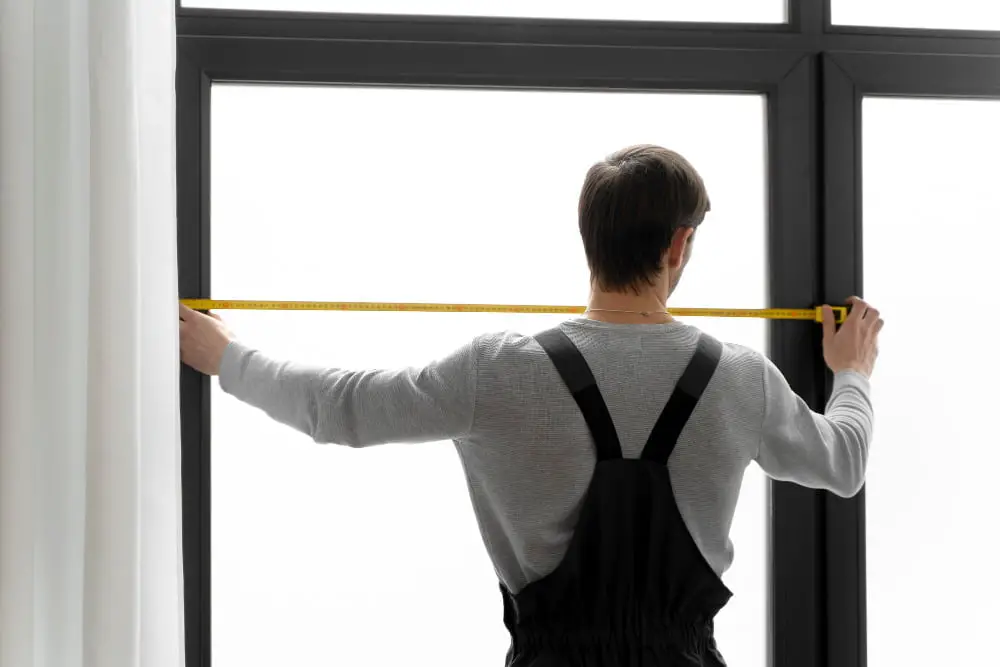
Before we dive into the installation process, it’s important to start with proper window measurements. As I continued talking to my friend about their windows, they mentioned that they had simply purchased new ones without measuring them first.
This mistake can lead to ill-fitting windows and air leaks, which will ultimately defeat the purpose of installing energy-efficient windows.
To avoid this issue, take accurate measurements of your existing window frame before purchasing new ones. Measure both horizontally and vertically from inside the frame at three different points (top, middle and bottom) for accuracy.
Make sure you measure each opening separately as sizes may vary slightly.
Once you have your measurements in hand or on paper if using a professional installer like myself; double-check them before making any purchases or scheduling an installation appointment!
Preparing for Installation
Before you start installing your energy-efficient windows, it’s important to prepare properly. This includes measuring the window openings and ordering the correct size of windows.
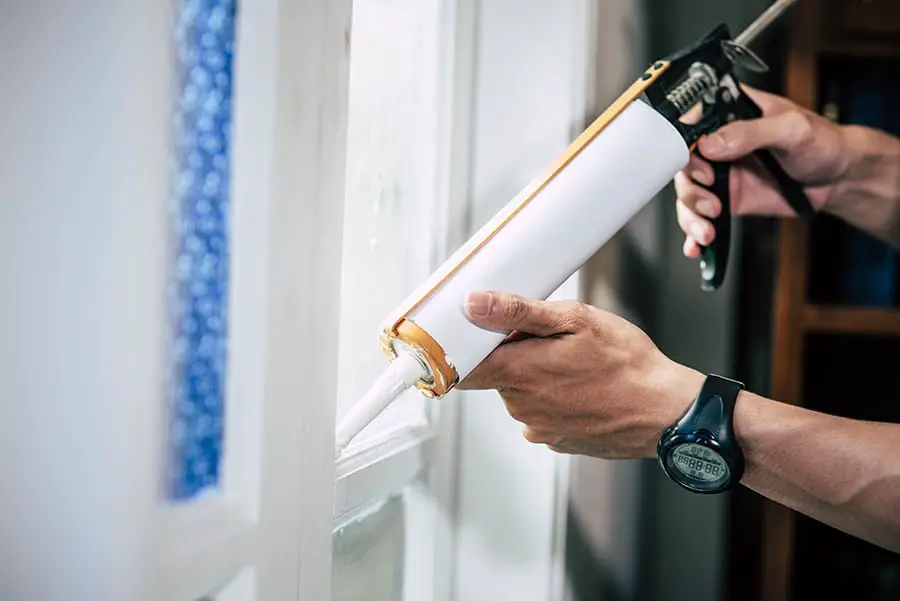
You’ll also need to gather all necessary tools and materials, such as a pry bar, hammer, caulk gun, insulation foam sealant and shims.
Once my friend had ordered their new energy-efficient windows in the right sizes for each opening in their home (with some help from me), we got started on preparing for installation. We made sure that we had all of our tools ready before starting work so that we wouldn’t have to stop midway through installation.
It’s essential not to rush this step because proper preparation will ensure a smooth installation process later on. Taking time now can save you headaches down the line!
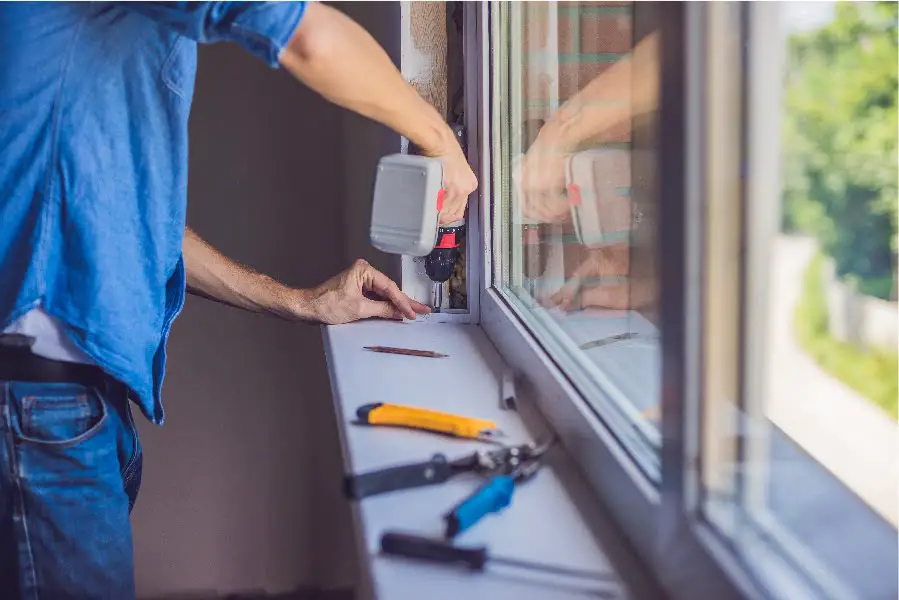
Installing the Window Frame
The first step in the installation process is to install the window frame properly. This is crucial because it ensures that your new window fits snugly and securely into place.
To start, you’ll need to remove any old caulking or sealant from around the existing window frame. Next, measure the opening of your window carefully and cut your new framing material accordingly.
Make sure that you use high-quality materials for this step as they will provide better insulation and durability.
Once you have cut out all of your framing pieces, it’s time to attach them together using screws or nails. Be sure to follow manufacturer instructions closely when doing so! After attaching all sides of the frame together securely, apply a layer of caulk around its perimeter before placing it into position.
By following these steps carefully during installation, not only will you ensure an energy-efficient fit but also prevent air leaks which can cause drafts in winter months leading up higher heating bills!
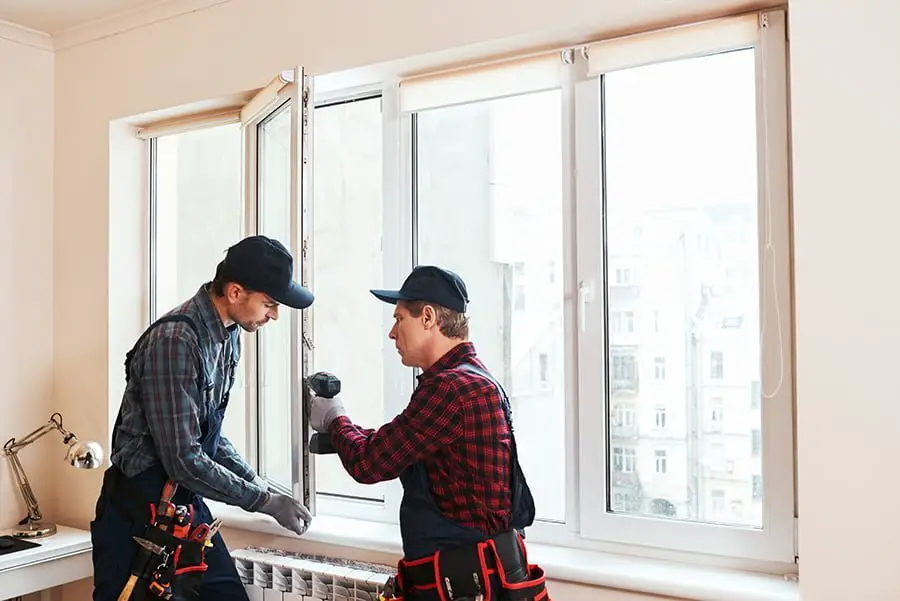
Sealing and Insulation Techniques
Sealing and insulation techniques are crucial for energy-efficient window installation. Even the most energy-efficient windows won’t perform well if they’re not installed correctly.
That’s why it’s important to use proper sealing and insulation techniques during installation.
One of the best ways to ensure a tight seal is by using low-expansion foam around the perimeter of your window frame. This will help fill any gaps between your window and wall, preventing air leaks that can lead to drafts and higher energy bills.
Another technique is installing weatherstripping around your windows’ moving parts like sashes or casements. Weatherstripping helps create an airtight seal when you close them, keeping hot or cold air from entering or escaping through these areas.
Lastly, don’t forget about insulating materials such as fiberglass batts or spray foam insulation which can be used in between studs before installing new drywall over them after replacing old windows with new ones.
By following these simple steps for sealing and insulating during installation, you’ll be able to enjoy comfortable temperatures inside while saving money on heating/cooling costs outside!
Finishing Touches and Maintenance
After following all the steps for installing energy-efficient windows, it’s important to pay attention to the finishing touches and maintenance. Just like any other part of your home, windows require regular upkeep to ensure they continue functioning properly.
As I was leaving my friend’s house that day, I noticed that their old windows were not only inefficient but also poorly maintained. The frames were rotting away and there was visible damage on some of the panes.
This is a common issue with older homes where homeowners neglect window maintenance.
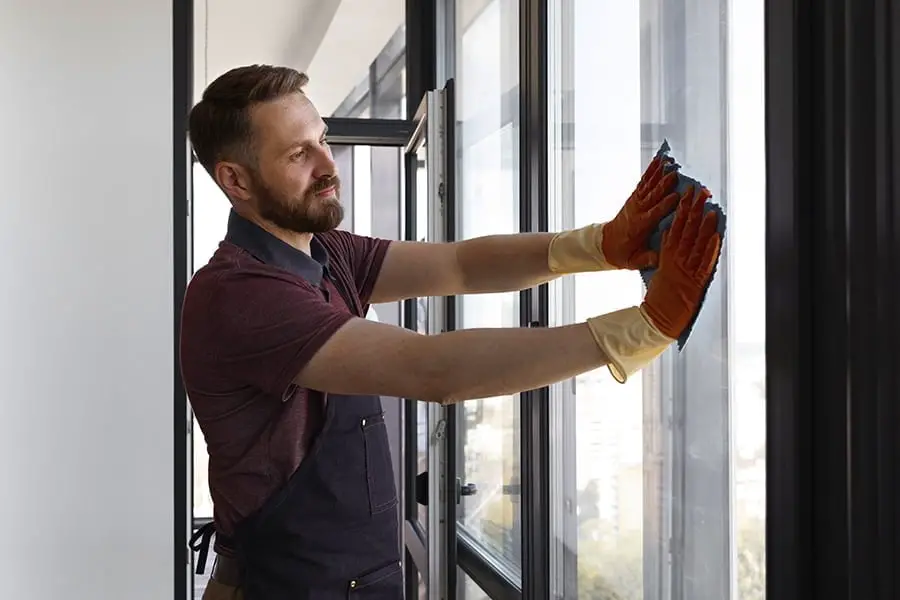
To avoid this problem with your new energy-efficient windows, make sure you clean them regularly using non-abrasive cleaners and soft cloths or sponges. Avoid using harsh chemicals or abrasive materials as they can scratch or damage the glass surface.
Check for any signs of wear and tear such as cracks in caulking around frames or damaged weatherstripping which can cause air leaks leading to loss of heat during winter months resulting in higher heating bills.
By taking care of these small details after installation you will be able to enjoy comfortable temperatures inside your home while saving money on utility bills year-round!
Read More
 Aluminum Alloy Window: Revolutionizing Home Efficiency
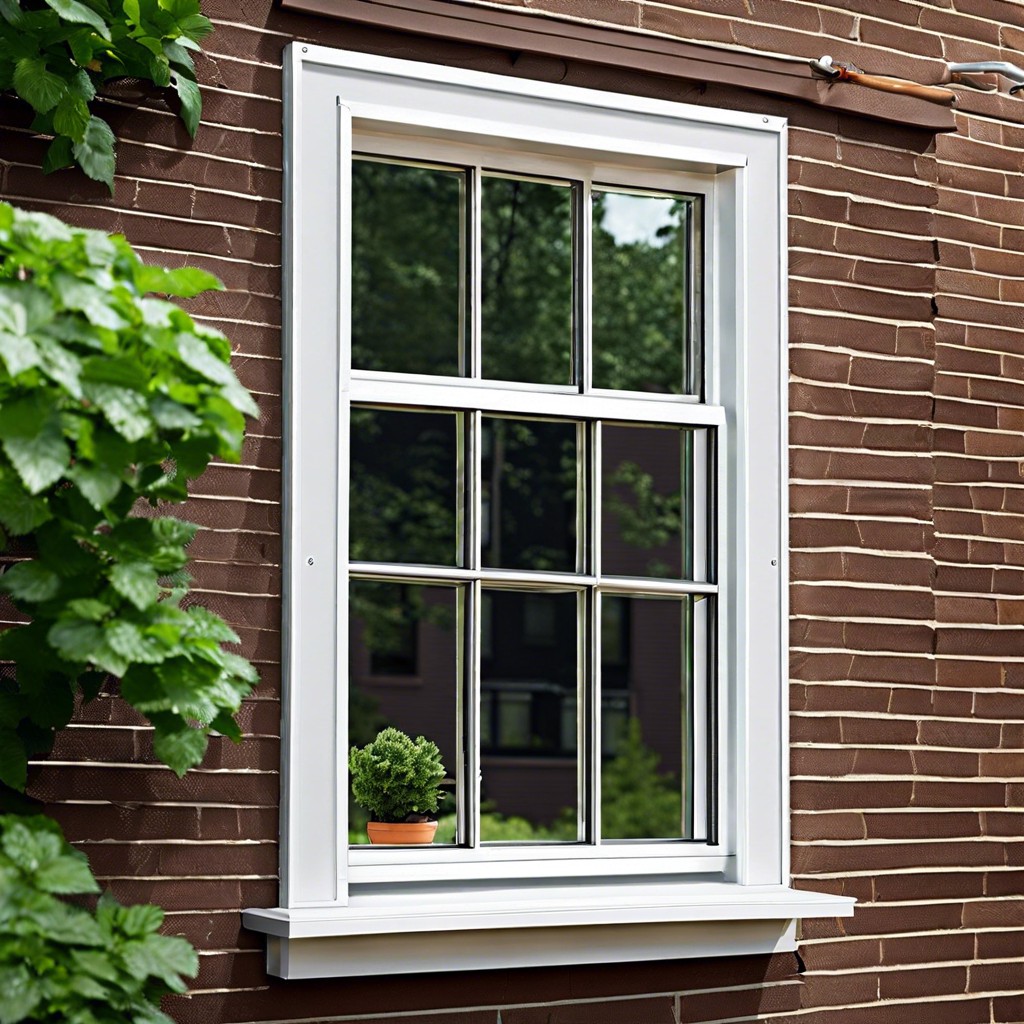 Aluminum Storm Window Frame: Your Guide to Cozy, Draft-Free Living
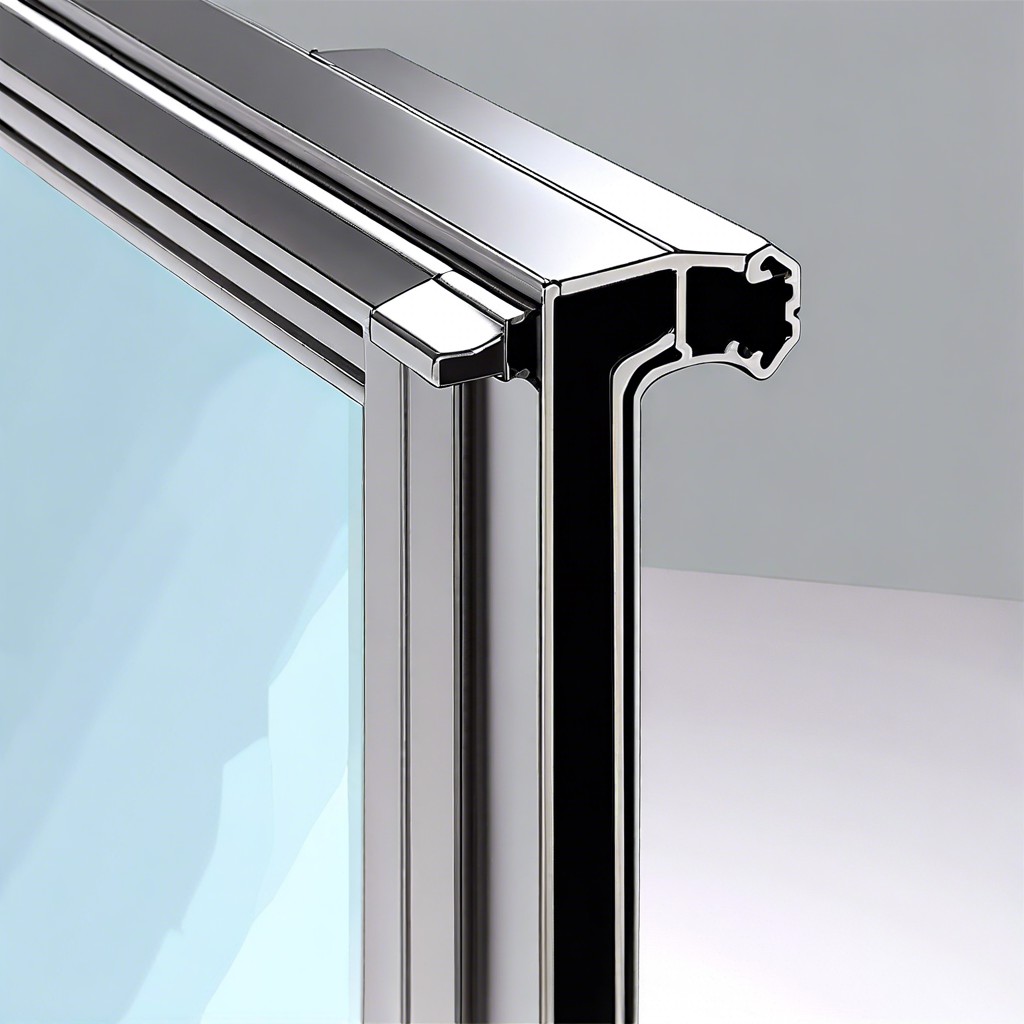 Aluminum Window Glass Retainer: Enhance Your Home’s Efficiency
 15 Aluminum Window Spacer Benefits
 5 Key Factors to Consider When Switching Energy Providers
Recap