Discover the simple tricks to revive your window clings and make them stick like new in this easy-to-follow guide.
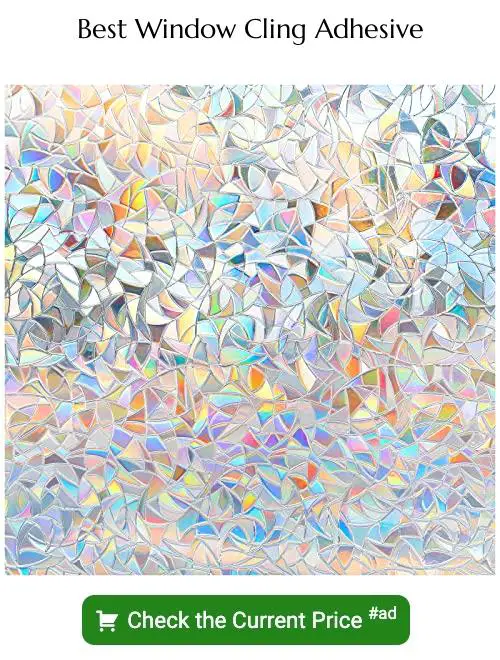
Do you have a window cling that just won’t stick anymore? Maybe it’s been up for years and has lost its adhesive power, or perhaps it was moved around too much and now refuses to stay put. Whatever the reason, there’s no need to toss it out just yet.
In this blog post, we’ll explore some simple tips and tricks for making your window clings stick again, so you can enjoy their colorful designs and decorative flair once more. So grab your cling and let’s get started!
Key takeaways:
- Surface cleanliness affects cling adhesion.
- Clean windows thoroughly before applying clings.
- Wet clings for better adhesion.
- Warm up clings before applying them.
- Apply pressure to remove air bubbles and ensure adhesion.
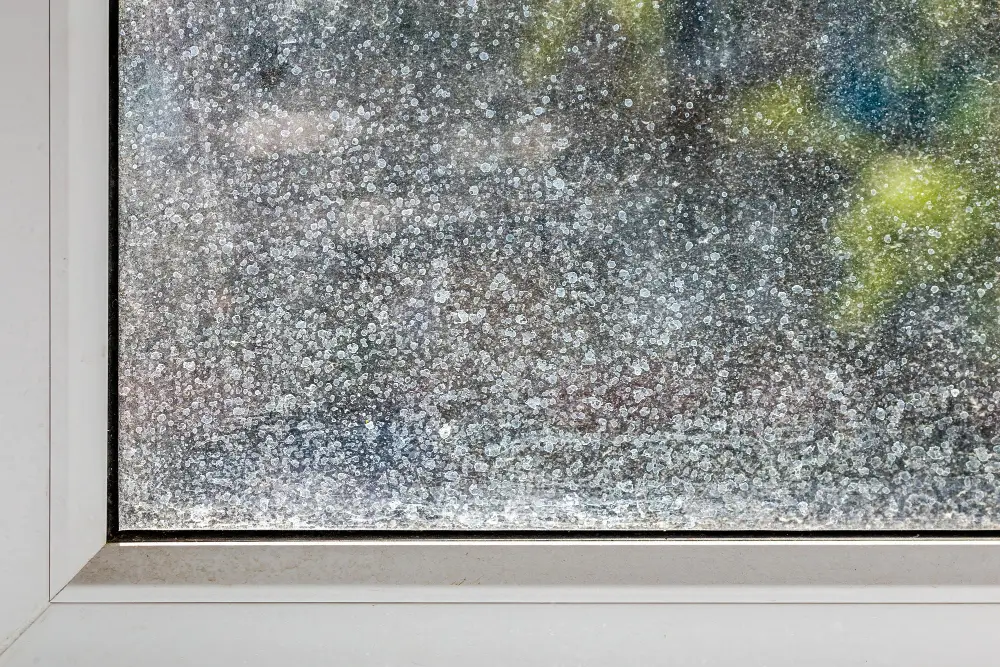
Reasons for Clings Losing Stickiness
Over time, this can cause a barrier between the cling and the glass, preventing it from adhering properly. Another reason could be that you’ve moved your cling around too much or have taken it off and put it back on multiple times, causing its adhesive power to weaken.
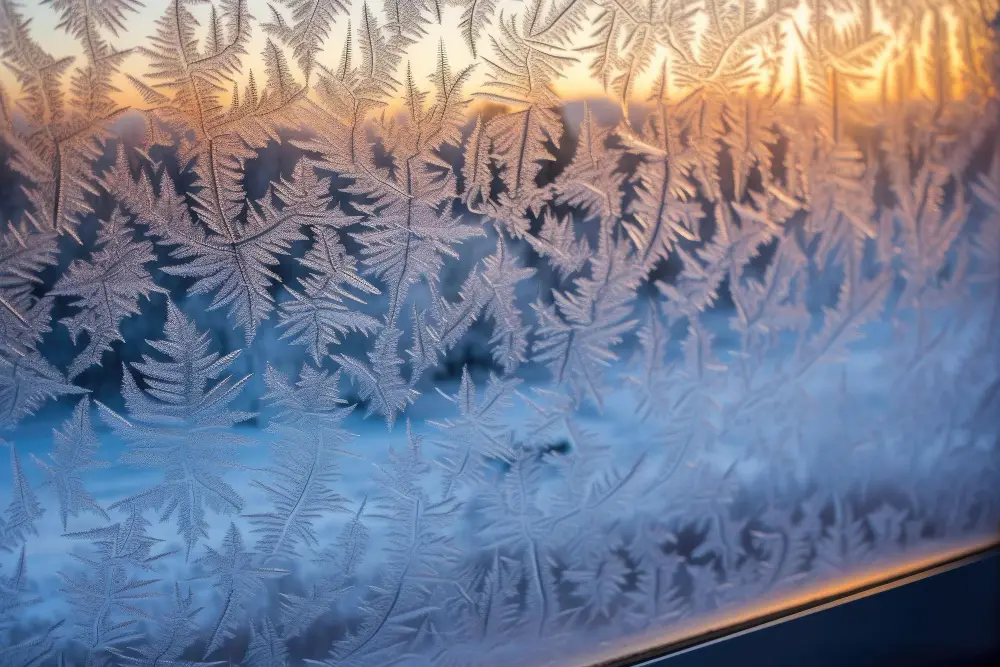
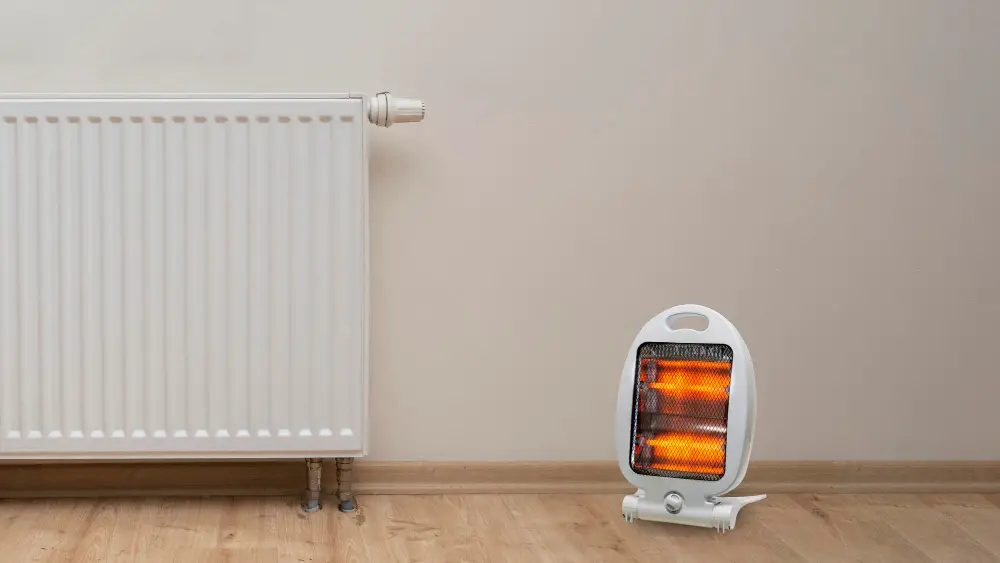
Another factor that affects how well your window clings stick is temperature changes. If you live in an area with extreme weather conditions or if there’s a sudden change in temperature inside your home (such as turning up/down the heat), this can affect how well your clings adhere to surfaces.
Exposure to sunlight over long periods of time can also cause fading and loss of adhesion for some types of window clings. This is especially true for those made from low-quality materials or those not designed specifically for outdoor use.
Understanding these factors will help you take better care of your window clings so they last longer without losing their stickiness over time.
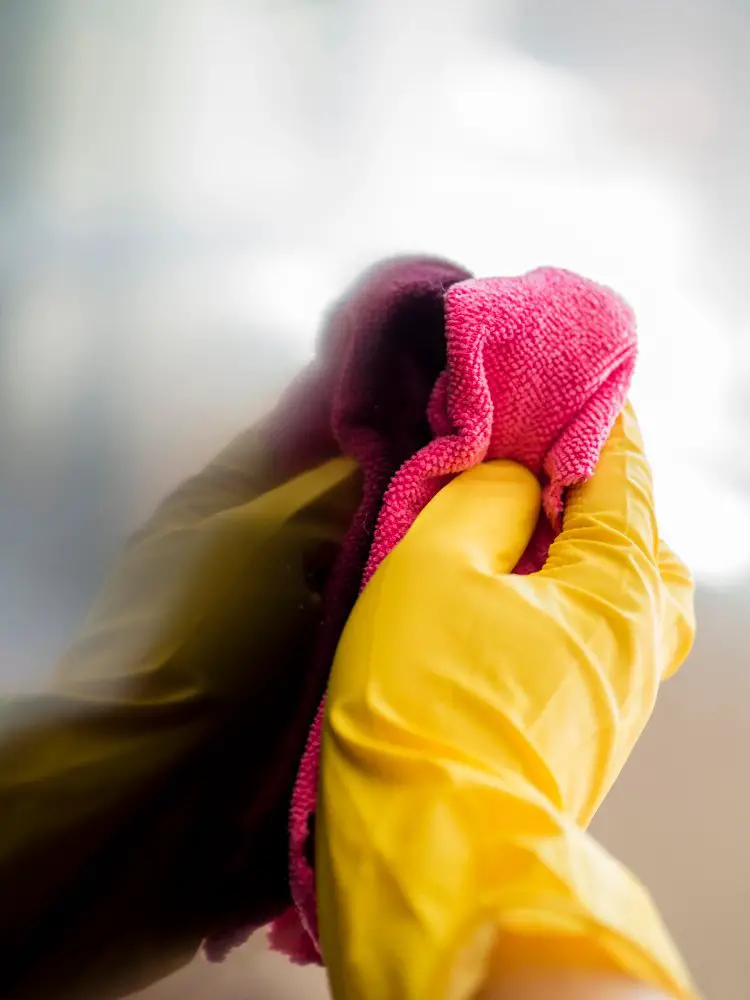
Cleaning the Window Surface
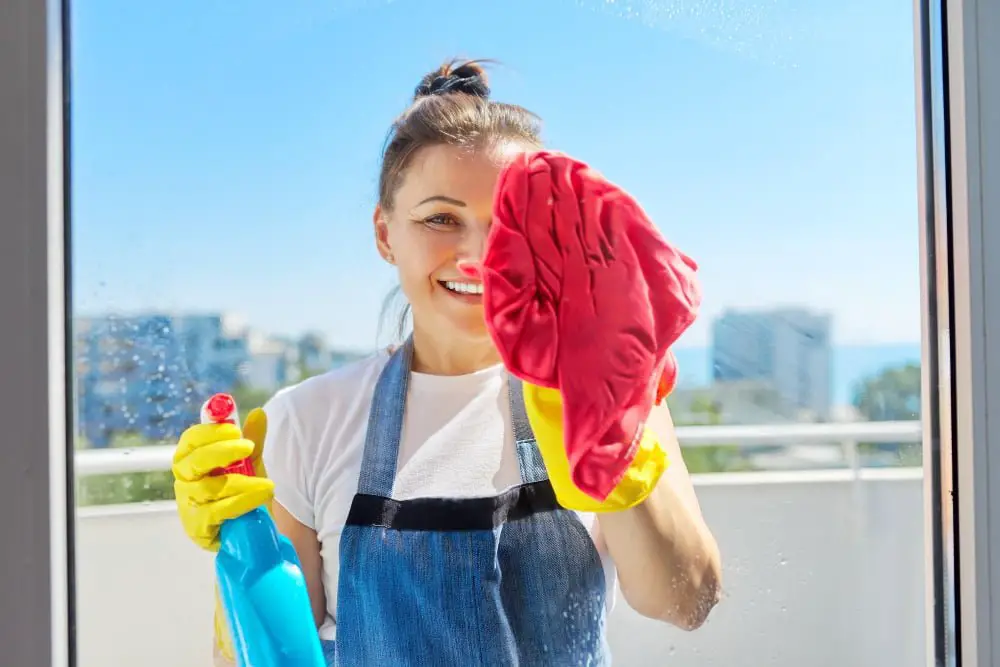
Dirt, dust, and grime can all prevent your clings from sticking properly. So before you attempt any of the following techniques, take some time to thoroughly clean the window surface.
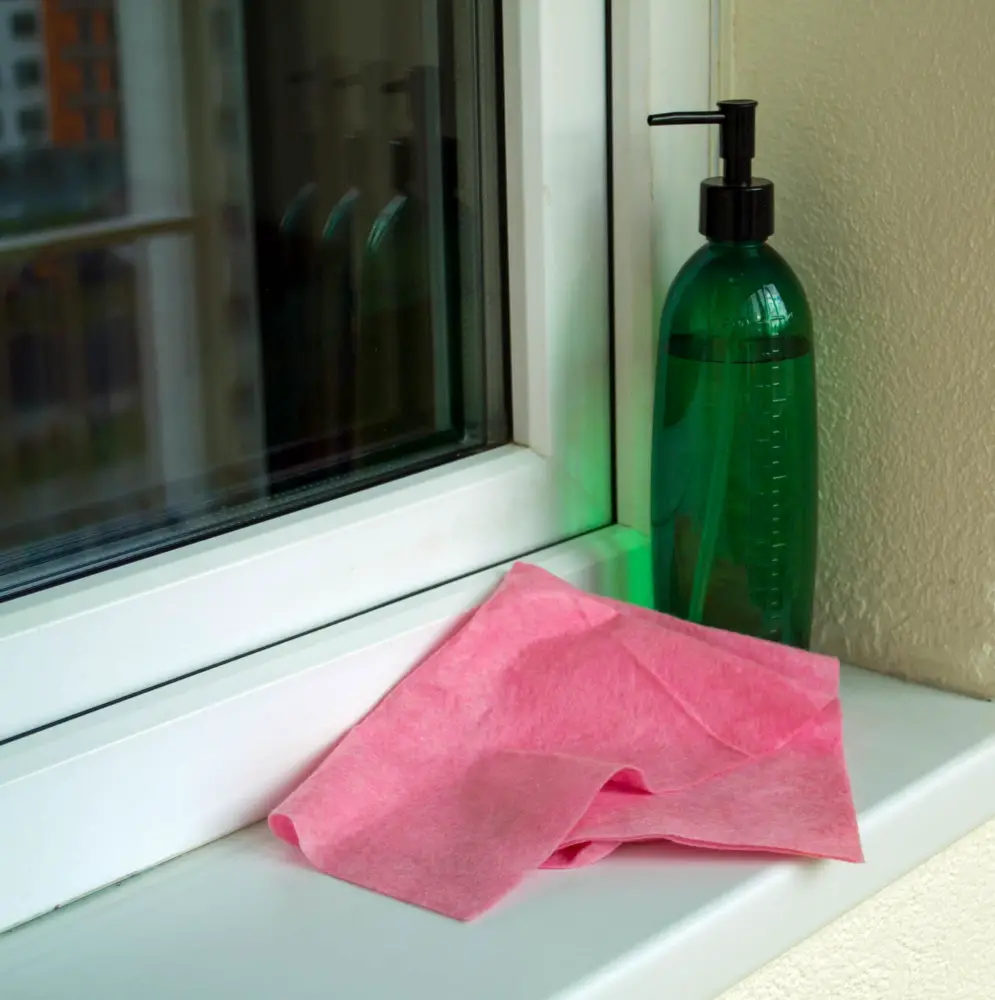
Start by wiping down the area with a damp cloth or sponge to remove any loose debris. Then use a glass cleaner or vinegar solution (one part vinegar and one part water) to get rid of any stubborn stains or smudges.
Be sure not to leave behind any residue from cleaning products as this can also affect how well your clings adhere.
Cleaning Window Clings
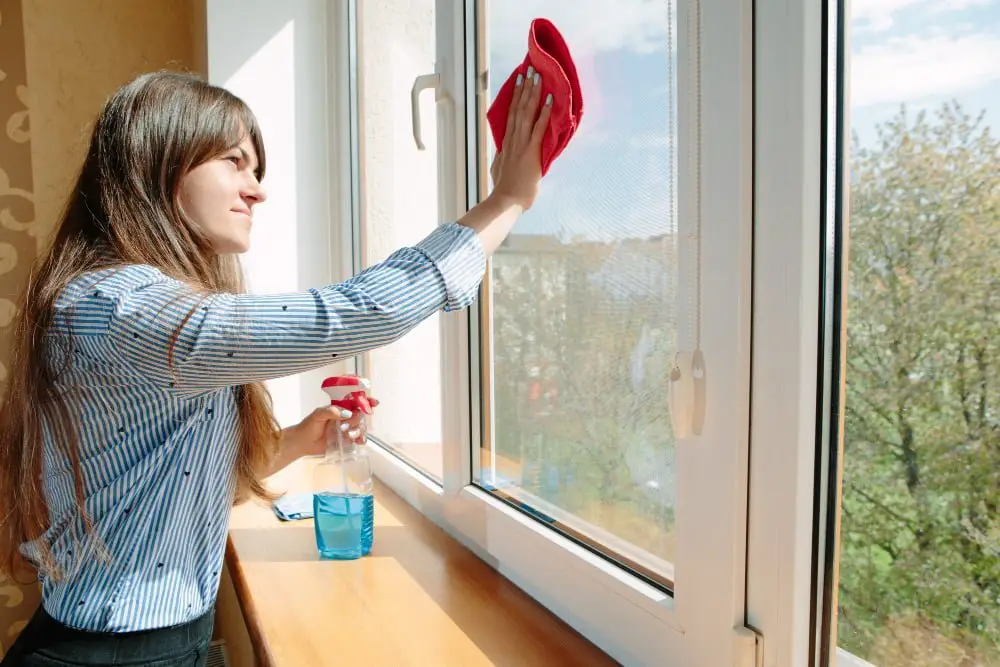
Over time, dust and grime can accumulate on your windows, making it difficult for the cling to adhere properly. To restore its adhesive power, you’ll need to clean both the window surface and the cling itself.
Start by removing any loose dirt or debris from your window with a soft cloth or brush. Then use a mild cleaning solution like soap and water or vinegar diluted in water to wipe down the glass thoroughly.
Be sure not to leave any streaks behind as this could affect how well your cling sticks.
Next up is cleaning your actual cling – avoid using harsh chemicals that may damage it instead opt for warm soapy water which will help remove dirt without damaging its design. Once both surfaces are cleaned thoroughly allow them enough time (at least 10 minutes)to dry completely before reapplying the sticker back onto the windowpane.
Wetting the Clings for Better Adhesion
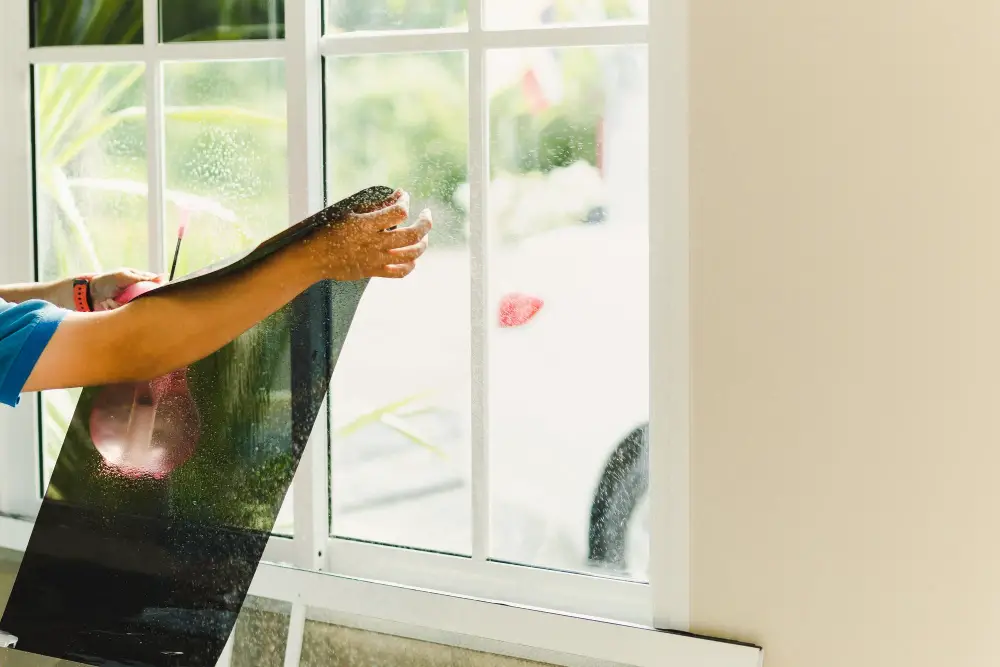
This method works particularly well if you’re dealing with a cling that’s been up for a while and has lost its adhesive power. Here’s how to do it:
- Fill a spray bottle with water.
- Spray the back of your window cling lightly with water.
- Place the cling on your clean, dry window surface.
- Use a squeegee or credit card to smooth out any air bubbles and ensure good adhesion.
The moisture from the water helps activate any remaining adhesive on your cling, making it more likely to stick properly once applied onto glass surfaces.
Note: Be careful not to oversaturate or soak through paper-based clings as they may become damaged in contact with too much moisture.
This method can also be used when applying new clings as an extra step before peeling off their backing paper; spraying some mist over their sticky side will help them adhere better upon application onto windows or mirrors.
Warming Up the Window Clings
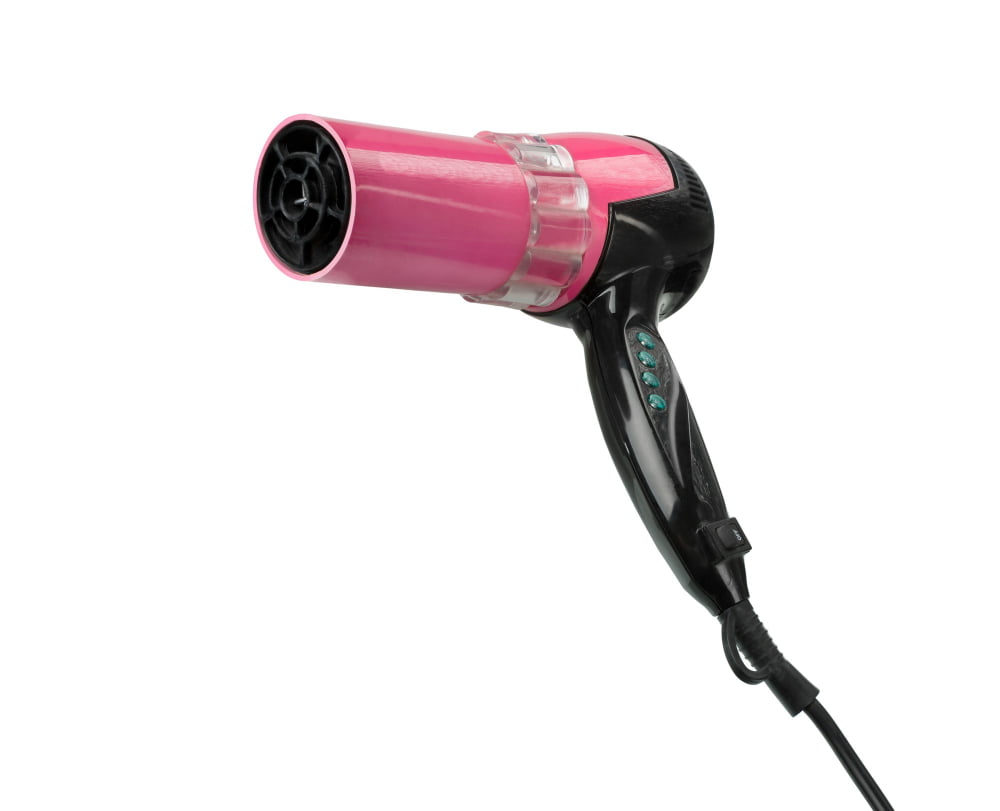
This method is especially useful if you live in a colder climate where the temperature drops below freezing point. Cold temperatures can make your cling brittle and less adhesive.
To warm up your cling, hold it between both hands for a few minutes to generate some heat or place it under direct sunlight for 10-15 minutes. You could also use a hairdryer on low heat setting to gently warm up the surface of the cling before applying it onto the glass.
Warming up helps soften and activate any remaining adhesive on your window clings, making them more pliable and sticky again. However, be careful not to overheat them as this may cause damage or shrinkage.
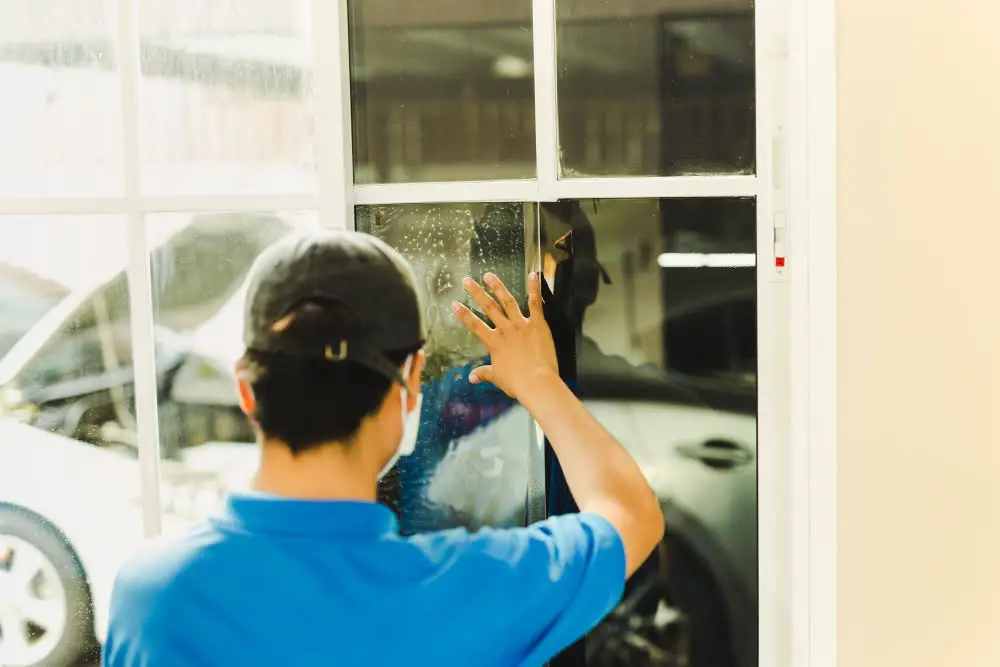
Applying Pressure to Window Clings
This technique works especially well for small or medium-sized clings that have lost their adhesive power due to air bubbles or dust particles trapped underneath them.
To apply pressure, start by cleaning the surface of your window thoroughly with a damp cloth and allowing it to dry completely. Then, place your cling onto the desired spot on the glass and use a credit card or squeegee tool (or even just your fingers) to press down firmly on all areas of the cling.
Be sure not to leave any air pockets between the cling and glass as this can cause it not only lose its adhesion but also create an unsightly appearance. Work from one end of each section towards another while pressing out any bubbles along with way until you’ve covered every inch.
Using a Squeegee or Credit Card
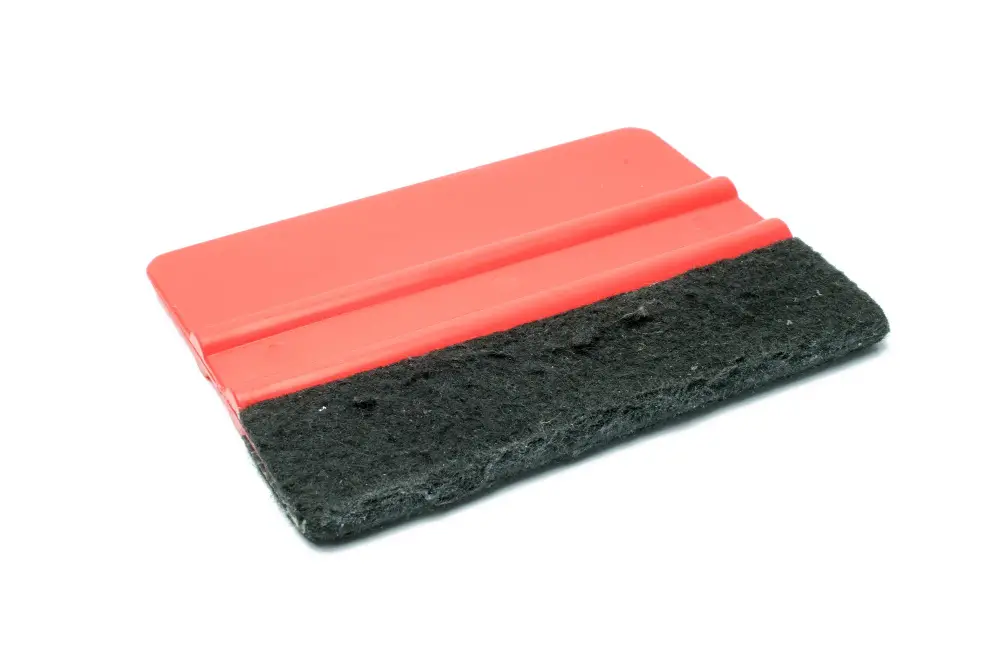
A squeegee or credit card can be an effective tool for smoothing out any air bubbles and ensuring that your cling adheres properly.
To use a squeegee, start by wetting the surface of your window with soapy water. Then place the cling onto the wet surface and smooth it down with your hands as much as possible.
Next, take a small squeegee (you can find these at most hardware stores) and starting from one corner of the cling, press firmly while dragging across in straight lines towards another corner until all excess water is removed.
Alternatively, if you don’t have access to a squeegee but do have an old credit card lying around – this will work just fine! Simply follow similar steps above but instead of using a small rubber blade like on most squeegies; use edge side up against glass when pressing hard enough so that there are no air pockets left behind after application.
Restoring Clings With Water
This method works best for clings that have lost their stickiness due to dust or debris buildup. Here’s how to do it:
- Remove the cling from the window and clean both sides with a mild soap solution.
- Rinse thoroughly with water and shake off any excess.
- Fill a bowl or sink with warm water and add a few drops of dish soap.
- Place the cling in the soapy water for 10-15 minutes, making sure it is fully submerged.
- Gently rub both sides of the cling while underwater to remove any remaining dirt or debris.
Once done, rinse thoroughly under running tap water until all traces of soap are gone before shaking off excess moisture from your restored window clings.
Using Adhesive Sprays
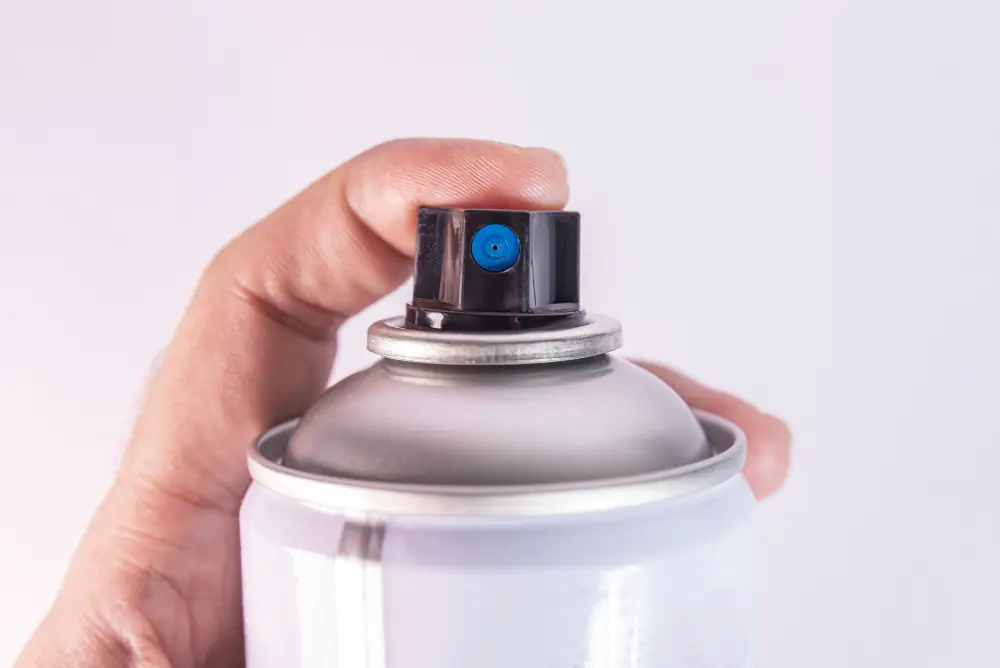
These sprays are specially designed to provide a strong, long-lasting bond between surfaces. To use them on your window clings, simply follow these steps:
- Clean the surface of your window thoroughly with soap and water.
- Dry the surface completely using a clean cloth or paper towel.
- Shake the adhesive spray can well before use.
- Hold the can about 6-8 inches away from your cling and apply an even coat of spray over its entire backside.
- Carefully place it onto your cleaned glass surface in its desired position.
Be sure to press down firmly on all areas of the cling for at least 30 seconds after application to ensure proper adhesion.
While adhesive sprays are effective in restoring stickiness, they should be used with caution as they contain chemicals that could potentially harm some types of materials or surfaces if not used correctly.
Applying Soap Solution
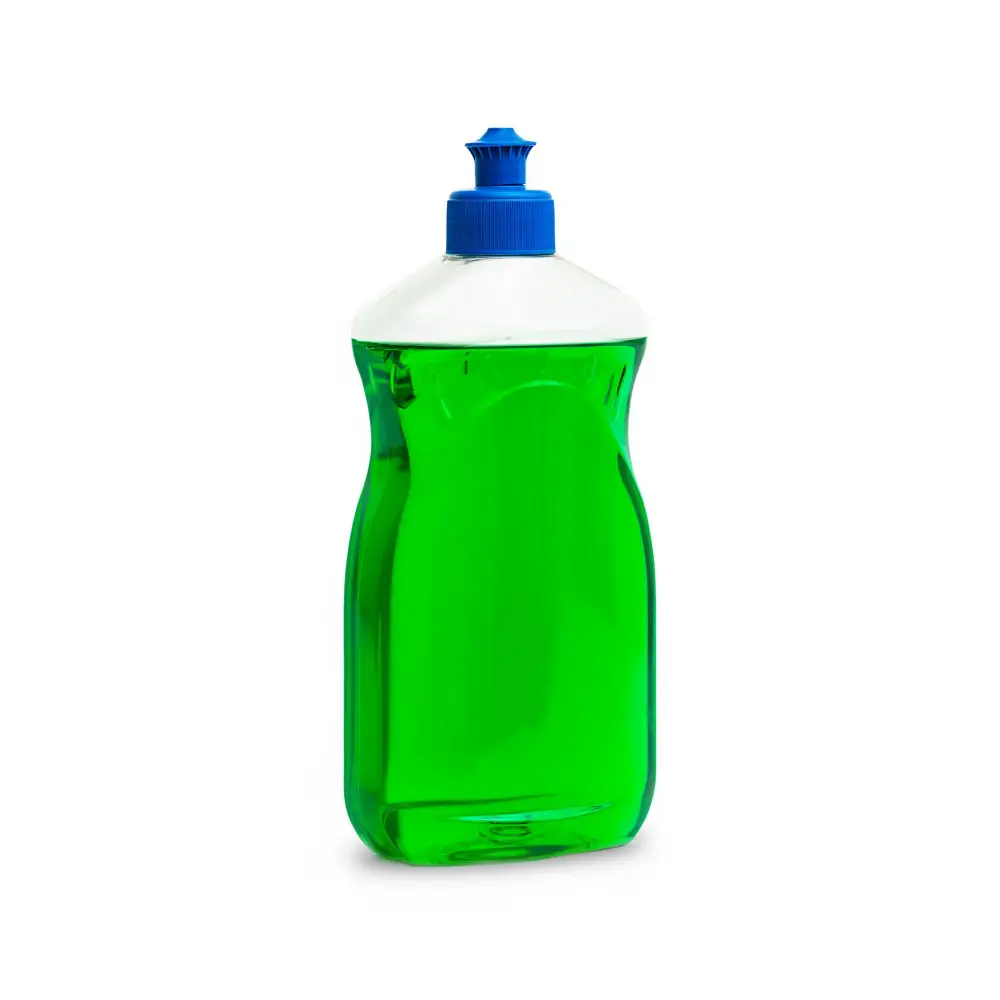
This method works best for small or medium-sized clings that have lost their adhesion due to dust and dirt buildup.
To apply this solution, mix a few drops of dishwashing liquid with warm water in a bowl. Dip the cling into the soapy mixture and gently rub it with your fingers for about 30 seconds.
Rinse it thoroughly under running water, making sure all soap residue is removed.
After rinsing, shake off any excess water from the cling and place it on a clean towel or paper towel to dry completely before reapplying it onto your window surface.
Utilizing Glue Dots
These small adhesive circles are perfect for adding extra stickiness to your cling without damaging it or leaving any residue behind.
To use glue dots, simply peel off the backing paper and place them on the back of your cling in strategic spots. Then press firmly onto the window surface, making sure all edges are secure.
One advantage of using glue dots is that they can easily be removed if needed without causing damage to either surface. However, keep in mind that they may not work as well on larger or heavier clings.
Utilizing glue dots can provide an effective temporary fix for reviving old window clings and extending their lifespan.
Trying Double-Sided Tape
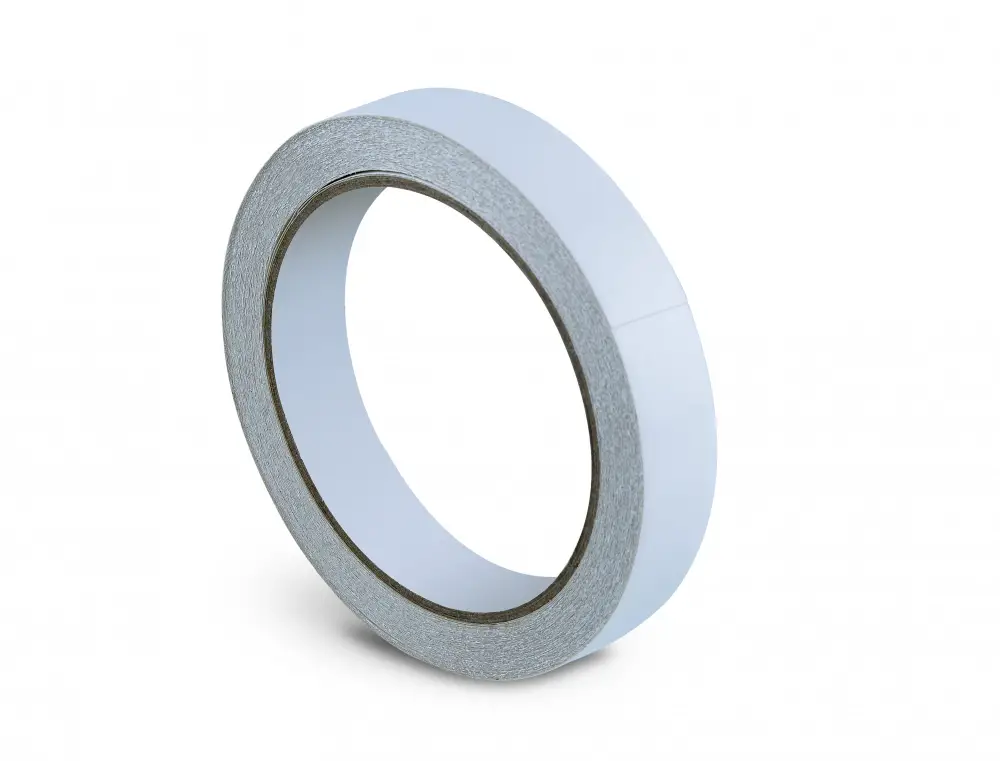
This is a quick and easy solution that can be found at any hardware or craft store. Simply cut a piece of double-sided tape to fit the size of your cling, peel off one side of the backing paper, and apply it directly onto the backside of your cling.
Then remove the other side of backing paper from tape before pressing firmly onto clean glass surface.
Double-sided tapes are available in different thicknesses so choose one that suits best for you depending on how heavy or light-weighted is your window cling. It’s important to note that this method may not work well with larger clings as they may require more support than just adhesive strips can provide.
Troubleshooting Common Problems
There are a few common problems that can arise when trying to restore window clings, but they’re usually easy to troubleshoot.
One issue could be that the surface of your window is too cold or damp. In this case, try warming up the area with a hairdryer or space heater before applying the cling.
Another problem could be residue left behind from previous adhesives. Make sure to thoroughly clean both sides of your cling and use rubbing alcohol on any leftover adhesive marks on your window.
Lastly, if you’re using an older cling that has been stored improperly for a long time, it may have lost its adhesive properties altogether. Unfortunately in this case there’s not much you can do except replace it with a new one.
DIY Alternative Methods for Resticking
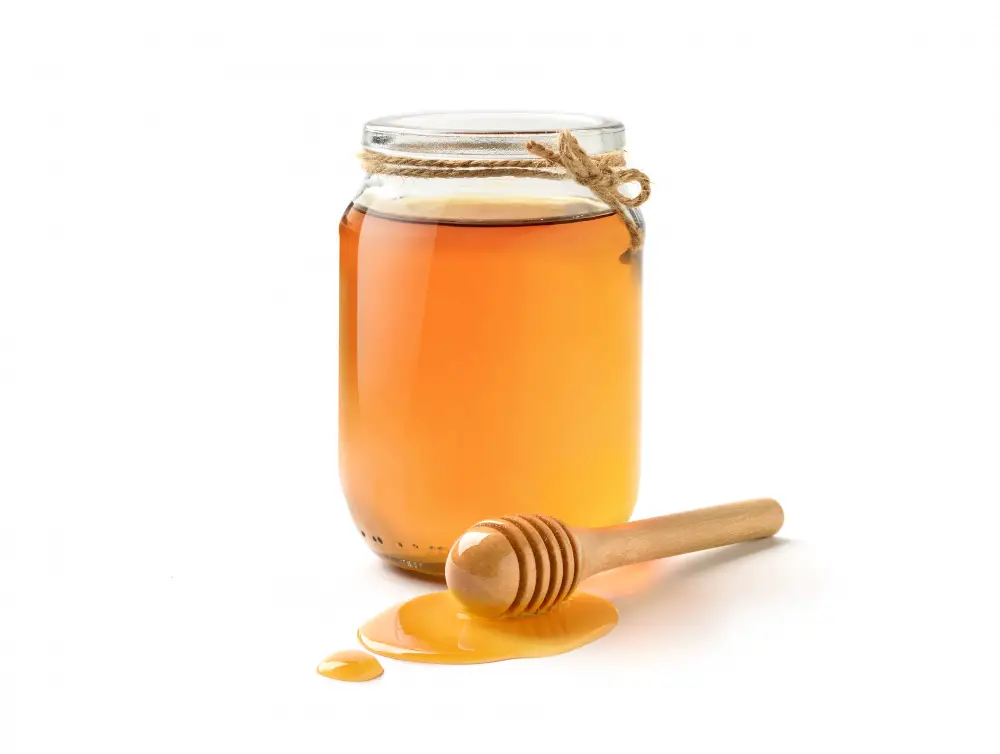
One popular option is using corn syrup or honey as an adhesive. Simply apply a small amount of either substance onto the back of the cling and press it firmly onto the window surface.
Another method involves mixing equal parts water and white vinegar in a spray bottle, then spraying it directly onto both sides of the cling before pressing it against the window. This mixture not only helps restore adhesion but also cleans any dirt or grime from both surfaces.
You can also use clear nail polish to add extra stickiness to your clings by applying a thin layer on their backsides before sticking them on windows.
While these DIY alternatives may work for some people, they might not be suitable for all types of clings or surfaces.
Tips for Long-lasting Window Clings

Here are some tips for maintaining the stickiness of your window clings:
1. Avoid placing them in direct sunlight or near heat sources, which can cause the adhesive to break down over time.
2. Clean the surface where you’ll be applying the cling thoroughly before sticking it on.
3. Be gentle when removing and repositioning your clings – pulling too hard can damage both the cling and its adhesive backing.
4. Store unused window clings flat in a cool, dry place until you’re ready to use them again.
Maintaining Your Window Clings
One of the most critical things you can do is keep the surface where they’re applied clean and dry. Dirt, dust, and moisture can all weaken adhesion over time.
To prevent this from happening, make sure to regularly wipe down your windows with a soft cloth or sponge. Avoid using harsh chemicals or abrasive materials that could scratch or damage the cling’s surface.
Be mindful of how often you move your clings around. While it may be tempting to switch up their placement frequently for variety’s sake, doing so too often can cause wear and tear on both the cling itself and its adhesive backing.
Caring for Your Window Clings
After all, you don’t want to go through the trouble of restoring them only for them to lose their stickiness again in a few weeks or months. To care for your window clings properly, avoid exposing them to extreme temperatures or direct sunlight as this can cause fading and cracking over time.
Be gentle when cleaning around the cling area so that you don’t accidentally damage it with harsh chemicals or abrasive materials.
When storing your window clings, make sure they are kept flat and away from any moisture that could cause warping or mold growth. You may also want to consider using acid-free tissue paper between each cling if you plan on stacking multiple ones together.
Storage Tips for Clings
Here are some tips for storing your clings:
- Keep them in a cool, dry place away from direct sunlight.
- Avoid folding or creasing the cling as this can damage the design and make it harder to apply later on.
- If possible, store each cling separately in a plastic sleeve or baggie. This will prevent any dust or debris from sticking to the adhesive side of the cling.
- Label each storage container with what is inside so that you can easily find what you need when looking through your collection.
Mistakes to Avoid
One of the most significant errors is using harsh chemicals or abrasive materials on the cling’s surface. This can damage the design and make it even harder for them to stick.
Another mistake is not cleaning your window surface correctly before applying a new cling. Any dirt, dust, or grime left behind will prevent proper adhesion and cause frustration later on.
Be careful when using adhesive sprays as they can leave residue that may attract more dirt over time. It’s also essential not to use too much water while wetting down your clings as this could lead them slipping off entirely from their position.
By avoiding these mistakes and following our tips above carefully, you’ll have no trouble restoring your favorite window clings’ stickiness in no time!
FAQ
Why does my window film keep falling off?
Your window film may be falling off due to hardened glue from exposure or the use of incorrect or weak adhesives during application.
Why are my window decals not sticking?
Your window decals may not be sticking due to unclean surfaces with dirt, moisture, oil, or dust, or because of textured surfaces that make adhesion difficult.
Do window clings go bad?
Window clings do not go bad, as they are made of a durable plastic film and can be reused multiple times, typically lasting for six months of usage.
Can you reuse window cling film?
Yes, window cling film can be reused as it uses micro-suction to stick to flat glass surfaces without adhesives, allowing for easy application, removal, and reuse without leaving any residue.
What factors can affect the adhesive properties of window clings over time?
Factors affecting the adhesive properties of window clings over time include exposure to sunlight, varying temperatures, and dust accumulation.
Are there any specific cleaning methods to improve the sticking ability of window clings?
To improve the sticking ability of window clings, clean them with warm soapy water and allow them to dry completely before reapplying.
Is it possible to revive old window clings that have lost their adhesive quality?
Yes, it is possible to revive old window clings that have lost their adhesive quality by cleaning and soaking them in warm, soapy water.
Read More
 Aluminum Window Latch Replacement: A Simple Guide to Security and Style
 Custom Aluminum Window Screens Buying Guide
 Aluminum Window Removal Tool: Easy Steps for a Hassle-Free Window Replacement
 Screw for Aluminum Window Frame: Your Ultimate Fixing Guide
 Replace Aluminum Window Glass: A Beginner’s Guide to a Clearer View
Recap