Discover the simple and effective method of storing window clings to ensure their longevity and reusability for seasons to come.
Welcome to my blog, where I share my expertise on all things related to house windows. In today’s post, we’ll be discussing one of the most popular window decorations: window clings.
If you’re someone who loves decorating your windows with these fun and colorful designs, then you know how important it is to store them properly to ensure they last for years to come. Whether you’re a seasoned pro or just starting out with window clings, this post will provide you with some valuable tips and tricks on how to store them effectively.
So, let’s get started!
Key takeaways:
- Types of window clings: Seasonal, decorative, educational, privacy film
- Preparing window clings for storage: Remove, clean, check for damage
- Cleaning window clings: Gently peel, warm soapy water, air dry
- Proper cleaning techniques: Gently peel, warm soapy water, air dry
- Choosing the right storage method: Flat storage, rolled storage, plastic sheet protectors, 3-ring binder
Types of Window Clings
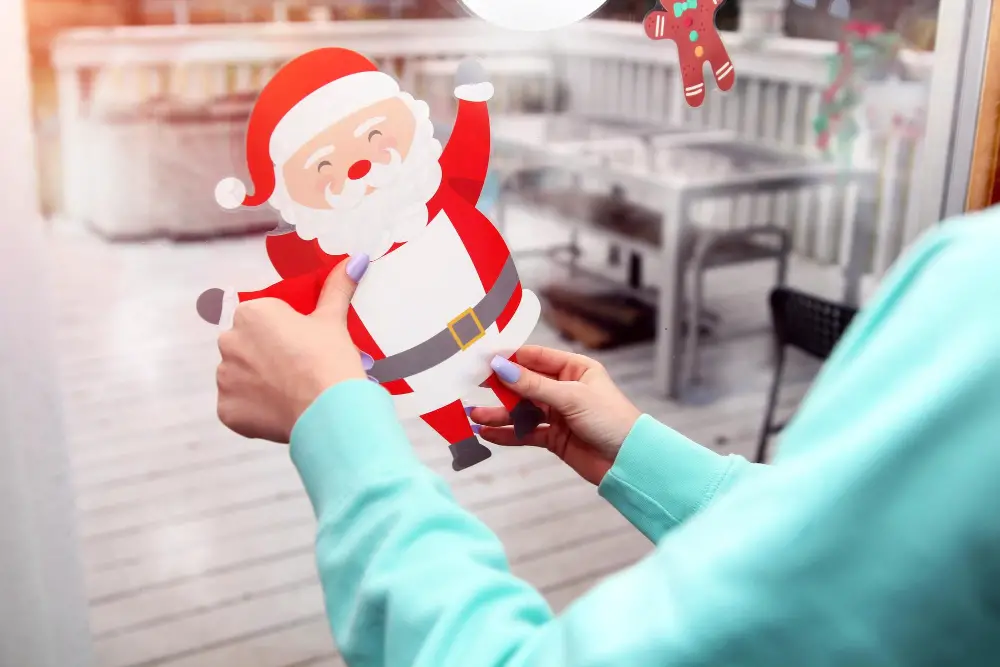
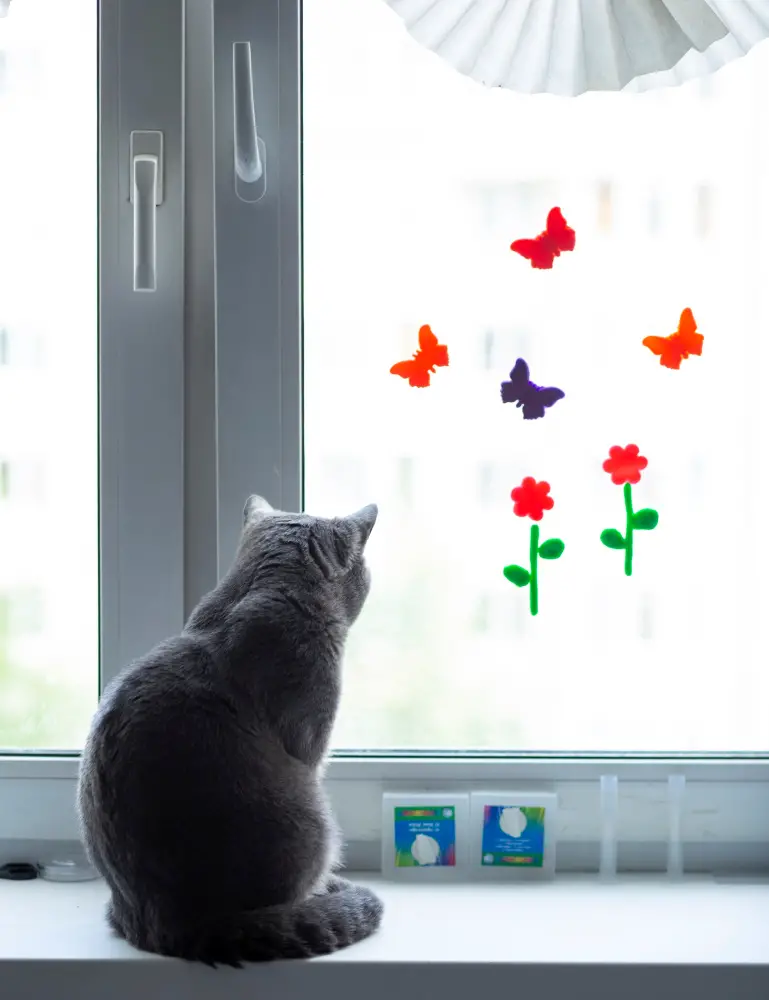
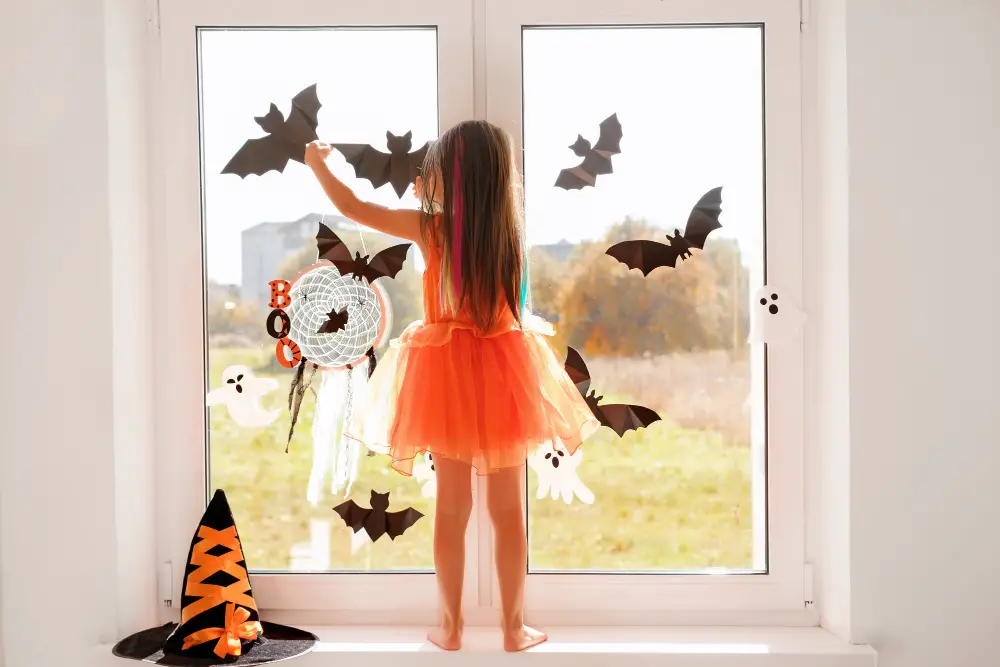
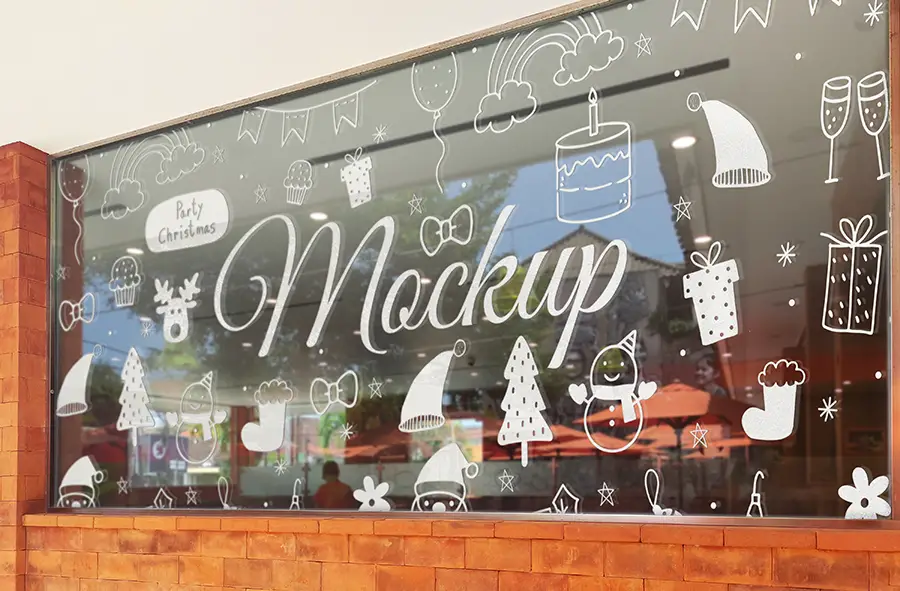
Some of the most popular include seasonal designs for holidays like Christmas and Halloween, as well as decorative patterns that can be used year-round. There are also educational window clings designed for children’s rooms or classrooms, which feature letters, numbers or shapes.
Another type of window cling is privacy film that can be applied to windows in bathrooms or bedrooms to provide additional privacy without sacrificing natural light. These films come in various styles and textures such as frosted glass effect.
Preparing Window Clings for Storage
This will help ensure that they remain in good condition and are ready for use the next time you want to decorate your windows.
To prepare your window clings for storage, start by removing them from the surface of the window. Gently peel each cling off and avoid pulling or stretching it too much as this can cause damage.
Once removed, lay each cling flat on a clean surface such as a table or countertop. If there is any dirt or debris on the cling, gently wipe it away with a damp cloth before allowing it to dry completely.
It’s also important to check each cling for any signs of damage such as tears or creases. If you notice any issues with a particular cling, set it aside so that you can address these problems before storing.
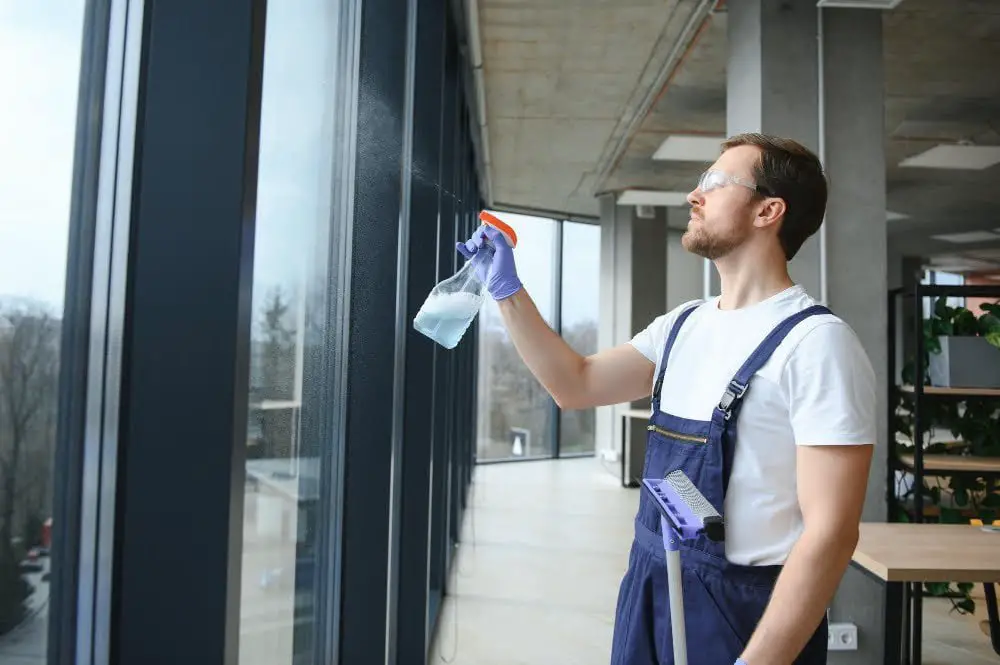
Clean Your Window Clings
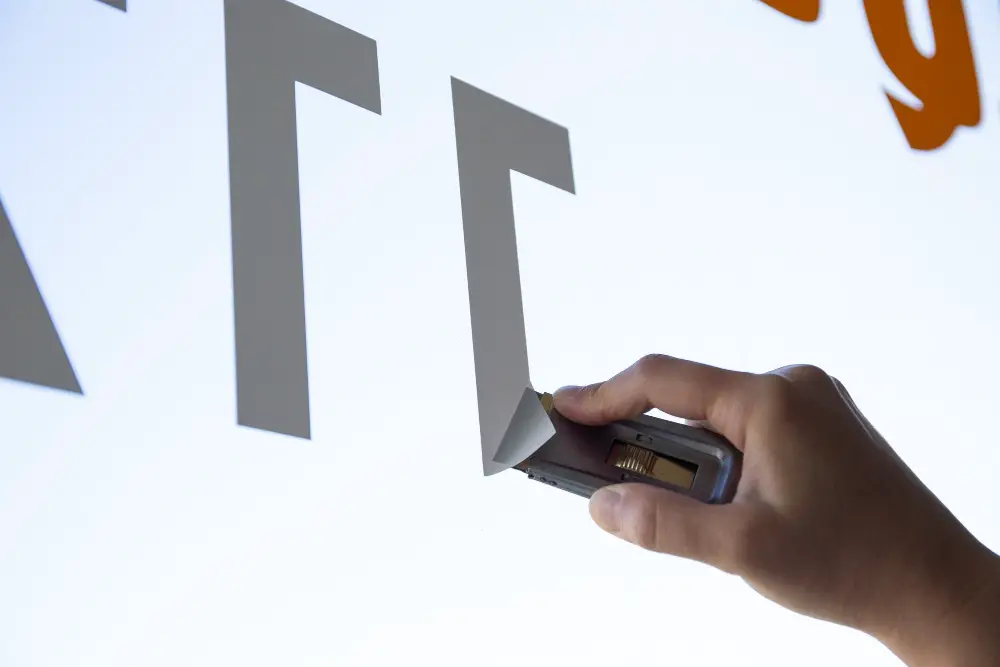
This will help remove any dirt or debris that may have accumulated on the surface of the cling and prevent damage during storage. To clean your window clings, start by gently peeling them off of the glass using a plastic scraper or credit card.
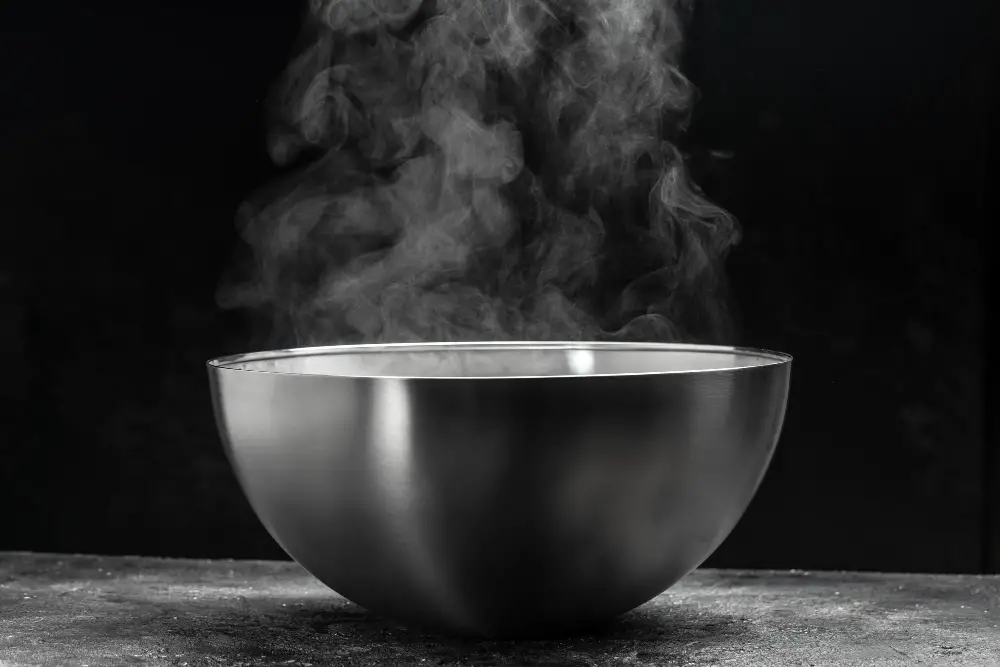
Next, fill a bowl with warm water and add a few drops of dish soap. Dip a soft cloth into this solution and use it to wipe down both sides of each cling until all dirt is removed.
Avoid using harsh chemicals or abrasive materials when cleaning your window clings as these can cause damage to their delicate surfaces. Once cleaned, rinse each cling thoroughly with cool water and allow them to air dry completely before storing.
Proper Cleaning Techniques
This will help remove any dirt or debris that may have accumulated on the surface and prevent damage during storage. The first step is to gently peel off any remaining adhesive residue using a soft cloth or sponge.
Next, fill a bowl with warm water and add a small amount of dish soap. Dip another soft cloth into the soapy water and wring out excess liquid until it’s damp but not dripping wet.
Then, use this cloth to wipe down both sides of each cling carefully.
Avoid using harsh chemicals or abrasive materials like paper towels as they can scratch or damage your window clings’ delicate surfaces.
Once you’ve finished cleaning all of your window clings thoroughly, rinse them under cool running water for several seconds until all traces of soap are gone.
Dry Window Clings Properly

Drying them incorrectly can lead to damage or creases that will make the clings unusable. To avoid this, lay the cleaned window cling flat on a clean and dry surface such as a table or countertop.
Use a soft cloth or paper towel to gently pat down any excess moisture from the cling’s surface.
Avoid using heat sources like hairdryers as they may cause shrinkage and deformation of your window clings. Also, do not stack wet clings on top of each other as this could cause sticking together which would result in damage when separating them.
Once you have patted down all excess moisture from your window cling, leave it out in an open area for at least 30 minutes until completely dry before proceeding with storage methods discussed later in this post.
Choosing the Right Storage Method
There are a few different options available, and the one you choose will depend on your personal preference and how much space you have available.
The first option is flat storage. This involves laying your window clings flat in a container or folder with protective sheets between each cling to prevent them from sticking together.
Flat storage is ideal if you have limited space as it allows for easy stacking of containers.
Another option is rolled storage. This involves rolling up each cling individually with protective sheets in between before placing them into a container or tube for safekeeping.
Rolled storage takes up less horizontal space than flat storage but requires more vertical room.
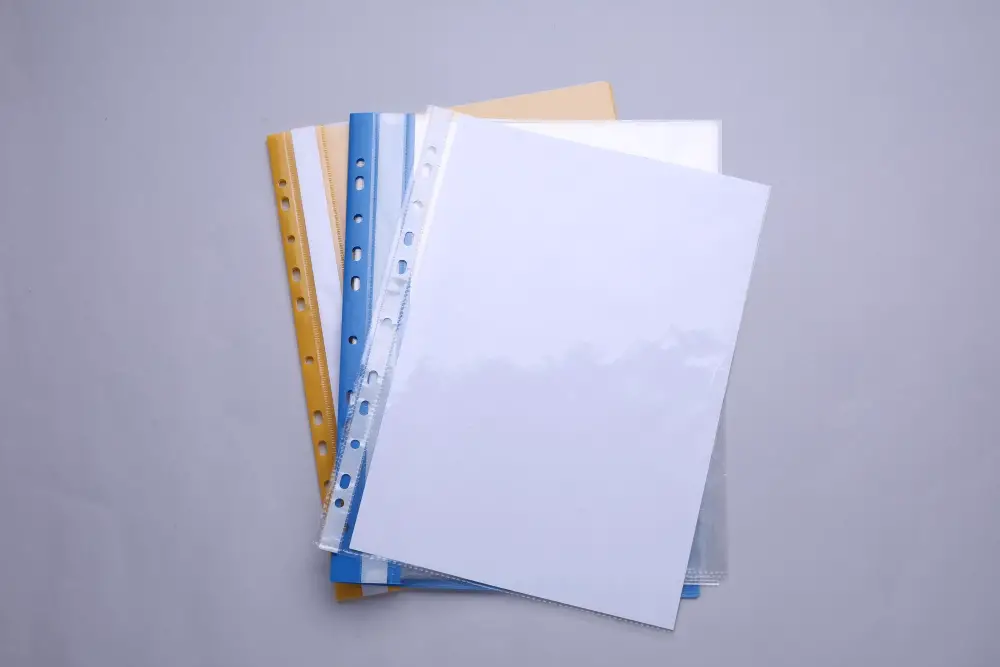
Using plastic sheet protectors can also be an effective way to store individual window clings while keeping them visible and organized within a 3-ring binder.
Flat Storage Method
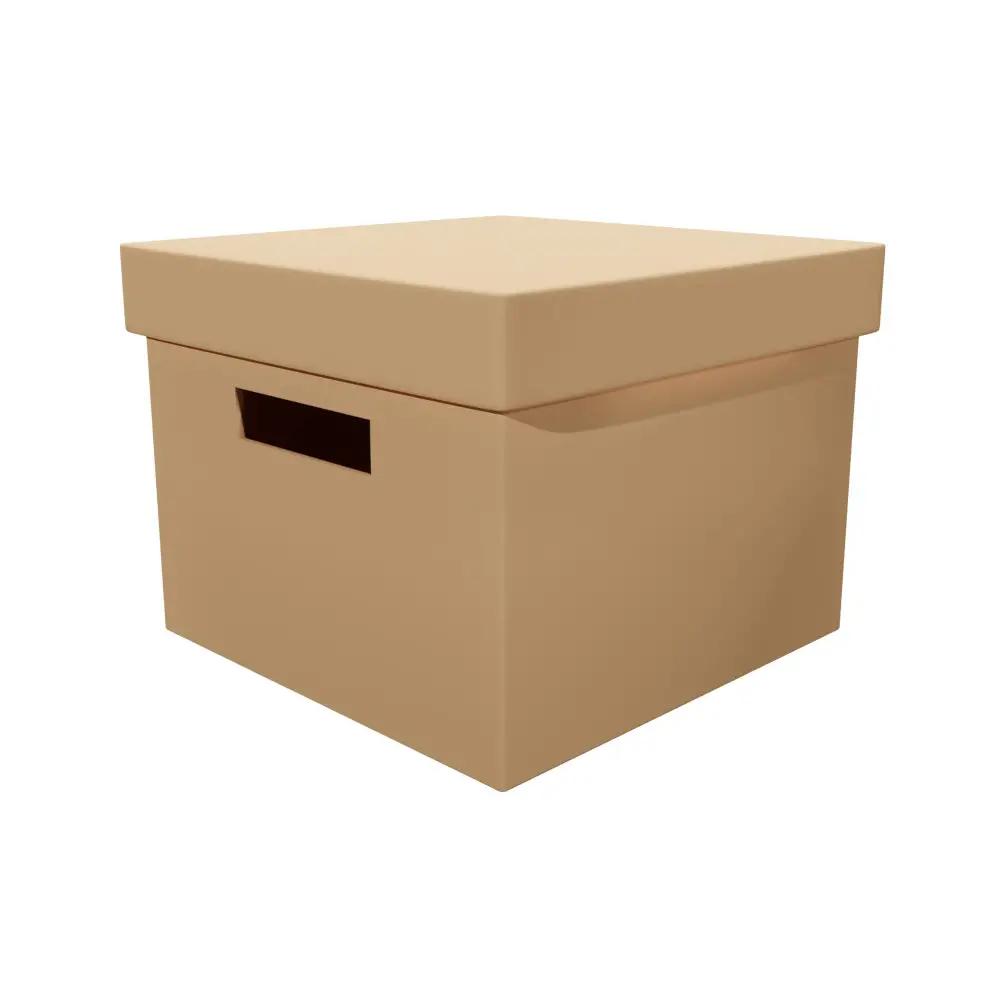
This method involves laying your window clings flat on a surface, such as a shelf or in a box. To ensure that they don’t stick together, it’s important to place them between sheets of wax paper or parchment paper before storing them away.
The benefit of this storage method is that it helps prevent creases and wrinkles from forming on your window clings. It also makes it easy to organize and access your collection when you’re ready to use them again.
When choosing this storage option, make sure you have enough space for all your window clings so they can lay completely flat without overlapping each other. Be mindful not to stack too many layers on top of each other as this could cause damage over time.
Rolled Storage Method

This method involves rolling up your window clings and securing them with a rubber band or string before placing them in a container for storage. The rolled storage method is ideal for those who have limited space, as it allows you to stack multiple rolls on top of each other without taking up too much room.
To use this method, start by cleaning your window clings thoroughly and allowing them to dry completely. Once they are dry, roll each cling tightly from one end to the other, being careful not to crease or fold it in any way.
Secure each roll with a rubber band or string before placing it into an appropriate container.
When choosing a container for storing your rolled-up window clings, make sure that it’s large enough so that you don’t have to bend or fold any of the rolls when putting them inside. You can use cardboard tubes (like those found inside wrapping paper), PVC pipes cut down into shorter lengths (with end caps), mailing tubes – anything long enough will do!
Using Protective Sheets
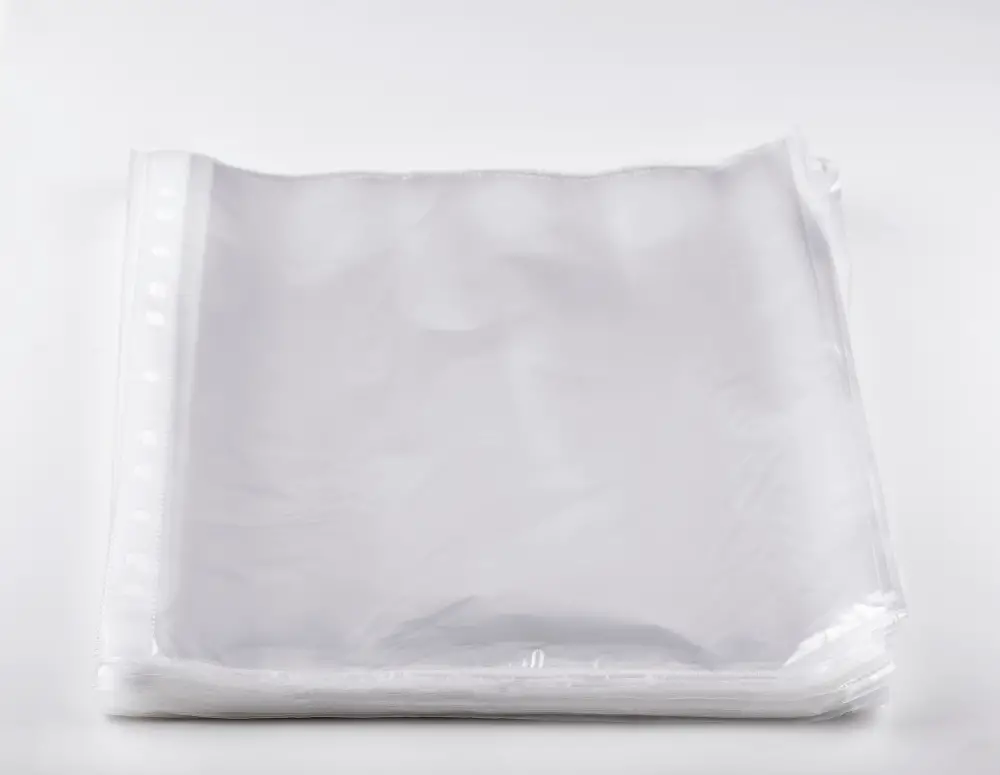
These sheets are designed to keep your clings safe from dust, dirt, and other debris that can accumulate over time. Protective sheets come in different sizes and materials such as plastic or paper.
To use protective sheets for storage, simply place the cling on one side of the sheet and then fold it over so that the cling is sandwiched between two layers of protection. This method works well for flat storage options like folders or binders.
If you’re using a binder with clear plastic sleeves instead of traditional pages, you can slide each sheet into its own sleeve for added protection against moisture damage or accidental creases.
Using protective sheets not only keeps your window clings clean but also makes them easier to organize since they won’t stick together when stored properly.
Using Plastic Sheet Protectors
These are clear, plastic sleeves that can hold multiple window clings at once and keep them protected from dust, moisture, and other potential hazards.
To use this method, simply slide your clean and dry window cling into a sheet protector. You can then add more clings to the same protector as long as they don’t overlap or touch each other.
Once you’ve filled up a few protectors with your favorite designs or themes, you can store them in a binder for easy access.
Plastic sheet protectors come in various sizes so make sure to choose one that fits your needs best. They’re also affordable and widely available at office supply stores or online retailers.
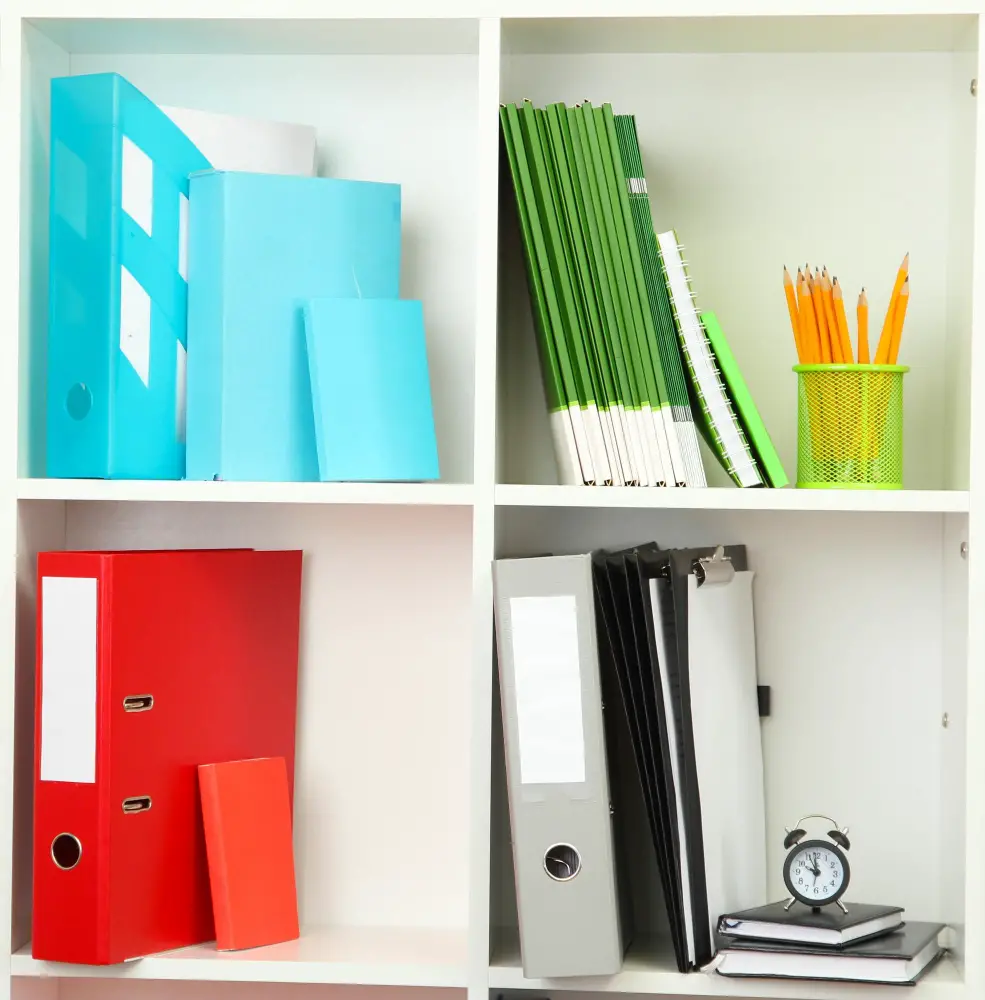
Storing in a 3-Ring Binder

This method is especially useful if you have a large collection of window clings that need to be stored in one place. To use this storage method, simply purchase clear plastic sheet protectors that fit into the 3-ring binder and slide your window clings inside each protector.
Be sure to label each sheet protector with the type or theme of the cling so it’s easy to find what you’re looking for later on.
Storing your window clings in a 3-ring binder has several benefits over other storage methods. First, it keeps all of your decorations together in one place which makes them easier to find when needed.
Second, it protects them from dust and moisture which can cause damage over time.
When storing in a 3-ring binder make sure not too many sheets are added as they may become heavy causing damage or creases on some delicate designs.
Ideal Storage Conditions
The best environment for storing window clings is a cool and dry place with low humidity levels. High temperatures and moisture can cause the adhesive on your window clings to break down, making them less effective or even unusable.
It’s also essential to keep your stored window clings away from direct sunlight as this can cause fading or discoloration over time. If you’re using plastic sheet protectors or a 3-ring binder for storage, make sure they are made from materials that won’t damage the cling material.
Importance of a Cool, Dry Environment

A cool and dry environment is ideal for preserving their quality and preventing damage. Exposure to heat or moisture can cause window clings to become brittle, fade or even stick together making them difficult if not impossible to separate without causing damage.
To ensure that your window clings remain in good condition for future use, store them away from direct sunlight and sources of heat such as radiators or heaters. It’s also important that you keep them away from areas with high humidity levels like bathrooms or basements where dampness can be an issue.
Organizing Stored Window Clings
One of the best ways to do this is by labeling each storage container or sheet protector with the type of cling it contains. For example, if you have Halloween-themed clings, label their storage container as such.
This will save you time searching for specific designs later on.
Another helpful tip is to group similar types of window clings together in one container or sheet protector. For instance, all holiday-themed clings can be stored together while animal-shaped ones can be grouped separately.
If using a 3-ring binder for storing your window clings, consider using dividers with tabs labeled according to theme or seasonality (e.g., Christmas Cling-ons). This will make finding specific designs even easier.
Labeling and Organizing Window Clings
One of the most important steps in organizing your window clings is labeling them properly. This will help you easily identify each cling when it comes time to use them again.
To label your window clings, simply write a brief description on a small piece of paper or sticky note and attach it to the cling itself or its protective sheet. Be sure to include details such as the design name, size, color scheme or any other relevant information that will help you quickly locate what you need.
Another helpful tip is organizing your labeled window clings by theme or season (e.g., Halloween designs together). This way, when decorating for a specific occasion like Christmas or Easter, all related designs are stored together making finding what you need much easier.
Handling and Reapplying Window Clings
But before you do that, it’s important to know how to handle and reapply them correctly.
When handling your window clings, be sure to use clean hands or gloves. This will prevent any dirt or oils from transferring onto the cling which can cause damage over time.
If you notice any creases or folds in the cling after storage, don’t worry! Simply lay it flat on a smooth surface for a few hours until the wrinkles disappear.
To reapply your window clings, start by cleaning the surface of your windows with soap and water then dry thoroughly with a lint-free cloth. Once clean and dry, carefully peel off each cling from its backing paper using gentle pressure so as not to tear or stretch it.
Next up is positioning: place each piece where desired while avoiding air bubbles between both surfaces (cling & glass). Smooth out any remaining bubbles gently using fingers starting at one end working towards another end slowly but firmly pressing down along all edges until there are no more visible air pockets left behind!
Tips for Longevity
Here are a few tips that will help keep your window clings looking great for years:.
1. Avoid direct sunlight: While many window clings are designed to withstand sunlight, prolonged exposure can cause them to fade or crack over time.
2. Keep them clean: Regularly cleaning your window clings with a soft cloth and mild soap can help prevent dirt and grime from building up on the surface.
3. Handle with care: When removing or reapplying your window cling, be sure to handle it gently so as not to damage the design or adhesive backing.
4. Store in ideal conditions: As mentioned earlier, storing your window clings in a cool, dry environment is key for maintaining their quality over time.
Avoiding Damage and Creases
These delicate decorations can easily become damaged if not stored properly, which can lead to unsightly wrinkles or tears that render them unusable.
To avoid this issue, it’s important to handle your window clings with care when preparing them for storage. Be sure to clean them thoroughly using proper techniques before storing them away.
Once they’re dry, take care when folding or rolling your window clings for storage.
If you’re using a flat storage method instead of rolling your window clings up, be sure not to stack too many on top of each other as this can cause creasing over time. Make sure that any protective sheets you use are free from dust or debris before placing the cling on top.
Troubleshooting Common Issues
Don’t worry; these problems are easily fixable with a few simple tricks. One of the most common issues is creases or wrinkles on the cling surface due to improper storage techniques.
To fix this issue, lay the cling flat on a clean and smooth surface and use a credit card or squeegee tool to gently press out any creases.
Another problem that can occur is difficulty in removing the backing paper from your window clings without tearing them apart. In such cases, try using tape instead of peeling off directly from one corner as it will help remove all parts evenly without damaging any part.
Lastly, if you find that your window clings aren’t sticking properly after storage or have lost their adhesive quality over time – don’t fret! You can revive their stickiness by washing them with warm soapy water before applying again.
By following these troubleshooting tips for common issues related to storing and reapplying window clings effectively, you’ll be able to enjoy beautiful decorations on your windows for years!.
FAQ
How do you store window clings to reuse?
To store window clings for reuse, roll them up with tissue paper and place them in a clear plastic storage bag or a plastic folder.
Can you store window clings on wax paper?
Yes, you can store window clings on wax paper by placing them between two pieces of wax paper and storing them in a zip lock bag.
Do window clings go bad?
Window clings do not go bad, as they typically last for six months and are reusable due to their durable plastic film.
What is the best method for cleaning window clings before storage?
The best method for cleaning window clings before storage is to gently wash them with mild soap and warm water, and then let them air dry.
What types of containers or materials are ideal for keeping window clings safe and damage-free during storage?
Ideal materials for keeping window clings safe and damage-free during storage include non-stick materials, such as wax paper, parchment paper, or plastic sleeves with separated compartments.
Are there any specific environmental conditions, such as temperature or humidity levels, that should be considered when storing window clings for long periods of time?
When storing window clings for long periods of time, it is important to consider maintaining a cool, dry environment to prevent damage.
Read More
 Aluminum Window Latch Replacement: A Simple Guide to Security and Style
 Custom Aluminum Window Screens Buying Guide
 Aluminum Window Removal Tool: Easy Steps for a Hassle-Free Window Replacement
 Screw for Aluminum Window Frame: Your Ultimate Fixing Guide
 Replace Aluminum Window Glass: A Beginner’s Guide to a Clearer View
Recap