Discover the simple steps to effortlessly apply window decals, transforming your space with eye-catching designs and adding a personal touch.
Are you looking to add a personal touch to your home’s windows? Window decals are a great way to showcase your style and personality. However, putting them on can be tricky if you don’t know the proper technique.
In this blog post, we’ll guide you through the steps of how to put on window decals like a pro, so your windows can look stylish and unique in no time!
Key takeaways:
- Choose the perfect decal based on your style and placement.
- Gather necessary supplies such as tape, squeegee, and rubbing alcohol.
- Clean the window thoroughly before applying the decal.
- Identify the sticky side of the decal and remove the protective sheet.
- Apply the decal using the wet or dry application method.
Choose the Perfect Decal

The first step in putting on window decals is choosing the perfect decal for your space. There are many different types of decals available, from simple designs to intricate patterns and images.
Consider the style of your home and what kind of statement you want to make with your decal.
If you’re looking for something subtle, a small design or pattern may be best. On the other hand, if you want to make a bold statement, consider a larger or more complex design.
Another important factor when choosing a decal is its placement on the window. Do you want it centered in the middle? Or would it look better off-center? Take some time to think about where exactly on your window will be most visually appealing before making any decisions.
Gather Necessary Supplies
Having everything on hand before starting will make the process much smoother and prevent any unnecessary delays.
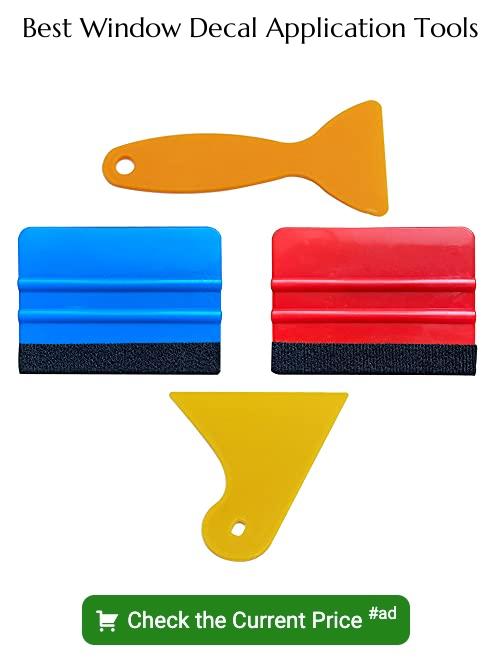
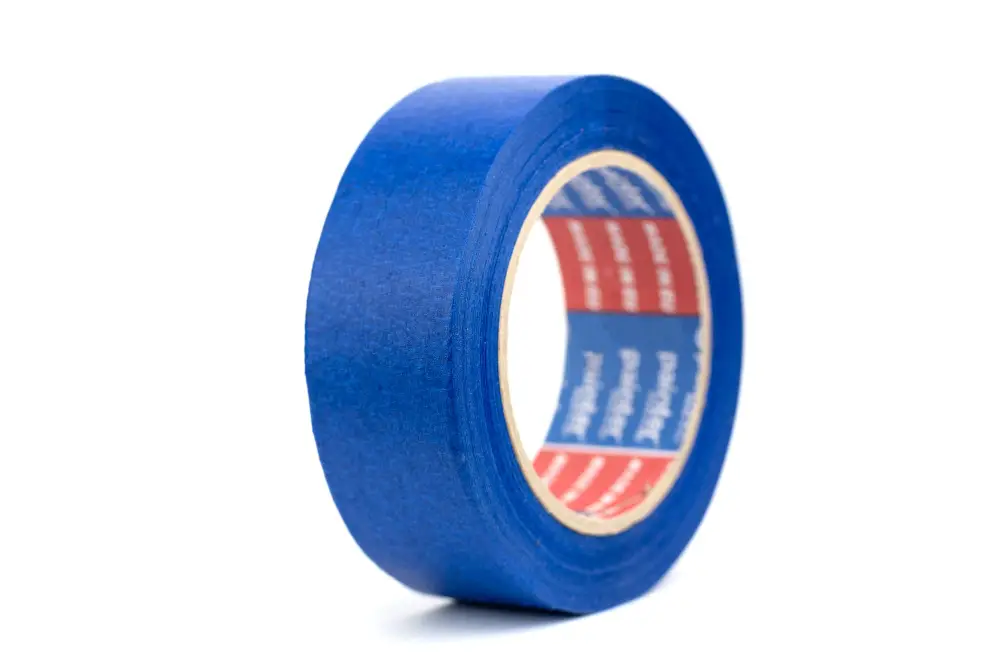
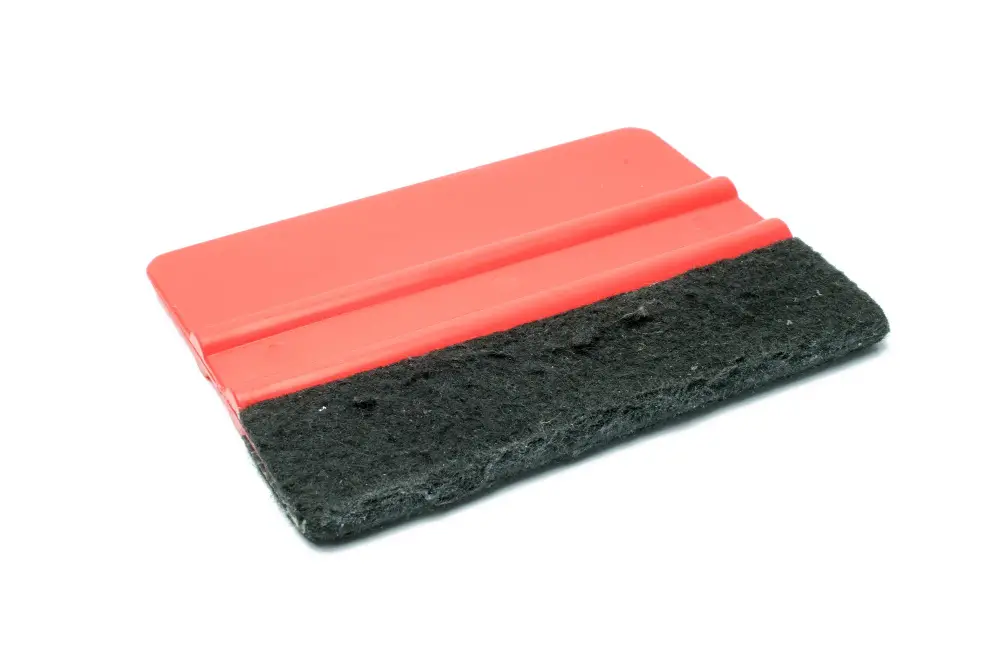
The supplies needed for applying window decals are relatively simple and can be found at most hardware or craft stores. You’ll need a few basic items such as a measuring tape, scissors, masking tape or painter’s tape (to hold up larger decals), a squeegee or credit card (for smoothing out bubbles), and rubbing alcohol to clean the surface of your window thoroughly.
If you’re using wet application method, then you’ll also need soapy water in a spray bottle. For dry application methods like peel-and-stick vinyls, transfer tapes are required to help position large graphics accurately.
Having these tools ready beforehand will ensure that there is no interruption during installation due to missing equipment.
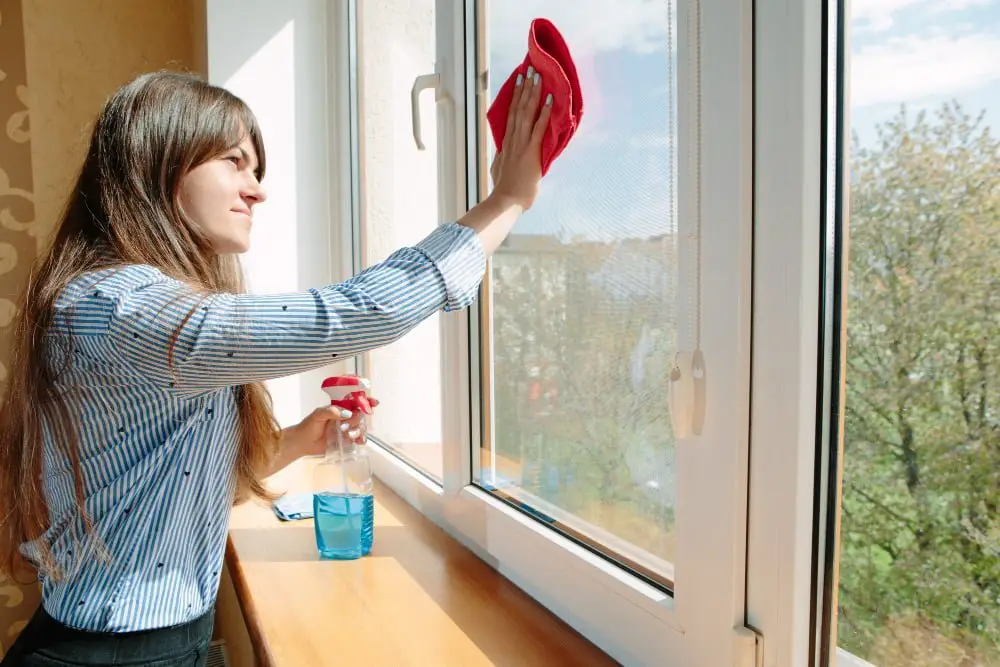
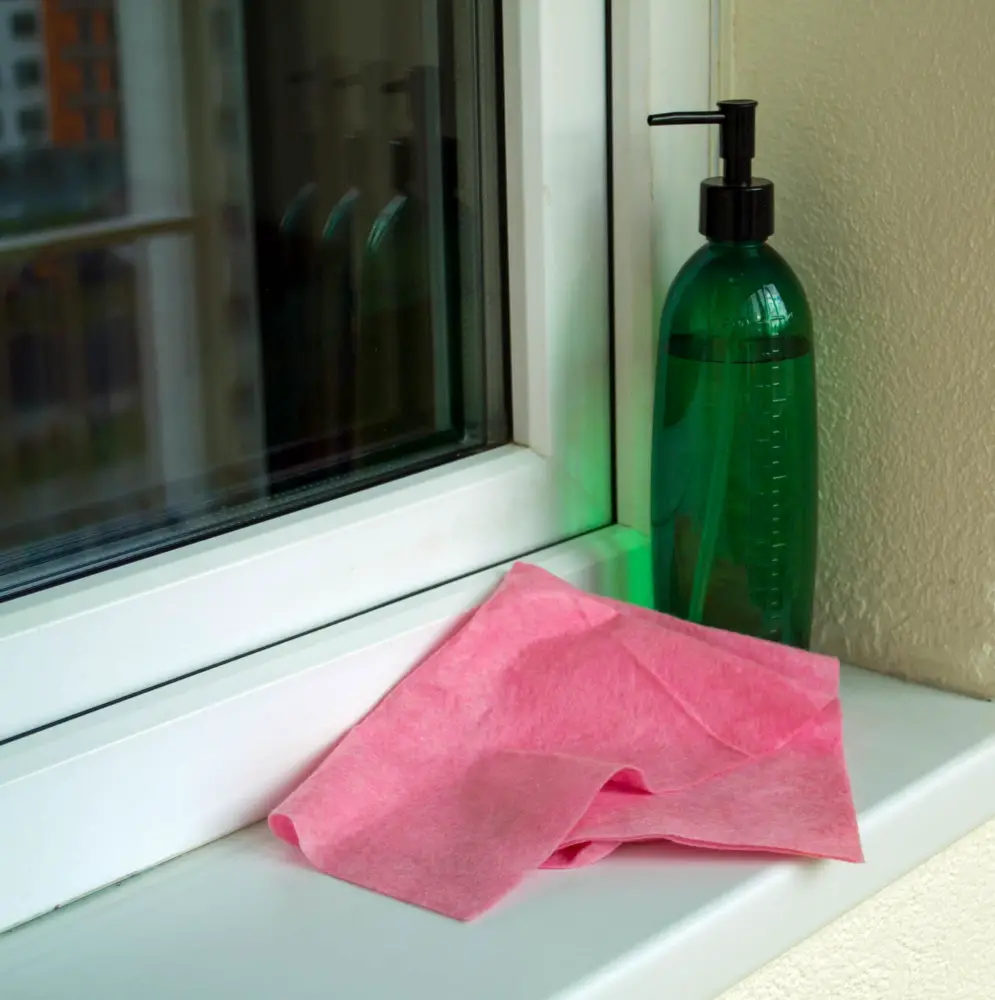
Clean the Window
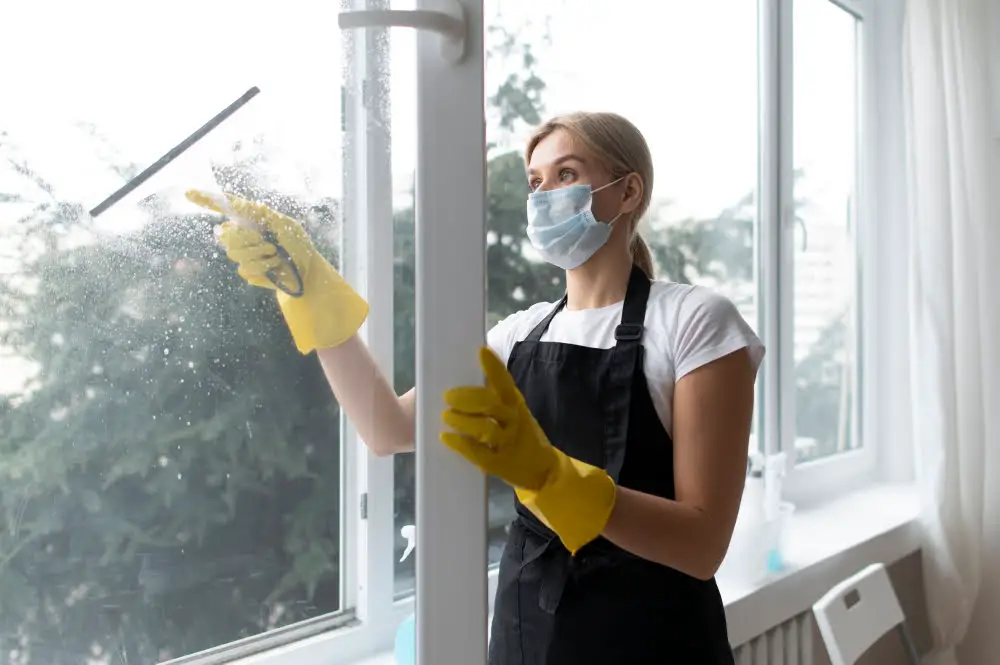
The first step is to clean the window thoroughly. Any dirt or debris on the surface can prevent proper adhesion of your decal, so it’s important to take this step seriously.
Start by wiping down the entire surface with a damp cloth or sponge. If there are any stubborn spots that won’t come off easily, use a mild detergent solution and scrub gently until they’re gone.
Once you’ve cleaned off all visible dirt and grime from your window, dry it completely with a lint-free towel or paper towels before moving on to applying your decal. This will ensure that no moisture remains on the glass which could cause air bubbles under decals during installation.
Identify the Sticky Side
This step may seem obvious, but it can be easy to get confused when handling a decal. The sticky side of the decal is usually covered by a protective sheet or transfer tape.
To identify the sticky side of your window decal, start by examining its edges and corners. You should be able to see where the protective sheet ends and where the actual vinyl begins.
If you’re still unsure which side is sticky after examining its edges and corners, try gently pressing on one corner with your finger. If it sticks slightly or feels tacky, then that’s likely going to be your adhesive surface.
It’s important not to touch this part too much as oils from our skin can interfere with adhesion later on in application process.
Remove the Protective Sheet

This is a crucial step in ensuring that your decal adheres properly to the window surface. Carefully peel back one corner of the protective sheet and fold it over itself, creating a tab for easy removal later on.
Next, slowly peel away the backing paper from behind your decal while holding onto both sides of its edges with two hands. Be sure not to touch or let anything else come into contact with any part of its adhesive surface as this can cause damage or contamination which will affect how well it sticks.
Wet Vs Dry Application
The choice between the two depends on the size of your decal and personal preference.
For smaller decals, a dry application is usually preferred. This method involves simply peeling off the backing paper from your decal and sticking it onto a clean surface.
It’s quick, easy, and doesn’t require any additional tools or materials.
On the other hand, for larger decals or those with intricate designs that need precise placement on windows without bubbles forming underneath them – wet application is recommended. Wetting down both surfaces (the window glass as well as adhesive side of decal) with soapy water before placing can help you reposition if needed while also preventing air pockets from forming under its surface during installation process.
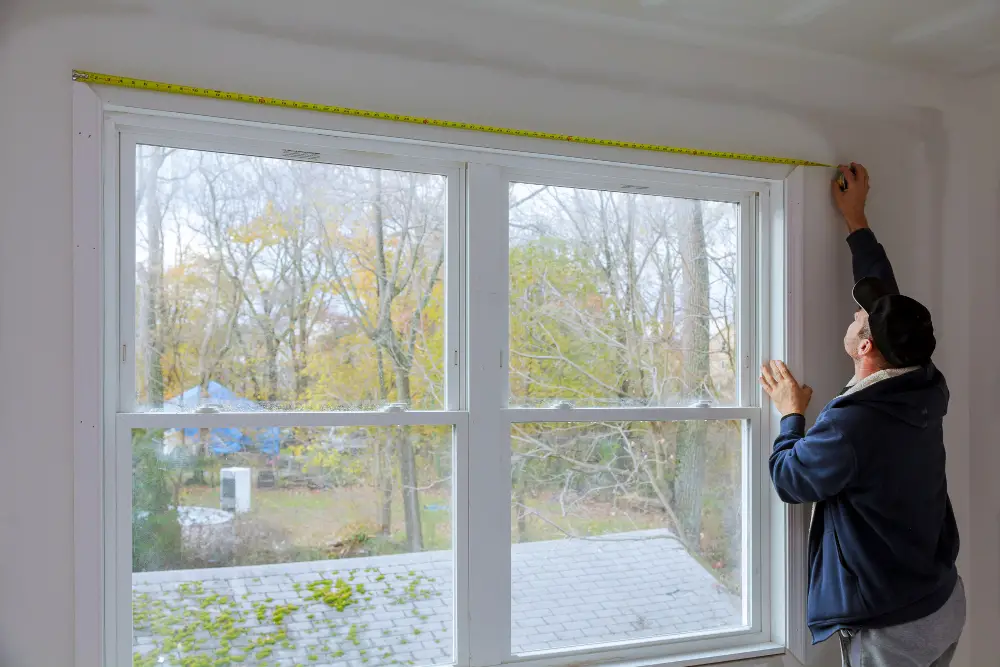
Measure and Mark Placement
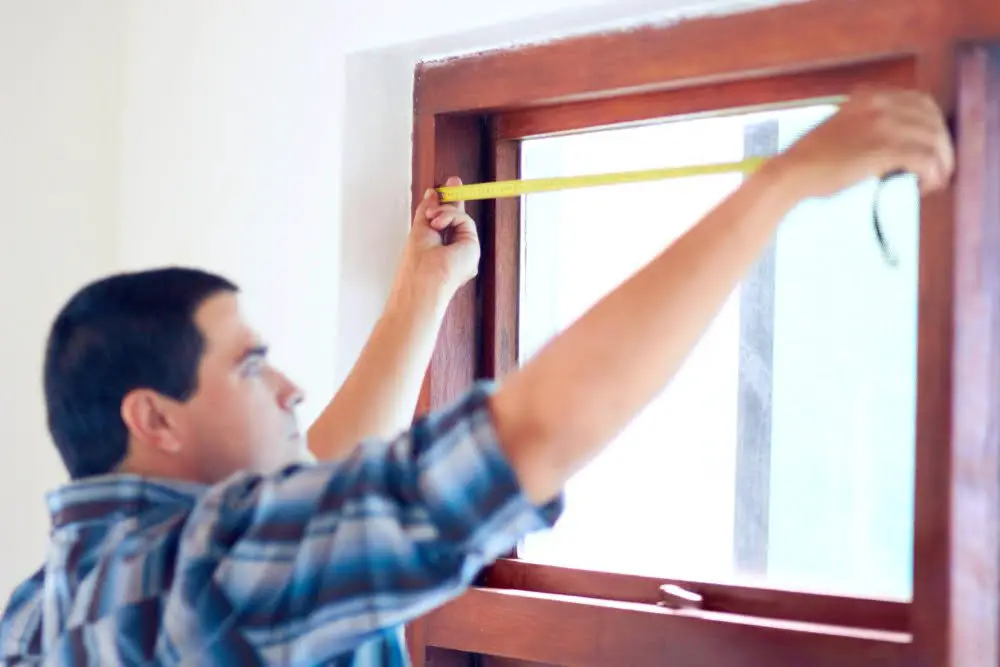
This step is crucial in ensuring that your decal is applied straight and centered on the window.
Start by measuring both the width and height of your window. Then, use a pencil or masking tape to mark where you want to place your decal.
For larger decals, consider using a level or ruler for added precision.
If you’re applying multiple decals on one window, make sure they are evenly spaced apart from each other. Take into account any frames or dividers in between panes as well.
Finding a Place for the Decal

Before applying the decal, consider where you want it to be placed on your window. Do you want it centered or off-center? Would you like it at eye level or higher up? Take measurements if needed and mark with a pencil where the decal should go.
It’s important to note that some decals may not look as good in certain areas due to obstructions such as door handles or locks. Keep in mind that if placing a decal on an exterior-facing window, people outside will see the design mirrored from how it appears inside.
Take some time before applying your new sticker to ensure its placement is just right. Once applied, removing and repositioning can be difficult without damaging both the sticker and glass surface underneath.
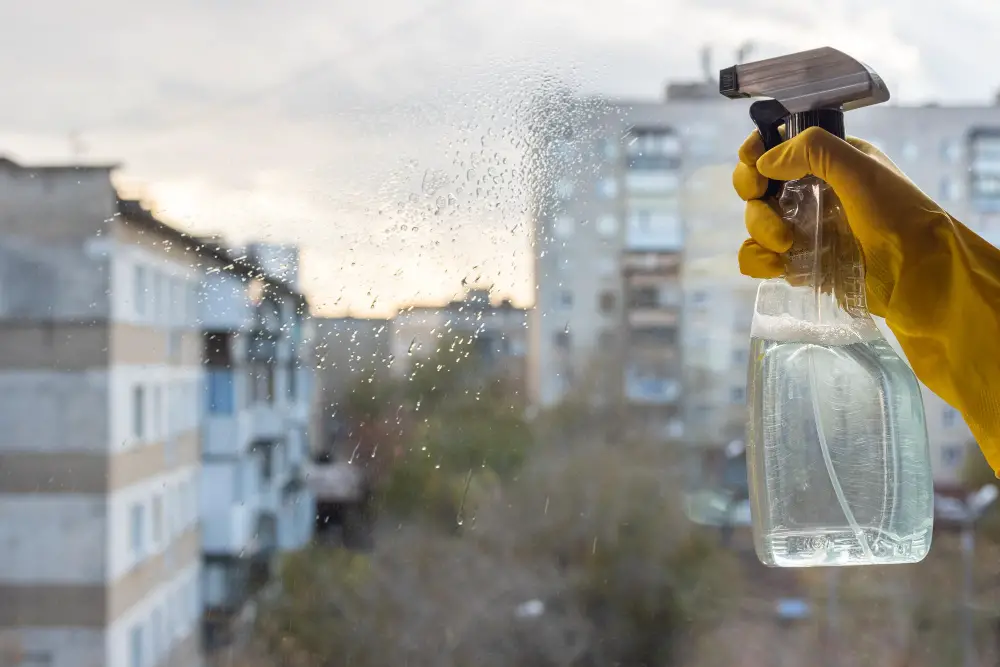
Spray the Decal With Soapy Water (if Using Wet Application)
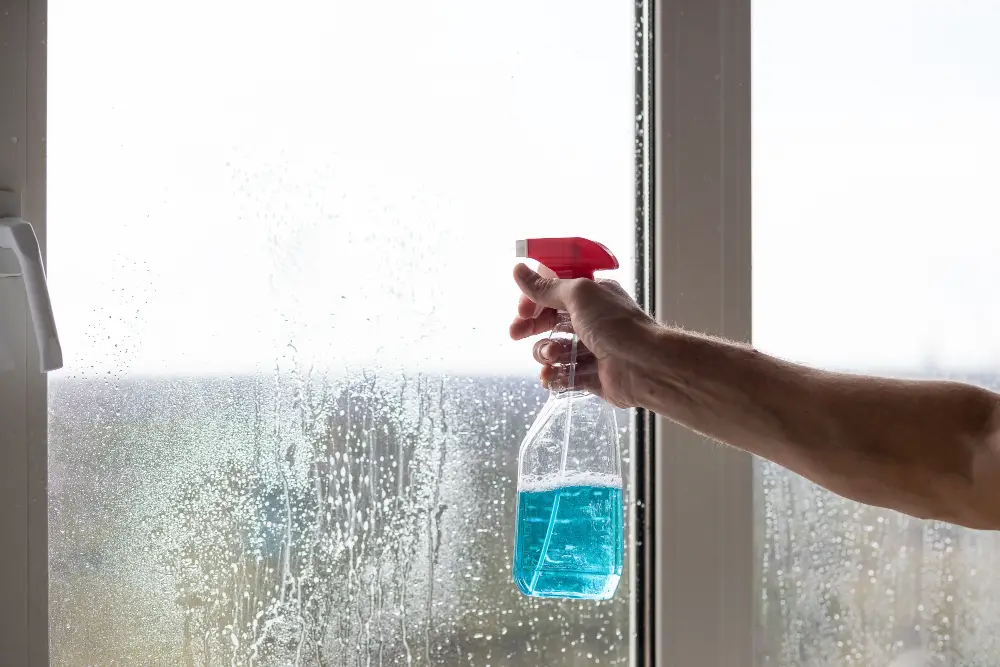
This helps to prevent air bubbles from forming and makes it easier to adjust the placement of your decal before it dries.
To do this, mix a few drops of dish soap in a spray bottle filled with water. Spray this mixture onto your clean window surface where you plan on placing your decal.
Once sprayed, carefully remove the backing paper from your vinyl graphic and place it onto the wet surface. The soapy solution will allow for easy movement of the graphic until you have found its perfect position.
Use a squeegee or credit card to smooth out any bubbles or wrinkles that may form under or around the design as well as removing excess liquid.
Peel Off Backing

This step can be a bit tricky, but with patience and care, you’ll get it right.
Start by gently peeling back one corner of the backing paper. Be sure not to touch or let anything else touch the adhesive side of your decal as this could cause damage or make it difficult for your decal to stick properly.
Slowly continue peeling away from that corner while holding onto both sides of the exposed area. If any part sticks together during this process, use a credit card or squeegee tool to smooth out any bubbles and ensure proper adhesion.
As you peel off more backing paper, gradually press down on each section with firm pressure using a credit card or squeegee tool until all parts are securely in place on your window surface.
Apply the Decal
Start by aligning it with your markings or desired placement on the window. If you are using a wet application method, spray soapy water onto both sides of the decal before placing it on the window.
Next, use a squeegee or credit card to smooth out any bubbles and ensure that all edges are firmly in place. Work from one side of the decal to another until everything is flat against your window.
If you’re working with larger decals, consider asking someone for help as they can be difficult to manage alone.
Using the Peel and Stick Method for Small Decals
This technique involves peeling off the backing paper from your decal and sticking it directly onto your window. It’s quick, easy, and doesn’t require any additional tools or supplies.
To use this method:
- Clean your window thoroughly to ensure that there’s no dirt or debris on the surface.
- Peel off the backing paper from your decal slowly to avoid tearing it.
- Carefully place the sticky side of your decal onto the desired location on your window.
- Smooth out any bubbles using a credit card or squeegee tool.
Applying a Large Decal
Applying it can be intimidating. Here’s how to do it:
1. Clean the Window: Make sure that your window is clean and dry before starting.
2. Measure and Mark Placement: Use measuring tape or a ruler to determine where you want your decal placed on the window.
3. Spray Soapy Water (if using wet application): If using wet application, spray soapy water onto the area of placement on both sides of the glass.
4. Peel Off Backing: Carefully peel off backing paper from one corner of your large decal while holding onto its opposite end firmly with one hand.
- Apply Decal in Sections: Slowly apply each section at a time by pressing down firmly as you work across until all sections are applied correctly without any bubbles or wrinkles present in between them.
- Smooth Out Bubbles & Wrinkles: Smooth out any bubbles or wrinkles that may have formed during installation process by gently pushing them towards edges with fingers or squeegee tool if available
7. Remove Transfer Tape: Once all sections are applied correctly without any issues remove transfer tape slowly from top edge downwards making sure not leave behind adhesive residue.
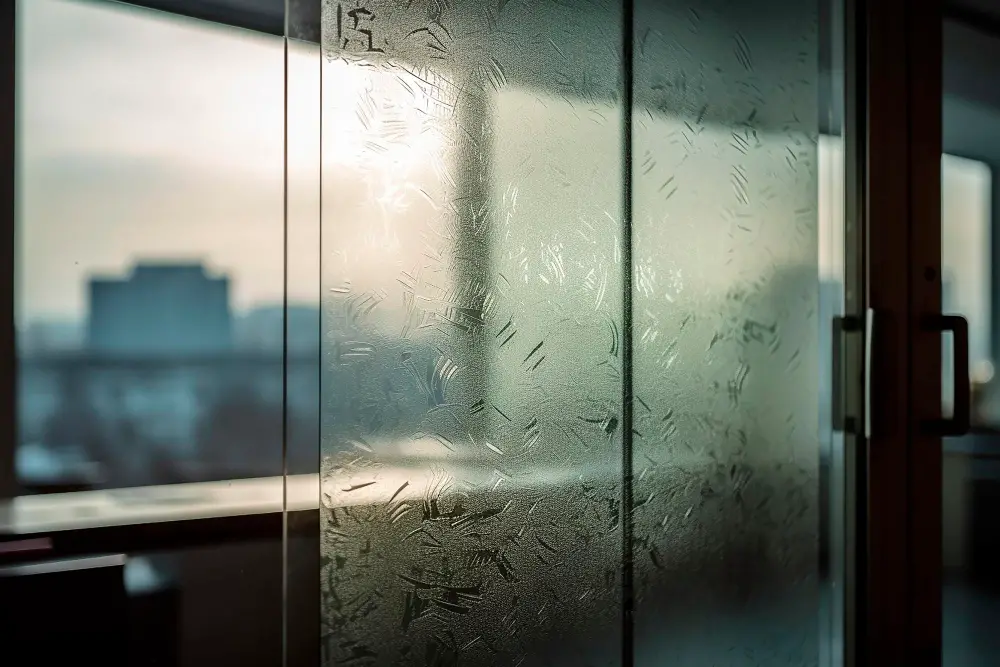
Applying a Static Cling Decal

These decals use static electricity to adhere to the window, making them easy to apply and remove. To apply a static cling decal, start by cleaning your window thoroughly with soap and water or glass cleaner.
Then, peel off the backing from the decal and place it onto your clean window surface.
One thing you should keep in mind when applying static cling decals is that they can be more difficult to position than regular adhesive-backed ones because they don’t stick as well initially. If you find that your decal isn’t sticking properly at first, try spraying some water on both sides of it before placing it on the window – this will help create suction between surfaces which will make positioning easier.
Once you have positioned your static cling decal where you want it on your clean glass surface, smooth out any bubbles using a credit card or squeegee tool until all air pockets are removed from under its edges.
Secure the Decal in Place
This will ensure that the decal stays put and doesn’t peel off over time. To do this, use a squeegee or credit card to smooth out any bubbles or wrinkles in the decal.
Start from the center of the design and work your way outward towards its edges.
If you’re using a wet application method, be sure to remove any excess water with a squeegee as well. Once all bubbles are removed and excess water is gone (if applicable), let your newly decorated window dry for at least 24 hours before touching or cleaning it.
Smooth Out Bubbles

Bubbles can be unsightly and detract from the overall appearance of your decal. To get rid of them, use a credit card or squeegee tool to gently push them towards the edge of the decal.
Start at one end and work your way across, using firm but gentle pressure as you go. Be careful not to apply too much pressure or you could damage the decal.
If there are still some stubborn bubbles left after smoothing with a credit card or squeegee tool, try using a needle or pin to prick them gently before pushing outwards with your fingers.
Remember that small air pockets will disappear over time as long as they’re not too big.
Remove Transfer Tape
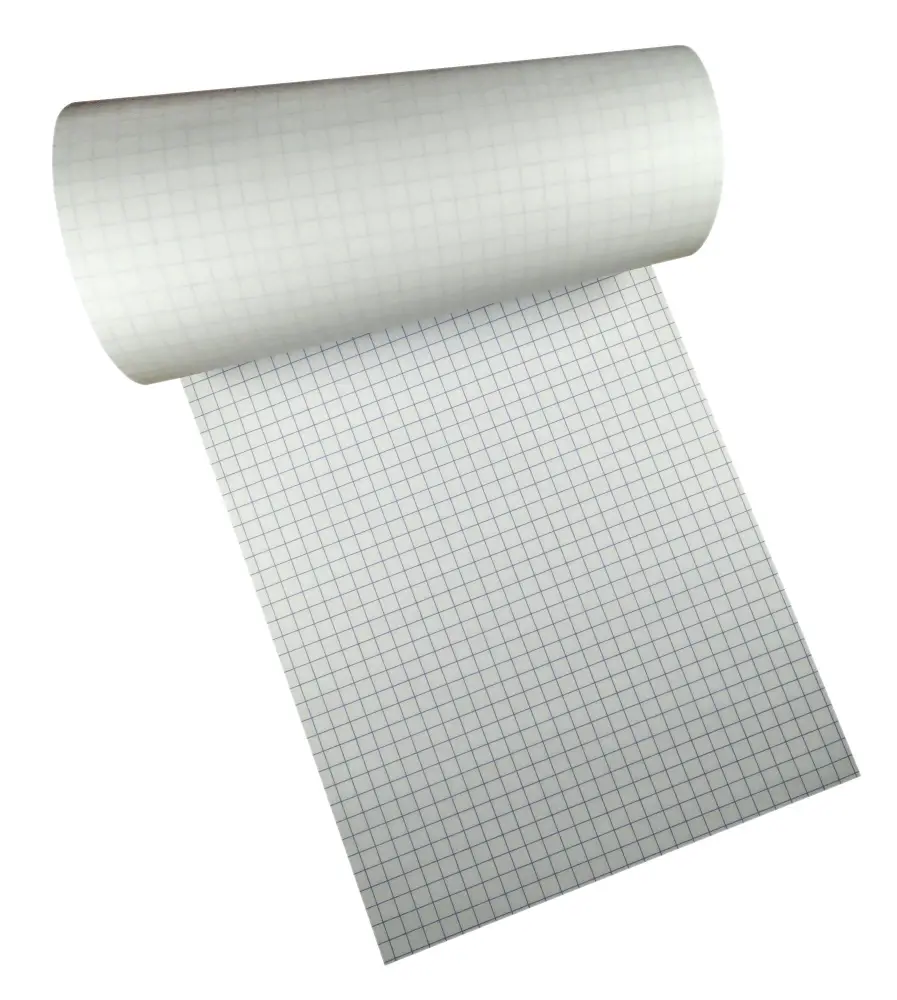
This is a crucial step in ensuring that your decal stays in place and looks great for years to come.
To remove the transfer tape, start by peeling it off slowly at a 45-degree angle. Be careful not to pull too quickly or forcefully as this can cause damage or even tear the decal.
If you notice any bubbles or wrinkles while removing the transfer tape, use a credit card or squeegee tool to smooth them out gently. Work from one end of the decal towards another until all bubbles are removed.
After removing all of the transfer tape, take some time inspecting your work and make sure everything looks perfect before finishing up with cleaning supplies if necessary.
Inspect Final Result

Take a step back and look at the window from different angles to ensure that there are no bubbles or wrinkles in the decal. If you do notice any imperfections, don’t worry! You can easily fix them by gently lifting up the edge of the decal and smoothing out any bubbles with a credit card or squeegee.
If everything looks good, then congratulations! You have successfully installed your window decal like a pro. Now sit back and enjoy your new personalized space.
Remember that proper care is essential for maintaining your decals’ longevity; avoid using harsh chemicals when cleaning around them as they may damage their adhesive properties over time.
Decal Care and Maintenance
With proper maintenance, your decal can last for years without fading or peeling off.
To keep your window decals looking their best, avoid using harsh chemicals or abrasive materials when cleaning them. Instead, use a soft cloth and mild soap and water to gently clean the surface around the decal.
If you notice any bubbles forming under the decal over time, don’t panic! Simply use a pin or needle to puncture the bubble and smooth out with gentle pressure from your fingers.
Lastly, if you ever want to remove a window decal completely (perhaps because you’re moving house), simply peel it off slowly from one corner while applying heat with a hairdryer on low setting. This will soften up any adhesive residue left behind so that it comes off easily without damaging the glass surface underneath.
More Tips On How to Install Window Graphics

Here are some more helpful hints:
- Use a squeegee or credit card to smooth out any bubbles or wrinkles in the decal.
- If you’re having trouble getting rid of air bubbles, try using a needle or pin to puncture them and then smooth out with your finger.
- For larger decals, it may be helpful to have an extra set of hands for positioning and smoothing out any wrinkles.
- Avoid installing window graphics on extremely hot days as this can cause adhesive failure due to expansion and contraction.
By following these additional tips along with our step-by-step guide above, you’ll be able to install window graphics like a pro in no time!
FAQ
Do car window decals go on the inside or outside?
Car window decals can be applied either on the outside of the car window or on the inside facing out, involving adhesive material applied directly on the design surface.
What is the recommended cleaning process for window surfaces before applying a car window decal?
Before applying a car window decal, the recommended cleaning process for window surfaces is to clean them thoroughly using a mixture of water and rubbing alcohol, then allowing them to dry completely.
Are there any tips or techniques to properly align and position window decals?
To properly align and position window decals, use a tape measure, a level, masking tape, and a squeegee while ensuring the surface is clean and free of debris.
How can one safely remove window decals without causing damage to the car window?
To safely remove window decals without causing damage, gently heat the decal with a hairdryer, then lift the edge and peel it off slowly.
Read More
 Aluminum Window Latch Replacement: A Simple Guide to Security and Style
 Custom Aluminum Window Screens Buying Guide
 Aluminum Window Removal Tool: Easy Steps for a Hassle-Free Window Replacement
 Screw for Aluminum Window Frame: Your Ultimate Fixing Guide
 Replace Aluminum Window Glass: A Beginner’s Guide to a Clearer View
Recap