Discover the simple process of applying window clings effectively to transform and elevate your space with this easy-to-follow guide.
Windows are an essential part of any home, and they provide more than just a view of the outside world. They also allow natural light to enter your living space, which can make it feel brighter and more inviting.
However, sometimes you may want to add a little extra flair or privacy to your windows without sacrificing the natural light. That’s where window clings come in! Window clings are a simple and cost-effective way to decorate your windows while still allowing sunlight to filter through.
In this blog post, we’ll discuss everything you need to know about how to apply window clings like a pro!
Key takeaways:
- Different types of window clings include static cling, adhesive vinyl, see-through decals, and perforated vinyl.
- Consider the purpose, material, and design when choosing a window cling.
- Gather necessary tools such as window cleaner, measuring tape, scissors, and a squeegee.
- Clean the window thoroughly before applying the cling.
- Choose between wet and dry application methods depending on the cling type.
Types of Window Clings
Each type has its unique features and benefits that make them suitable for different purposes. Some of the most common types of window clings include static cling, adhesive vinyl, see-through decals, and perforated vinyl.
Static Cling: This type of cling is made from a thin PVC film that adheres to smooth surfaces without any adhesive. Static cling can be easily removed and repositioned without leaving any residue behind.
Adhesive Vinyl: Adhesive vinyl is a durable material with an adhesive backing that sticks firmly to windows or other smooth surfaces. It’s perfect for long-term use as it can withstand harsh weather conditions.
See-Through Decals: See-through decals are designed with small holes in the material which allows light to pass through while still providing privacy from outside viewers.
Perforated Vinyl: Perforated vinyl is similar to see-through decals but has larger holes in the material allowing more visibility through your windows while still providing some level of privacy.
Choosing the right type depends on your specific needs and preferences such as how long you want them up or how much natural light you want coming into your space.
Choosing the Right Window Cling
First and foremost, think about the purpose of your window cling. Are you looking for privacy or decoration? Do you want something that will block out sunlight or just add a pop of color to your windows? Once you have determined what type of look and function you want from your window clings, then it’s time to choose the material.
Window clings come in various materials such as vinyl, static-cling film, perforated film and more. Vinyl is durable but can be difficult to remove once applied while static-cling films are easy-to-remove but may not last as long as other types.
Perforated films allow one-way visibility which makes them ideal for storefronts.
Another factor worth considering is whether or not the design is printed on one side only (single-sided) or both sides (double-sided). Double-sided designs provide better visibility from both inside and outside while single sided ones offer better image quality.
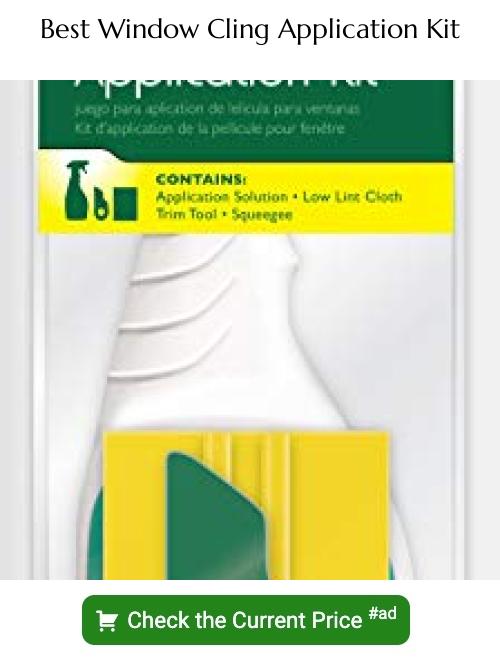
Necessary Tools and Supplies
Here are some of the things you’ll need:.
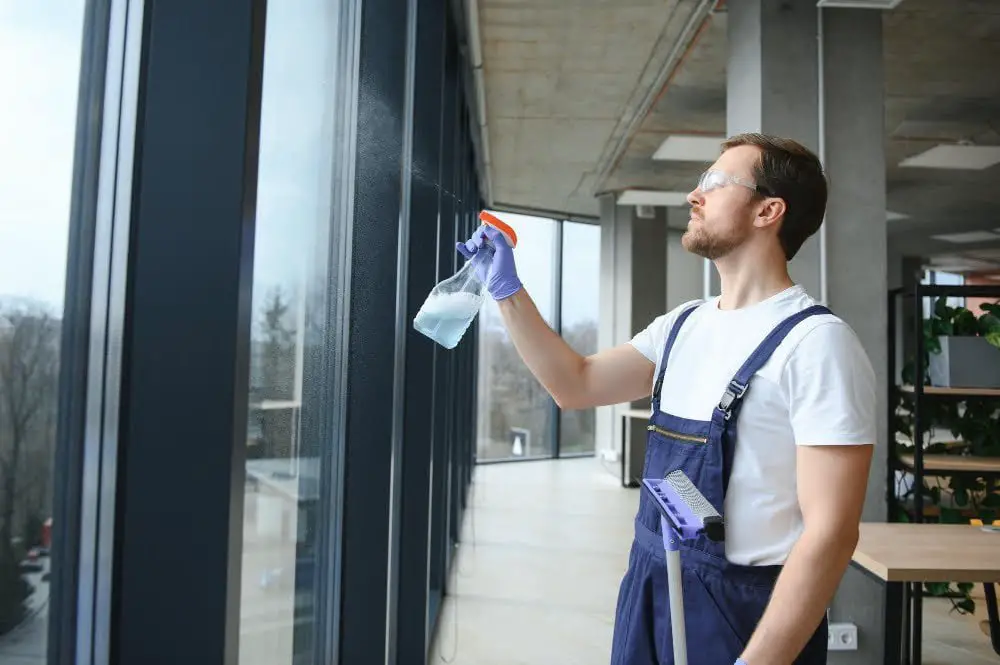
1. Window cleaner: Before applying any window cling, it’s essential to clean your windows thoroughly.
2. Measuring tape: To ensure that your cling is centered and straight on the glass surface.
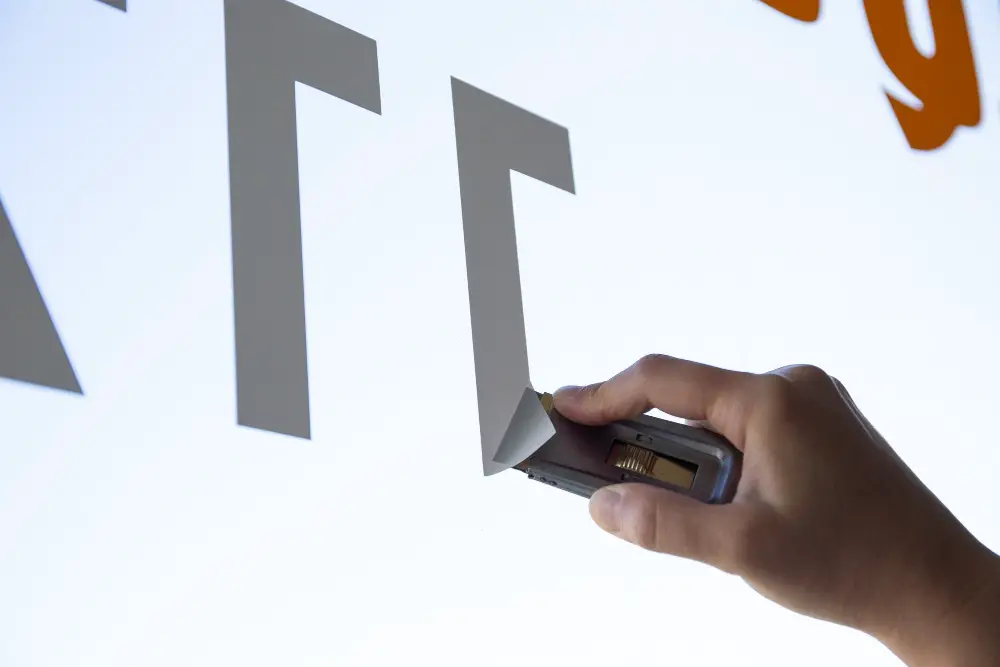
3. Scissors or a utility knife: You may need to trim your cling down to size before application.
4. Squeegee or credit card: This will help smooth out any bubbles or wrinkles in the film during installation.
- Spray bottle filled with water (for wet application): If using a wet method for installation, this will be used instead of dry adhesive sheets.
- Window Cling Film
Pre-application Preparation
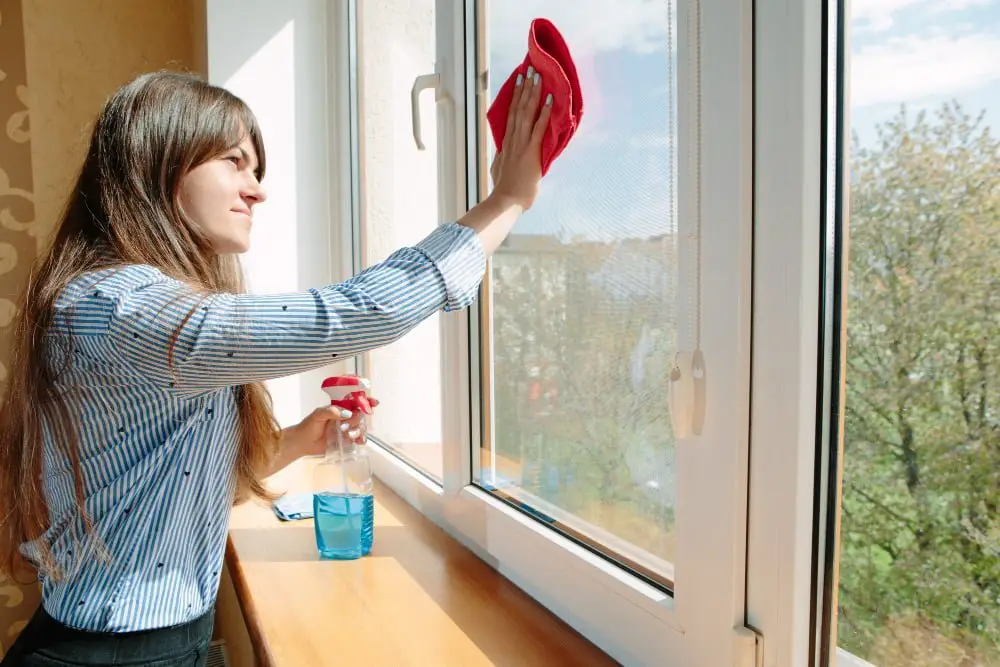
This step is crucial as it ensures that the cling adheres correctly and lasts longer. The first thing you need to do is clean your windows thoroughly using a glass cleaner or soapy water and a squeegee or lint-free cloth.
Make sure there are no smudges, fingerprints, dust particles, or any other debris on the surface.
Next, measure your window accurately and cut out the cling according to its size using scissors or a craft knife. If you’re working with large decals that require multiple pieces of vinyl sheets for installation (like murals), make sure they align perfectly before cutting them into smaller sections.
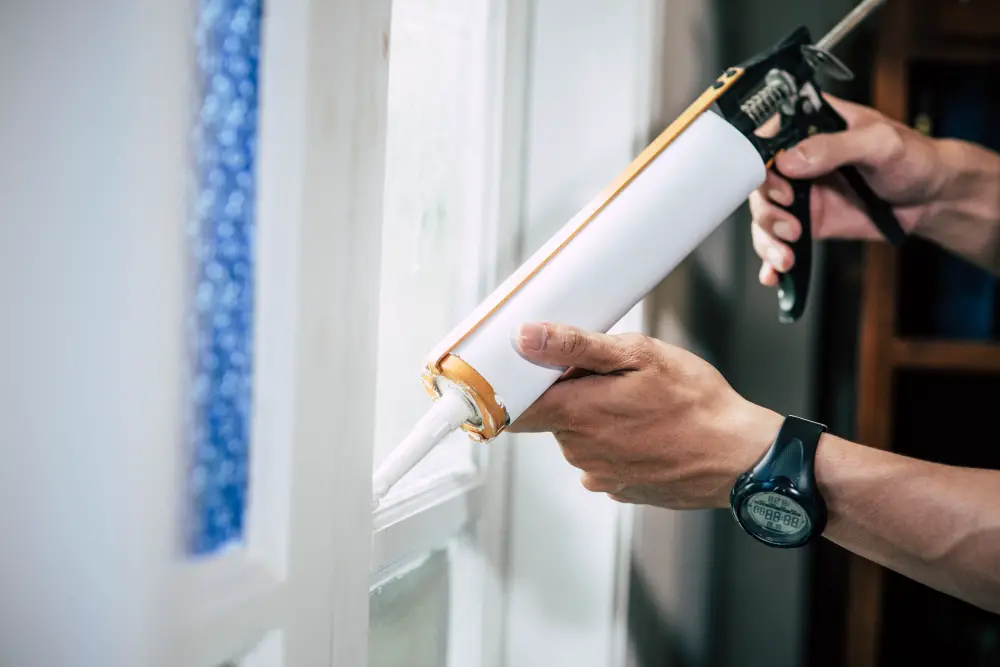
It’s also important to check if your chosen location has any obstructions like locks handles or hinges that may interfere with application; if so remove them temporarily until after installation.
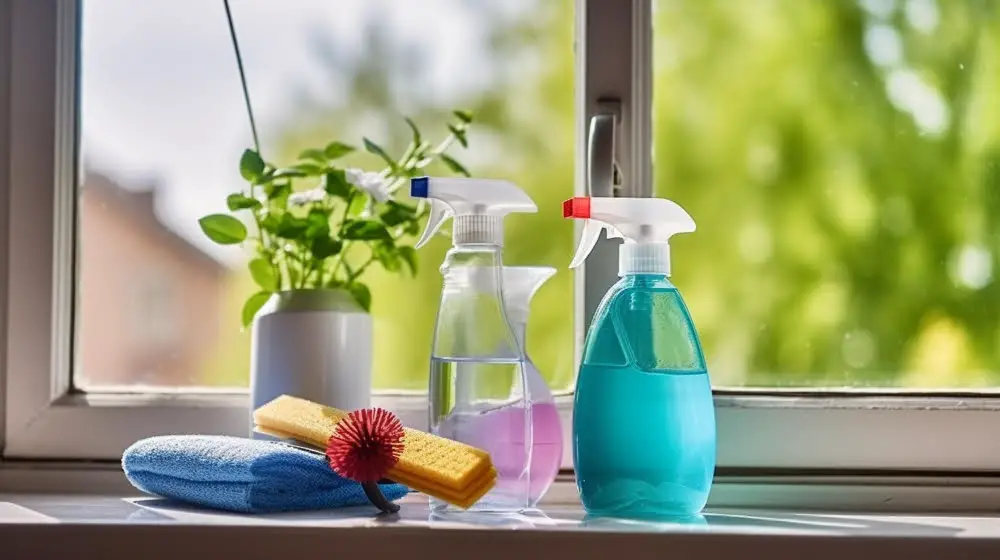
Cleaning the Window
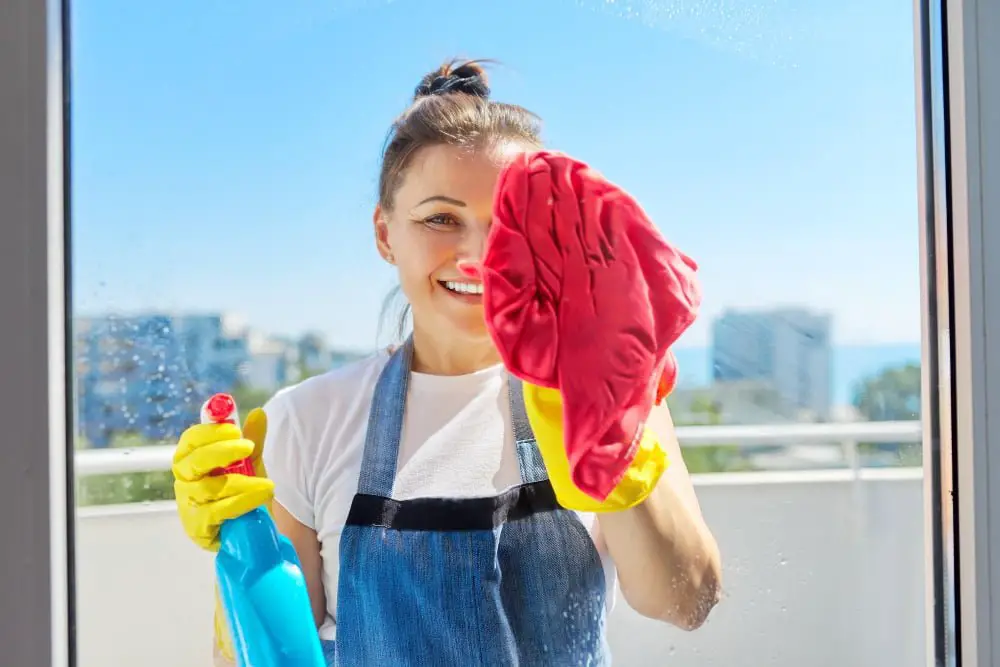
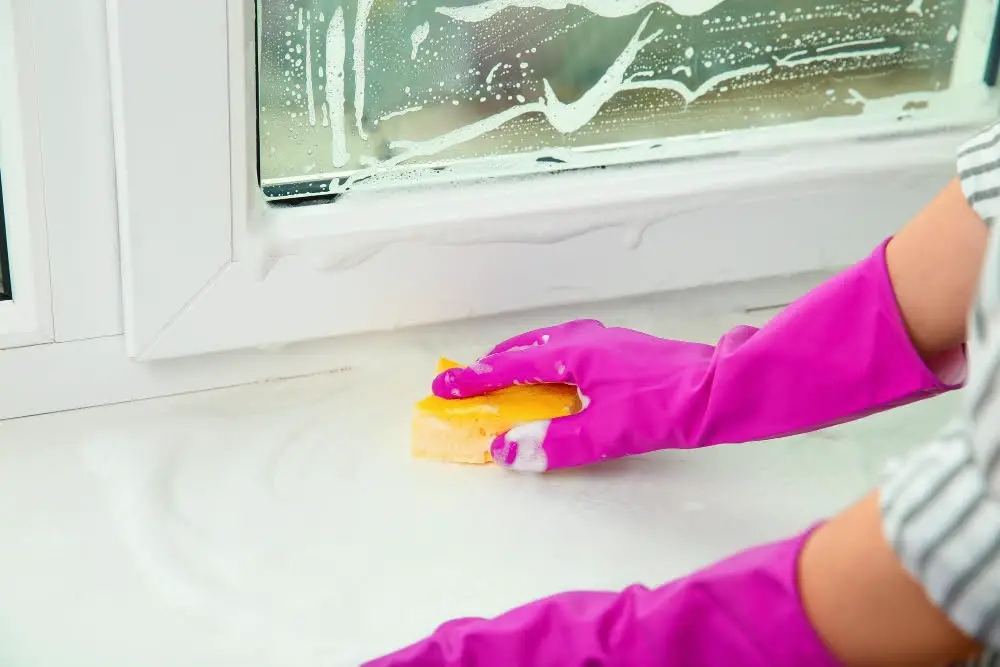
Any dust or grime on the glass can prevent the cling from adhering correctly, leading to bubbles and wrinkles. To clean your windows effectively, start by using a soft cloth or sponge with warm water and mild soap.
Avoid using harsh chemicals as they may damage both the window surface and cling material.
Gently scrub away any dirt or stains on both sides of your window until it’s completely clean. Rinse off all soap residue with fresh water before drying thoroughly with a lint-free towel.
If you’re working in an area where there are high levels of humidity, wait for some time after cleaning before applying clings as moisture can interfere with adhesion.
Wet Vs Dry Application
The method you choose will depend on the type of cling you’re using and your personal preference.
Dry application involves simply peeling off the backing paper from the cling and sticking it directly onto a clean, dry window surface. This method is best for smaller clings or those with simple designs that don’t require much precision.
Wet application, on the other hand, involves spraying a mixture of water and soap onto both sides of the cling before applying it to a clean window surface. This allows for more flexibility in positioning larger or more intricate designs while also preventing air bubbles from forming under the cling.
Wet application tends to be easier for beginners since mistakes can be corrected during installation by sliding around until properly positioned before squeegeeing out any excess liquid underneath.
Wet Application Method
This method involves using a solution of water and soap to apply the cling to the window. The solution helps you position the cling correctly, smooth out any bubbles or wrinkles, and ensure that it adheres properly.
To use this method, start by cleaning your window thoroughly with soap and water. Then mix some liquid dish soap with warm water in a spray bottle or bowl.
Spray or apply this mixture onto your clean glass surface where you want to place your decal.
Next, carefully peel off the backing paper from your decal while holding it at an angle so that only one corner touches the glass surface first before slowly lowering down its entire length on top of soapy film on glass. Once positioned correctly over its intended spot gently squeegee out any excess air bubbles trapped between vinyl material and glass using either credit card edge wrapped in cloth towel (or similar tool) until all air pockets are removed completely.
Dry Application Method
Unlike the wet method, this technique does not require any water or soap solution to apply the window cling. Instead, you simply peel off the backing paper from your chosen design and stick it onto your clean window surface.
Before starting with this method, make sure that you have thoroughly cleaned your windows using glass cleaner or rubbing alcohol to remove any dirt or debris that may interfere with adhesion. Once done, carefully align the cling on top of your desired location on the windowpane.
Using a squeegee tool (or even an old credit card), start smoothing out bubbles and wrinkles as you press down firmly on each section of the decal until it adheres completely to its new home. Be careful not to stretch or tear delicate designs during application.
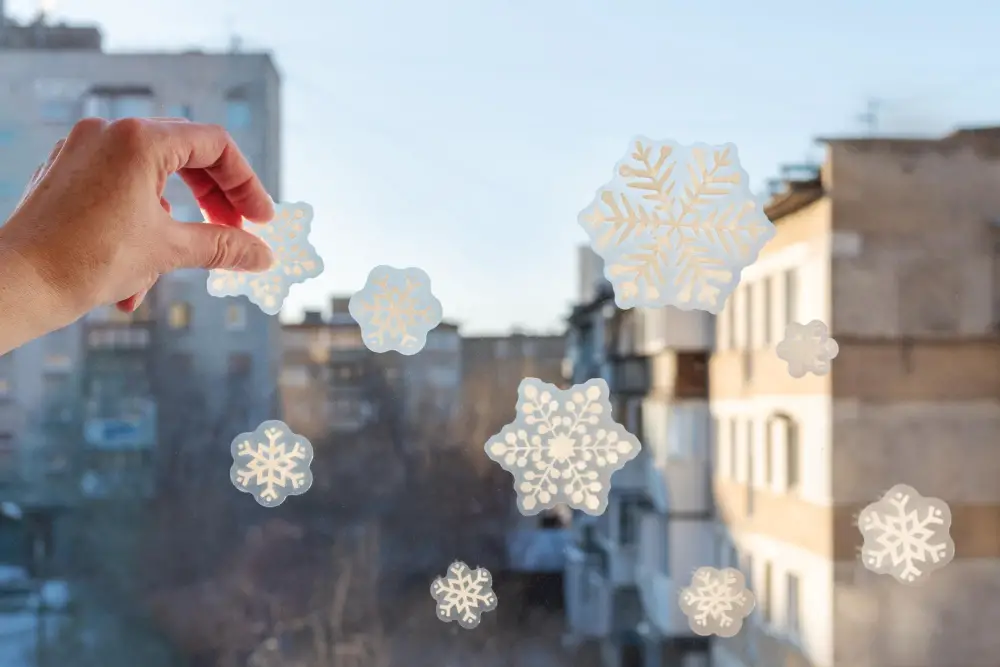
Applying See-through Decals
These decals come in various designs, patterns, and colors to suit any style or preference. Applying see-through decals is relatively easy and straightforward if you follow the right steps.
To apply see-through decals:.
- Clean the window thoroughly with soap and water.
- Rinse off any soap residue with clean water.
- Dry the surface completely using a lint-free cloth or paper towel.
- Measure your decal against the window to ensure it fits correctly before peeling off its backing paper.
- Peel off one corner of the backing paper from your decal carefully while holding onto its edges firmly
- Gently place this corner on top of where you want it positioned on your glass surface
- Slowly peel away more backing as you smooth down each section until all parts have been applied evenly
Remember not to rush through this process; take time smoothing out bubbles or wrinkles as they appear for best results.
Window Vinyl Adhesives
These clings come in various designs, patterns, and colors, making them an excellent choice for those who want to customize their living space. Vinyl adhesives are made from high-quality materials that make them durable and long-lasting.
One of the benefits of using vinyl adhesive is its ability to block out UV rays while still allowing natural light into your home. This feature makes it ideal for use in rooms where you need privacy but don’t want to sacrifice sunlight.
When choosing a vinyl adhesive for your windows, consider the design or pattern you want as well as the size of your window. You’ll also need some basic tools such as a squeegee or credit card-like tool used during application.
Applying window vinyl adhesives follows similar steps with other types of clings; however, it’s essential not to stretch or pull on these types too much when applying since they may lose their shape over time if stretched too far beyond their original dimensions.
Applying the Cling Step-by-Step
Follow these simple steps for a smooth application process:.
Step 1: Peel off the backing paper from one corner of the cling.
Step 2: Spray water or soapy solution on your clean window surface if using wet method.
Step 3: Align and place one edge of the sticky side onto your desired location on a dry or wet glass surface depending upon which method you are using.
Step 4: Slowly peel away more of the backing paper while smoothing out any bubbles with a squeegee tool as you go along.
Note that some clings may require extra care when applying, such as see-through decals where alignment is crucial. Take your time to ensure proper placement before pressing down firmly with a squeegee tool to remove any remaining air pockets or wrinkles in between each step until all edges are secure.
Smoothing Out Bubbles and Wrinkles
These imperfections can be unsightly and detract from the overall appearance of your window cling. Fortunately, smoothing out bubbles and wrinkles is a relatively simple process.
To start, use a credit card or squeegee to gently push any air bubbles towards the edge of the decal. Work slowly and carefully to avoid tearing or damaging the cling material.
If you notice any wrinkles in your decal, try using a hairdryer on low heat setting while pulling gently on opposite corners of the wrinkle until it disappears.
Remember not to apply too much pressure when smoothing out these imperfections as this could cause damage instead of fixing them.
Post-Application Care
Here are some tips for post-application care:.
1. Avoid touching the cling: After applying the cling, avoid touching it with your fingers or any other objects that could scratch or damage it.
2. Wait before cleaning: It’s best to wait at least a day after application before cleaning the window and cling.
3. Use gentle cleaners: When you do clean the window and cling, use a gentle cleaner like soap and water or vinegar solution.
4. Don’t use abrasive materials: Avoid using anything abrasive like steel wool or rough sponges when cleaning around the area where you’ve applied your clings.
5. Store carefully if removing temporarily: If you need to remove your clings temporarily (for example during holiday seasons), store them flat in their original packaging until ready for reuse.
Troubleshooting Common Issues
Here are some common problems you may face and how to troubleshoot them:.
1. Air Bubbles: If you notice air bubbles forming under your cling, don’t panic! Simply use a credit card or squeegee to smooth out the bubble towards the edge of the cling until it disappears.
2. Wrinkles: If your cling appears wrinkled after application, gently peel back one corner and reapply while smoothing out any wrinkles as you go.
3. Peeling Edges: Sometimes edges can start peeling up over time due to temperature changes or humidity levels in your home.
To fix this issue, simply apply more pressure with a credit card or squeegee along all edges of the cling.
4. Fading Colors: Over time, exposure to sunlight can cause colors on window clings to fade slightly; however, this is usually only noticeable after several months of continuous exposure.
Removing and Reusing Clings
If you want to change up your decor or move your cling to a different window, simply peel it off gently from one corner. Be careful not to tear the cling as you remove it.
If there is any residue left on the window after removing a cling, use rubbing alcohol or soapy water with a soft cloth or sponge to clean it off. Avoid using harsh chemicals like acetone, which can damage both the glass surface and vinyl material of some clings.
Once cleaned, let the surface dry completely before applying another cling. You can also store removed clings by placing them flat on wax paper in an envelope until ready for reuse.
Cleaning and Maintaining Clings
Regular cleaning and maintenance will help extend the life of your clings and ensure they continue to look great for years to come.
To clean your window clings, use a soft cloth or sponge with warm water and mild soap. Avoid using abrasive cleaners or scrubbers that could damage the cling’s surface.
Gently wipe down the cling in a circular motion, being careful not to apply too much pressure.
If you notice any dirt or grime buildup on your window cling that won’t come off with gentle cleaning, try using rubbing alcohol instead of soap and water. Apply a small amount of rubbing alcohol onto a soft cloth or sponge before wiping down the cling in circular motions until all dirt is removed.
When it comes time to remove your window clings for replacement or storage purposes, be sure not to fold them as this can cause creases that may affect their ability stick properly later on. Instead carefully peel off each section from one corner while holding onto another corner firmly so as not pull too hard which might tear it apart.
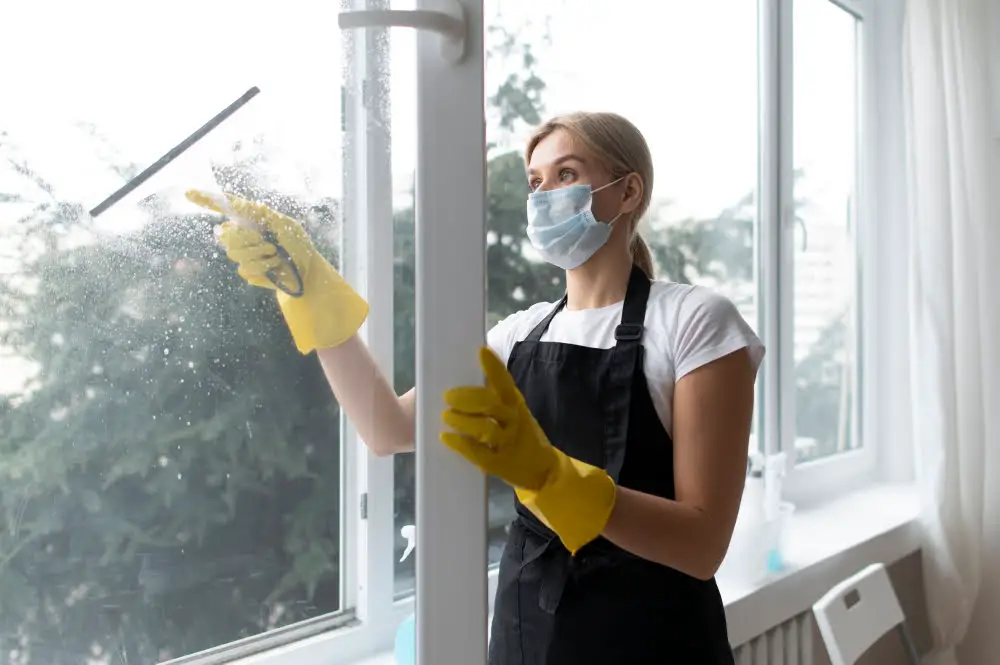
Safety Tips and Considerations

Before you begin the application process, make sure that you have all the necessary tools and supplies on hand. This includes gloves if you’re using any chemicals or cleaning solutions to prepare your windows for application.
Ensure that children and pets are kept away from the area where you’ll be working. Some of the tools used in this process can pose a danger if not handled properly.
If possible, work with another person when applying larger window clings as they can be difficult to handle alone. It’s also important to avoid standing on chairs or other unstable surfaces while working near windows.
Take care when removing old window clings as they may leave behind adhesive residue which could cause slips and falls if left unaddressed.
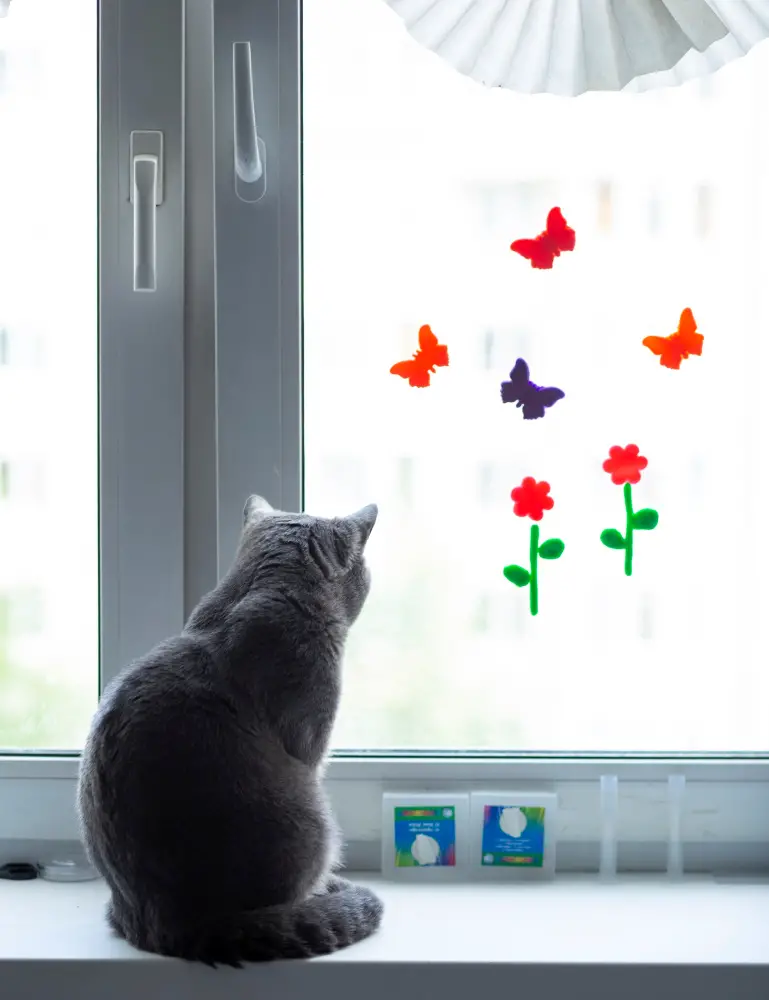
Creative Uses for Window Clings
For example, you can use them to create privacy in your bathroom or bedroom windows without sacrificing natural light. You could also use window clings to add a pop of color and personality to your child’s playroom or bedroom.
Another creative way to utilize window clings is by using them as temporary signage for events such as birthdays, weddings, and other celebrations. They’re easy to apply and remove without leaving any residue behind on the glass surface.
If you have an office with large windows facing the street, consider using custom-made window decals that display your company logo or message. This will help increase brand awareness while still allowing natural light into the workspace.
If you’re feeling particularly artistic or crafty, try creating unique designs with different colored vinyl sheets that stick directly onto the glass surface instead of traditional static cling materials.
FAQ
Are you supposed to wet window clings?
Yes, window clings stick better and hold their placement longer when the surface is slightly wet before application.
Do window clings go on the inside or outside?
Window clings should be placed on the outside of the property for proper visibility.
What are the best methods for removing air bubbles when applying window clings?
The best methods for removing air bubbles when applying window clings include using a squeegee, credit card, or a similar flat-edged tool to smooth out the cling from the center to the edges, gently pushing the air bubbles to the sides until they are removed.
Can you reuse window clings, and if so, how should they be stored?
Yes, window clings can be reused, and they should be stored flat, adhered to a backing like wax paper, and kept away from heat and direct sunlight.
What types of surfaces are best suited for window clings to ensure they adhere properly?
Window clings adhere best to smooth, clean and non-porous surfaces like glass, mirrors, and tiles.
Read More
 Aluminum Window Latch Replacement: A Simple Guide to Security and Style
 Custom Aluminum Window Screens Buying Guide
 Aluminum Window Removal Tool: Easy Steps for a Hassle-Free Window Replacement
 Screw for Aluminum Window Frame: Your Ultimate Fixing Guide
 Replace Aluminum Window Glass: A Beginner’s Guide to a Clearer View
Recap