Discover the simple steps to successfully remove a window sill, transforming your space and giving it a fresh new look.

Removing a window sill may seem like a daunting task, but with the right tools and techniques, it can be done smoothly and efficiently. Whether you’re replacing an old sill or simply want to give your windows a fresh look, knowing how to remove the existing one is crucial.
In this blog post, we’ll walk you through step-by-step instructions on how to remove a window sill without damaging your window frame or surrounding walls. So let’s get started!
Key takeaways:
- Assess the condition of the window sill before deciding to repair or replace it.
- Gather essential tools and materials, including safety gear, pry bar, hammer, utility knife, screwdriver set, and a new window sill.
- Prepare the workspace by clearing furniture, protecting nearby surfaces, and ensuring proper ventilation.
- Safely remove window accessories like blinds and curtains before starting the removal process.
- Carefully remove the window casing and side casings before loosening and removing the old window sill.
Assessing the Window Sill Condition
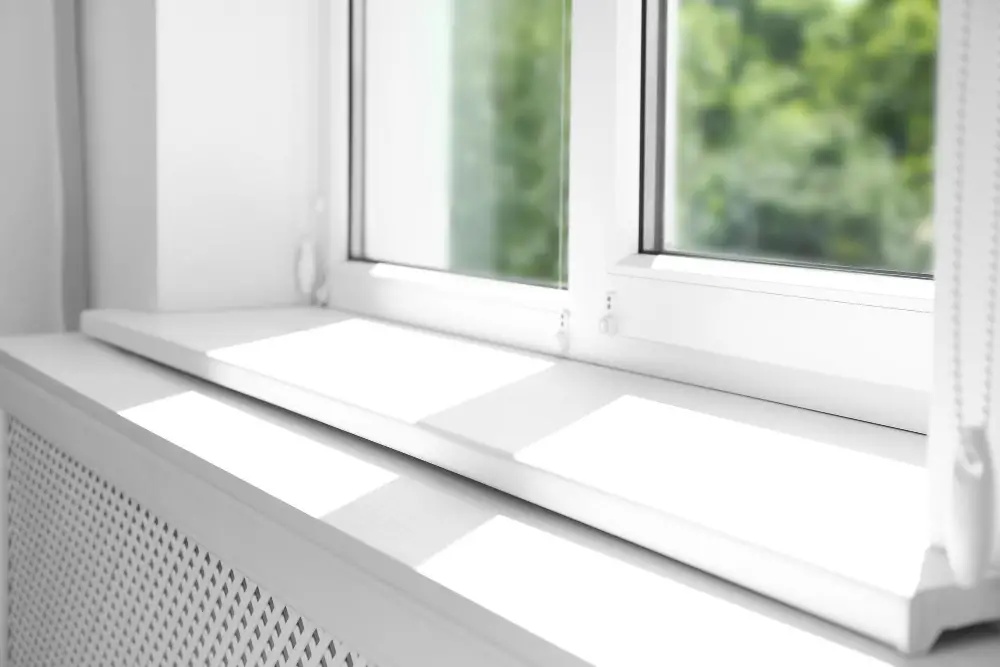
This will help you determine whether the sill needs to be replaced or if it can simply be repaired. Check for any signs of rot, water damage, or insect infestation that may have compromised the integrity of the wood.
If there are only minor issues such as scratches and dents on the surface of your window sill, then repairing it might be a more cost-effective solution than replacing it altogether.
However, if there is significant damage present in your window sill that cannot be fixed with simple repairs like sanding and painting over them; then replacement is necessary.
Gathering Necessary Tools and Materials

Having everything you need on hand will make the process smoother and more efficient. Here are some essential tools and materials you’ll need:
1. Safety gear: Before starting any DIY project, safety should always come first! Make sure to wear gloves, goggles, a dust mask or respirator.
2. Pry bar: A pry bar is an essential tool for removing a window sill as it helps in prying off nails or screws that hold the sill in place.
3. Hammer: You’ll also need a hammer to help remove nails from your old window sill.
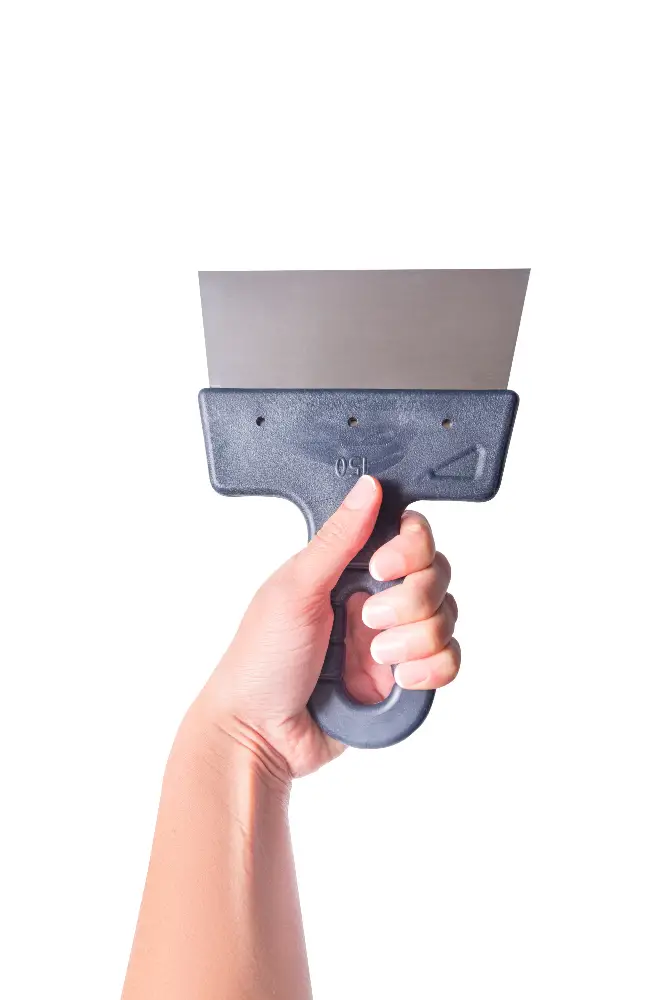
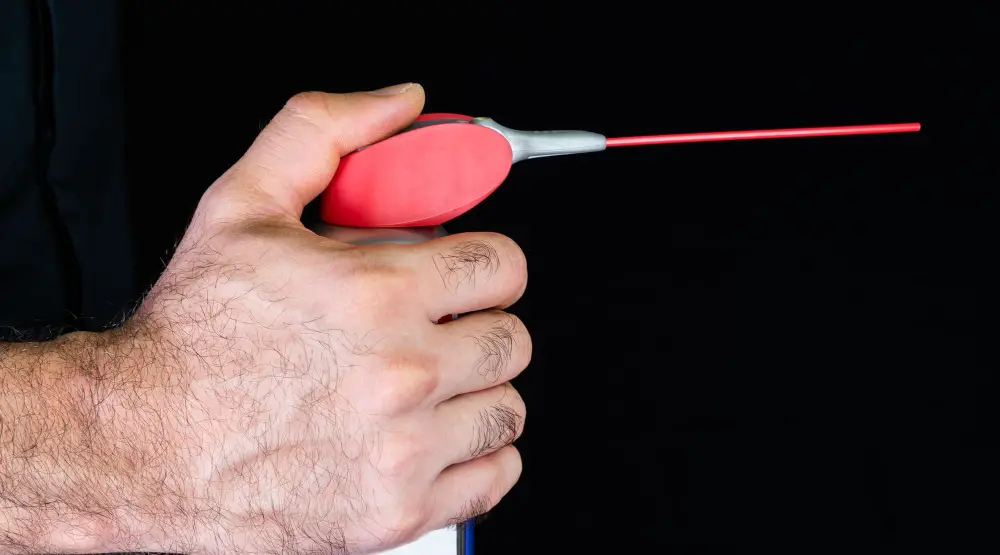
4. Utility knife: A utility knife comes in handy when cutting through sealant around your old windowsill.
5. Screwdriver set: You may also require screwdrivers of different sizes depending on how many screws are holding down your existing windowsill.
6. New Window Sill- If you’re replacing an old one with new material like wood or PVC then make sure that they have been cut according to measurements before starting work.
Preparing the Workspace

This will help ensure that the process goes smoothly and safely. First, clear any furniture or objects away from the area around your window so that you have plenty of space to work in.
Next, cover nearby surfaces with a drop cloth or plastic sheeting to protect them from dust and debris. You may also want to consider wearing protective gear such as gloves and safety glasses.
It’s also a good idea to open up windows in other parts of your home for ventilation during this process since there will be some dust created when removing the old sill.
Safely Removing Window Accessories

This includes blinds, curtains, and hardware such as locks or latches. Start by carefully removing any screws or nails holding these items in place using a screwdriver or pliers.
If there are stubborn screws that won’t budge, try applying some lubricant like WD-40 and let it sit for a few minutes before attempting again. Be sure to keep all hardware organized so that they can be easily reinstalled later.
Once all accessories have been removed from the window sill area, cover them with protective material such as plastic sheeting or drop cloths to prevent damage during the removal process.
Removing Window Casing

Window casing is a decorative trim that surrounds the perimeter of your window frame. Removing it will give you access to the screws or nails holding in place your old sill.
To remove window casing, use a pry bar or hammer and chisel to gently loosen any caulking around its edges. Then insert a flathead screwdriver between the wall and one end of each piece of molding until it pops loose from its nail or adhesive.
Be careful not to damage surrounding walls as you work on removing each section carefully. Once all pieces are removed, set them aside for later reinstallation if they’re still in good condition.
Remove Side Casing
These are typically attached with nails or screws and may require a pry bar or hammer to remove them. Start by carefully prying off any trim pieces that cover the side casings.
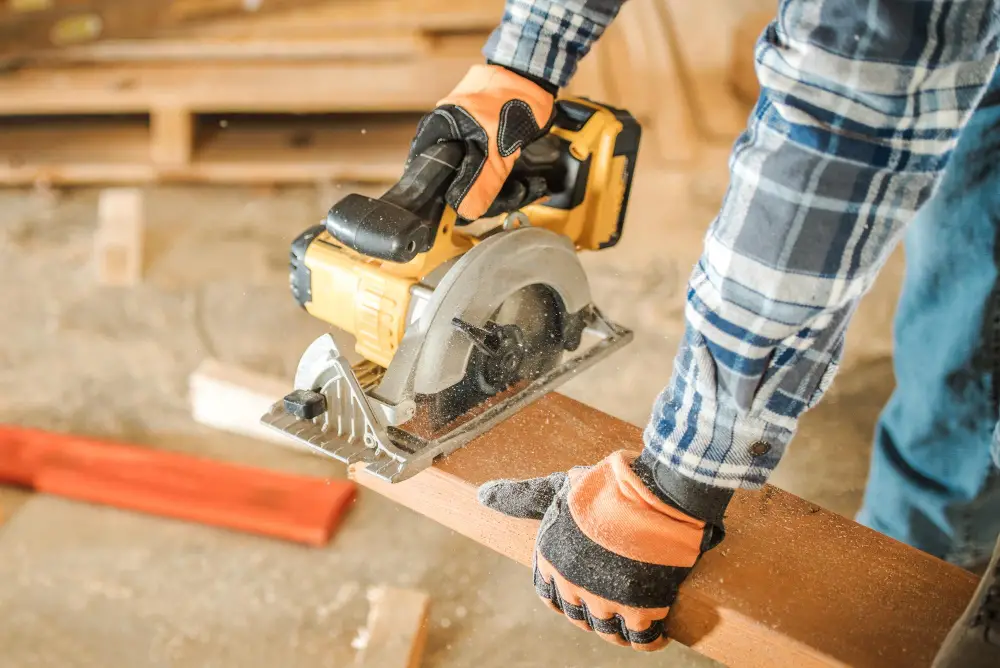
Next, use a reciprocating saw or handsaw to cut through any nails holding the side casing in place. Be sure not to damage surrounding walls as you work your way around each section of casing.
If there are screws holding the side casings in place, use a drill with an appropriate bit size for removal. Once all fasteners have been removed from both sides of your window frame, gently pull out each piece of siding until they come free from their slots.
Loosening the Window Sill
This step requires a bit of patience and care as you don’t want to damage any surrounding walls or your window frame. To begin, use a utility knife or putty knife to cut through any paint or sealant that may be holding the sill in place.
Next, take a pry bar and gently insert it between the wall and underside of the sill. Slowly apply pressure until you feel some movement in the sill.
Be careful not to force anything too much as this can cause damage.
If there are nails holding down your old window sill, use pliers or nail pullers to remove them one by one carefully. If screws were used instead of nails for installation purposes then unscrew them using an appropriate screwdriver.
Continue prying up on each end until both sides are loose enough for removal without causing harm around its surroundings.
Cutting Window Sill Sealant
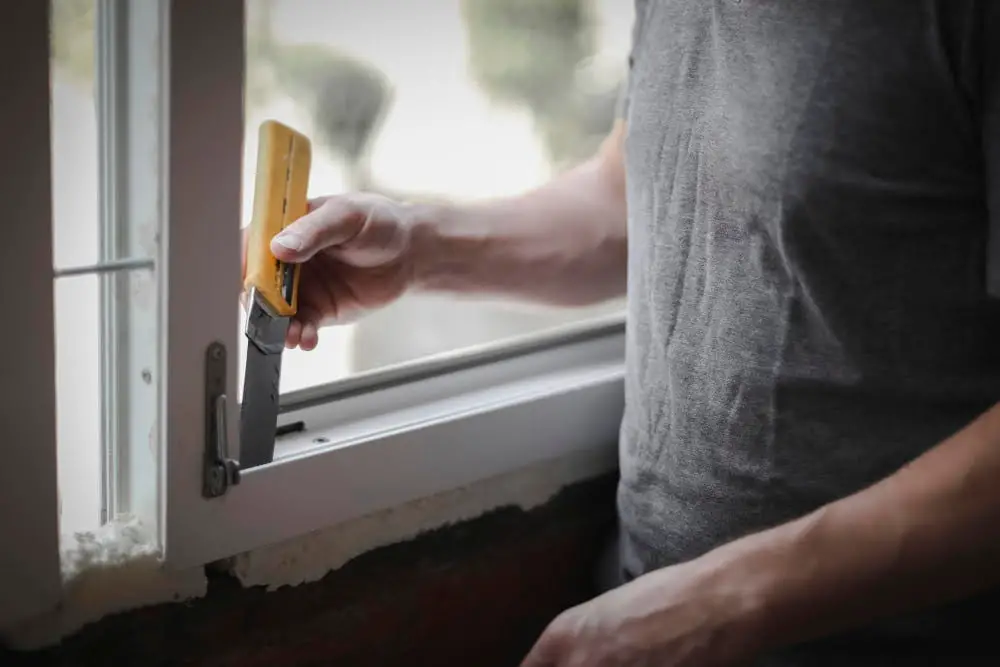
This can be done using a utility knife or a putty knife. Carefully run the blade along both sides of the sill where it meets with the wall, making sure not to damage either surface.
If you encounter resistance while cutting through sealant, use gentle pressure and take your time. It’s important not to rush this step as rushing could cause damage to surrounding areas or even breakage of glass panes.
After cutting all around, gently lift up on one end of your window sill until it comes free from its position. If there is still some resistance after lifting one side up slightly then repeat this process on other sides until all four corners are lifted enough for removal without causing any further damage.
Removing Nails and Screws
This step is crucial as leaving any fasteners behind can cause damage to your new window sill and prevent a proper fit.
Using a pry bar or hammer, gently pull out any visible nails from the top of the sill. If there are screws present, use an electric drill with a screwdriver bit to unscrew them from underneath.
Be sure not to apply too much force when removing these fasteners as this can cause damage to surrounding areas such as walls and frames. Once all nails and screws have been removed, carefully lift up on the old window sill until it comes free from its position.
If you encounter difficulty removing some of these fasteners due to rust or corrosion buildup over time, try using penetrating oil like WD-40 before attempting removal again.
Lifting the Window Sill

This step requires a bit of caution as you don’t want to damage your window frame or surrounding walls. To lift the sill, gently push up on one end while pulling down on the other end with your hands or pry bar.
If there is any resistance, stop immediately and check for any remaining fasteners that may be holding it in place. Once you’ve successfully lifted one side of the sill, repeat this process for each section until it comes loose from its position.
Be sure to keep a firm grip on both ends of the window sill as you remove it from its position so that no part falls off accidentally causing damage or injury.
Dealing With Rot
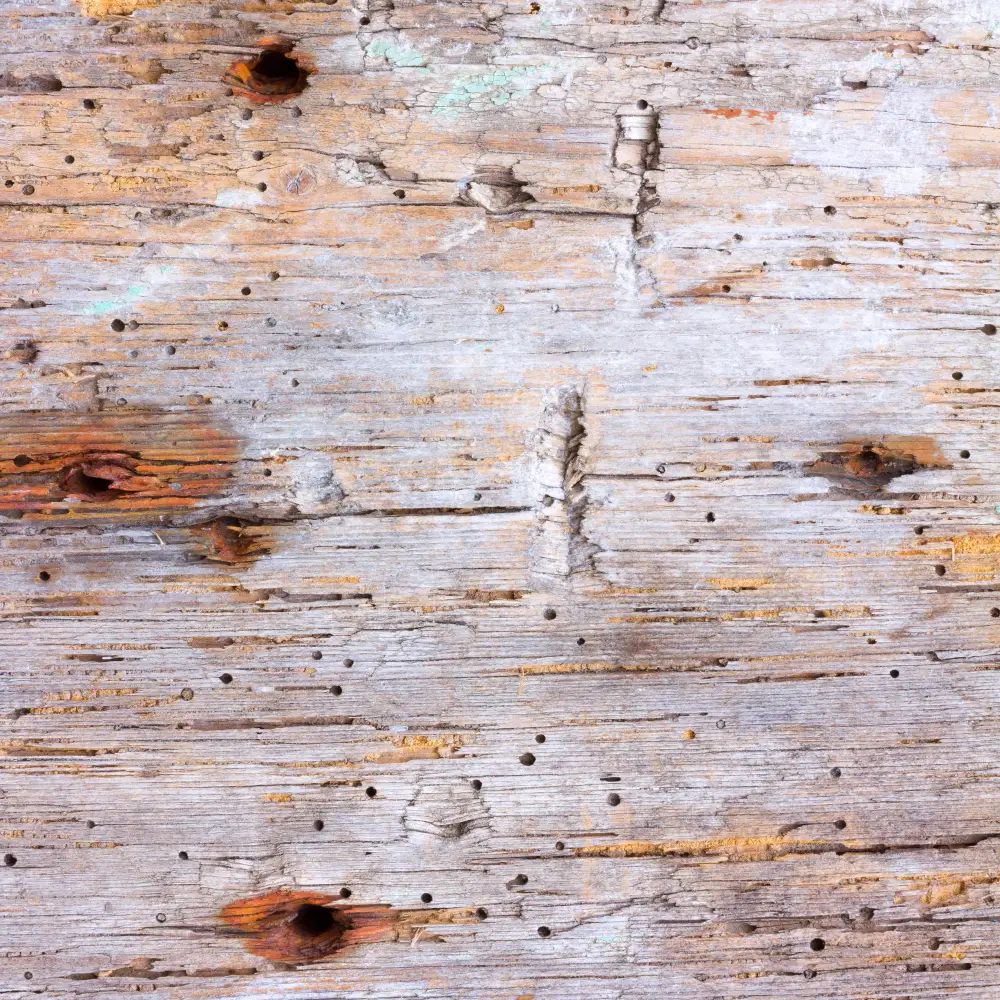
If your window sill has been exposed to moisture for an extended period, it can lead to wood rot, which weakens the structure and makes it difficult to remove.
To deal with this issue, start by assessing the extent of damage. If only a small portion of your window sill is affected by rot, you can use a chisel or saw blade to cut out that section and replace it with new wood.
However, if there’s extensive damage throughout the entire length of your window sill or frame due to water infiltration over time – then replacing just one part won’t be enough. In such cases where significant structural repairs are needed before installing new windowsills; we recommend consulting an expert carpenter who will assess whether repair work needs doing first before proceeding further.
Cleaning the Area After Removal
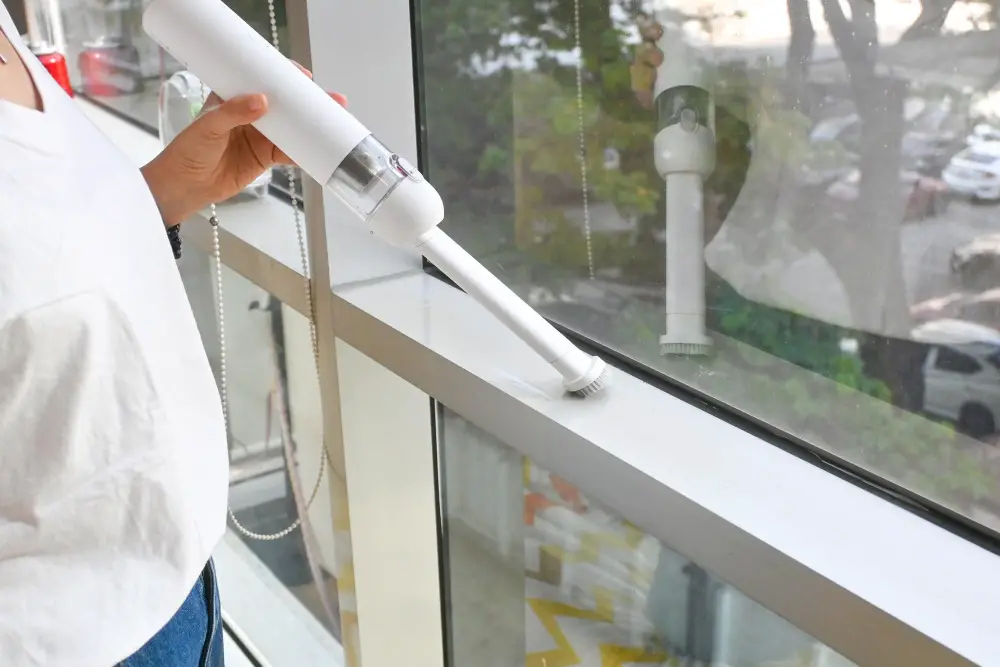
This will ensure that there is no debris or dust left behind that could affect the installation process or damage your new window sill.
Start by using a vacuum cleaner to remove any loose dirt and debris from around the opening. You can also use a soft-bristled brush to sweep away any remaining dust and dirt.
Next, wipe down all surfaces with a damp cloth to remove any remaining residue. Be sure not to leave excess moisture on wood surfaces as this can cause warping or rotting over time.
Inspect all areas for damage caused during removal and make necessary repairs before proceeding with installation of your new window sill.
Disposing of the Old Window Sill

Depending on the material of your old window sill, there are different ways to dispose of it. If your old window sill is made from wood or other organic materials, you can simply throw them away in a regular trash bin or take them to a local landfill.
However, if your old window sill is made from PVC or other synthetic materials that cannot be recycled easily and safely disposed of in landfills due to their non-biodegradable nature. In this case, check with local recycling centers for proper disposal methods.
It’s also worth noting that some areas may have specific regulations regarding how certain types of waste should be disposed of. Be sure to research any relevant guidelines before disposing off any waste related items.
Cutting The New Sill
The first step is to measure the length of your window opening and add an extra inch on each side for overhang. This will ensure that your new sill fits perfectly into place.
Next, use a saw or jigsaw to cut the new sill according to your measurements. Be sure to wear protective gear such as gloves and goggles while cutting.
After cutting, sand down any rough edges or splinters with sandpaper until smooth. Then test fit the new sill in place before securing it permanently.
If necessary, make any additional cuts or adjustments until you achieve a perfect fit. Once satisfied with its placement, attach screws through pre-drilled holes in both ends of the newly installed window sills into framing lumber beneath them using 2-inch wood screws spaced every 12 inches along their length.
Attach New Sill

Before attaching a new window sill, make sure that it is of the correct size and material for your specific needs. You can purchase pre-made sills or create custom ones if necessary.
To attach a new window sill, apply construction adhesive along its length and place it in position on top of the framing members. Use screws to secure it firmly in place by driving them through pilot holes drilled into both ends of each board.
Make sure that you use corrosion-resistant screws so they don’t rust over time and cause damage to your newly installed windowsill. Once attached securely, allow ample drying time before adding any finishing touches such as paint or sealant.
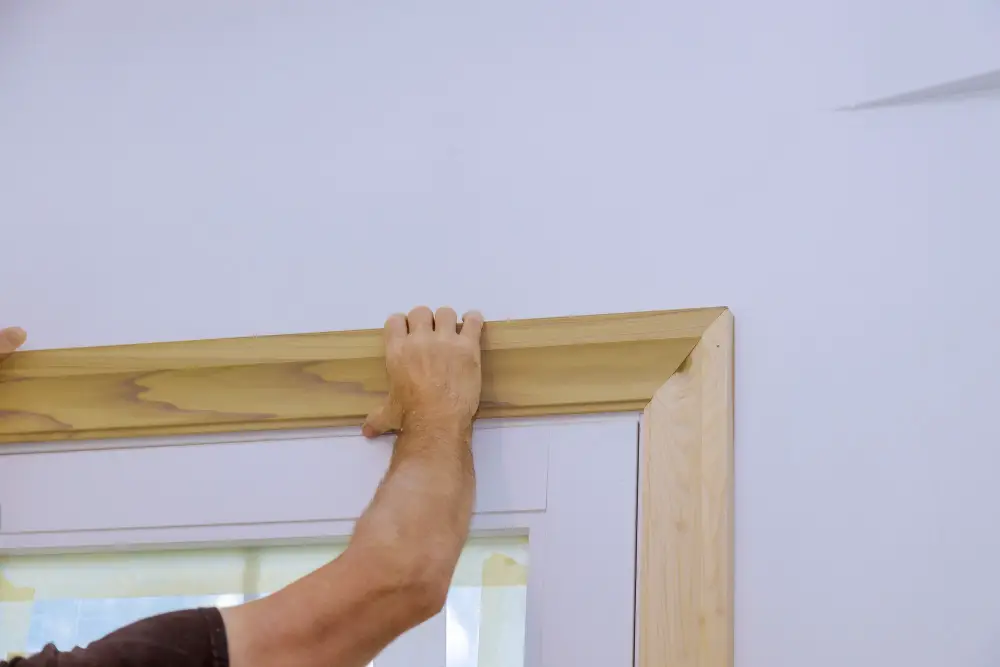
Add Window Trim
Window trim is an essential part of any window installation as it helps to create a finished look and protect against moisture damage. To add window trim, start by measuring the length and width of your new sill and cut pieces of wood accordingly.
Next, attach the side casing using finishing nails or screws. Make sure that they are flush with both sides of the wall before moving on to attaching top casing piece.
To attach top casing piece, measure its length carefully then nail or screw in place at each end first before nailing/screwing along its entire length.
Final Touches

These finishing touches will not only enhance the appearance of your windows but also improve their functionality.
One important step is to seal any gaps between the new window sill and surrounding walls or frames using caulk. This will prevent air leaks, water damage, and insect infestations.
You can also consider adding decorative trim around your newly installed window sill for an extra touch of elegance. There are many options available in different styles and materials such as wood or PVC that can complement your home’s interior design.
Don’t forget to clean up after yourself! Remove any debris from the workspace including dust particles left behind by sawing or sanding. A thorough cleaning will ensure that your newly renovated windows look their best for years to come.
Expert Tips

- Always wear protective gear such as gloves and safety glasses when working with power tools or sharp objects.
- Use caution when removing old window sills as they may contain lead paint or other hazardous materials.
- Take your time and work carefully to avoid damaging the surrounding walls or windowsill frame.
- If you encounter any unexpected issues during removal, don’t hesitate to seek professional help from an experienced contractor.
- Before installing a new window sill, make sure it’s properly measured and cut for an exact fit.
FAQ
Is it easy to replace window sills?
Yes, replacing window sills is an easy home repair project that requires just a few hours and basic tools.
Can a window sill be inside?
Yes, a window sill can be considered inside, although technically it is the stool that is inside and often mistakenly referred to as the sill.
What are exterior window sills made of?
Exterior window sills are primarily made of concrete or stone for optimal results on different surfaces.
What tools are required for removing and replacing a window sill?
To remove and replace a window sill, the required tools include a pry bar, hammer, utility knife, saw, tape measure, wood chisel, screwdriver, and level.
What are the steps involved in properly removing a window sill without damaging the surrounding area?
The steps involved in properly removing a window sill without damaging the surrounding area are cutting any caulking or paint seals, gently prying or tapping loose, and carefully lifting it away.
How do you choose the right material and style for a replacement window sill?
To choose the right material and style for a replacement window sill, consider factors such as durability, aesthetics, and compatibility with the existing window design.
Read More
 Aluminum Window Latch Replacement: A Simple Guide to Security and Style
 Custom Aluminum Window Screens Buying Guide
 Aluminum Window Removal Tool: Easy Steps for a Hassle-Free Window Replacement
 Screw for Aluminum Window Frame: Your Ultimate Fixing Guide
 Replace Aluminum Window Glass: A Beginner’s Guide to a Clearer View
Recap