Grasp the secret to rejuvenating your interior space by learning how to measure for valances, because perfect measurements mean ideal fit and flawless aesthetics.
Key takeaways:
- Determine the type of valance for the desired effect.
- Measure window width and add extra inches for outside mount.
- Measure window height and consider location and layering.
- Decide on valance length and consider room aesthetics.
- Account for valance fullness and pattern alignment.
Determine the Type of Valance
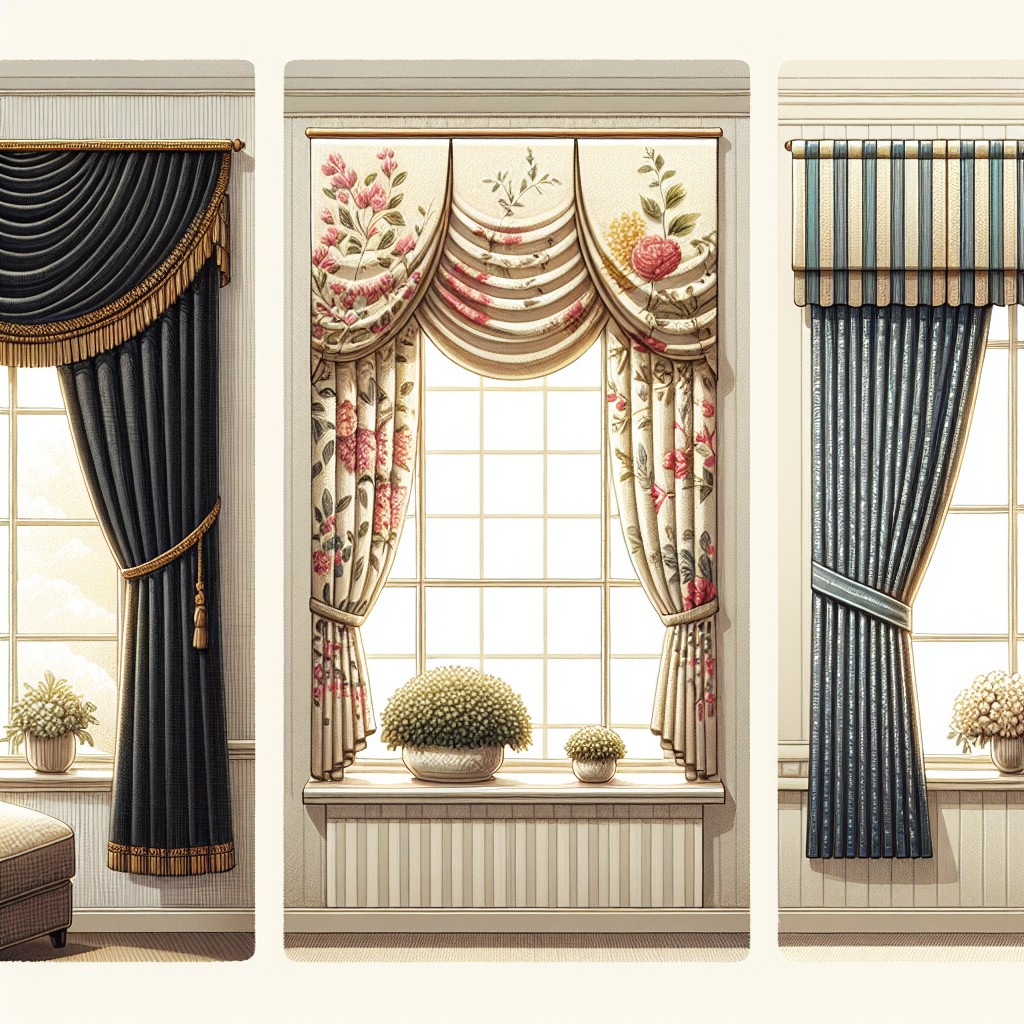
Selecting the right valance begins with understanding the various styles available and how they complement different room aesthetics. Rod pocket valances offer a gathered look, while tailored valances provide a structured appearance. Swag valances create a dramatic effect with their cascading fabric, and balloon valances puff out for a softer, fuller look.
Each style impacts the final measurements as more intricate designs typically require additional width for proper fullness. It’s also essential to consider the valance’s purpose, be it purely decorative or to conceal hardware, which will influence the sizing. Keep the intended design in mind when noting down dimensions to ensure a perfect fit.
Measure Window Width

Start by measuring the width of your window from one side to the other, using a tape measure. Ensure the tape is straight and level for an accurate reading. Record the width at the top of the window where the valance will hang, as this is typically the widest point.
If you plan to mount the valance outside the window frame, add 3 to 4 inches on each side to allow for proper coverage and gather. This extra width will give your valance a full, pleasing appearance when installed.
Keep a note of this measurement before moving on to the next step.
Measure Window Height
When considering the appropriate height for your valance, it’s crucial to assess where it will hang in relation to the top of the window. Typically, valances are positioned four to six inches above the window frame to create an illusion of height and to not obstruct the view or natural light when drawn.
Use a reliable tape measure to get an accurate dimension from the intended starting point of the valance down to where you’d like the bottom of the fabric to rest. Keep in mind any additional hardware or decorative elements that may affect the hanging position. If layering with other window treatments, leave ample space for them to operate correctly.
Record the measurement to the nearest eighth of an inch for precision when ordering or creating your valance.
Decide On Valance Length
Valance length impacts both style and function. Ensure the length complements your window and room aesthetics without obscuring too much natural light or obstructing views.
Standard lengths are typically 14 to 18 inches before accounting for heading and rod pockets. For a dramatic effect, a longer valance can be used, especially in rooms with high ceilings.
In kitchens or bathrooms, consider shorter lengths for both practicality and to allow more light. Remember, the length should be measured from the rod down to where you’d like the valance to end.
If layering with curtains, ensure the valance covers the top of the curtains neatly to create a cohesive look.
Account for Valance Fullness
To ensure a pleasing appearance, the fabric’s fullness is a key consideration, typically one and a half to three times the measured width. Different styles may require varying degrees of fullness:
- Traditional valances often need more fabric for a gathered look, generally around twice the window width.
Tailored or modern designs might use less fullness, often 1.5 times the width, for a sleek finish.
Heavy fabrics can be less full to avoid a bulky appearance, whereas lighter materials might need extra fullness to achieve the desired look.
Always check the pattern repeat if the valance has a design, ensuring pattern alignment when calculating the fabric needed.
Keep these points in mind to accurately estimate the material required for your specific valance style.
Consider Mounting Location
Mounting location influences both the aesthetics and function of your valance. Install your hardware inside the window frame for a built-in look, which is ideal for a more tailored style and can help to block light. Opting for an outside mount provides more coverage and can make your window appear larger.
Ensure there’s at least an inch of space above the window frame to accommodate the brackets and hardware, and if you have window molding, mount the valance high enough to avoid interference. Additionally, if you plan to pair the valance with another window treatment, like blinds or curtains, leave enough space to ensure they fit comfortably without bunching.
Decide On Valance Style
Selecting the ideal valance style hinges on the room’s decor and desired effect. A tailored valance offers a clean, structured look, perfect for modern or minimalist settings.
Swags bring a touch of elegance and traditional feel, draping softly across the window’s top. Balloon valances puff out, providing a dimensional, whimsical charm that can add a cozy vibe to cottages or vintage-themed rooms.
For a more casual atmosphere, consider a box pleat or tie-up valance that blends simplicity with a casual flair. Each style will impact the final measurements, as they have different requirements for width and fabric fullness.
Keep the room’s ambiance and the window’s functionality in mind while choosing the style to ensure the valance complements both the window and the room’s overall aesthetics.
Measure for Rod Pocket Valances
To ensure a proper fit for rod pocket valances, consider the following:
1. Rod Width: Take the measurement of the existing curtain rod or the intended space. If you don’t have a rod, extend your measurement by 2 to 3 inches beyond the window frame to allow for proper coverage.
2. Pocket Size: Check the diameter of your rod to determine the pocket size needed for the valance. Always account for a little extra space to ensure the valance moves easily.
3. Valance Width: As a rule of thumb, the valance should be 1.5 to 2.5 times the width of the window or rod for adequate fullness.
4. Length: Decide where you want the bottom of the valance to fall, usually around one-quarter the total height of the window.
Use a steel tape measure for precise readings and take measurements to the nearest eighth of an inch. Write down your measurements as you go to keep them organized for reference.
Measure for Board-Mounted Valances
When sizing up for board-mounted valances, focus on precision, as the board will be cut to your exact measurements and you won’t be able to adjust it later.
Start by measuring the window width and then add extra inches to either side for desired overlap. This will ensure the valance extends beyond the window frame, creating an aesthetically pleasing look.
Next, determine the drop of the valance, the distance from the top of the board to the bottom of the fabric. This is critical for achieving the right proportion.
Consider the depth of the board too. This is the distance it will protrude from the wall, which impacts how much of the window will be covered and the shadows cast by the valance.
Take into account any additional window treatments, such as drapes or blinds, that will sit under the valance. The board depth must accommodate these, ensuring a seamless integration.
Lastly, use a steel tape measure for solidity and accuracy. Double-check your measurements to avoid any mistakes. Remember that for board-mounted valances, an exact fit is more crucial than for those that gather on a rod.
Account for Overlaps and Returns
To ensure a polished look for your valance, overlaps and returns are essential:
- Overlaps: When using multiple valance pieces, add an extra 1-2 inches for where they will overlap in the middle. This prevents gaps and ensures continuous coverage.
- Returns: The return is the part of the valance that wraps around the sides of the window to meet the wall. Measure the depth of the window molding or the bracket projection for the rod, then add this distance to your valance width. This ensures the valance extends completely from the wall over the window framework, providing a clean side view.
Precise measurements will lead to a seamless and tailored look, contributing to the overall aesthetic of your window treatment.
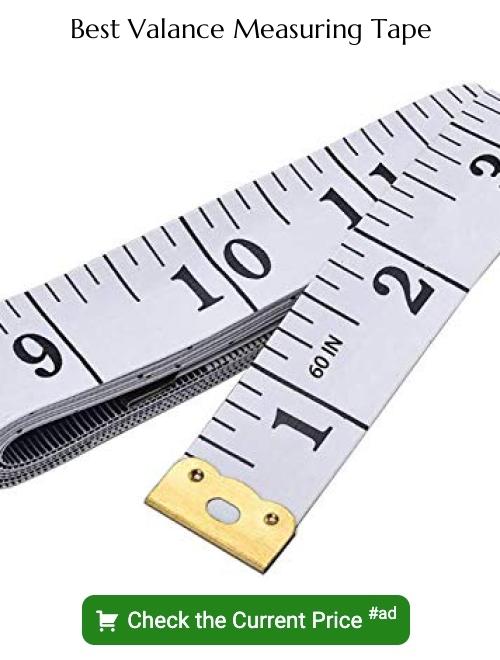
Utilize Measuring Tools Accurately
For precise measurements, a steel tape measure is the tool of choice; it provides more accuracy than a cloth tape measure, which can stretch or sag.
Ensure the tape measure is level and straight across the window for width measurements.
When measuring the height, hold the tape measure at the point of the intended valance top and extend it down to the desired length.
Take note of the smallest measurement to the nearest eighth-inch to ensure the best fit.
Write down each measurement as soon as you take it to avoid confusion and ensure that all your numbers are precise.
If possible, double-check your measurements to confirm their accuracy before proceeding with your valance order.
Remember, accuracy with your tools is crucial for a well-fitted valance.
Compile Measurements for Ordering
Upon finalizing the measurements, it’s vital to organize them clearly for the ordering process. Here’s a list of tips to ensure accuracy and efficiency:
- Create a simple chart with your window’s name or location, width, length, and style preferences for an easy reference.
- Double-check your numbers to avoid errors — measure twice to order once.
- Specify units when listing your measurements, whether in inches or centimeters, to prevent any confusion.
- Include details such as rod circumference for pocket valances or board dimensions for board-mounted options.
- If your windows require unique accommodations, like extra width for returns or overlaps, highlight these needs.
- Keep a copy for personal reference. This will make it easier to verify the ordered valances against your original specifications once they arrive.
By maintaining a meticulous record, you can facilitate a smooth transaction with the vendor and ensure your valances will fit perfectly upon arrival.
FAQ
How do I know what size valance to buy?
To determine the correct valance size, consider whether it will hang alone or over drapes: if alone, choose a valance 1-1/2 to 5 inches wider than the window; if over custom drapes, choose one 10 to 30 inches wider; if the valance is gathered, the flat width should be 2 to 3.5 times the window width.
How wide should a valance be for a 40 inch window?
For a 40-inch window, the valance should ideally be between 41 to 44 inches wide.
How much longer should a valance be than the window?
The length of a valance should ideally be one-fourth of the window height plus an additional one inch.
Can valances be wider than the window itself?
Yes, valances can be wider than the window itself, often extending beyond the window frame for aesthetic appeal and to create the illusion of a larger window.
What is the standard drop length for a window valance?
The standard drop length for a window valance is typically between 14 and 17 inches.
How does the style of the valance affect the measurements needed?
The style of the valance influences the measurements needed by affecting the length, width, and depth requirements for accurate curtain installation.
Read More
 Aluminum Window Latch Replacement: A Simple Guide to Security and Style
 Custom Aluminum Window Screens Buying Guide
 Aluminum Window Removal Tool: Easy Steps for a Hassle-Free Window Replacement
 Screw for Aluminum Window Frame: Your Ultimate Fixing Guide
 Replace Aluminum Window Glass: A Beginner’s Guide to a Clearer View
Recap