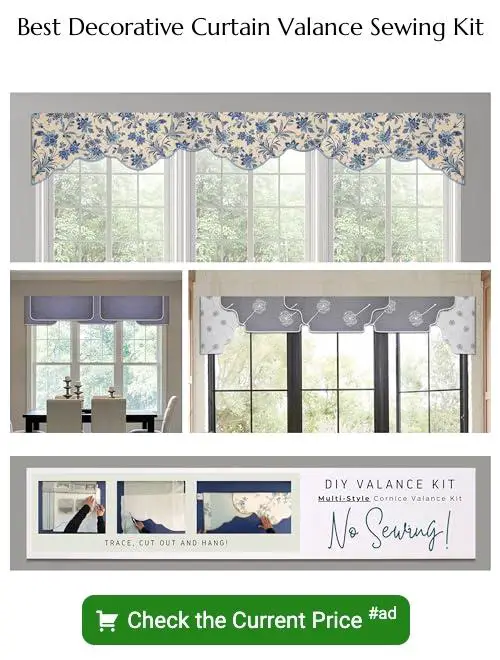
Embark on this fascinating adventure of sewing curtain valances because mastering different patterns can elevate your home decor to a higher aesthetic level.
Key takeaways:
- Valance patterns: swag, box pleat, scalloped, geometric, rod pocket.
- Swag patterns: symmetrical/asymmetrical, lightweight/medium fabrics, adjustable fullness.
- Box pleat patterns: uniform folds, versatile, spacing and depth, mounting options.
- Scalloped edge patterns: fabric choice, depth and frequency, using a template, detailing with trims.
- Geometric patterns: clean and contemporary, scale and contrast, symmetry and cohesion.
- Rod pocket designs: sizing, fullness, layering, fabric choice, hemming.
- Choosing the right fabric: weight and drape, pattern scale, color fastness, durability, texture and style.
- Pattern complexity and skill level: beginner, intermediate, advanced.
- Measuring for valance pattern: window width and length, valance length, depth, factor in hardware.
- Cutting your fabric: prewash, straight edges, pattern markings, use tailor’s chalk, double-check measurements.
- Sewing the valance: stitch main body, attach ruffles/trim, create pleats/header, reinforce stress points.
- Finishing the valance: iron seams, hem edges, add lining/rod pockets, top stitching, trim or embellishments.
- Customizing valance patterns for window size: window measurements, scale of pattern, fullness ratio, pleat and fold adjustments, consider hardware, repeat patterns, alteration limits.
- Maintenance and care for fabric valances: regular dusting, spot cleaning, washing instructions, ironing, refreshing the fabric, professional cleaning.
- FAQ: valances in style, valance width and length, recommended fabric types, layering valances, influence on room aesthetics.
Understanding Curtain Valance Patterns

Curtain valances add a touch of elegance and finish to window treatments. They can range from simple straight cloth to ornate fabric ensembles. Here are key points to consider:
- Swag patterns typically embody a soft, gathered or draped appearance that works well with traditional decor.
- Box pleat patterns offer a tailored, structured look, fitting for both modern and classic interiors.
- Scalloped edge patterns lend a decorative flair with their wavelike hem, ideal for adding a romantic touch.
- Geometric patterns provide a clean, contemporary vibe with bold and clear lines, perfect for a minimalist setting.
- Rod pocket designs create a casual, gathered look as the fabric is threaded through the rod, great for a cozy ambiance.
Each pattern carries its own character and can be selected to complement the room’s overall style and mood.
Types of Valance Patterns
Classic swag patterns add an elegant and traditional touch, draping gracefully across the top of the window. These are often made with heavier fabrics to achieve a luxurious droop.
Box pleat patterns provide structured charm with tailored lines, creating a formal look that suits office and living spaces alike; they are crisp and hold their shape well.
Scalloped edge patterns offer a soft and whimsical feel with curves that can range from subtle waves to more pronounced semi-circular shapes, perfect for adding a decorative touch.
Modern geometric patterns are ideal for contemporary spaces, featuring clean lines and angular shapes that can add a striking visual element to the window.
Rod pocket valance designs have a casing that easily slides over the rod, offering a casual and effortless vibe; these are simple to install and work well with a variety of fabric types.
Classic Swag Patterns
Swags are characterized by their soft, draped shapes that create a sense of elegance. They often involve a long piece of fabric looped over a rod, allowing the material to gently hang down on both sides.
Here are key considerations when working with swag patterns:
- Swags can be symmetrical, with matching side lengths, or asymmetrical for a more modern look.
- They’re best created with lightweight to medium fabrics for graceful draping.
- A swag’s fullness is adjustable; more fabric creates deeper folds, while less fabric provides a simpler appearance.
- Pleats at the top can add structure and help to maintain the swag’s shape over time.
- Swags can be combined with other window treatments like blinds or sheers for layered privacy and light control.
- Interlining can be used to add body to the fabric, especially for sheer or lightweight materials.
Box Pleat Patterns
An epitome of tailored sophistication, box pleats create a structured, clean look. These patterns feature evenly spaced folds that bring a crisp geometry to the fabric. Ideal for both traditional and modern interiors, they lend a formality that works well in dining rooms, living rooms, and bedrooms.
Key points to understand about box pleat valance patterns include:
- Uniform Folds: The hallmark of box pleats is precise, uniform folding, where fabric is folded beneath itself to create a ‘boxy’ appearance.
- Versatility: These patterns can incorporate various fabric types, from heavy brocades to lighter cotton blends, depending on the desired aesthetic.
- Spacing and Depth: Proportion is crucial; pleat spacing and depth can be adjusted to fit the window’s width and the room’s style.
- Mounting: Typically mounted on a board or rod, the rigid structure of box pleats maintains their shape over time.
- Compatibility: Easily blends with other window treatments, such as sheer curtains or blinds, for a layered effect.
Scalloped Edge Patterns
Scalloped edge valances add a soft, decorative touch to windows, bringing a classic feel to any room. These valances feature a series of rounded projections along the lower edge, often resembling the shape of seashells or waves.
Here are key points to consider when exploring this design option:
- Fabric choice is key as it should hold the curve of the scallop well; stiffer fabrics such as cotton or linen blends are often recommended.
- The depth and frequency of the scallops can vary, allowing for customization based on your window size and aesthetic preference.
- To create the scallops, a template is typically used, which ensures consistency and symmetry for each curve.
- Detailing with trims, such as piping or lace along the scalloped edge, can add an extra dimension to the overall design.
- Scalloped edge valances can either hang flat or be gathered for added fullness depending on the homeowner’s style.
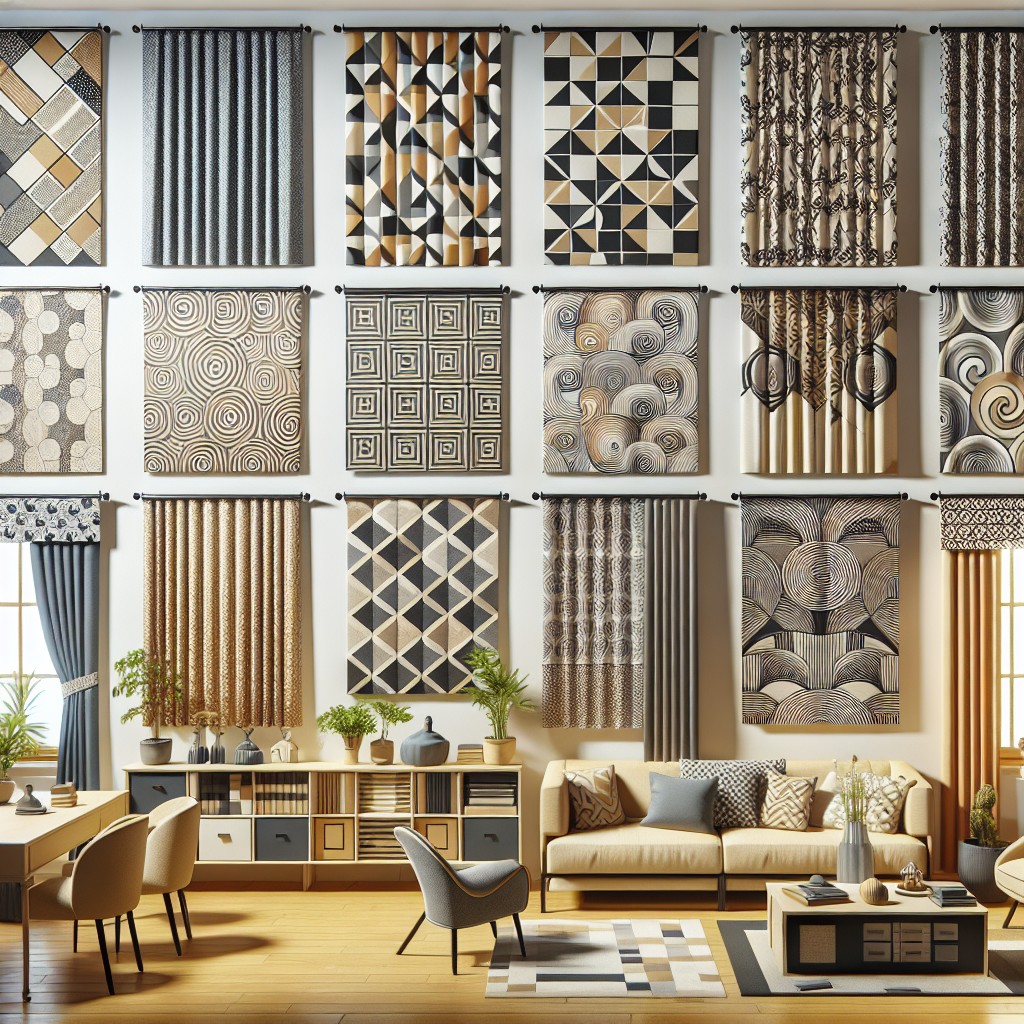
Modern Geometric Patterns
Geometric patterns offer a clean, contemporary look that can instantly update a room’s aesthetic. These patterns consist of repeating shapes such as squares, triangles, circles, or abstract lines. Ideal for modern or minimalist decor, they pair well with sleek furniture and fixtures.
When choosing a geometric pattern, keep in mind the scale of the design. Larger shapes can make a bold statement in spacious rooms, while smaller, more intricate designs are suitable for compact spaces to avoid visual clutter.
Contrast also plays a critical role in modern geometric valances; pick colors that stand out against your current decor to give your window a striking focal point. Additionally, for a cohesive appearance, echo the geometric shapes found in your valance with similar patterns in your room’s rugs, pillows, or artwork. Remember that symmetry is a hallmark of modern design, so ensure that the valance pattern aligns evenly across the width of the window.
Rod Pocket Valance Designs
Rod pocket valance designs offer a classic and easy-to-install option. The pocket sewn at the top of the valance fabric allows it to slide directly onto the curtain rod, eliminating the need for additional hardware. This design creates a gathered, soft look suitable for almost any room.
Consider these points when opting for a rod pocket design:
- Sizing: The pocket must be slightly wider than the rod diameter to ensure a smooth glide. Allow an extra inch to the actual rod size for a comfortable fit.
- Fullness: For a rich gather, the fabric width should be 1.5 to 3 times the window’s width.
- Layering: Rod pocket valances pair well with blinds or curtains, adding depth to window treatments.
- Fabric choice: Light to medium-weight fabrics work best to keep the valance from sagging.
- Hemming: Ensure the bottom and sides are neatly hemmed to prevent fraying and to give a finished appearance.
By focusing on these elements, you can ensure a successful rod pocket valance installation that enhances room aesthetics.
Choosing the Right Fabric for Valance Patterns
Selecting an appropriate fabric is crucial when creating a curtain valance as it impacts both the aesthetic and functionality of the window treatment. Here are key considerations:
Weight and Drape: Heavier fabrics offer a formal look and more structured drape, suitable for box pleat and swag patterns, while lighter materials provide a casual feel and flow easily, ideal for rod pocket designs.
Pattern Scale and Window Size: The scale of the fabric’s pattern should complement the window size—small patterns for petite windows and larger designs for expansive views.
Color Fastness: Opt for fabrics that retain color well, especially if the valance will be exposed to sunlight, to prevent fading over time.
Durability: Choose wear-resistant materials, such as cotton blends or polyester, for valances in high-traffic areas, ensuring longevity and ease of maintenance.
Texture and Style: Consider the room’s decor; velvets and silks add luxury, while linens and cottons contribute to a relaxed, homely atmosphere.
Remember that the fabric sets the stage for your valance, so take time to select one that aligns with your functionality requirements and design vision.
Pattern Complexity and Skill Level
Valance patterns range from simple straight lines suitable for beginners to intricate designs for experienced sewers. The complexity of a pattern directly relates to the skill level required:
- Beginner: Stick to straight edges and simple rod pocket valances, which involve basic hemming techniques.
- Intermediate: Explore box pleats and subtle curves, which demand precision and the ability to sew consistent folds.
- Advanced: Tackle complex swags or scalloped edges, where advanced sewing skills are necessary to manage multiple layers and achieve symmetrical curves.
Select a pattern that aligns with your sewing experience to ensure a successful and satisfying project. Remember, taking on a slightly challenging pattern can help develop your skills, but overly ambitious projects may lead to frustration. Keep a seam ripper handy for adjustments and learning moments.
Measuring for Valance Pattern
To ensure a perfect fit for your valance, accurate measurements are crucial. Start by measuring the width of your window. Include the outer edges of the window frame to guarantee full coverage. If you plan to gather your valance, add additional width—typically two to three times your window width—to create the desired fullness.
Next, decide on the valance length. This typically ranges from 15 to 24 inches, but you may adjust according to window size and personal preference. It’s essential to factor in a few extra inches for hemming and rod pockets.
Consider the depth of your valance as well. This refers to how far the valance will project from the wall. Be sure to account for any window treatments that will sit beneath, such as blinds or curtains, to allow enough clearance.
Write down all measurements and double-check them before cutting your fabric. This attention to detail will save both time and materials and contribute to a polished final product.
Cutting Your Fabric
Before cutting, ensure your fabric is prewashed to prevent future shrinkage. Lay the material flat on a large cutting surface, aligning the grain of the fabric straight to avoid distortion. Use sharp fabric scissors or a rotary cutter for clean cuts.
Follow the pattern markings carefully, adding allowance for hems and seams as directed. To maintain accuracy, consider using tailor’s chalk or a fabric marker to trace your cut lines. Double-check measurements before cutting, as the fabric cannot be reattached once removed.
Remember to cut any additional pieces needed for linings or interfacings to match your valance pattern.
Sewing the Valance
Before sewing, ensure all fabric edges are straight and pattern pieces align correctly. Pin the fabric along the marked lines to secure the pattern in place. Start by stitching the main body of the valance to any lining or interlining, if applicable, using a straight or pattern-specific stitch. For a clean finish, press seams flat as you go.
When attaching ruffles or trim, distribute them evenly and pin them between the valance face and lining. Sew close to the edge to capture all layers. If your design includes pleats, fold them precisely according to the pattern and baste them in place before final stitching.
As you work on the header—where the valance will attach to the rod—fold the fabric according to the pattern’s instructions, typically back on itself to create a pocket or pleats. Double-check for uniformity in spacing and depth to ensure a professional look.
Reinforce top corners and any stress points with extra stitching to prevent wear over time. If your valance has a tailored look, corners should be mitered for sharp edges. Keep an eye out for puckering fabric or loose threads and address them promptly for a flawless finish.
Finishing the Valance
Once the valance is sewn, you’re ready to add the final touches that will make it ready to hang:
1. Iron the Seams: Press all seams flat with an iron for a crisp look. This step is essential for a professional finish.
2. Hemming the Edges: Hem the bottom edge of the valance. A blind hem stitch can be a great choice for a clean line that’s barely visible.
3. Adding a Lining: If desired, sew a lining to the back of the valance to add weight and improve light-blocking properties. Ensure the right side of the lining faces the window.
4. Creating Rod Pockets or Attachments: Depending on the installation method, sew a rod pocket at the top of the valance or add hook and loop tape, clips, or buttonholes for hanging.
5. Top Stitching: If you’re looking for a more defined edge, top-stitch close to the border on the front of the valance.
6. Trim or Embellishments: Attach any trims such as tassels, fringe, or ribbon to enhance the design. This should be done with attention to detail to avoid the trim from obstructing the pattern.
Ensure each step is done with precision to maintain the integrity of the design and to guarantee a beautiful, quality finish to your window treatment.
Customizing Valance Patterns for Window Size
Customizing valance patterns to precisely match window dimensions ensures a professional and cohesive look. Here are key considerations for tailoring patterns to window size:
1. Window Measurements: Take accurate width and length measurements of the window. Add extra width for pleats or gathers to create fullness.
2. Scale of Pattern: Adjust the scale of the design elements in the pattern to maintain aesthetic proportion in relation to the window size.
3. Fullness Ratio: Typically, valances are 1.5 to 3 times the window width. Decide on the degree of fullness desired before altering the pattern.
4. Pleat and Fold Adjustments: Modify the spacing and size of pleats and folds to balance the pattern across the window’s width.
5. Consider Hardware: Account for the space taken by mounting hardware and ensure the pattern allows for any brackets or rods.
6. Repeat Patterns: If the pattern repeats, plan the layout so that it begins and ends symmetrically on both sides of the window.
7. Alteration Limits: Be cautious not to stretch a pattern beyond its limits, which might distort the design and detract from its appearance.
By keeping these points in mind, you can adapt any valance pattern to fit your window impeccably.
Maintenance and Care for Fabric Valances
Proper maintenance extends the life of fabric valances and keeps them looking fresh. Follow these tips to care for your window treatments:
- Regular Dusting: Use a soft brush attachment on a vacuum to gently remove dust every few weeks. This helps prevent buildup and dulling of the fabric.
- Spot Cleaning: Attend to spills and stains promptly with a mild detergent and cold water, dabbing gently to avoid damaging the material.
- Washing Instructions: Check the fabric care label – some valances can be machine washed on a gentle cycle, while others may require dry cleaning, especially if interlined or structured.
- Ironing: If safe for the fabric, iron on a low setting to smooth out any wrinkles. Use a pressing cloth to protect delicate patterns and colors.
- Refreshing the Fabric: Occasionally hang the valances outdoors on a breezy day but avoid direct sunlight, which can fade patterns and colors.
- Professional Cleaning: Heavily detailed or delicate valances may benefit from a professional clean every few years to preserve their intricate patterns and colors.
By adopting a consistent care routine, the aesthetic appeal of your window dressing will be preserved, ensuring that your valances remain an elegant part of your room’s decor.
FAQ
Are valances in style anymore?
Yes, window valances are in style, particularly when crafted with modern fabric patterns and designed with a flat, tailored look in accordance with current trends.
How long and wide should a valance be?
The width of a valance should be 1-1/2 to 5 inches wider than the window when hung alone or over a Roman shade, 10 to 30 inches wider when hung over custom drapes, and if the valance is gathered, its total, flat width should be 2 to 3.5 times the width of the window.
What fabric types are recommended for curtain valances?
Cotton, silk, velvet, and polyester are commonly recommended fabric types for curtain valances.
Can you layer a valance with other window treatments?
Yes, a valance can be layered with other window treatments such as curtains, blinds or shades for an aesthetic appeal and increased functionality.
How do different styles of valances influence room aesthetics?
Different styles of valances can significantly influence room aesthetics, setting the mood and complementing the interior design with choices ranging from traditional swags for a luxurious vibe to straight-lined box pleats for a modern, minimalistic feel.
Read More
 Aluminum Window Latch Replacement: A Simple Guide to Security and Style
 Custom Aluminum Window Screens Buying Guide
 Aluminum Window Removal Tool: Easy Steps for a Hassle-Free Window Replacement
 Screw for Aluminum Window Frame: Your Ultimate Fixing Guide
 Replace Aluminum Window Glass: A Beginner’s Guide to a Clearer View
Recap