Discover the simple process of installing window well covers, ensuring your home stays safe and dry while enhancing its overall appearance.
If you have a basement window, then you’re probably familiar with window wells. They are an essential part of your home’s foundation, allowing natural light and ventilation to enter your basement.
However, if left uncovered, they can also become a source of unwanted debris and water damage. That’s where window well covers come in handy! In this blog post, we’ll explore the benefits of installing window well covers and provide you with a step-by-step guide on how to install them yourself.
So grab your tools and let’s get started!
Key takeaways:
- Choose the right type of window well cover for your needs
- Measure your window well dimensions accurately
- Select the appropriate cover material based on your budget and preferences
- Gather the necessary tools and materials for installation
- Test for proper fit and coverage before securing the cover
Types of Window Well Covers

When it comes to window well covers, there are several types available on the market. Each type has its unique features and benefits that cater to different needs and preferences.
Some of the most common types include:
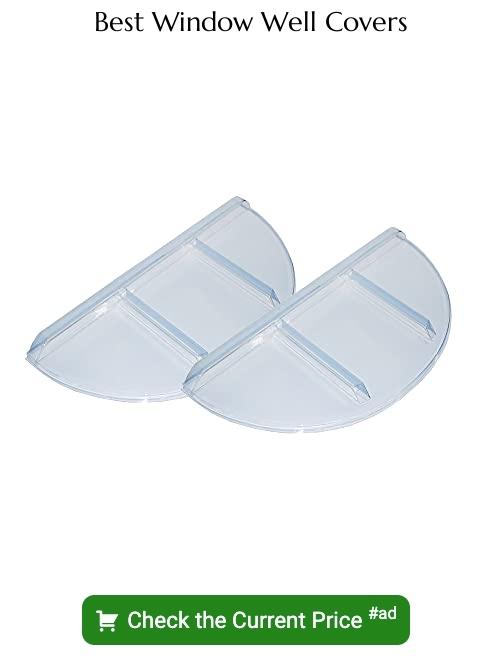
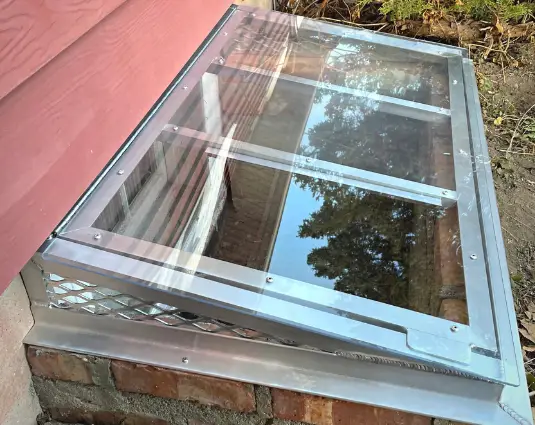
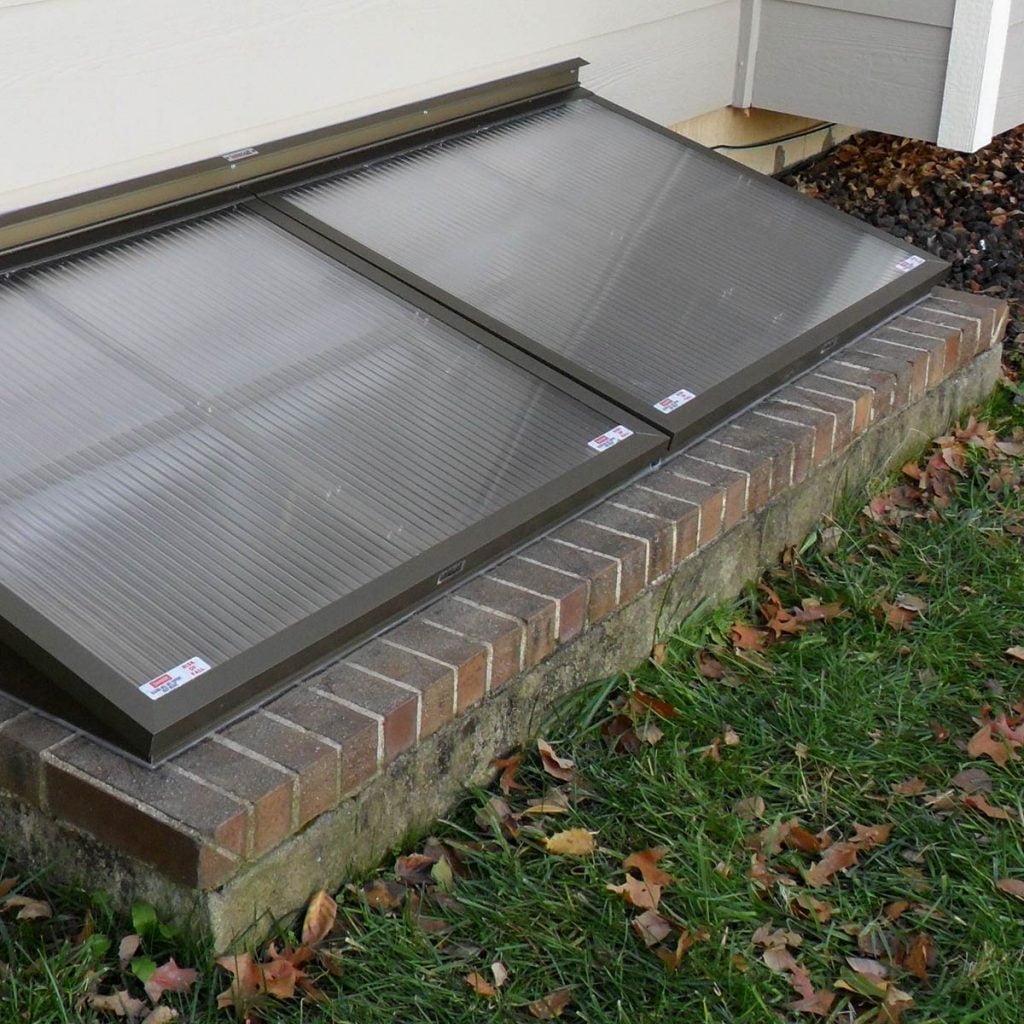
1. Polycarbonate Covers: These covers are made from a durable plastic material that is shatter-resistant, lightweight, and easy to install.
2. Steel Mesh Covers: Made from steel mesh or grating materials, these covers offer excellent ventilation while keeping debris out of your window wells.
3. Bubble Covers: These dome-shaped covers provide an extra layer of insulation for your basement windows while allowing natural light in.
4. Solid Plastic or Metal Covers: As their name suggests, these solid cover options completely block off access to your window well but still allow light through.
5. Custom-Made Window Well Grates/Covers – If you have a uniquely shaped or sized window well opening then custom-made grates/covers may be necessary for proper fitment.
Choosing the right type of cover depends on various factors such as climate conditions in your area, personal preference regarding aesthetics & functionality requirements (e.g., security concerns).
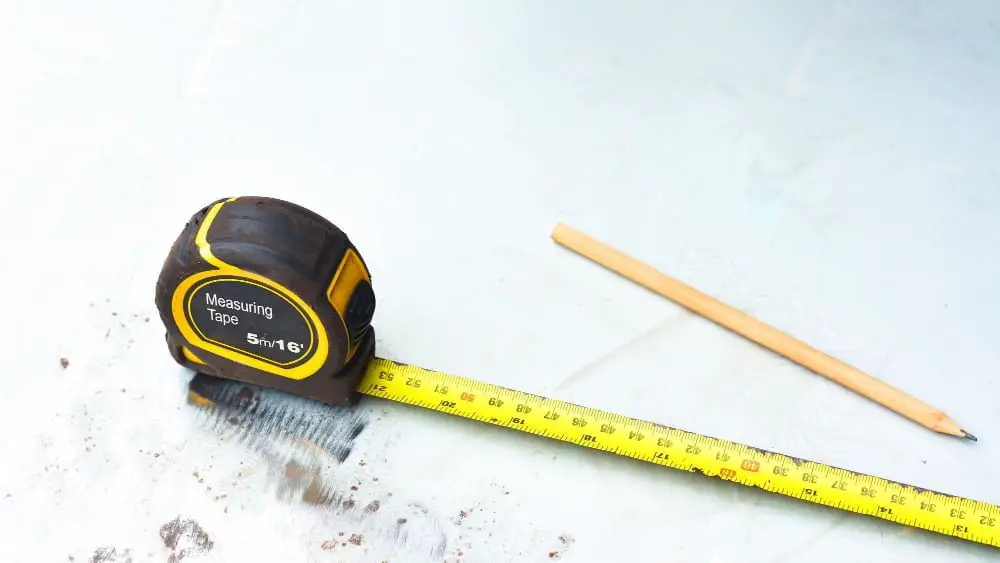
Measuring Window Well Dimensions
This step is crucial because the cover must fit snugly over the well to provide maximum protection against debris and water damage. To measure your window wells, follow these simple steps:
- Measure the width of the opening at its widest point.
- Measure from where the wall meets with a straight edge or corner to where it ends on both sides of your opening.
- Determine how deep you want your cover by measuring from inside bottom up towards ground level.
Once you have these measurements, take note of them and use them when selecting a cover that fits perfectly over your window well openings.
Selecting the Right Cover Material
The most common materials used for window well covers include polycarbonate, acrylic, and metal. Polycarbonate is a popular choice due to its durability and resistance to impact damage.
Acrylic is another option that offers similar benefits but with added UV protection.
Metal covers are also available in various styles such as aluminum or steel mesh grates which provide excellent ventilation while keeping debris out of the well.
Consider your budget when choosing between these options as prices can vary significantly depending on the material you choose. Think about how much natural light you want entering through your basement windows; some materials may be more opaque than others.
Tools & Materials Needed
Here’s a list of what you’ll need:
Tools:
- Tape measure
- Power drill
- Drill bits (for metal or masonry)
- Screwdriver (flathead or Phillips)
- Safety glasses
Materials:
- Window well cover kit (including panels, support brackets, and hardware)
- Note: Make sure to select a kit that fits the dimensions of your window well.
- Once you have everything on hand, it’s time to move on to measuring your window well dimensions.
Prepping the Installation Site
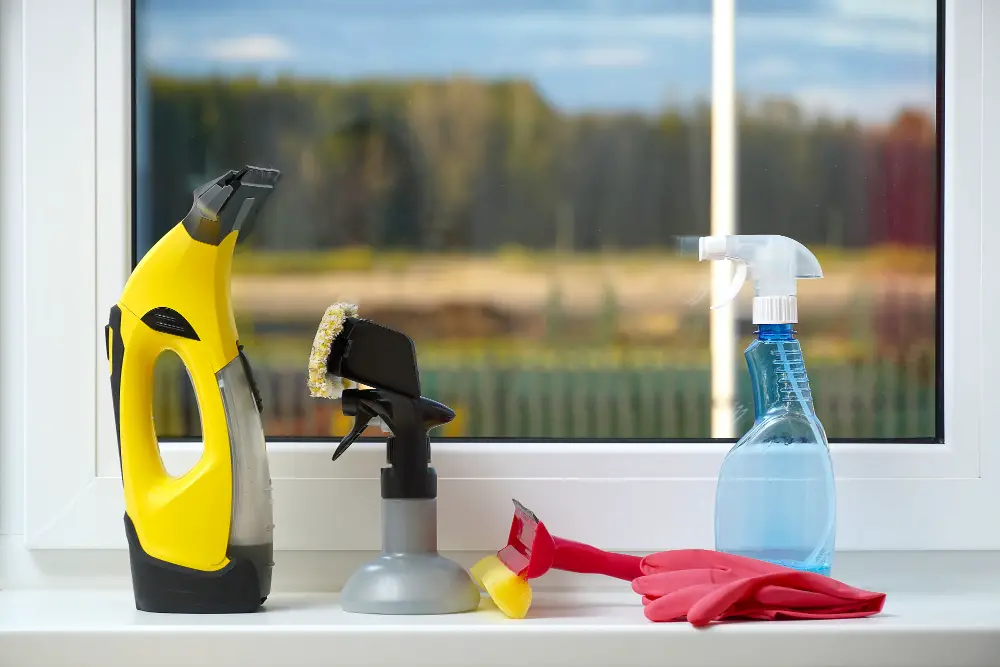
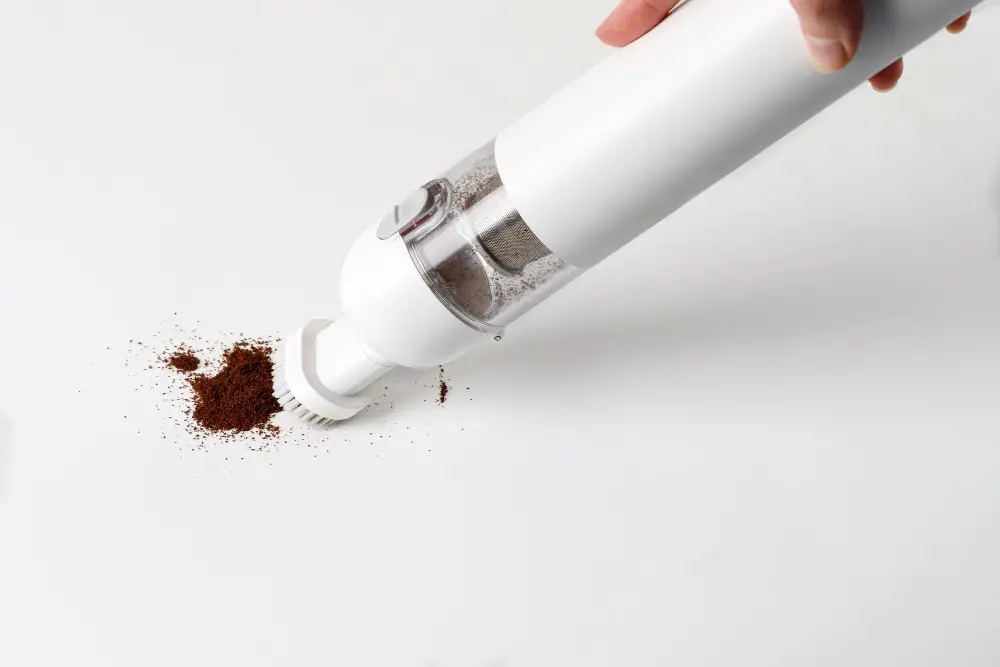
This step will ensure that the cover fits securely and provides maximum protection against debris and water damage. Start by removing any existing covers or debris from your window well using a broom or vacuum cleaner.
Next, clean the area around your window well with soap and water to remove any dirt or grime buildup. If you have an older home with a rusty metal frame around the window well, consider sanding it down before proceeding further.
Once you’ve cleaned up everything in sight, take accurate measurements of both width and depth of your window wells as this information is crucial for selecting appropriate materials for making covers that fit perfectly over them.
Assembling the Window Well Cover
The assembly process will vary depending on the type of cover you’ve chosen, but most covers come with easy-to-follow instructions.
Start by laying out all of the pieces and hardware included in your kit. Make sure everything is accounted for before beginning assembly.
Next, follow the manufacturer’s instructions to connect any support brackets or framing pieces together using screws or other fasteners.
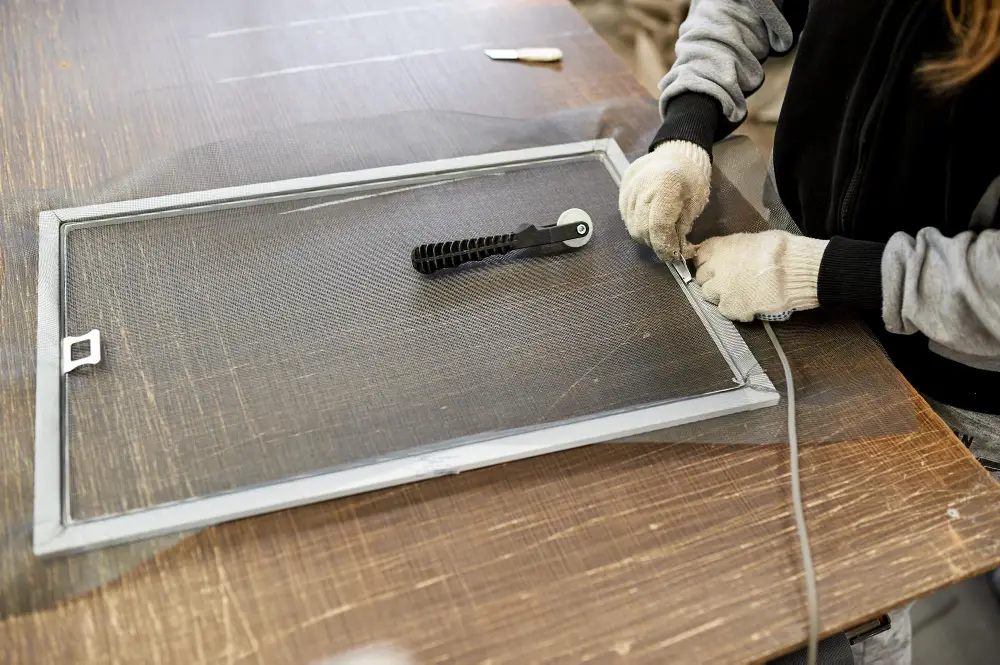
If you’re installing a mesh-style cover, carefully weave each section of mesh into place within its frame until it is taut and secure. For solid covers made from plastic or metal materials, snap each panel into place along its corresponding grooves until they are securely locked together.
Assembling a window well cover can be done quickly with basic tools such as screwdrivers and pliers; however some types may require more specialized equipment like power drills or saws if custom cuts need to be made during installation.
Attaching Support Brackets
These brackets will keep the cover securely in place and prevent it from shifting or falling into the window well.
To begin, position each bracket on either side of the window well at equal distances apart. Make sure they are level with one another before marking their placement with a pencil.
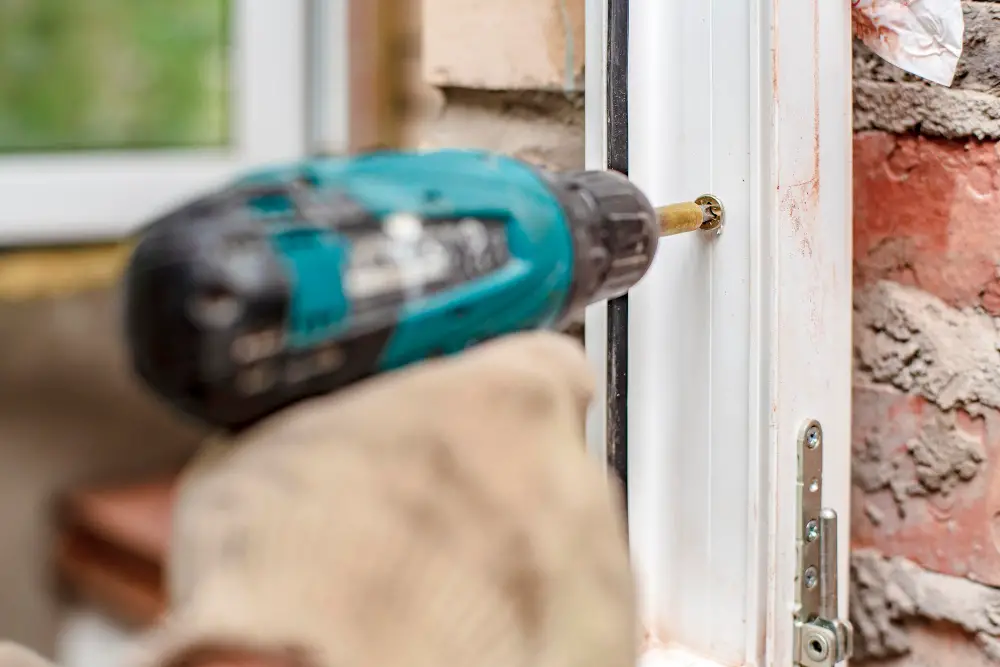
Next, drill pilot holes through each bracket and into the wall using a power drill. Be sure to use screws that are long enough to secure both the bracket and cover in place but not so long that they penetrate too far into your home’s foundation.
Slide your newly constructed window well cover onto these support brackets until it rests snugly against them. Test its stability by applying gentle pressure from different angles before moving on to securing it permanently in place.
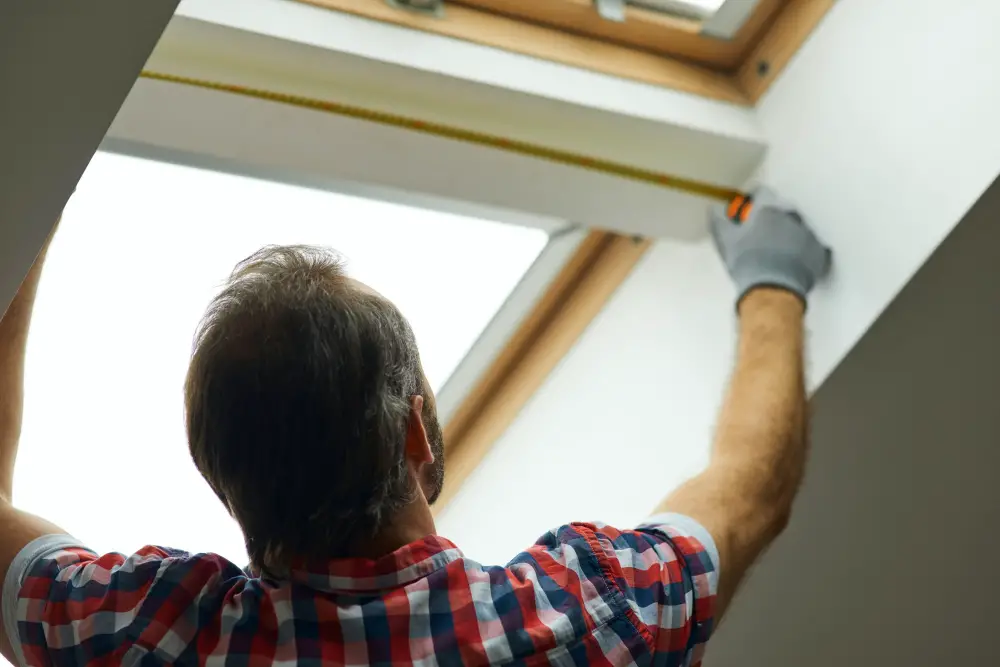
Installing the Cover
First, carefully place the cover over the window well and ensure that it fits snugly. If necessary, adjust the position of any support brackets to ensure a proper fit.
Next, secure the cover in place by screwing in self-tapping screws through each bracket into your home’s foundation or siding. Be sure not to overtighten these screws as this can cause damage or cracking.
Test for proper coverage by pouring water onto your newly installed window well covers. Check for any leaks or gaps where water may be able to seep through and make adjustments as needed.
Securing the Cover to Window Well
This step is crucial to ensure that the cover stays put during heavy rain or snowfall.
To secure the cover, start by placing it over the window well and aligning it with its edges. Then, use a drill to make pilot holes through both sides of each bracket into the frame of your house.
Next, insert screws into each hole and tighten them until they are snug but not too tight.
It’s important not to overtighten as this can cause damage or warping of either your window well covers or house foundation. Once all screws are in place on both sides of every bracket, test for proper fit by gently pushing down on different areas around its perimeter.
Testing for Proper Fit and Coverage
This step ensures that your cover is securely in place and will protect your basement from unwanted debris or water damage.
To test for proper fit, gently push down on the center of the cover. If it moves more than an inch or two, then you may need to adjust the support brackets or add additional ones.
Next, check for adequate coverage by pouring a bucket of water over the top of your window well. Observe if any water seeps through gaps between covers and wells’ edges; if so, make sure to seal them with silicone caulk.
Testing is crucial because poorly fitting covers can be dangerous as they can collapse under weight causing injury while inadequate coverage leaves room for debris accumulation leading to clogging drainage systems resulting in flooding during heavy rains.
Safety Considerations
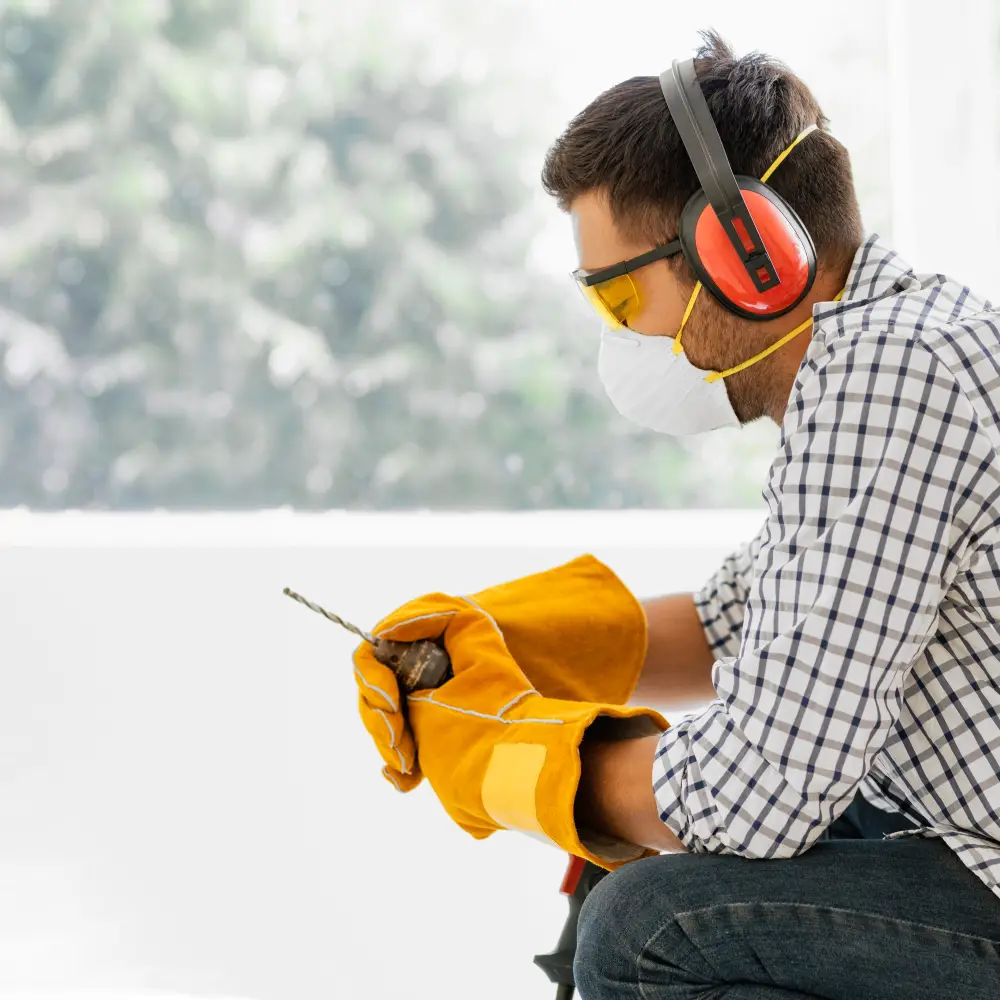
First and foremost, make sure the area around the window well is clear of any debris or obstacles that could cause tripping hazards. If necessary, use a broom or shovel to remove any dirt or rocks from the area.
If you’re working with metal covers that require cutting and drilling tools, be sure to wear protective gloves and eyewear. These materials can produce sharp edges when cut or drilled into.
Always have someone else present while installing your window well cover for added safety measures. They can assist in holding up larger covers during installation and provide an extra set of eyes for ensuring proper alignment.
Maintaining Your Window Well Covers
Regular maintenance will ensure that they continue to function correctly and protect your basement from unwanted debris and water damage.
To keep your window well covers in good condition, start by cleaning them regularly. Use a soft-bristled brush or sponge with mild soap and water to remove any dirt or debris that has accumulated on the surface of the cover.
Avoid using harsh chemicals or abrasive materials as these can scratch or damage the cover.
Inspecting your window well covers periodically is also essential for proper maintenance. Check for any cracks, holes, rust spots, loose screws/bolts/nuts/washers/anchors/clips/etc., missing parts (such as clips), bent frames/supports/brackets/hinges/latches/etc., signs of wear-and-tear/damage/fading/discoloration/corrosion/rust/etc., insect nests/webs/debris accumulation/mold growth/water pooling around/on top of/in between the cover(s) & frame(s)/etc.
If you notice any issues during inspection such as those mentioned above – repair/replacement may be necessary depending on severity; contact a professional if needed.
Troubleshooting Common Issues
One of the most common problems is water accumulation on top of the cover. This can happen if there are gaps between the cover and window well or if it’s not installed at a slight angle to allow for proper drainage.
To fix this issue, ensure that your window well covers fit snugly against the wall and have no gaps around them. You may also need to adjust their position slightly so they slope away from your home’s foundation.
Another problem you might face is debris buildup on top of your covers, which can obstruct natural light and ventilation into your basement. To prevent this issue, clean off any leaves or other debris regularly using a soft brush or vacuum cleaner attachment.
If you notice any cracks in plastic covers or rust spots in metal ones over time, replace them immediately as they won’t provide adequate protection anymore.
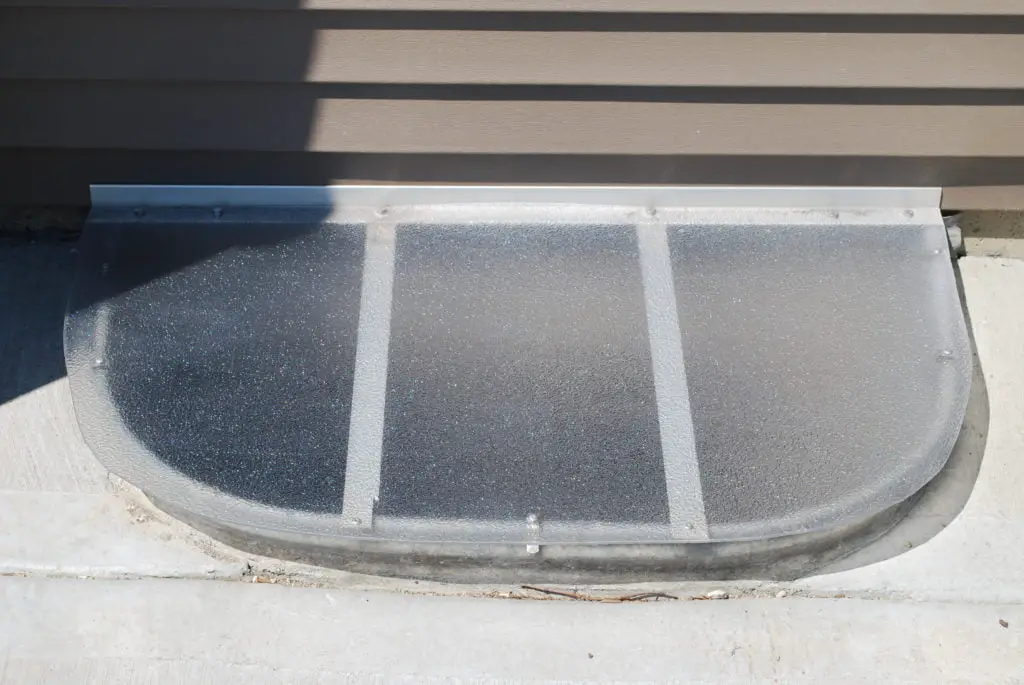
Benefits of Window Well Covers
First and foremost, they protect your basement from water damage caused by rain or snow accumulation in the window well. This can save you thousands of dollars in repair costs down the line.
Window well covers prevent debris such as leaves and twigs from accumulating in your window wells, which can clog drainage systems and attract pests like rodents or insects.
Another benefit is that they enhance the overall appearance of your home’s exterior while increasing its curb appeal. Window well covers come in various materials such as polycarbonate plastic or metal grates that are both durable and aesthetically pleasing.
Moreover, installing a cover on each basement window provides an extra layer of security to deter intruders from entering through these vulnerable points into your home.
DIY Vs. Professional Installation

While DIY installation can save you money, it’s important to consider your skill level and the complexity of the job. If you’re comfortable with basic tools and have experience with home improvement projects, then DIY installation may be a viable option for you.
However, if this is your first time working on such a project or if there are any structural issues that need addressing before cover installation (such as cracks in foundation walls), hiring an experienced contractor might be necessary. A professional installer will have specialized knowledge and equipment needed for more complex installations.
Ultimately, deciding between DIY vs. Professional installation depends on several factors including budget constraints and personal preference.
FAQ
Do window wells need to be attached to foundation?
Yes, window wells need to be attached to the foundation of your home for safety reasons and to withstand harsh elements.
Should window wells have a cover?
Yes, window wells should have a proper cover according to Window Well Experts, as it provides the fullest benefit and ensures sturdiness and leak-proof functionality.
What are the different types of window well cover materials available in the market?
The different types of window well cover materials available in the market include polycarbonate, metal, and plastic.
How do you choose the right size and shape for a window well cover?
To choose the right size and shape for a window well cover, accurately measure the window well and select a cover that corresponds to those dimensions and shape.
What are the key factors to consider when selecting a window well cover for effective drainage and safety?
Selecting a window well cover requires consideration of material quality, custom-fit, load-bearing capacity, easy access, and effective drainage for both safety and efficiency.
Read More
 Aluminum Window Latch Replacement: A Simple Guide to Security and Style
 Custom Aluminum Window Screens Buying Guide
 Aluminum Window Removal Tool: Easy Steps for a Hassle-Free Window Replacement
 Screw for Aluminum Window Frame: Your Ultimate Fixing Guide
 Replace Aluminum Window Glass: A Beginner’s Guide to a Clearer View
Recap