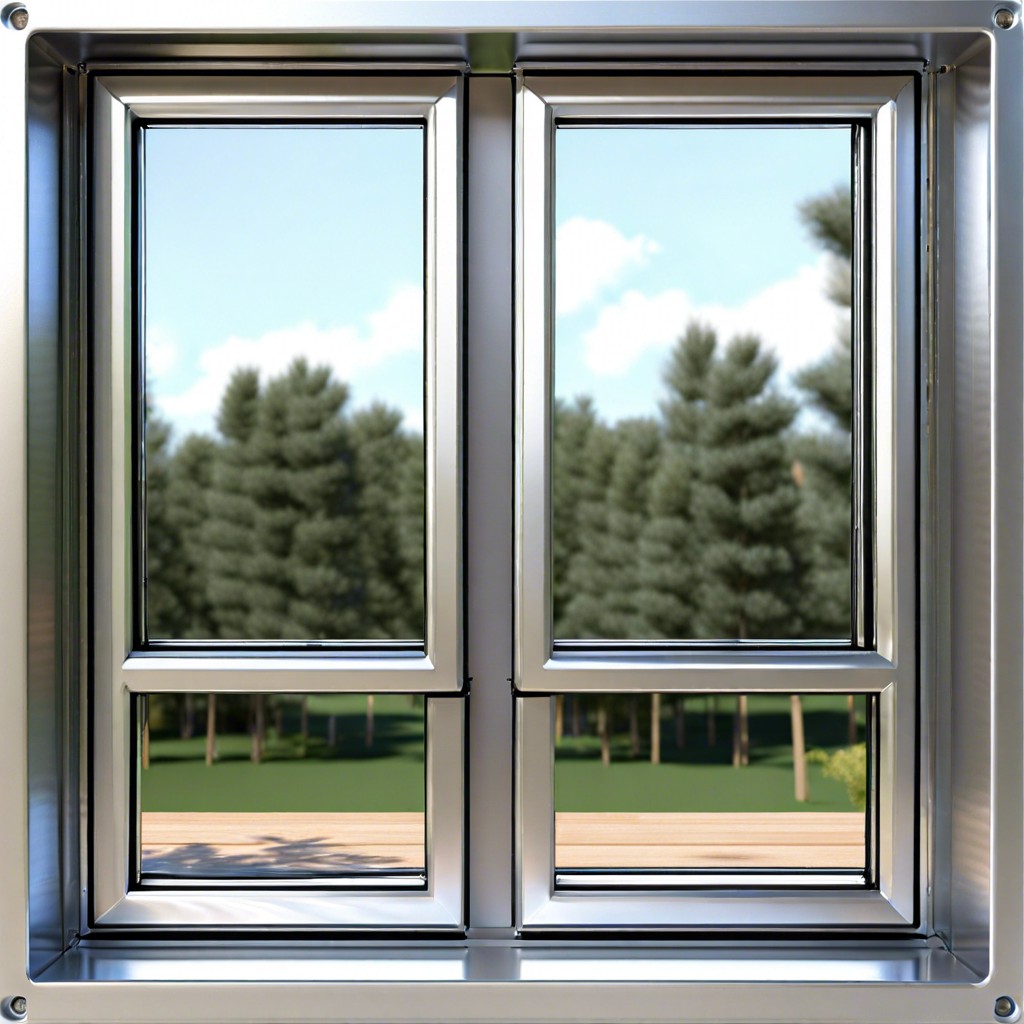
Find out which screws are best suited for securing your aluminum window frames and ensure they’re safely installed.
When you’re staring down a sleek aluminum window frame, the last thing you want is a screw loose—literally! Whether you’re wrestling with thread types or scratching your head over corrosion-resistant coatings, finding the right screw for an aluminum frame can feel like unraveling a mystery. Fear not. This guide tackles everything from material compatibility to common errors, ensuring your window remains as secure as Fort Knox. Time to tighten up that knowledge and avoid those screw-ups!
Key takeaways:
- Self-tapping, machine, stainless steel, zinc-plated, and pan head screws recommended.
- Aluminum and stainless steel compatibility crucial for corrosion resistance.
- Coarse threads for heavy-duty, fine threads for precision work.
- Consider length and diameter for secure, non-damaging fit.
- Self-tapping for light-duty, machine for heavy-duty applications.
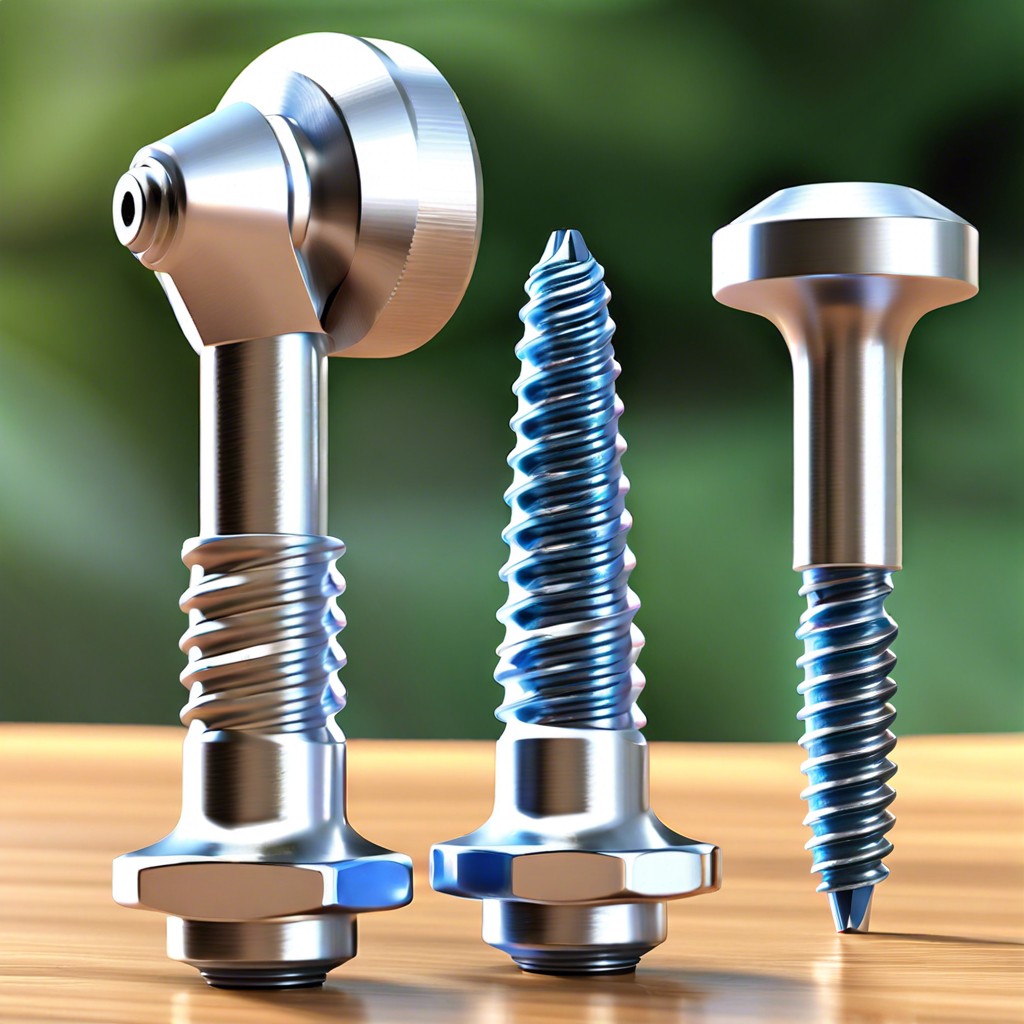
Types of Screws for Aluminum Frames
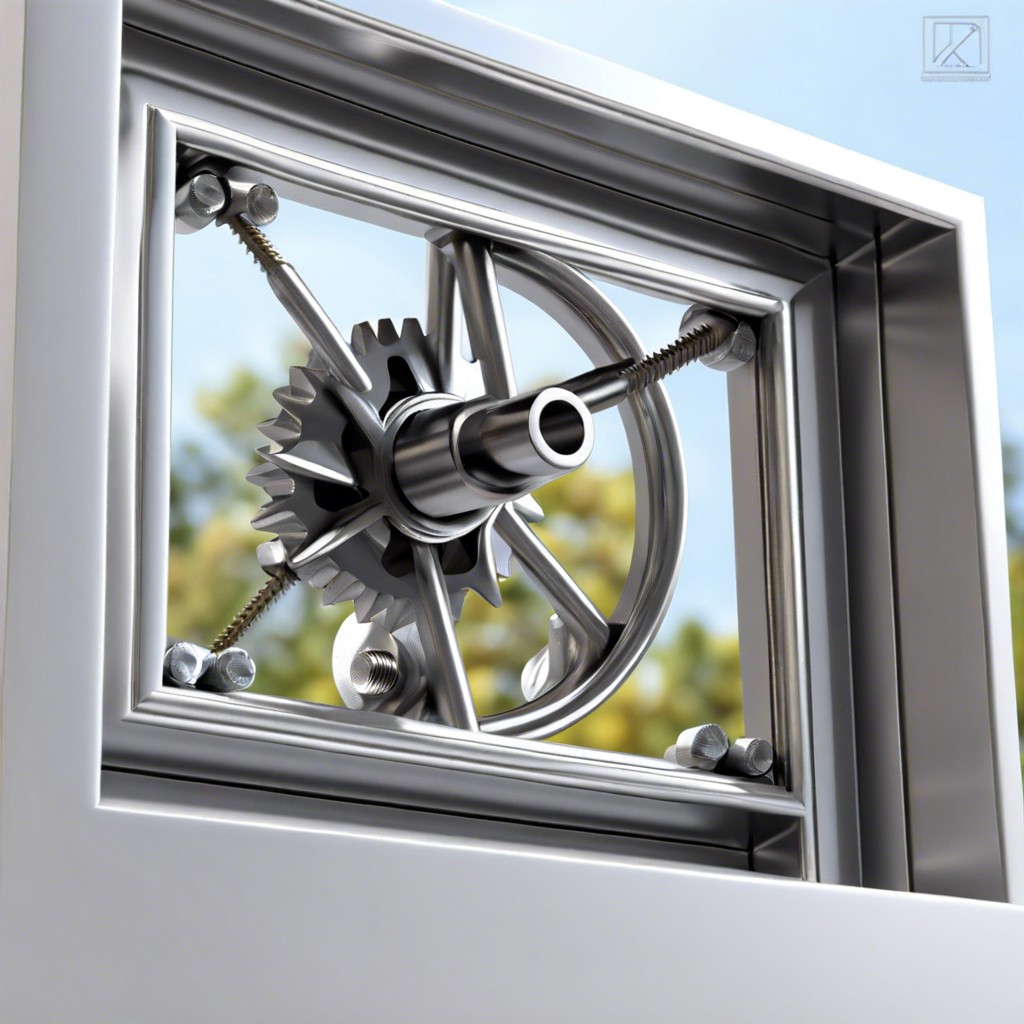
When it comes to securing aluminum window frames, selecting the right screw is crucial for durability and stability:
First up, we have self-tapping screws. These are incredibly convenient because they create their own thread as you drive them in, no need for pre-drilling. They’re perfect for those who want to save some time and muscle power.
Next, consider using machine screws, which require a pre-tapped hole or a nut. These provide a stronger hold, especially if the frame will bear a lot of weight or stress.
For outdoor applications, stainless steel screws are a solid choice. They resist corrosion and maintain their integrity through seasons of rain, snow, and sun.
Zinc-plated screws are also popular for their corrosion-resistant properties and lower cost, offering a good balance between performance and price.
Don’t forget pan head screws. Their wider surface area helps distribute pressure more evenly, reducing the risk of damaging the frame.
And let’s not overlook flathead screws, which sit flush with the surface, giving your window frame a clean, streamlined look. Perfect for when aesthetics matter as much as function.
Material Compatibility
Let’s talk compatibility. You wouldn’t pair a fine wine with a soggy sandwich, right? The same goes for screws and aluminum window frames. Here are some quick pointers:
Mixing metals is a no-no. Aluminum and stainless steel are BFFs (Best Fastening Friends). They play nice together and resist corrosion.
Avoid plain steel screws. They are prone to rust, and nobody likes flaky, rusty bits.
Brass screws might look fancy, but they are softer than aluminum. Not a great match unless you fancy a screw that breaks under pressure.
Consider anodized versions. These come with an extra layer of protection, kind of like a superhero cape. They fend off corrosion, ensuring longevity.
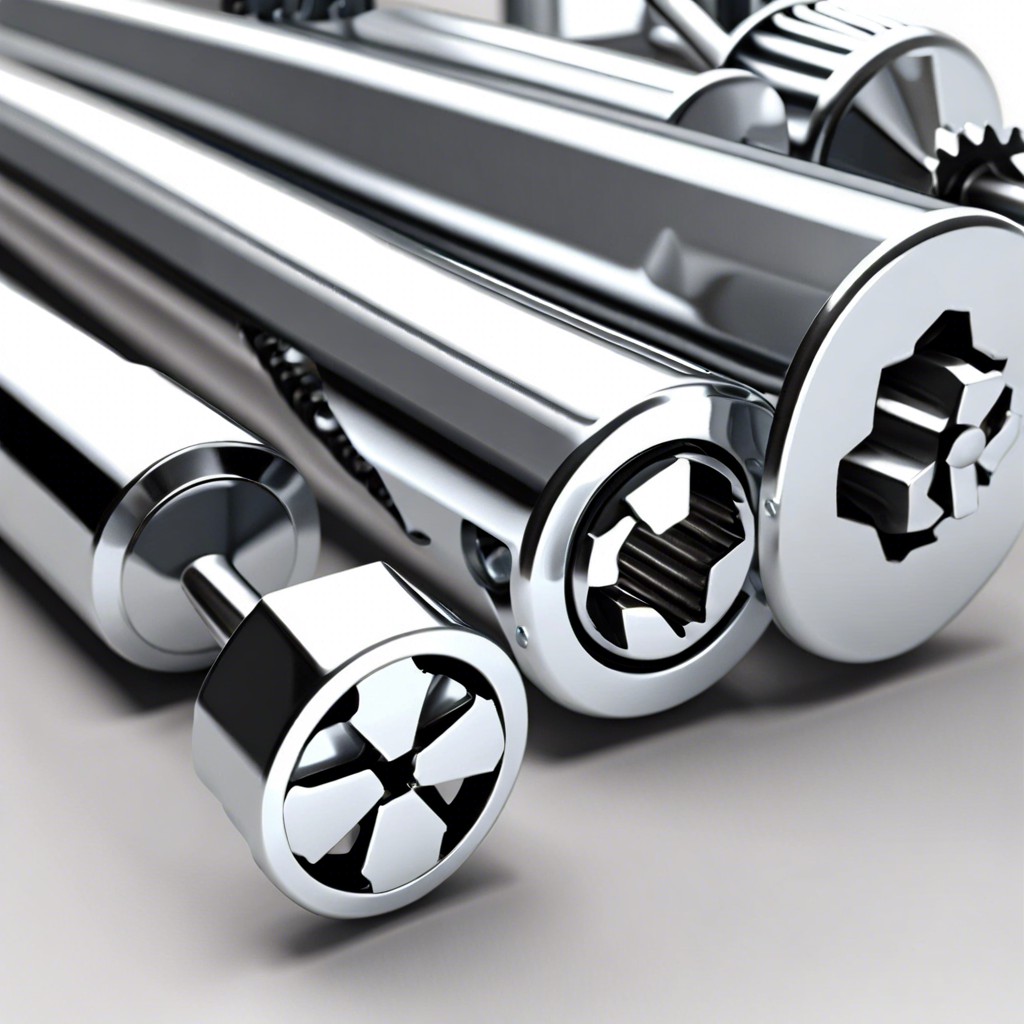
Thread Types
Thread types play a crucial role in ensuring a secure fit. The two main categories you’ll encounter are coarse and fine threads.
Coarse threads are great for general purposes and quick assembly. They’re hard to strip, making them ideal for heavy-duty applications. Fine threads, on the other hand, provide better holding power and are less likely to loosen from vibrations. They’re the go-to for precision work.
For aluminum window frames, self-tapping screws usually come with their own thread designs tailored to the material. Look out for those with deeper, sharper threads, optimized for cutting into aluminum without creating a mess.
When in doubt, check the manufacturer recommendations. Trust us, it’s not a marketing gimmick but a lifesaver to ensure your windows stay put and weather-tight.
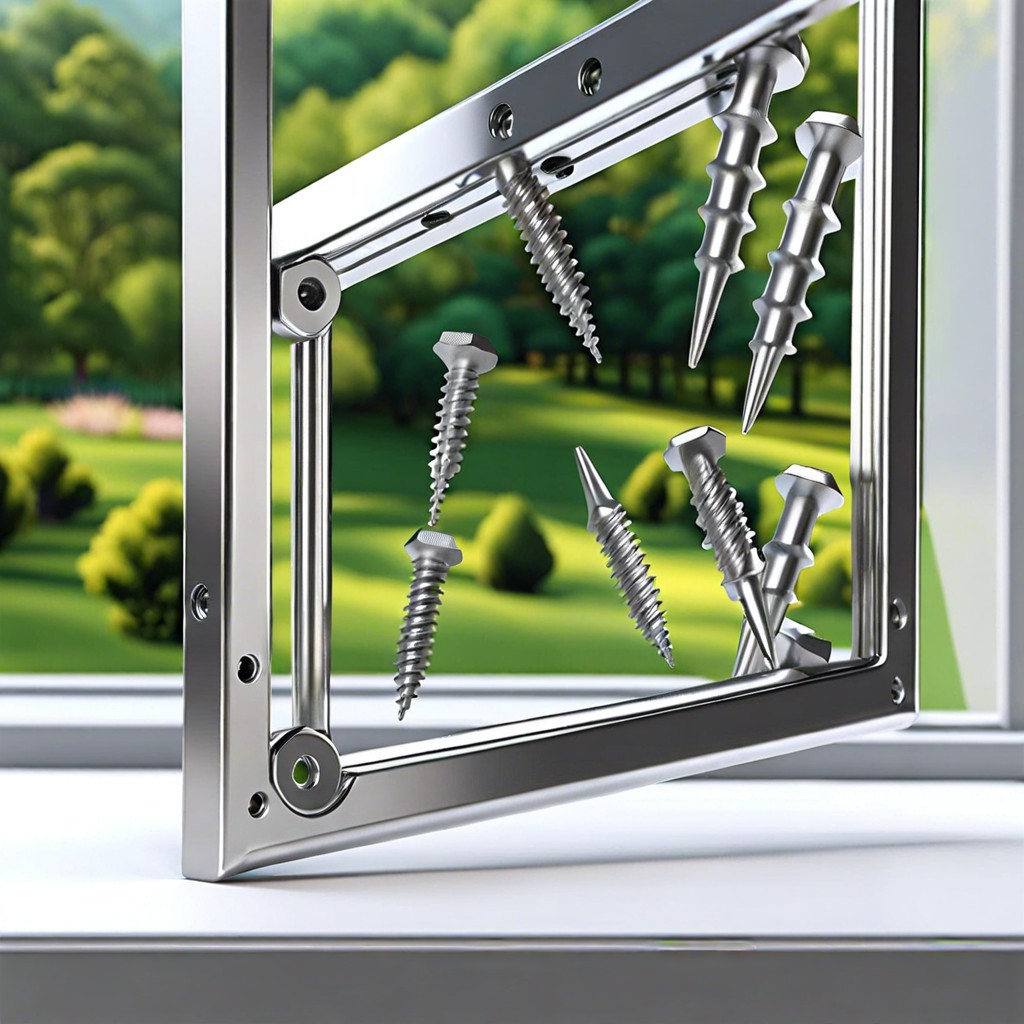
Length and Diameter Considerations

When choosing screws, size does matter. Let’s drill into it, shall we?
First, measure the thickness of the aluminum frame. You want a screw that’s long enough to penetrate the frame securely but not so long that it sticks out the other side like an unwelcome guest.
Next, consider the diameter. A screw that’s too narrow will wiggle like an uninvited dance partner, while one that’s too thick can crack the frame. Goldilocks had it right – you need one that’s just right.
Avoid going overboard with size. A beefy screw may seem like a good idea, but finesse is your friend here. Trust us, less is sometimes more.
Remember, you’re not building a fortress; you just want a solid connection. So, grab that measuring tape and play it smart.
Self-tapping Vs. Machine Screws
Self-tapping screws are the superheroes of the fastener world. They drill their own little way into the aluminum, saving you a step and a whole lot of patience. Ideal for light-duty fixtures, they come in handy when you need to attach things quickly without pre-drilling.
Machine screws, on the other hand, are the meticulous, detail-oriented cousins. They require pre-drilled holes and often team up with nuts or threaded inserts, making them perfect for heavy-duty and structural applications.
Here’s a quick run-down:
- Self-tapping screws: No pre-drilling necessary, great for quick jobs and light-duty applications.
- Machine screws: Needs pre-drilled holes, best for heavy-duty tasks, usually paired with nuts or threaded inserts.
Pick according to your project’s complexity and needs.
Coating and Corrosion Resistance
Good news: your screws don’t need to rust away their potential. Choosing the right coating can turn them into corrosion-resistant champions. Here are a few things to consider:
Galvanized Coating: An affordable choice, great for general use, but it might not withstand harsh coastal environments. Saltwater isn’t its best friend.
Stainless Steel: These screws are the superheroes of the screw world. They’re perfect for any job and can endure humidity, rain, or even the occasional coffee spill.
Zinc Plating: Offers decent protection but tends to be less durable in tough conditions. It’s like the flimsy umbrella that’s better than nothing but might leave you soaked in a storm.
Anodized Aluminum: Matches your aluminum frame’s attire, ensuring an elegant finish. Plus, it’s honorary in corrosion resistance, so win-win.
Incorporating these options into your screw selection ensures your aluminum window frames hold steadfast, come rain or shine.
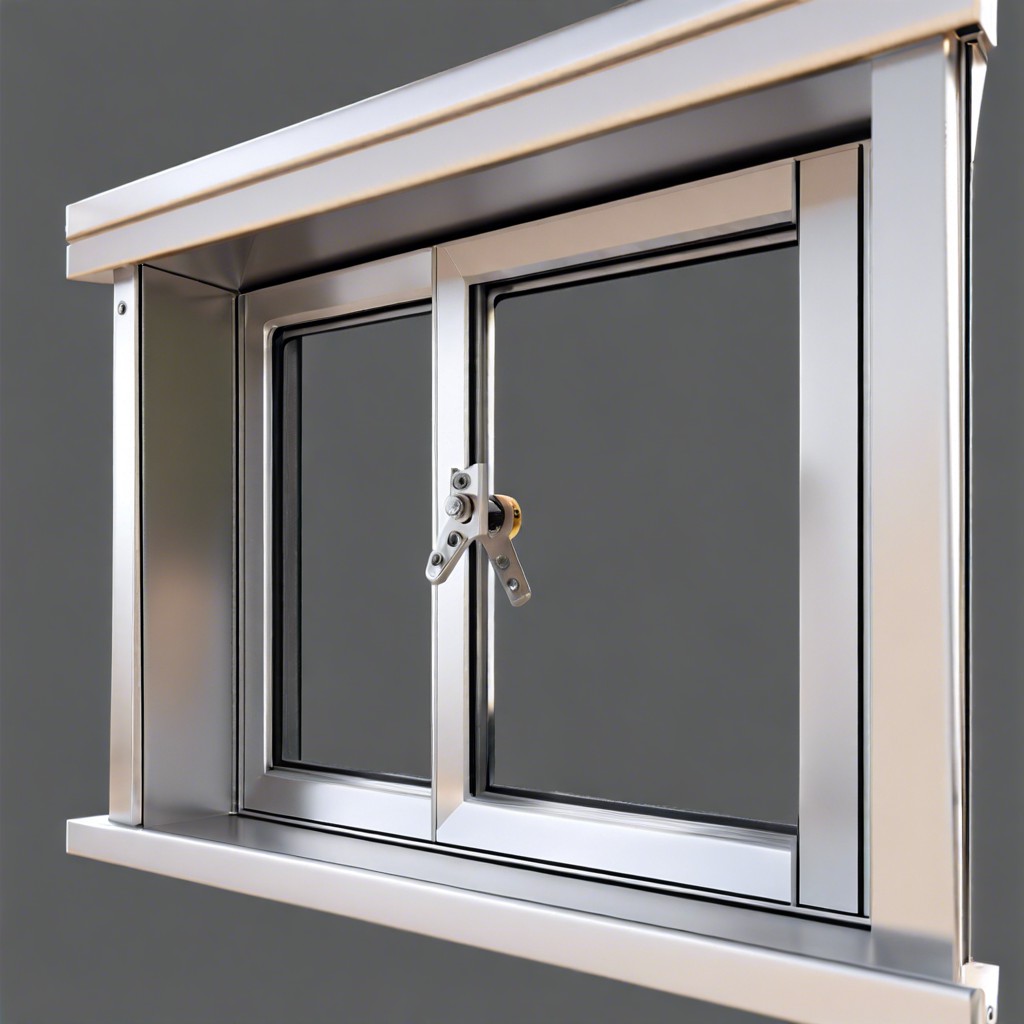
Tools for Installation
When you’re diving into the world of aluminum window frame installation, having the right tools can make all the difference between a smooth process and a DIY horror story. Here are some must-haves:
Drill: Opt for a variable speed drill, ideally cordless. This will help you navigate tight spots and awkward angles, reducing the risk of incomplete drives.
Drill bits: High-speed steel (HSS) bits are a great match for aluminum. Make sure to get a set with various sizes to accommodate different screw diameters.
Screwdriver: A good quality screwdriver with interchangeable heads is your best friend. It’ll help you tackle different screw types without fuss.
Countersink bit: This ensures screws sit flush with the frame, giving a polished, professional finish.
Deburring tool: To smooth out any rough edges after drilling, making the frame look neat and preventing accidental cuts.
Make sure to double-check your toolbox before starting the project. Nothing spoils the fun like hunting for a missing tool midway through!
Best Practices for Drilling and Fastening
Start with a pilot hole. Aluminum may seem like a superhero, but you’re its sidekick. Use a smaller drill bit to create a pilot hole first. This guides the screw and prevents unwanted cracks.
Use cutting oil. Friction is fun… said no one ever. Lubricate the drill bit with cutting oil to keep it from overheating. Hot drills and aluminum don’t mix well, unless you’re cooking dinner.
Go slow. Think of this as a marathon, not a sprint. High-speed drilling can lead to messy, inaccurate holes. Slow and steady helps maintain control and accuracy.
Countersink the hole. Removing a few metal shavings with a countersink bit allows the screw head to sit flush. No bumpy roads here, only smooth finishes.
Pause for cooling. Keep your cool, literally. Allow the bit to cool down occasionally to prevent overheating and snapping. Snapped drill bits can turn a simple project into a full-blown drama.
Common Mistakes to Avoid

Most folks think installing screws in aluminum window frames is a breeze, but a few common mistakes can turn your DIY project into a headache.
Overtightening is a big one. Aluminum is strong but not invincible; crank down too hard on that screw, and you risk stripping the threads or even cracking the frame. Think Goldilocks: not too tight, not too loose, just right.
Skipping the pilot hole is another classic error. Aluminum isn’t wood; you can’t just jab a screw in there and hope for the best. Without a pilot hole, you’ll struggle to get a good hold, and you might even warp the frame. Pre-drilling is your friend.
Choosing the wrong screw can also sabotage your project. Make sure your screw type and material match your frame’s needs. Mixing metals, especially, can lead to corrosion, turning your shiny new windows into a rusty mess.
Using a dull drill bit is like trying to slice a tomato with a butter knife. It’ll result in messy holes and frustration. Keep your tools sharp and your patience intact.
Lastly, always double-check your measurements. A misplaced screw isn’t just annoying; it can affect the window’s operation and lifespan. Measure twice, drill once, and avoid future regrets.
Read More
 Aluminum Window Latch Replacement: A Simple Guide to Security and Style
 Custom Aluminum Window Screens Buying Guide
 Aluminum Window Removal Tool: Easy Steps for a Hassle-Free Window Replacement
 Replace Aluminum Window Glass: A Beginner’s Guide to a Clearer View
 15 Ideas for Sliding Aluminum Window Repair
Recap