Learn how to replace aluminum window glass efficiently and safely with practical steps and useful tips.
Got a cracked aluminum window that’s giving your house that “haunted mansion” vibe? Fear not, intrepid DIYer! This guide has you covered from start to sparkling finish. Dive into the essentials—from prepping your tools and staying safe, to the nitty-gritty of measuring, cutting, and securing your shiny new glass. Ready to make those windows crystal clear? Let’s get to glass action!
Key takeaways:
- Safety first: gloves, goggles, long sleeve shirt, clear area.
- Removing old glass: use putty knife, tap lightly, dispose carefully.
- Cleaning frame: vacuum, mild soap, rinse, dry thoroughly.
- Measure precisely, deduct for expansion, cut carefully.
- Apply glazing compound, set new glass, secure with points.
Tools and Materials Needed
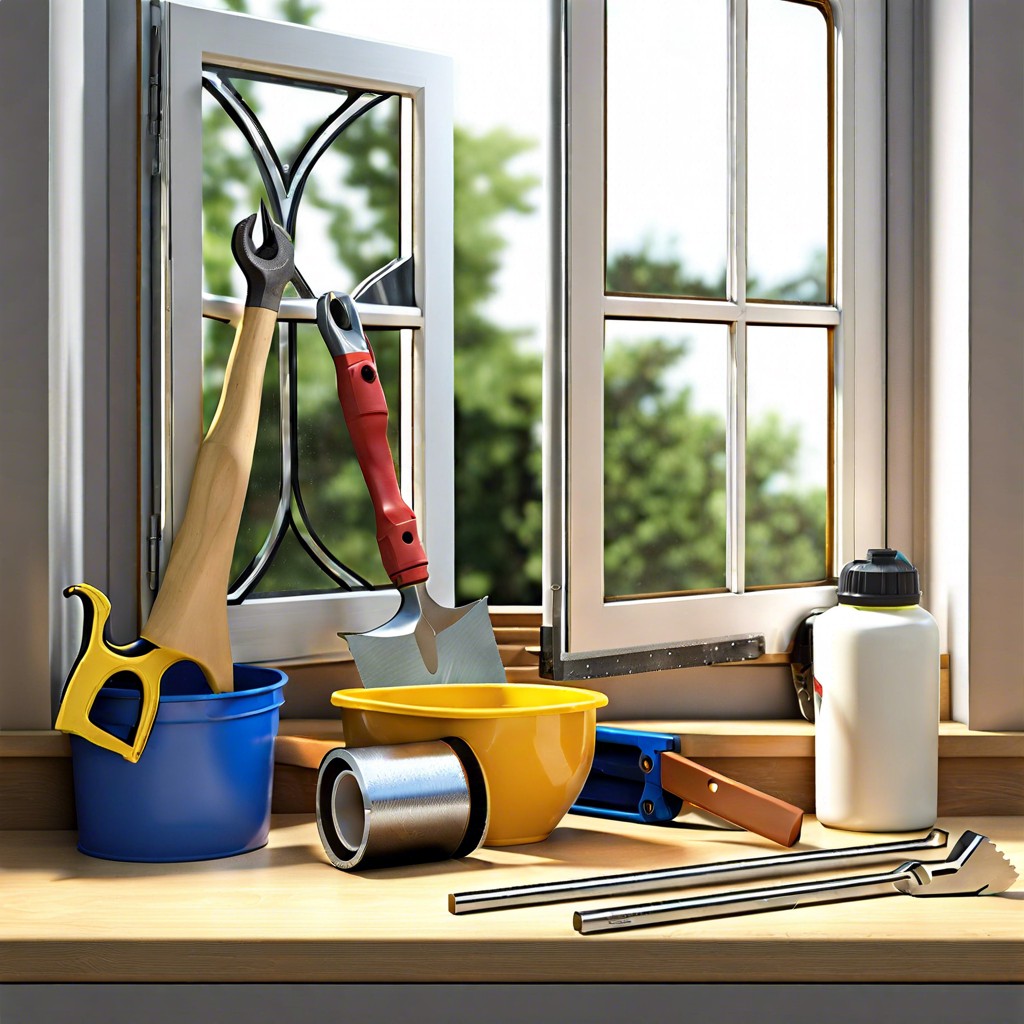
To tackle this project, you’ll need a few key items. Think of it as your window repair toolkit, minus the superhero cape—although, if you have one, who am I to stop you?
Grab a pair of safety gloves and goggles first. Safety is glamorous, after all.
A utility knife or putty knife will be your best friend for removing old glazing.
You’ll also need glazing compound and glazing points. These tiny but mighty fellows keep the glass in place.
Make sure you have a tape measure and a glass cutter. Precision is everything here; we’re not making abstract art.
Don’t forget a caulking gun. Yeah, it looks like something out of a sci-fi movie, but it’s crucial for applying the new glazing compound.
Lastly, a flathead screwdriver and pliers are essential for prying off those stubborn pieces and for minor adjustments.
Got everything? Great. Now, let’s get your hands dirty (while staying safe) and make that window sparkle again.
Safety Precautions

Before you start, remember: safety first, not driving to the ER first. Here’s a quick checklist, because nobody wants an unplanned ambulance ride.
Firstly, gloves are your best pals. Glass shards and fingers don’t mix. And hey, wrap them in something sturdy, not a pair of thin gym gloves.
Second, eye protection. One stray shard can ruin your day and your vision. So, say yes to safety goggles.
Next, a long-sleeve shirt can save you from those sneaky, sharp edges. Plus, it adds a layer of mystery to your look. Win-win.
Finally, clear the area. Pets and children might think you’re creating a fun maze with shattered glass, but trust me, they won’t enjoy it.
Now, you’re ready to kick some glass.
Removing the Old Glass

First, put on heavy-duty gloves and safety goggles. Protect those precious peepers!
Using a putty knife, gently pry off the glazing points or tabs securing the glass. Do it with the grace of a ballet dancer—aluminum frames can be delicate.
Tap the glass lightly with a hammer wrapped in cloth to loosen any stubborn pieces. But don’t go all medieval on it; we’re not reenacting a battle here.
Carefully remove the shards one by one, placing them in a sturdy disposal container.
If glass sticks, use a utility knife to cut through old glazing compound. Just like slicing through a stubborn piece of toast.
Take your time to check the entire frame, ensuring no tiny glass splinters are left behind. Let’s avoid any surprise finger cuts later!
Done! You’ve successfully dealt with the old glass, without adding any battle scars to your hands.
Cleaning the Frame
Dust bunnies may be cute in storybooks, but they have no place in your window frame. Grab a vacuum cleaner or a soft brush and clear out any debris.
Next, use a mild soap mixed with water and a sponge. Avoid harsh chemicals like the plague; they can damage the frame. Gently scrub all nooks and crannies.
Rinse the frame with clean water to ensure no soap residue remains. Residue can affect the adhesion of the new glazing compound.
Finally, dry the frame completely with a soft cloth. A damp frame is like a wet towel at the beach – nobody likes it. Plus, it can prevent the glazing compound from sticking properly.
Measuring for the New Glass
Grab your trusty tape measure—this is where precision matters. Measure the width and height of the window frame where the glass will sit. Do this from edge to edge inside the frame, not the part that overlaps with the existing frame.
Double-check those measurements. It’s easy to slip up and order the wrong size. Nobody wants a window that doesn’t fit, right?
Deduct about 1/8 inch from each dimension to allow for any expansion and contraction. A perfectly snug fit sounds nice but trust me, you don’t need the hassle of trying to wedge glass into a slightly too-small space.
Take note: measure twice, and cut once. Fixing mistakes is no fun, and your wallet will thank you.
Cutting the Replacement Glass

Alright, time to channel your inner craftsman. Cutting window glass isn’t as daunting as it sounds.
First, measure your window carefully, because “close enough” can leave you with a breezy room. Double-check those numbers.
Next, place the glass cutter on the marked line. Imagine you’re slicing a pizza, but with less cheese and more precision. Apply firm, even pressure as you drag the cutter along the line.
You should hear a satisfying scratching sound. If it sounds like an orchestra of tiny nails on a chalkboard, you’re doing it right. Remember not to press too hard—the glass should break, not your sanity.
Once scored, carefully snap the glass along the line. If done correctly, it should break cleanly. If not, you might have an abstract art installation instead of a functional window pane.
Voila! You now have a perfectly cut piece of glass ready to fit snugly into your aluminum window frame.
Applying New Glazing Compound

Squeeze a generous bead of glazing compound around the frame where the new glass will sit. Think of it as cake frosting – but, you know, without the deliciousness.
Use a putty knife to smooth the compound evenly. Aim for a neat finish, but don’t stress about perfection; perfection is overrated, and besides, this is just the underlayer.
Press the new glass gently into the bed of compound. Apply enough pressure to make it stick, but not so much that it oozes out all over the place—unless you enjoy a sticky mess.
Finally, add another line of glazing compound along the edges of the glass to seal it in. Smooth it out with the putty knife. Voilà, you’ve created a perfect seal just like a pro—minus the paycheck.
Setting the New Glass

Make sure the glazing compound has been applied evenly around the frame, creating a smooth bed for the glass. Ensure a snug fit and avoid gaps.
Gently press the glass into the frame. Secure it by pushing evenly around the edges. You don’t want to crack it after coming this far.
Use glazier’s points every 6 inches along the frame to hold the glass securely. These little metal clips are the unsung heroes of window repair.
Double-check that the glass is level and flush with the frame. Precision now will save you headaches later.
Finally, apply another layer of glazing compound over the edges to seal it in. Smooth it out for a clean finish, and let it dry as per the manufacturer’s recommendations.
Keep an eye on weather conditions—make sure it’s not too humid or rainy, as this can affect the drying process.
Securing the Glass

Once the new glass is in place, it’s time to make sure it stays there, securely and safely. Think of it like tucking in a baby at night—gentle but firm.
First, use glazing points to hold the glass in the frame. Press them in along the edges, spacing them about 6 inches apart. These little guys are like the unsung heroes of window repair, keeping things stable without stealing the spotlight.
Next, apply a bead of glazing compound around the edges. Use a putty knife to smooth it out. Aim for a smooth, even surface—any lumps or bumps could make your window look like it had a rough night.
Give the compound time to set. Patience here pays off, kind of like waiting for a cake to bake. You want it firm and reliable.
If your window has a frame with screws, now’s the time to snug them up, but don’t go overboard. Tighten them until snug, not “Hulk smash” tight.
Lastly, check that the window opens and closes smoothly, as if it’s gliding on air. If it sticks, you might need to adjust the frame slightly.
That’s it—your window is all set, looking spiffy, and ready to face the elements!
Final Inspection and Cleanup

Take a step back and admire your handiwork. Here’s what to check:
Clean Lines: Ensure the glazing compound forms smooth lines with no gaps or smudges. It should look like an ice skater gliding on fresh ice.
No Wobbling: Gently press the glass to confirm it’s secure. If it moves, grab your tools—you’re not done just yet.
Clear View: Make sure the glass is streak-free and spotless. Use a microfiber cloth to wipe away any stubborn spots. Treat it like a first date; you want it to look its best.
Frame Condition: Inspect the frame for any remaining debris or residue from the glazing compound. A clean frame not only looks good but also seals better.
Waste Not: Collect any broken glass shards, dispose of them safely, and sweep up—nobody wants an accidental toe piercing.
Celebrate. Maybe with a snack break. Enjoy the view through your freshly installed window!
Read More
 Aluminum Window Latch Replacement: A Simple Guide to Security and Style
 Custom Aluminum Window Screens Buying Guide
 Aluminum Window Removal Tool: Easy Steps for a Hassle-Free Window Replacement
 Screw for Aluminum Window Frame: Your Ultimate Fixing Guide
 15 Ideas for Sliding Aluminum Window Repair
Recap