Discover the essential steps to properly vent a kitchen sink installed under a window, ensuring smooth drainage and preventing unpleasant odors in your home.
Have you ever wondered how to properly vent a kitchen sink that’s located under a window? It may seem like a daunting task, but fear not! With the right tools and knowledge, it can be done easily and efficiently. In this blog post, we’ll explore the ins and outs of venting your kitchen sink under a window.
From understanding the importance of proper ventilation to step-by-step instructions on how to do it yourself, we’ve got you covered. So let’s dive in and get started!
Key takeaways:
- Proper ventilation is important for preventing clogs and odors.
- Sink placement under a window allows for natural light and fresh air.
- Consider window placement and type when venting a sink.
- Different ventilation techniques include studor vents, AAVs, loop vents, and island vents.
- Follow plumbing codes and regulations for proper ventilation.
Importance of Proper Ventilation

Without proper ventilation, your sink can become clogged with debris and emit unpleasant odors throughout your home. Improper venting can cause water to drain slowly or not at all from the sink.
This can lead to standing water that breeds bacteria and other harmful microorganisms.
Ventilation also helps regulate air pressure within your plumbing system by allowing air into pipes as water drains out. This prevents negative pressure from building up which could potentially suck sewer gases back into your home through drain traps.
Sink Placement Options

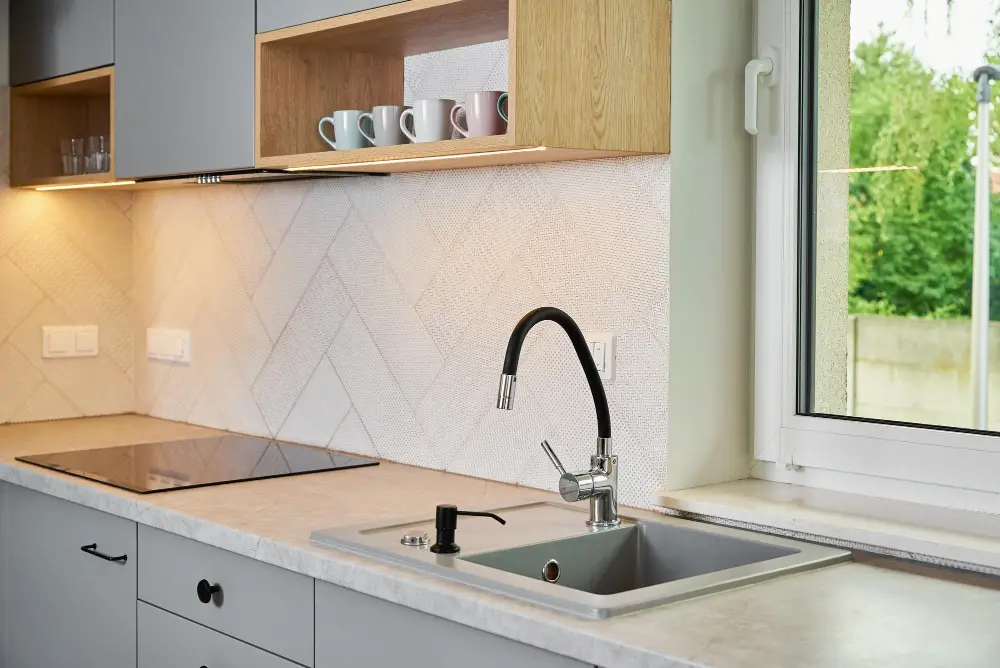
The most common placement is against the wall, with the plumbing running through the wall and into an adjacent room or basement for ventilation. However, if you’re looking for a more aesthetically pleasing option or have limited space in your kitchen layout, placing your sink under a window can be an excellent choice.
Not only does this create a beautiful focal point in your kitchen but also allows natural light to flood into the area while you work at the sink. Having access to fresh air from outside can help prevent unpleasant odors from lingering around your kitchen.
However, when installing a sink under a window and venting it properly becomes crucial as there’s no direct path through which air can escape like that of sinks placed against walls where pipes run directly out of homes’ roofs without any obstruction.
Window Considerations
Ideally, you want to avoid placing your sink directly beneath the window as this can make ventilation more difficult and increase the risk of water damage. If possible, position your sink slightly off-center from the window or choose a different location altogether.
Another factor to consider is whether or not your windows open outwardly. Outward-opening windows can interfere with proper ventilation and may require additional measures such as installing vents on either side of the opening.
If you have double-hung windows that slide up and down vertically, be sure that they do not obstruct any part of your vent system when opened fully.
Ventilation Techniques
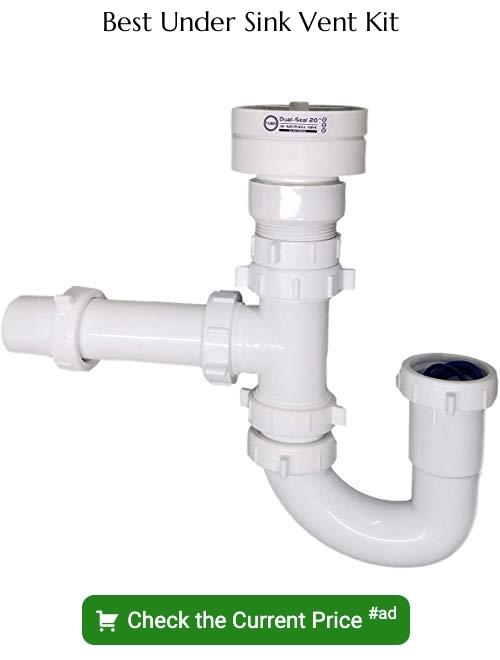
The most common methods include studor vents, air admittance valves (AAVs), loop vents, and island vents.
Studor Vents: These one-way air valves allow air to enter the drain system when needed but prevent sewer gases from escaping into your home. They’re easy to install and require minimal maintenance.
Air Admittance Valves (AAVs): Similar in function to studor vents, AAVs also allow for proper drainage while preventing odors from entering your living space. They’re typically installed on top of the sink’s drain line or inside the wall cavity.
Loop Vent Installation: This technique involves creating a loop in the vent pipe that connects directly with an existing vent stack or main waste line. It’s ideal for sinks located far away from other plumbing fixtures.
Island Vent Installation: If your kitchen sink is located on an island without access to an existing vent stack or waste line, this method may be necessary. An island vent is essentially its own separate ventilation system that connects directly with outside air through a roof-mounted pipe.
Studor Vents
These vents work by allowing air to enter the plumbing system, which equalizes pressure and prevents water from being siphoned out of traps. Studor Vents are easy to install and require minimal maintenance, making them an attractive choice for homeowners.
However, it’s important to note that Studor Vents have their limitations. They can only be used in certain situations where there is no other way to vent the sink properly due to space constraints or other issues.
Some local building codes may not allow the use of Studor Vents in certain applications.
If you’re considering using a Studor Vent for your kitchen sink under a window installation, it’s essential that you consult with a licensed plumber first who can advise on whether this type of ventilation is appropriate for your specific situation and ensure compliance with local codes and regulations.
Air Admittance Valves
These valves work by allowing air to enter efficient plumbing systems when water drains out of the sink. This prevents negative pressure from building up in the pipes and causing slow drainage or unpleasant odors.
AAVs are easy to install and require minimal maintenance compared to traditional venting methods that involve running pipes through walls and roofs. They can be installed in tight spaces where conventional vents cannot fit, making them ideal for small kitchens with limited space.
However, it’s important to note that not all states allow AAVs as a substitute for traditional vents. Before installing an Air Admittance Valve in your home, check with your local plumbing codes and regulations first.
Loop Vent Installation
This technique involves creating a loop in the drainpipe that connects to the main vent stack, allowing air to flow freely and prevent water from backing up into your sink. To install a loop vent, you’ll need to cut out a section of your existing drainpipe and replace it with two 90-degree elbows connected by an additional piece of pipe.
The top elbow should be positioned above the flood level rim of your sink while the bottom elbow should connect directly to the main waste line or branch arm.
It’s important to note that proper installation is crucial when using this method as any mistakes can lead to leaks or improper ventilation which can cause unpleasant odors in your home. If you’re unsure about how best to proceed with installing a loop vent, it’s always advisable that you seek professional help from licensed plumbers who have experience working on similar projects.
Loop Vent Installation offers an effective solution for homeowners looking for ways on how best they can properly ventilate their kitchen sinks located under windows without compromising their home aesthetics or functionality.
Island Vent Installation

This type of venting system allows air to flow into the drain line and prevents water from being siphoned out of the trap. Island vents are typically installed in a vertical position and can be placed anywhere within six feet of the sink.
To install an island vent, you’ll need to cut a hole in your countertop or cabinet that’s large enough for the pipe. Then, insert the pipe through this hole and secure it with screws or adhesive.
Next, connect one end of a horizontal pipe to your sink’s drain line using PVC cement. The other end should be connected to your newly installed vertical pipe using another piece of PVC piping.
Attach a cap onto the top end of this new vertical piping system so that no debris enters it over time.
Vent Pipe Size

The diameter of the pipe will determine how much air can flow through it and how effectively it can prevent clogs and odors from building up in your plumbing system.
In general, most residential plumbing systems use 1 1/2-inch or 2-inch pipes for ventilation purposes. However, larger homes with more complex drainage systems may require larger pipes to ensure proper ventilation.
It’s important to note that using an undersized vent pipe can lead to problems such as slow draining sinks or even complete blockages in your plumbing system. On the other hand, using an oversized vent pipe won’t necessarily improve performance but will increase installation costs unnecessarily.
To determine what size of vent pipe you need for your kitchen sink under a window project, consult with local building codes and regulations or seek advice from a licensed plumber who has experience working on similar projects.
Vent Distance Requirements
The further away your sink is from the main vent stack, the more complicated and expensive it can be to properly install ventilation.
According to plumbing codes, there are specific requirements for how far away your kitchen sink can be from its corresponding vent pipe. In general, this distance should not exceed 6 feet horizontally or 3 feet vertically.
If you’re planning on installing a new kitchen sink under a window that’s located far away from an existing main stack or other vents in your home’s plumbing system, you may need to consider alternative ventilation techniques such as air admittance valves or loop vents.
It’s important to note that these alternatives must still meet local building codes and regulations before installation. Always consult with a licensed plumber if you’re unsure about any aspect of proper ventilation for your kitchen sink.
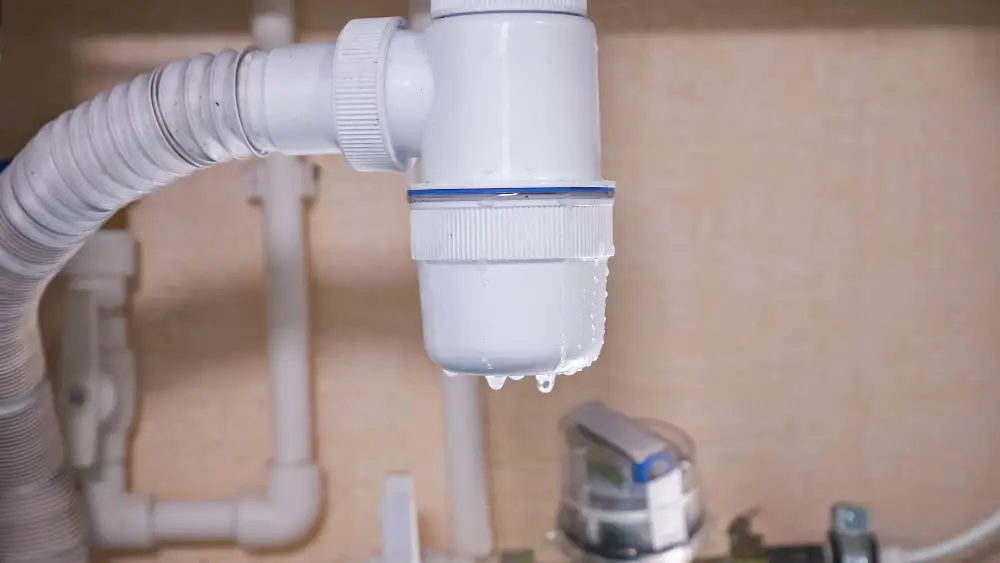
Water Drainage Slope
The drainpipe should be sloped downward at an angle of 1/4 inch per foot towards the main waste pipe or stack. This ensures that water flows smoothly and efficiently through your plumbing system, preventing any blockages or backups.
If you’re installing a new sink, make sure to check that it’s level before connecting it to the drainpipe. A level surface will ensure proper drainage and prevent any standing water in your sink.
It’s also essential to avoid sharp turns in your drainpipes as they can cause clogs over time due to debris buildup. Instead, use gentle curves with long-radius bends for smooth flow.
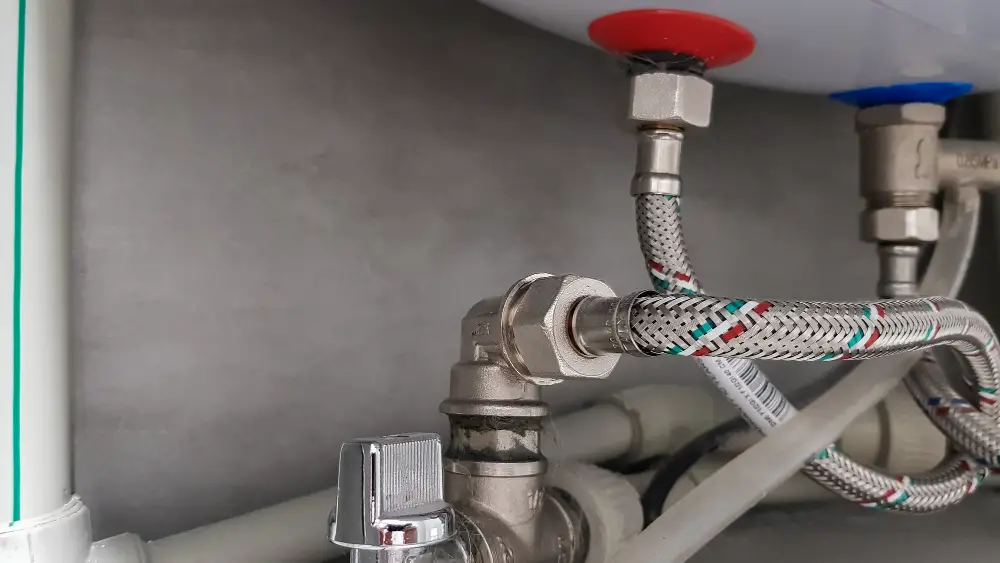
Connecting To Main Vent Stack
The main vent stack is responsible for carrying waste gases and odors from all plumbing fixtures in your home, including the kitchen sink. To connect to the main vent stack, you’ll need to locate it first.
This can be done by checking your home’s blueprints or consulting with a professional plumber.
Once you’ve located the main vent stack, you’ll need to determine where on it you can make a connection for your kitchen sink’s drain line. It’s important that this connection point be above any other fixture connections on the same branch of piping so that air flows freely through each fixture.
When making this connection, ensure that there are no obstructions or blockages within either pipe as these could cause clogs and backups down the line.
Understanding Plumbing Codes

Understanding these codes is crucial when venting a kitchen sink under a window. Plumbing codes vary by state, so it’s important to research the requirements in your area before beginning any work.
Some common plumbing code requirements include proper ventilation distance from windows or doors, minimum pipe size for vents, slope of drainage pipes for efficient water flow, and connection to the main vent stack. Failure to comply with these regulations can result in costly fines or even danger if not done correctly.
It’s also essential to obtain any necessary building permits before starting your project. This ensures that all work is up-to-code and inspected by professionals who can identify potential issues early on.
Building Codes and Permits

Depending on where you live, there may be specific regulations that dictate how plumbing work must be done in your home. These codes are put in place to ensure the safety of homeowners and their families.
Before starting any plumbing project, it’s essential to research local building codes and permit requirements. Failure to comply with these regulations can result in fines or even legal action.
In some cases, hiring a licensed plumber may be necessary for obtaining the proper permits and ensuring compliance with local building codes. While this may add additional costs upfront, it can save you time and money down the line by avoiding potential issues or penalties.
Supplies You’ll Need to Vent a Kitchen Sink Under a Window

Here’s what you’ll need:
1. Vent Pipe: This is the pipe that connects your sink drain to the main vent stack.
2. Studor Vent or Air Admittance Valve: These are one-way valves that allow air into the plumbing system and prevent sewer gases from entering your home.
3. PVC Pipe Cutter: You will use this tool to cut pipes accurately and cleanly.
4. Drill with Hole Saw Attachment: You will use this tool for cutting holes in walls or floors where necessary for installation of vents and pipes.
5. Screwdriver Set.
6. Teflon Tape.
7. Pipe Wrenches.
8. Plumber’s Putty.
9. Silicone Caulk.
10. Level Tool.
Hiring a Professional

A licensed plumber can ensure that the job is done correctly and up to code, saving you time and money in the long run. They will also be able to advise on any additional plumbing work that may need doing while they are there.
When hiring a professional, make sure they are licensed and insured. Ask for references from previous clients or check online reviews before making your decision.
It’s also important to get multiple quotes from different plumbers so you can compare prices.
How Plumbing Ventilation Works
The purpose of venting is to allow air into the pipes, which helps regulate pressure and prevent water from being siphoned out of the trap. Without proper ventilation, you may experience slow drainage or even unpleasant odors emanating from your sink.
The most common type of plumbing vent is a vertical pipe that extends through the roofline. This pipe allows air to enter the drain system while also allowing gases to escape outside safely.
In some cases where installing a traditional vent isn’t feasible due to space constraints or other factors like having no access above for installation purposes, alternative methods such as Studor Vents or Air Admittance Valves can be used.
Understanding how plumbing ventilation works will help you make informed decisions when it comes time to install or repair your kitchen sink’s drainage system under a window properly.
FAQ
Does a kitchen sink need to be vented through the roof?
Yes, a kitchen sink needs to be vented, as proper ventilation ensures the correct functioning of the plumbing system by providing balance in pressure between fixtures and the drainage system.
What happens if a kitchen sink doesn’t have a vent?
If a kitchen sink doesn’t have a vent, the negative pressure from draining water may remove water from the drain trap, permitting sewer gases to enter the home and disrupting proper drain flow.
What are the alternative venting options for a kitchen sink under a window?
Alternative venting options for a kitchen sink under a window include installing an air admittance valve or a loop vent.
How does a kitchen sink vent affect the overall plumbing system in a home?
A kitchen sink vent affects the overall plumbing system in a home by preventing negative air pressure, allowing for proper water flow and facilitating the escape of sewer gases.
Are there specific building code requirements for venting a kitchen sink under a window?
Yes, specific building code requirements for venting a kitchen sink under a window exist, and they vary depending on local regulations and plumbing codes.
Read More
 Aluminum Alloy Window: Revolutionizing Home Efficiency
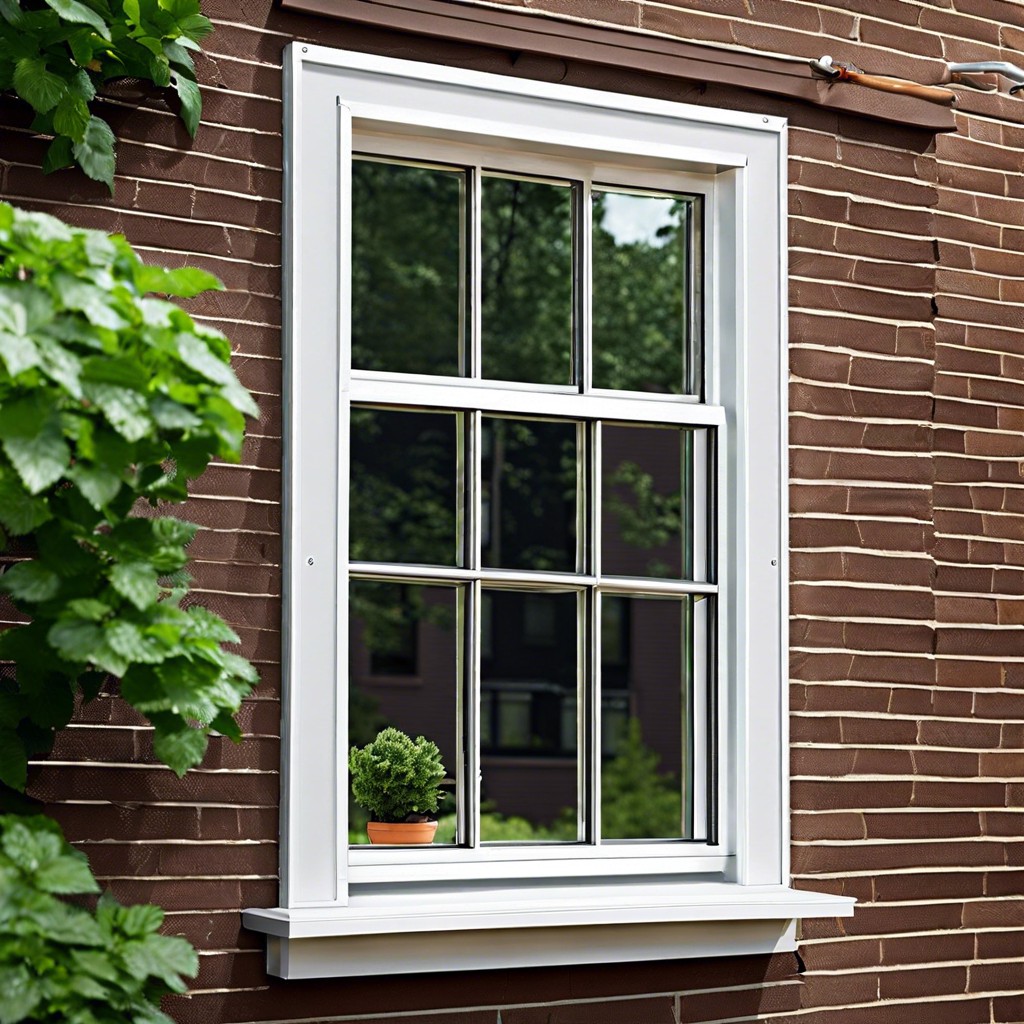 Aluminum Storm Window Frame: Your Guide to Cozy, Draft-Free Living
 Aluminum Window Glass Retainer: Enhance Your Home’s Efficiency
 15 Aluminum Window Spacer Benefits
 5 Key Factors to Consider When Switching Energy Providers
Recap