Learn how to rescreen a window with aluminum screening for a crisp, durable update that revitalizes your view and keeps pests at bay.
Key takeaways:
- Lay the frame flat on a work surface.
- Pry the spline out and remove the damaged screen.
- Cut the new aluminum screen at a 45-degree angle at the corners.
- Use a splining roller to press the screen and spline into the groove.
- Trim away excess screen for a clean finish.
Remove the Frame and Lay It Flat On a Work Surface

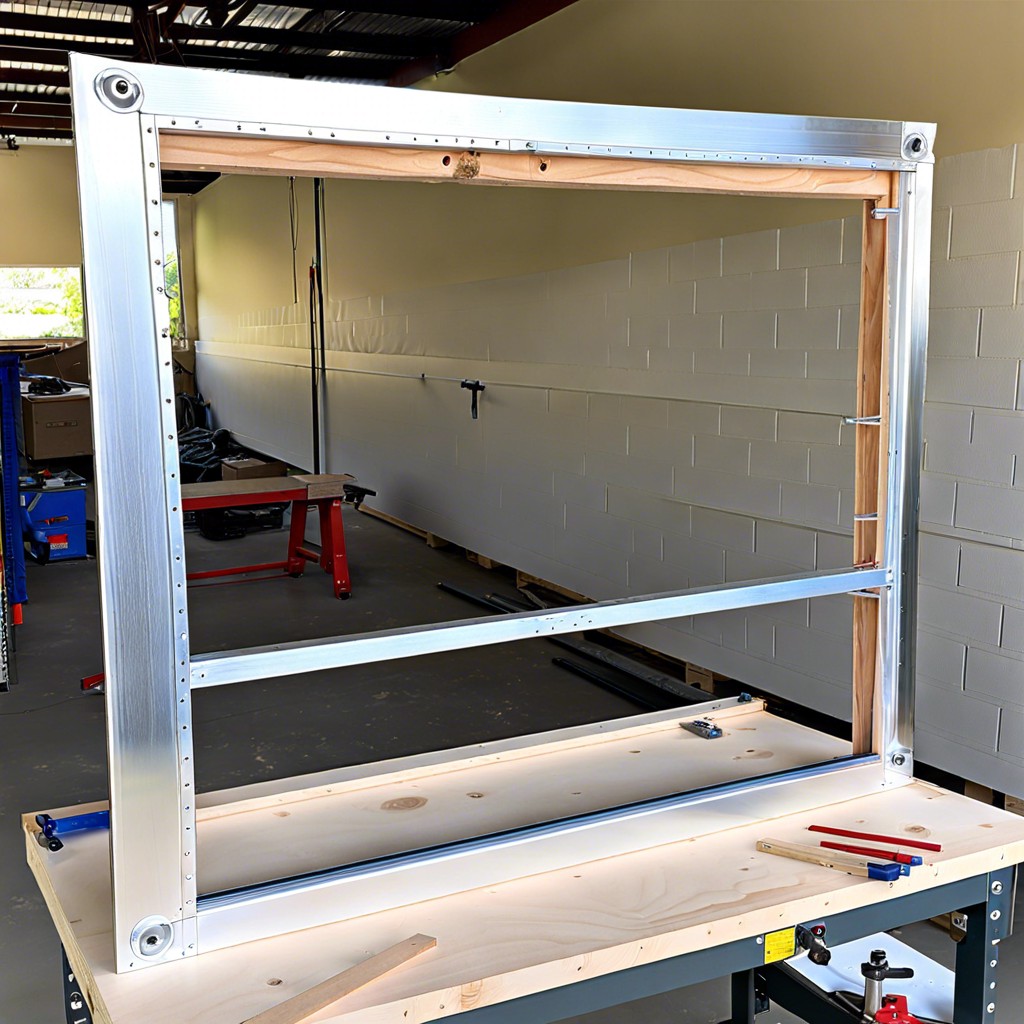
Begin by unhinging or unscrewing the window frame from its position — a screwdriver often does the trick for this step. Once detached, clear a workspace large enough to accommodate the frame and spread it out. A flat, sturdy surface is ideal to prevent any bending or additional damage. Remember, even pressure across the frame is crucial to maintain its shape, ensuring an even rescreening process. If possible, choose an area free of wind or potential for the frame to shift. This sets the stage for a smoother rescreening experience. Keep in mind, safety first; don gloves to shield your hands from sharp edges.
Pry the Spline Out of the Groove On the Back of the Frame and Remove the Damaged Screen
Prepare for a bit of elbow grease to remove the spline; this rubbery strip clings to the groove like a scared cat to a tree. Gently use a flat-head screwdriver or a splining tool to coax it from its nest without damaging the groove. Patience is a virtue here—rushing might bend the frame or tear the spline you’ll need later. Once the spline has lifted, pull it out with steady hands. Next, discard the old screen. It served you well but now belongs to the winds. With the spline out, the frame’s bare, waiting for its new aluminum mesh attire.
Lay the New Aluminum Screen Over the Frame, Cutting At a 45-degree Angle At the Corners
You’ve got your frame prepped and it’s as flat as a pancake on your work area. With your new aluminum screen in hand, drape it over the frame. The goal here is to cover the opening completely with a little overhang because you’ll soon be the one calling the shots with a pair of scissors. Now imagine you’re crafting a masterpiece; you want those corners to be crisp. Snip the screen at each corner at a 45-degree angle. Why the angle, you ask? This trick prevents a pile-up of material in the corners, and trust me, you don’t want your screen to look like it’s got love handles. This angled cut will help you lay the screen flat and taut, which is the secret handshake for a professional-looking job. Keep it snug, with no wrinkles, resembling your best bed-making effort on laundry day.
Use a Splining Roller to Press the Screen and Then the Spline Into the Groove
With your new screen draped over the frame, grab your splining roller—one side usually has a groove for pushing screen into the frame; the other for pushing in spline. Begin at one corner, using the grooved end to gently press the screen into the frame’s channel.
Work your way around, keeping the screen taut to avoid wrinkles or sags. Once the screen is nestled in, it’s time for the spline. Starting at the same corner, switch ends on your roller. Roll the spline over the screen and into the channel, applying steady pressure for a snug fit.
Remember, the spline secures the screen, so keep the tension consistent. If it pops out, don’t sweat it. Just roll it back in place. Avoid stretching the spline; it can create waves in your work. And breathe—patience here pays off with a smooth, professional look.
Trim Away Excess Screen for a Clean Finish
After securing the screen, the excess material dangling beyond the frame’s edge can create a sloppy look and potentially obstruct the reinstallation. With care, trim this overhang. Make long, confident cuts parallel to the frame’s edge using a sharp utility knife, ensuring the blade isn’t angled towards the freshly installed screen to avoid snags or tears. Leave a minimal overhang—just enough to grasp if future adjustments are needed—creating a clean, seamless appearance that makes the work professional. Hold the knife steady and apply even pressure to avoid jumpy cuts or a jagged edge that could fray over time. Keep a firm hand and a keen eye on the boundary between necessity and waste; a flawless trim is the final touch to an expert rescreening job.
Recap


