Discover the effective methods to eliminate moisture trapped between window panes and restore your windows’ clarity and efficiency with ease.
Have you ever noticed fog or condensation forming between the panes of your windows? Not only is it unsightly, but it can also be a sign of a bigger problem. Moisture buildup between window panes can lead to mold growth and even compromise the insulation of your home.
But fear not! In this post, we’ll explore some effective ways to remove moisture from between window panes and prevent it from happening again in the future. So grab a cup of coffee and let’s dive in!
Key takeaways:
- Moisture between window panes can lead to mold growth.
- Identify the root cause before attempting removal methods.
- DIY methods may void window warranties, consider professional help.
- Remove moisture with a dehumidifier or hairdryer.
- Prevent future moisture buildup with proper ventilation and window maintenance.
Causes of Moisture Buildup

One common cause is a broken or faulty seal around the window frame, which allows moisture to seep in and become trapped between the panes. Another culprit could be poor ventilation in your home, leading to excess humidity that condenses on your windows.
Extreme temperature changes can also contribute to moisture buildup as it causes expansion and contraction of the glass panels.
It’s important to identify the root cause of moisture buildup before attempting any removal methods as this will help prevent future occurrences. In some cases, addressing underlying issues such as improving ventilation or replacing damaged seals may be necessary for long-term solutions rather than just treating symptoms with temporary fixes like drilling holes or using absorbent desiccants.
Identifying the Problem
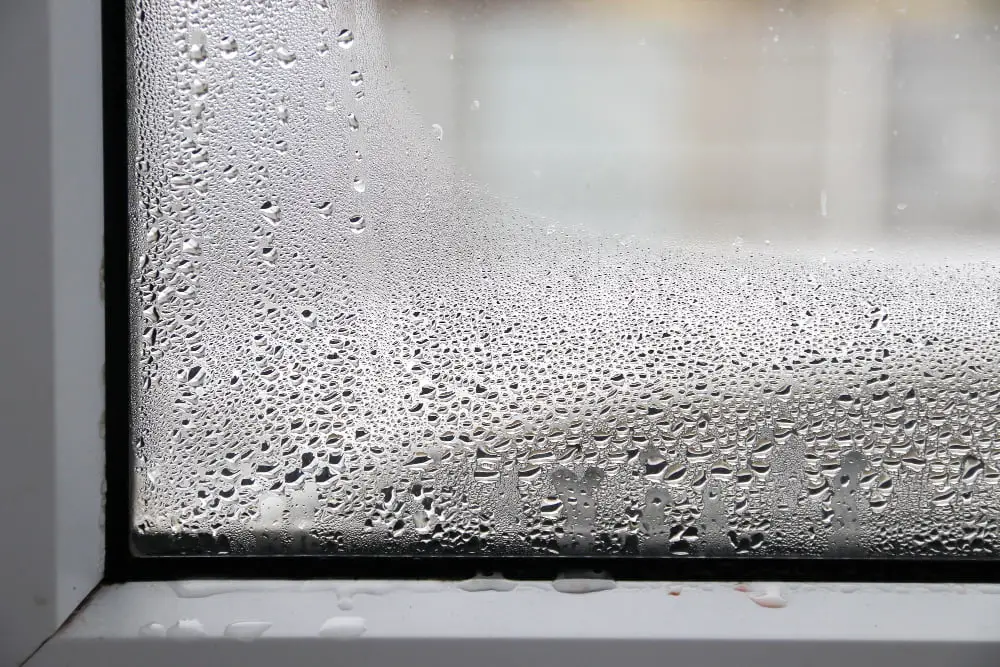
As mentioned earlier, fog or condensation forming between window panes is a clear sign of trapped moisture. However, there are other signs that may indicate a similar issue.
For instance, if you notice water droplets on the inside of your windows during cold weather conditions or after taking a shower in an unventilated bathroom – this could be another indication that there is excess humidity in your home and potentially trapped within your windows.
Another way to check for moisture buildup is by tapping on each pane with a finger. If one sounds hollow compared to others when tapped upon gently – it could mean that there’s air space due to sealant failure allowing moist air into space between glass panels.
Effects of Moisture On Window Performance
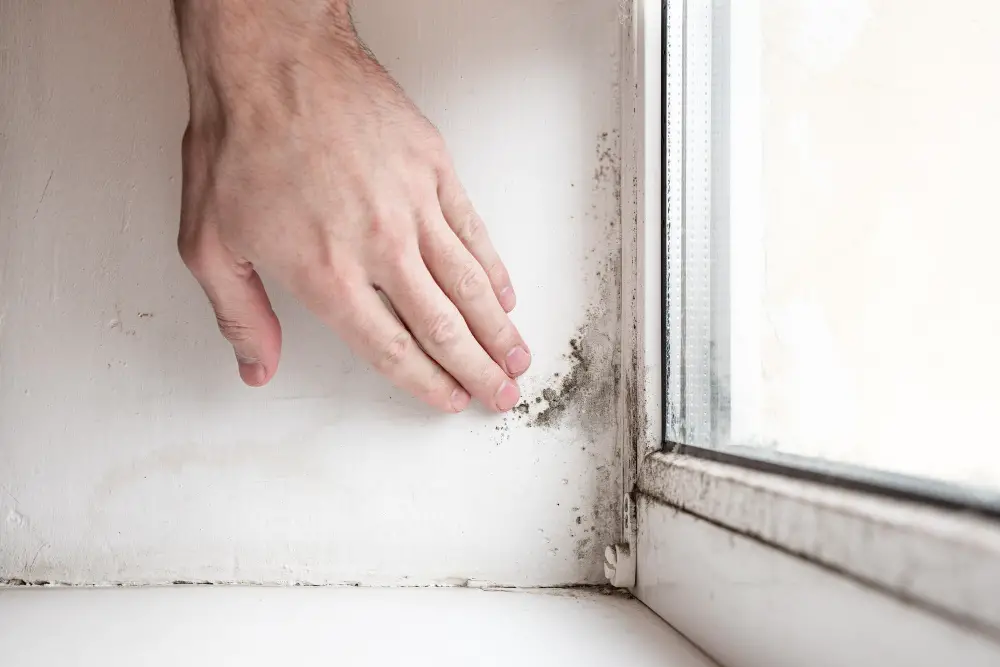
The trapped moisture can cause fogging, which reduces visibility and makes it difficult to see through the glass. This is not only an aesthetic issue but also a safety concern, especially when driving or operating heavy machinery near affected windows.
Moreover, moisture buildup can lead to mold growth and rotting of wooden frames if left unaddressed for too long. It may also compromise the insulation properties of your home’s windows, leading to higher energy bills due to increased heating or cooling needs.
Excessive condensation on window surfaces caused by high humidity levels in homes with poor ventilation could damage paint finishes and woodwork around them over time.
Initial Safety Precautions

First and foremost, make sure you have the proper equipment for the job. Wear gloves and protective eyewear to avoid any potential injuries while handling glass or drilling holes in your windows.
If you’re using a hairdryer or dehumidifier method to remove moisture, be sure not to leave them unattended while they are running. This can pose a fire hazard if left on for too long.
Lastly, always exercise caution when working at heights or on ladders near windows that need repair. If necessary, consider hiring a professional service with experience in window repairs and replacements.
DIY Vs. Professional Assistance

While DIY methods can save you money, they may not always be the best option. If your windows are still under warranty, attempting repairs on your own could void that warranty and end up costing more in the long run.
Some methods of removing moisture require specialized tools and expertise that only professionals possess. For example, drilling holes into double-pane windows is a delicate process that requires precision and experience.
On the other hand, if you have experience with home repairs and feel confident in your abilities to safely remove moisture from between window panes without causing damage or injury – then DIY might be an option for you.
Ultimately it’s important to weigh both options carefully before making a decision.
Removing Moisture With a Dehumidifier

This method works best for windows that are not severely damaged and have minimal condensation buildup. A dehumidifier will extract excess moisture from the air, reducing humidity levels in your home and preventing further damage to your windows.
To use this method, you’ll need to place a small dehumidifying unit near the affected window(s). Make sure it’s positioned correctly so that it can effectively absorb any excess moisture in the air.
Leave it running for several hours or overnight until you notice an improvement in clarity.
While this technique may take longer than other methods, such as drilling holes or replacing sealants, it’s less invasive and doesn’t require any special tools or skills. Plus, investing in a good quality dehumidifier can help prevent future issues with window pane moisture buildup throughout your home.
Using a Hairdryer Technique
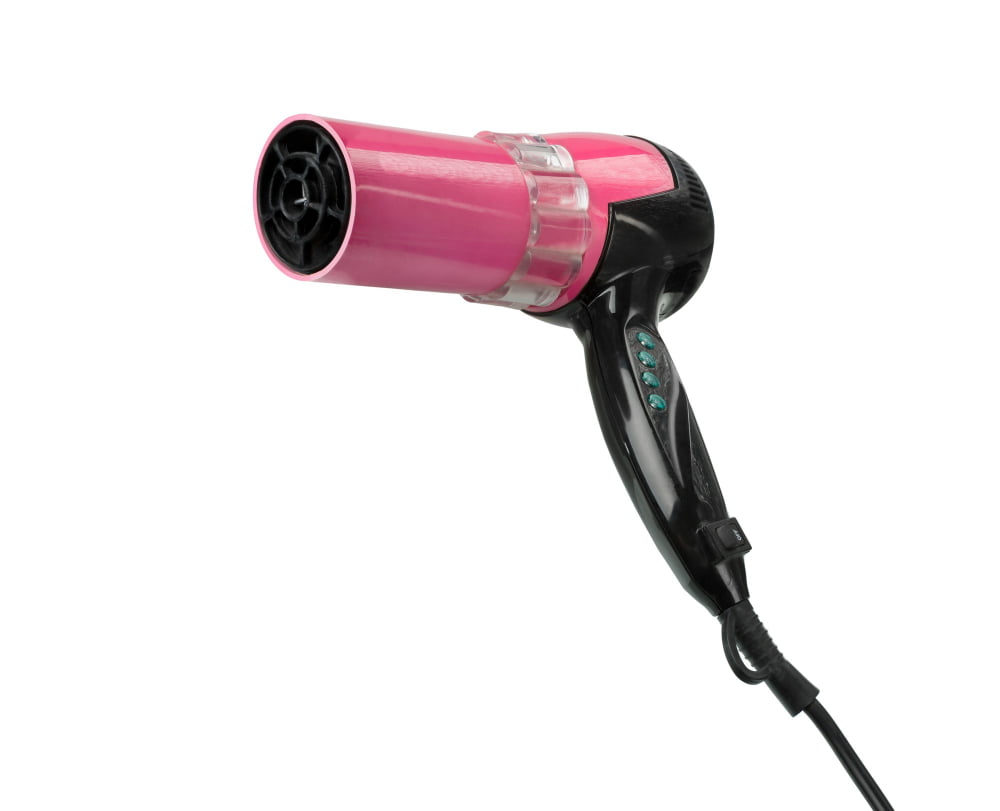
This technique involves directing hot air onto the affected area of the window to evaporate any trapped moisture.
To get started, set your hairdryer on its highest heat setting and hold it about six inches away from the glass. Move it back and forth across the affected area until all visible condensation disappears.
It’s important to note that this method is only suitable for small areas of moisture buildup. If there is extensive damage or mold growth present, seeking professional assistance may be necessary.
Take care not to overheat or crack your windows by holding the dryer too close or leaving it in one spot for too long. Always use caution when handling electrical appliances near water sources such as windows with trapped moisture.
Drilling Holes to Remove Moisture
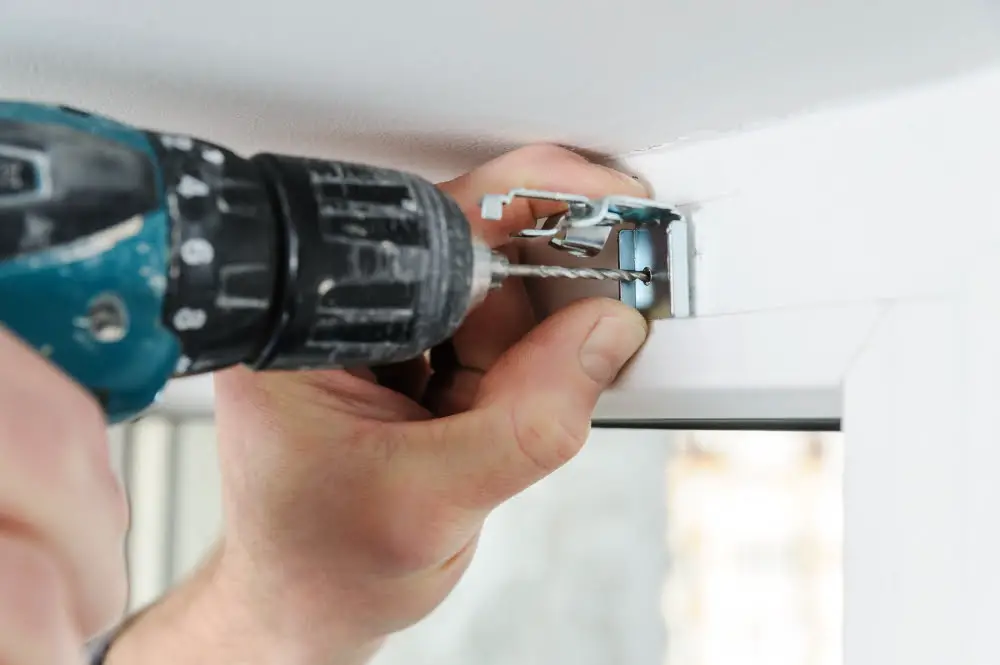
This technique involves drilling small holes at the top and bottom of the affected area, allowing air to circulate and dry out any trapped moisture. Once all of the moisture has evaporated, seal up these holes with a waterproof sealant.
While this method may seem simple enough, it’s important to exercise caution when attempting it yourself. Be sure to wear protective gear such as goggles and gloves while drilling into your windows’ frames.
It’s also worth noting that this technique may not be suitable for all types of windows or situations where there are multiple layers of glass involved. In such cases, seeking professional assistance is recommended.
Absorbent Desiccants Solution

These are small packets of silica gel or other materials that can absorb moisture from the air. You can purchase these packets at most hardware stores and online retailers.
To use this method, you’ll need to open up your windows and place the desiccant packets on the bottom of each pane where there’s visible condensation. Leave them in place for a few days until they’ve absorbed all the moisture.
While this solution may take longer than some others, it’s an affordable option that doesn’t require any special tools or skills. Plus, it helps prevent future buildup by reducing humidity levels around your windows.
Remember to replace these packs regularly as they will eventually become saturated with water vapor over time and lose their effectiveness in absorbing more moisture. Removing trapped window pane moisture is essential for maintaining clear visibility through your windows while also preventing further damage caused by mold growth or insulation issues within your home walls.
Sealant Replacement Methods
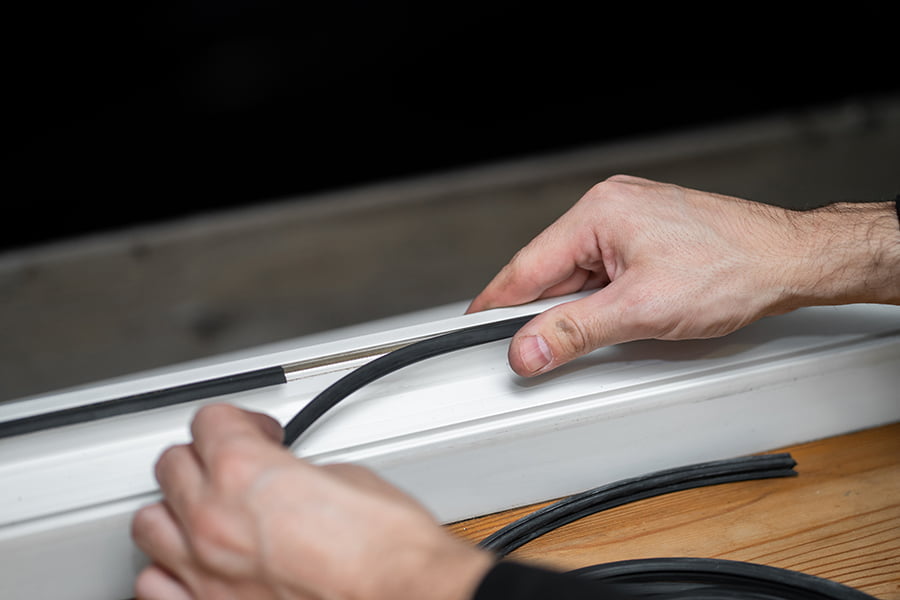
This process involves removing the old seal and applying a new one to prevent further moisture from entering between the panes.
To replace the sealant, start by cleaning any debris or dirt around your window frame using soap and water. Once clean, remove any remaining traces of old caulk with a putty knife or scraper tool.
Next, apply new silicone-based caulk to create an air-tight barrier that will keep out unwanted moisture. Be sure to use enough caulking material so that there are no gaps left behind.
Allow ample time for drying before testing your windows for leaks again.
While this method can be done on your own with some basic tools and materials available at most hardware stores; if you’re not confident in doing it yourself or have multiple windows affected by this issue – hiring professional help might be more efficient in terms of time and quality results achieved.
Addressing Window Frame Issues
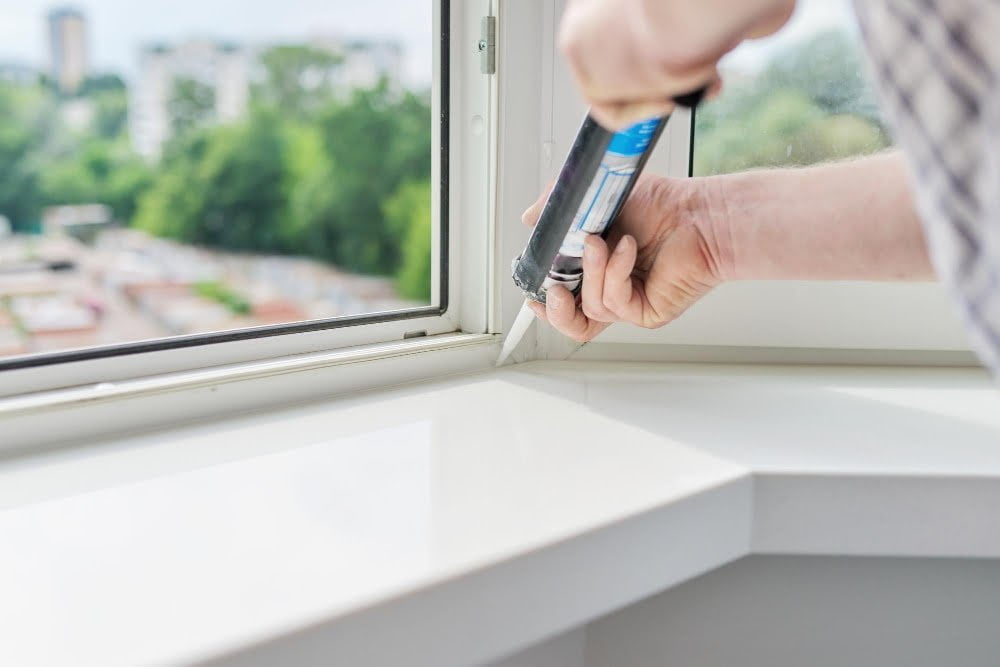
If your windows are old or damaged, they may not seal properly and allow moisture to seep in. In this case, it’s important to address the underlying issue before attempting any of the methods mentioned above.
One way to address window frame issues is by applying a new layer of caulk around the edges of your windows. This will help create a tight seal and prevent any further moisture from entering.
Another option is to replace damaged or worn-out weatherstripping around your windows. Weatherstripping helps keep out drafts and prevents air leaks that can lead to condensation buildup.
Insulating Glass Replacement

This process involves removing and replacing the entire IGU, which consists of two or more panes of glass separated by a spacer. It’s important to note that this is not a DIY project and should be left to professionals.
During an IGU replacement, technicians will remove the damaged unit and install new ones with proper sealing. They’ll also ensure that any underlying issues are addressed before installing new windows.
While it may seem like an expensive solution compared to other methods mentioned earlier in this post, replacing your windows’ insulating glass can significantly improve energy efficiency while eliminating moisture buildup for good. Plus, it adds value and aesthetic appeal if you’re planning on selling your home in the future.
Preventing Future Moisture Buildup

One of the most effective ways to do this is by ensuring adequate ventilation in your home. Proper ventilation helps regulate humidity levels and prevents excess moisture buildup.
You can also consider investing in energy-efficient windows with insulated glass that are designed to reduce condensation and improve overall performance. Regular cleaning of your windows can help prevent dirt and debris buildup which can trap moisture.
It’s also essential to address any underlying issues with your window frames or seals promptly before they lead to more significant problems down the line. Regular maintenance checks on all aspects of your windows will ensure their longevity while keeping them functioning at optimal levels.
Proper Window Cleaning Tips

Using the wrong cleaning products or techniques can cause more harm than good. Here are some tips for proper window cleaning:
1. Use a soft cloth or sponge: Avoid using abrasive materials like steel wool that can scratch the glass surface.
2. Choose a mild cleaner: Opt for non-abrasive cleaners such as vinegar solution, dish soap mixed with water, or specialized window cleaners.
3. Wipe in one direction: Clean from top to bottom in straight lines to avoid streaks and smudges.
4. Dry with a squeegee: After washing the windows, use a squeegee blade to remove excess water from the glass surface quickly.
5. Don’t forget about frames and tracks: Dirt buildup on frames and tracks can affect your windows’ performance over time; clean them regularly too!
Importance of Adequate Ventilation

When there’s inadequate airflow, the humidity level inside your home increases, leading to condensation on windows and other surfaces. This can cause mold growth and damage to your windows over time.
To ensure adequate ventilation, make sure that all rooms in your house have proper air circulation. You can do this by opening windows or using exhaust fans when cooking or showering.
Consider investing in a whole-house ventilation system that will help regulate indoor air quality.
It’s also important to check for any obstructions around the exterior of your home that may be blocking airflow into the house through vents or openings such as crawl spaces and attics.
Selecting Energy-Efficient Windows

Look for windows with a low U-factor, which measures the rate of heat transfer through the window. The lower the U-factor, the better insulation provided by that window.
Another factor to consider is solar heat gain coefficient (SHGC), which measures how much solar radiation passes through a window into your home. A lower SHGC means less heat enters during hot summer months.
Lastly, look for windows with multiple panes of glass and gas fills between them as they provide better insulation than single-pane windows.
Knowing When to Replace Windows

If your windows are old or damaged beyond repair, replacing them may be a more cost-effective solution in the long run. Here are some signs that indicate it’s time for new windows:
1) Drafts: If you feel drafts coming through your closed windows, this is a sign of poor insulation and energy inefficiency.
2) Visible Damage: Cracks or chips in the glass can compromise both safety and efficiency.
3) Difficulty Opening/Closing: Struggling with opening/closing your windows could mean they’re warped or have faulty hardware.
4) High Energy Bills: Old single-pane windows can cause significant heat loss during winter months leading to higher energy bills.
5) Noise Pollution: Newer double-paned insulated glass units provide better soundproofing than older single-pane models.
If you notice any of these issues with your current set of house-windows, consider investing in new ones as soon as possible.
Hiring a Professional Service

A window repair and replacement company can assess the extent of the damage and recommend an appropriate solution. They have specialized tools and equipment that can effectively remove moisture from between window panes without causing further damage.
When hiring a professional service, make sure to do your research beforehand. Look for companies with positive reviews and experience dealing with similar issues as yours.
Ask for references or check their portfolio of previous work.
While hiring professionals may cost more than attempting DIY solutions, it’s important to consider the long-term benefits of having properly functioning windows that are free from moisture buildup. Plus, professionals often offer warranties on their workmanship which provides peace of mind knowing any future issues will be addressed promptly.
Wrapping Up: Window Pane Moisture

Fortunately, there are several effective methods for removing the moisture and preventing it from happening again in the future.
Whether you choose to tackle the issue yourself or hire a professional service, it’s important to take action as soon as possible. Remember to prioritize safety when working with windows and always follow proper procedures.
Maintaining adequate ventilation and selecting energy-efficient windows can help prevent future moisture buildup. And don’t forget about regular window cleaning!
By following these tips and techniques, you’ll be able to restore your windows’ clarity and efficiency while ensuring your home remains safe from potential mold growth or insulation problems caused by trapped moisture.
Thank you for reading this post on how to remove moisture from between window panes! We hope this information has been helpful in addressing any concerns you may have had regarding this issue.
FAQ
How do you get rid of condensation between double pane windows?
To get rid of condensation between double pane windows, use silica desiccant pellets inside the aluminum perimeter strip to absorb moisture from the air entering the space between the panes.
How do you clean moisture between window panes?
To clean moisture between window panes, use a space heater or hairdryer placed near the window to absorb the moisture trapped between the panes.
Will condensation between panes go away?
No, condensation between panes will not easily go away and may lead to mold growth, potentially causing indoor allergy symptoms.
Will a hair dryer get rid of condensation between glass panes?
A hair dryer can quickly clear up condensation between glass panes, but it is only a temporary solution and does not address the root of the problem.
What are the most effective methods for preventing moisture buildup between window panes?
Using a proper window sealing and installing energy-efficient double or triple-pane windows with insulating gas between the panes are the most effective methods for preventing moisture buildup between window panes.
Can a professional repair service fix condensation issues permanently between double pane windows?
A professional repair service can address condensation issues between double pane windows effectively but not always permanently.
What are the potential long-term consequences of not addressing moisture between window panes?
Potential long-term consequences of not addressing moisture between window panes include reduced energy efficiency, higher utility bills, damage to window frames, and growth of mold and mildew.
Recap
