Discover the simple steps to successfully reglaze your window and give it a fresh, new look with our easy-to-follow guide.

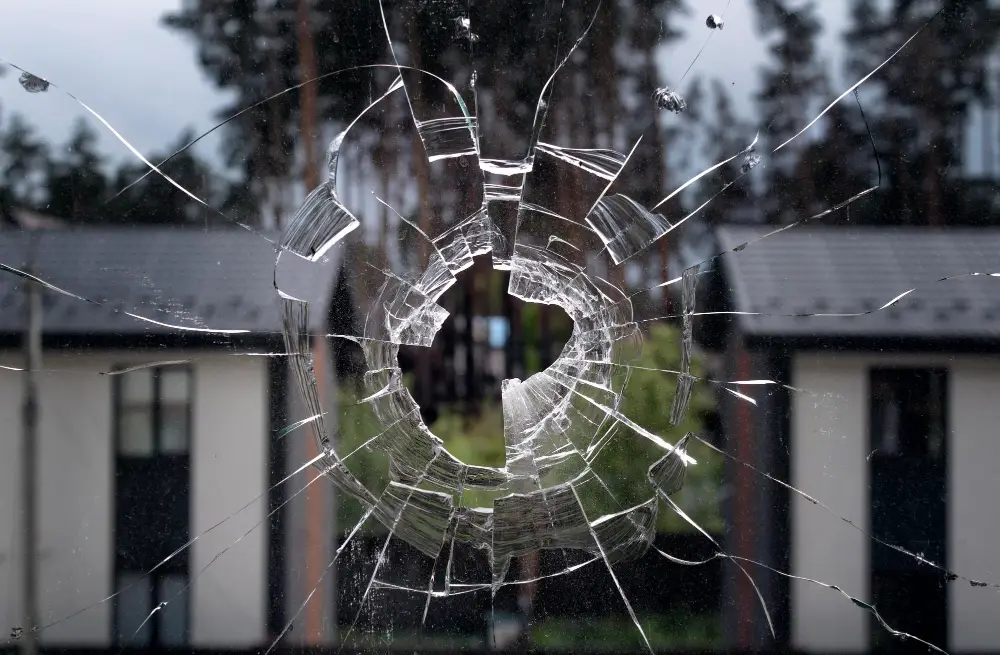
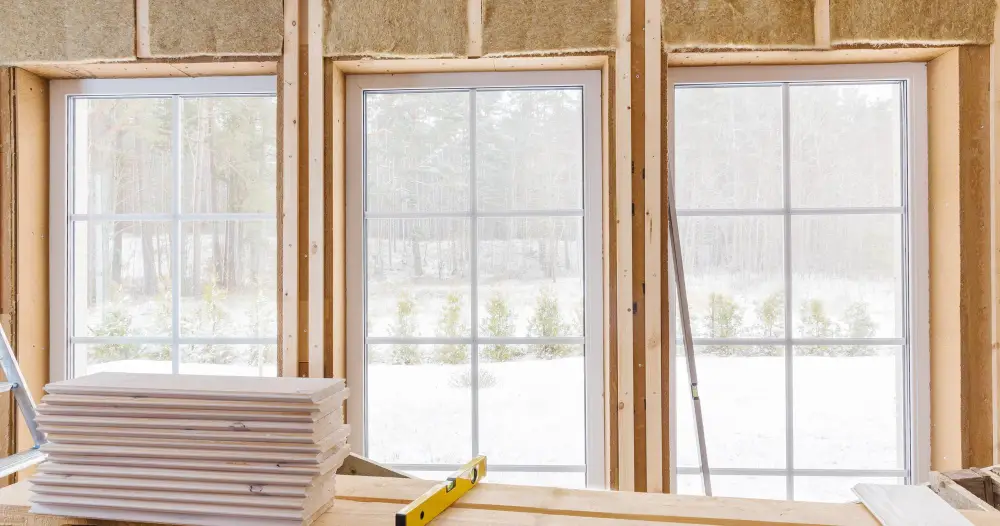
Windows are an essential part of any home, providing natural light and ventilation while keeping the elements out. However, over time, windows can become damaged or lose their seal, leading to drafts and energy inefficiency.
One way to fix this is by reglazing the window – a simple process that can save you money on your energy bills while improving the look and functionality of your windows. In this blog post, we’ll go over everything you need to know about how to reglaze a window, from the tools you’ll need to step-by-step instructions for completing the job like a pro.
So grab your safety glasses and put on your work gloves – it’s time to get glazing!
Key takeaways:
- Use essential tools: putty knife, glazier’s points, glass cutter, safety glasses, gloves, paint scraper/razor blade.
- Gather materials: glazing compound, glazier’s points, glass cutter/pre-cut glass, paint scraper/putty knife, sandpaper/sanding block.
- Assess window: check for cracks, chips, damaged glass, and signs of wear on glazing putty.
- Remove old glazing: use a putty knife or scraper to loosen and remove old putty.
- Clean window frame: remove debris, smooth rough spots, and ensure a clean surface.
Tools Required
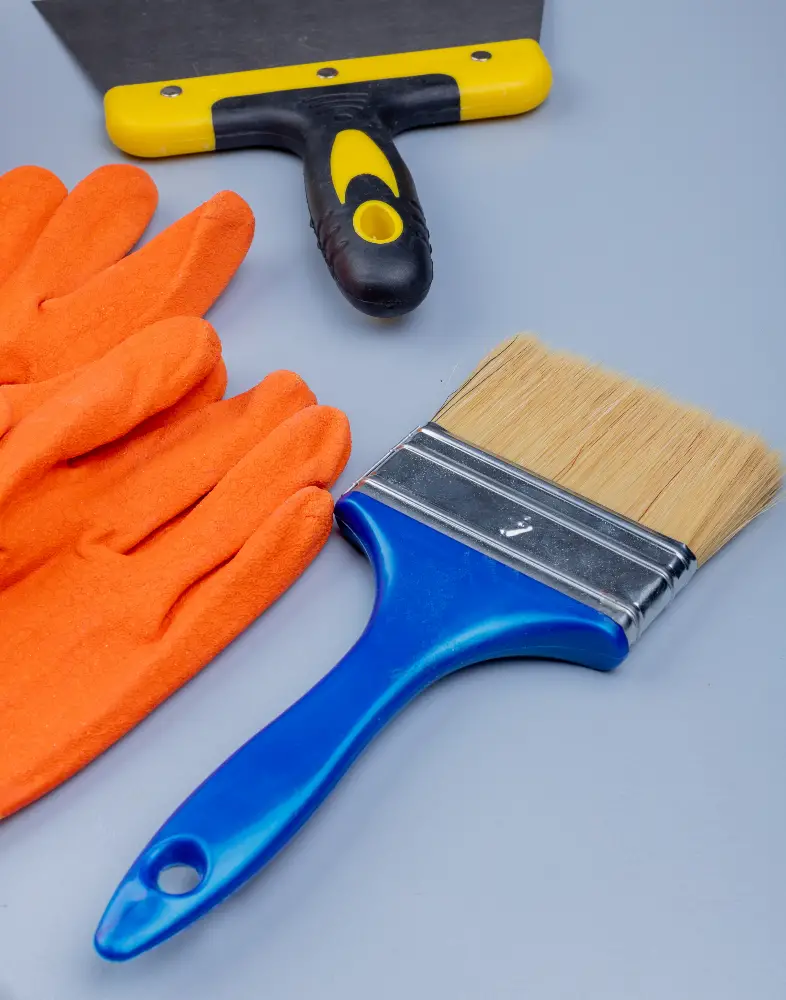
Here are the essential tools you’ll need for this project:.
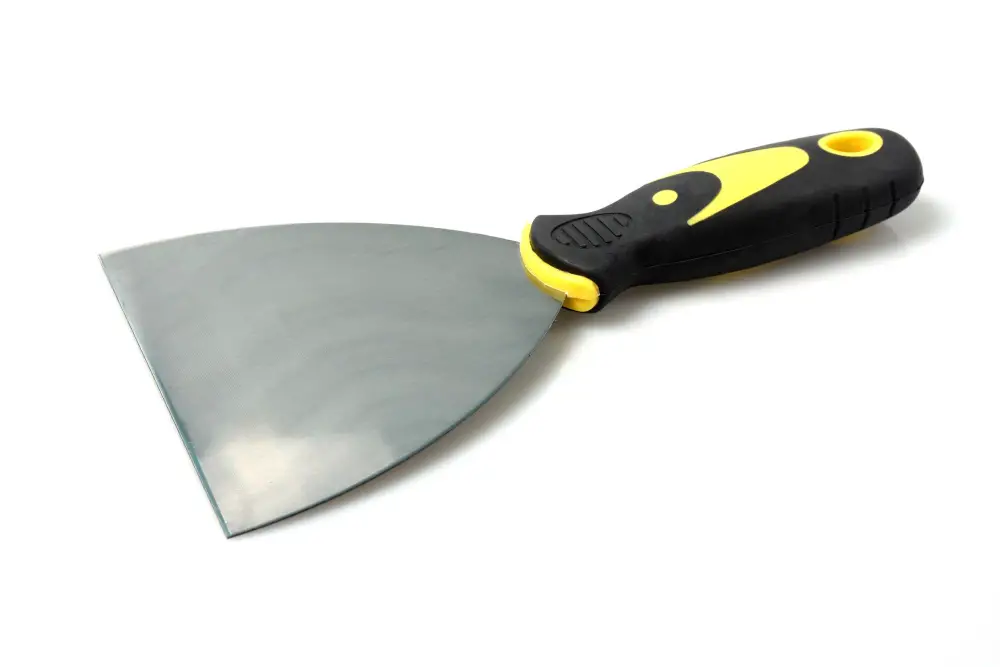
1. Putty knife: This tool is used to remove old glazing putty and apply new compound.
2. Glazier’s points: These small metal triangles hold the glass pane in place while it dries.
3. Glass cutter: If you need to replace a broken or damaged pane of glass, a glass cutter will come in handy.
4. Safety glasses and gloves: Protect your eyes and hands from flying debris during removal of old glaze or broken panes of glass.
5. Paint scraper/razor blade: Used for cleaning excess paint/glaze off window frame.
6. Paint brush: For painting over dried glaze after curing time.
Materials Required
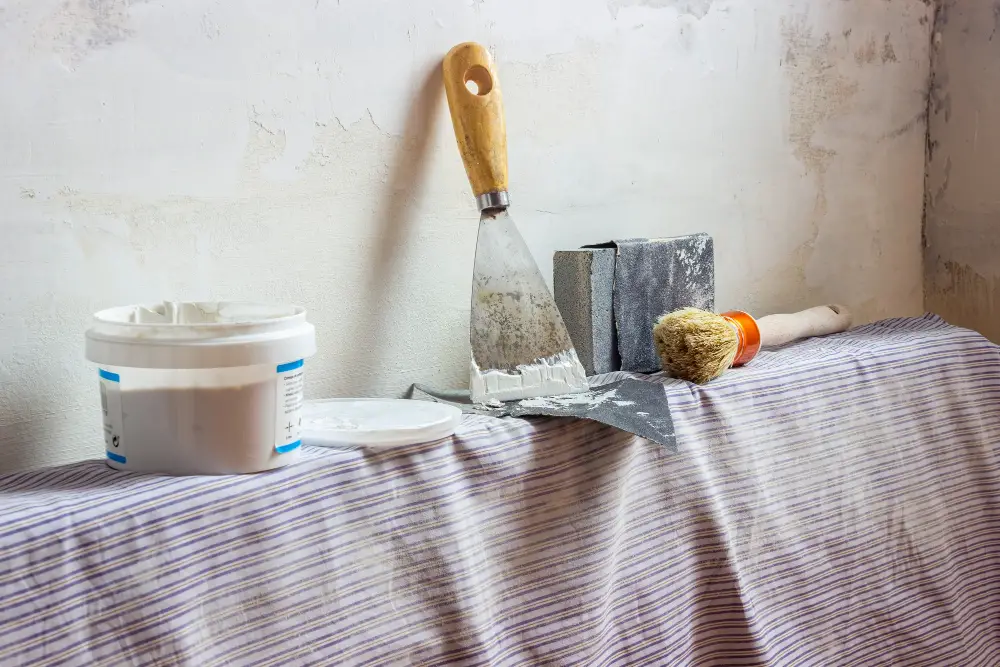
Here are the items you’ll need:.
1. Glazing compound: This is a putty-like substance that will hold the glass pane in place and create an airtight seal.
2. Glazier’s points: These small metal pieces are used to secure the glass pane in place while applying glazing compound.
3. Glass cutter or pre-cut glass: If you’re replacing broken or damaged panes, you’ll need either a glass cutter (if cutting your own) or pre-cut replacement panes.
4. Paint scraper/putty knife: You’ll use this tool to remove old glaze and putty from around the window frame.
5. Sandpaper/sanding block: To smooth out any rough spots on wood frames before applying new glaze.
6. Paintbrush/paint roller: For painting over dried up glazed windows.
Window Assessment
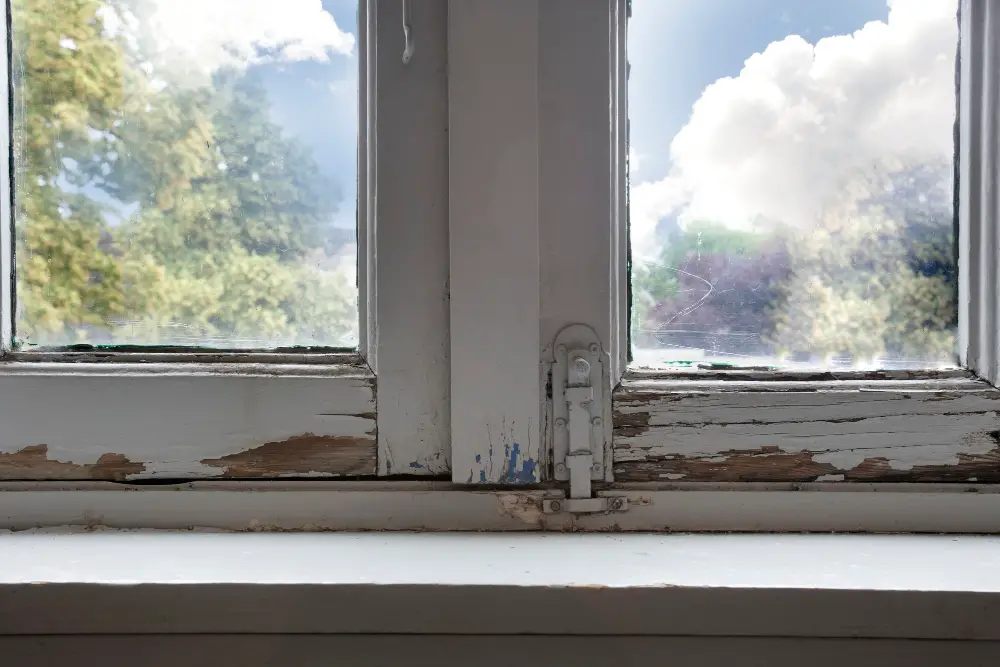
Check for any cracks or chips in the glass and make sure that it is securely held in place by the glazier’s points. Inspect the putty around each pane of glass to see if there are any signs of cracking or shrinkage, which can indicate that it needs replacing.
Check for any rotting wood around your window frame as this will need repairing before proceeding with reglazing. If you notice significant damage to either your windowsill or sash frame during assessment, consider calling a professional carpenter who can help repair these issues before continuing with reglazing.
Assessing the Window

This will help you determine whether a simple repair is needed or if a full replacement is necessary. Start by inspecting the window for any cracks, chips or damage to the glass pane itself.
If there are any broken panes, they’ll need to be replaced before proceeding with reglazing.
Next, check for signs of wear and tear on the glazing putty – this is typically found around the edges of each pane and helps hold them in place within their frames. If it’s cracked or missing entirely in some areas, then that section will need replacing as well.
Removing the Old Glazing
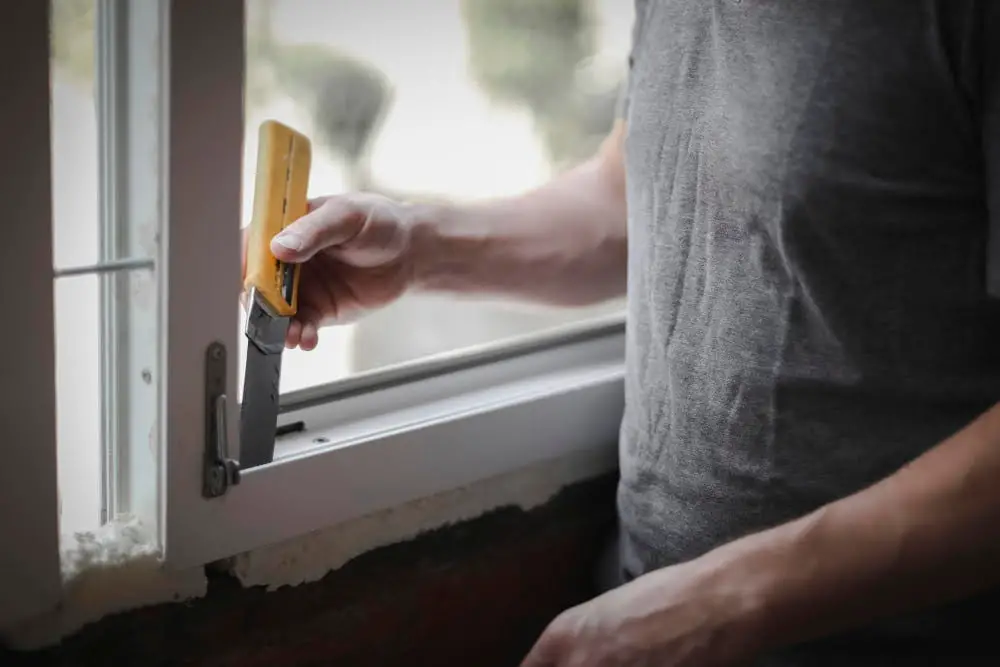
This is an essential step that ensures your new glazing compound adheres properly and provides a tight seal. To do this, start by using a putty knife or scraper to loosen the old putty around the glass pane.
Be careful not to damage the wood frame or break any of the glass panes in your window.
Once you’ve removed as much of the old putty as possible with your scraper, use pliers or tweezers to pull out any remaining bits from around each pane’s edge carefully. If there are stubborn pieces left behind, try softening them up with heat from a hairdryer before scraping again.
If there are multiple panes in one sash (the part of your window that holds one or more panels), work on removing all their glazes before moving onto another sash if necessary.
Removing Old Glazing Putty

This is a crucial step in preparing your window for reglazing, as any remaining putty can prevent new compound from adhering properly.
To remove the old putty, use a stiff-bladed scraper or chisel to carefully scrape away as much of it as possible. Be sure not to damage the wood frame or glass pane while doing so.
If there are stubborn areas where the putty won’t budge, try using heat from a heat gun or hairdryer on low setting to soften it up before scraping again. Once all of the old putty has been removed, clean off any remaining debris with a brush and vacuum if necessary.
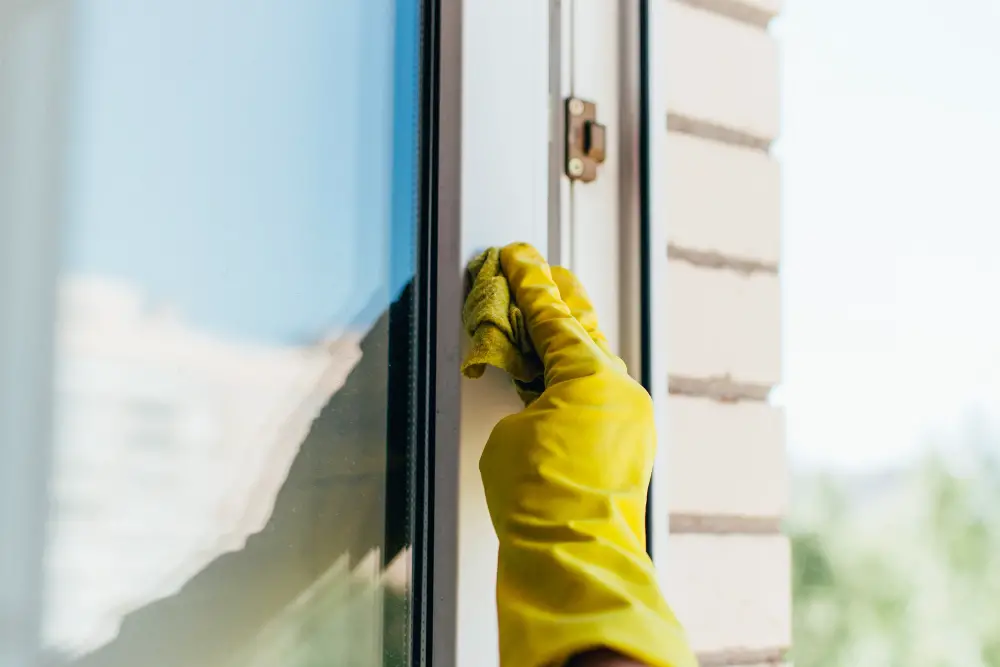
Cleaning the Window Frame
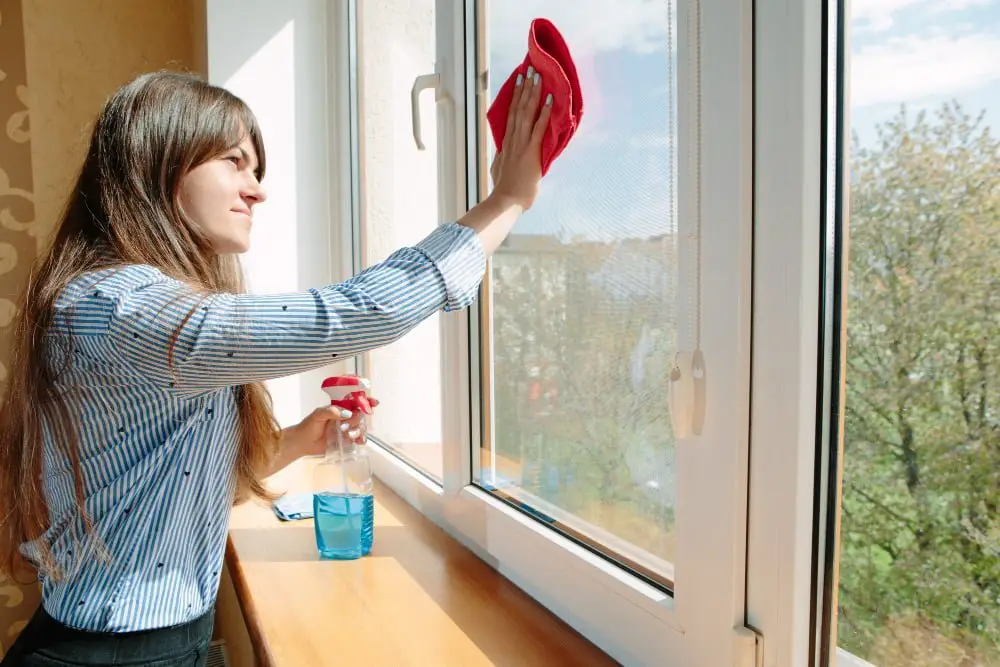
Use a scraper or putty knife to remove any remaining debris or old paint from the wood surface. Then, use sandpaper to smooth out any rough spots and create a clean surface for applying new glaze.
Once you’ve finished sanding, wipe down the entire frame with a damp cloth to remove any dust or debris that may have accumulated during cleaning. Be sure not to leave behind any moisture on your window frame as this can affect how well your new glazing compound adheres.
Cleaning is an essential step in reglazing windows because it ensures that there are no obstructions between the glass pane and its surrounding material. A dirty window will prevent proper adhesion of both materials leading up eventually into another repair job sooner than expected.
Inspecting the Wood Frame

This step is crucial because if there are any issues with the frame, it can compromise the integrity of your new glazing and lead to further problems down the line.
To inspect your window frame, use a screwdriver or other sharp tool to probe around areas that may be susceptible to rotting such as corners and joints. If you notice soft spots or crumbling wood, this could indicate that there is moisture damage present.
If you do find evidence of rotting in your window frame during inspection, don’t panic! It’s possible to repair damaged frames using epoxy filler before proceeding with reglazing. However, if significant structural damage has occurred due to water infiltration over time then replacing parts of the wooden structure might be necessary.
Choosing the Right Glazing Compound
The compound acts as both an adhesive and a sealant, holding the glass in place while also preventing air and moisture from seeping through. There are several types of glazing compounds available on the market today, each with its own unique properties.
One popular option is oil-based putty, which has been used for decades due to its durability and ease of use. However, it can take up to several weeks for oil-based putty to dry completely before painting over it.
Another option is latex or acrylic-based compounds that dry faster than traditional oil-based ones but may not be as durable in extreme weather conditions.
Silicone caulking can also be used as a glaze alternative; however, this type of material should only be applied if you have experience working with silicone products since they require specific application techniques.
Ultimately your choice will depend on your personal preference based on factors such as drying time or durability requirements.
Measuring the Glass Pane
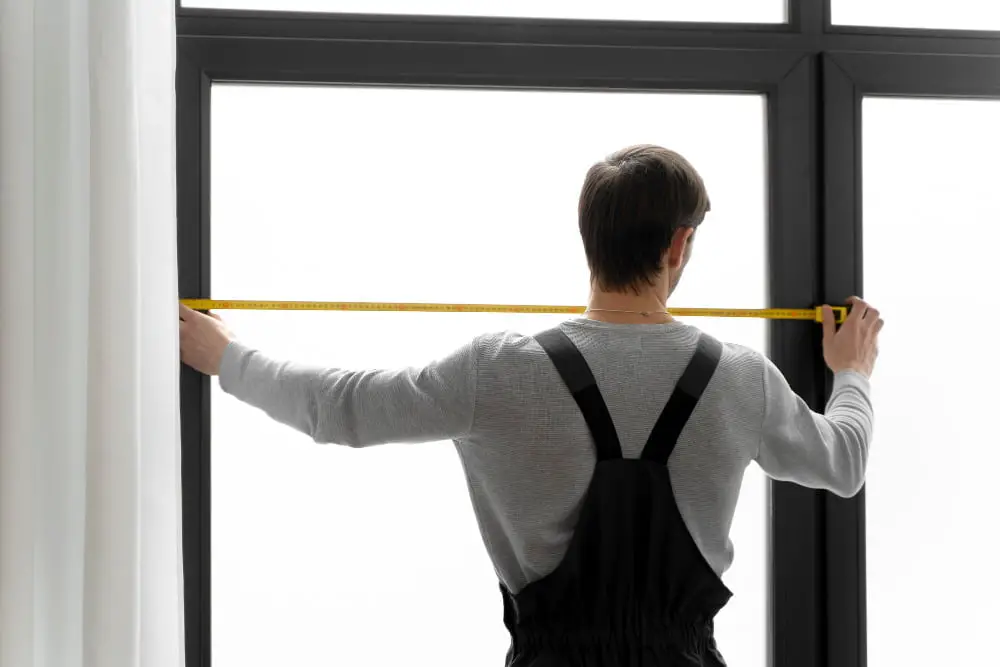
Measuring accurately is crucial for ensuring that your new glass fits perfectly into place. To do this, use a tape measure to determine both the height and width of your window opening.
Measure from inside edge to inside edge of each side of the frame, taking care not to include any part of an existing glazing bead or stop in your measurements.
If you’re replacing broken or damaged glass panes, be sure to take accurate measurements before ordering replacement pieces. It’s always best practice when measuring for replacement panes that you add 1/8 inch (3mm) on all sides so that there is enough space between them and their frames.
Preparing the Glass Pane
If your window has broken or cracked glass, this is also a good time to replace it with a new one. To do so, measure the dimensions of your existing glass pane accurately using a tape measure and note them down.
Next, use these measurements to cut out a new piece of glass from either tempered or annealed float glass depending on what type was used in your original windowpane. Be sure that you wear protective gloves while handling any sharp edges during this process.
If you’re replacing an old piece of broken or cracked glass with a new one, make sure that it fits snugly into place before proceeding further.
Replacing Broken Glass
Here’s how:.
1. Remove the broken glass: Wear gloves and safety glasses for protection.
Use pliers to remove any remaining shards of glass from the frame.
2. Measure the opening: Measure both dimensions of the opening where you removed the old pane.
3. Cut new glass: Take your measurements to a hardware store or home center that offers cutting services, or use a glazier’s tool (a handheld device with interchangeable heads) to cut your own piece of replacement glass.
4. Install new pane: Apply glazing compound around all four sides of the frame where you will place in new panes and press it into place firmly but gently so as not break again while applying pressure on edges.
5. Secure with Glazier’s points: Insert two glazier’s points at each side near corners using pliers.
6. Apply more Glaze: Apply more putty over these points until they are covered completely.
Once done replacing broken panes, continue following steps 12-18 above for reglazing process.
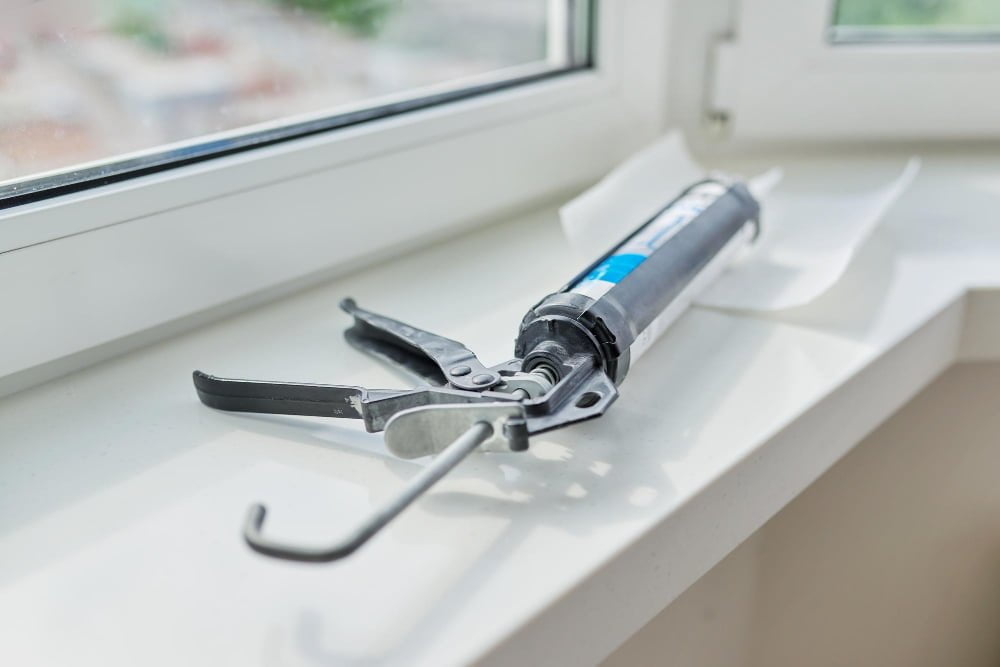
Applying the Glazing Compound
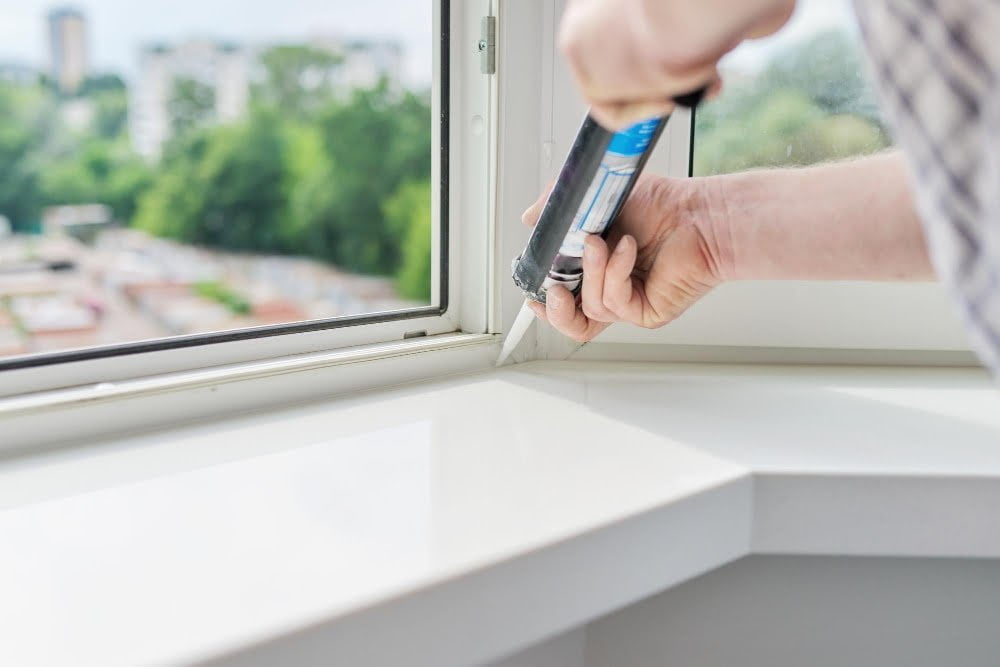
This is a putty-like substance that will hold the glass in place and create a seal between the window frame and pane. To begin, take a small amount of glazing compound and roll it into a ball shape with your hands.
Place this at one corner of your window frame where you want to start applying.
Using your fingers or putty knife, press down on top of this ball-shaped piece until it flattens out against both sides (the wood frame and glass). Then continue along each side by adding more balls as needed until all four corners are covered.
Installing the Glass Pane

Carefully place the glass pane onto a bed of glazing putty at one end of the frame, making sure that it is centered and level. Then, gently press down on each corner to ensure that there are no gaps between the glass and putty.
Next, use your fingers or a putty knife to push in several small glazier’s points around all four sides of the window frame. These will help hold everything in place while you finish securing with more points.
Starting from one corner again (opposite where you started), insert additional points every 4-6 inches along both sides until they meet at another corner opposite from where you began. Repeat this process for all four sides until there are enough points holding up your new piece(s) securely without any wobbling or shifting when touched lightly by hand.
Securing the Glass With Glazier’s Points
This is where glazier’s points come in handy. These small metal triangles are designed to hold the glass firmly against the frame while allowing for easy removal if necessary.
To use them, simply insert them into the wood frame along each side of the glass pane, about 2-3 inches apart. Use a putty knife or other flat tool to gently press down on each point until it is flush with both the wood and glass surfaces.
Be sure not to apply too much pressure as this can crack or break your newly installed windowpane. Once all of your glazier’s points are securely in place, you can move on to smoothing out any excess glazing compound and cleaning up any mess left behind during installation.
Smoothing the Glazing Compound
This step is crucial for ensuring that your window looks neat and professional. To do this, use a putty knife or a specialized tool called a glazing tool to smooth the compound evenly across the surface of the glass and into any gaps between the glass and frame.
Start at one corner of your window pane and work your way around in small sections until you’ve covered all areas with glaze. Be sure to apply enough pressure so that there are no air pockets left behind.
If you notice any excess material on either side of where you’re working, use your putty knife or scraper blade to remove it before moving onto another section.
Cleaning Excess Glaze
Use a putty knife or a paint scraper to remove any excess compound from around the edges of the window. Be careful not to damage or scratch the glass while doing this.
Next, use a damp cloth or sponge to wipe away any remaining residue on both sides of your newly reglazed window. Make sure that all surfaces are completely dry before moving on.
Cleaning up excess glaze is an important step in ensuring that your new window looks neat and professional once it’s finished.
Drying and Curing Time
This will ensure that your window is properly sealed and protected from drafts, moisture, and other elements.
The drying time for glazing compound can vary depending on factors such as temperature, humidity levels, and thickness of application. Generally speaking though, you should expect to wait at least a few days before painting or exposing the window to any harsh weather conditions.
During this period of waiting for the glaze to dry completely (usually 3-7 days), avoid touching or disturbing it in any way as this could cause damage or compromise its effectiveness.
Painting the Window Frame
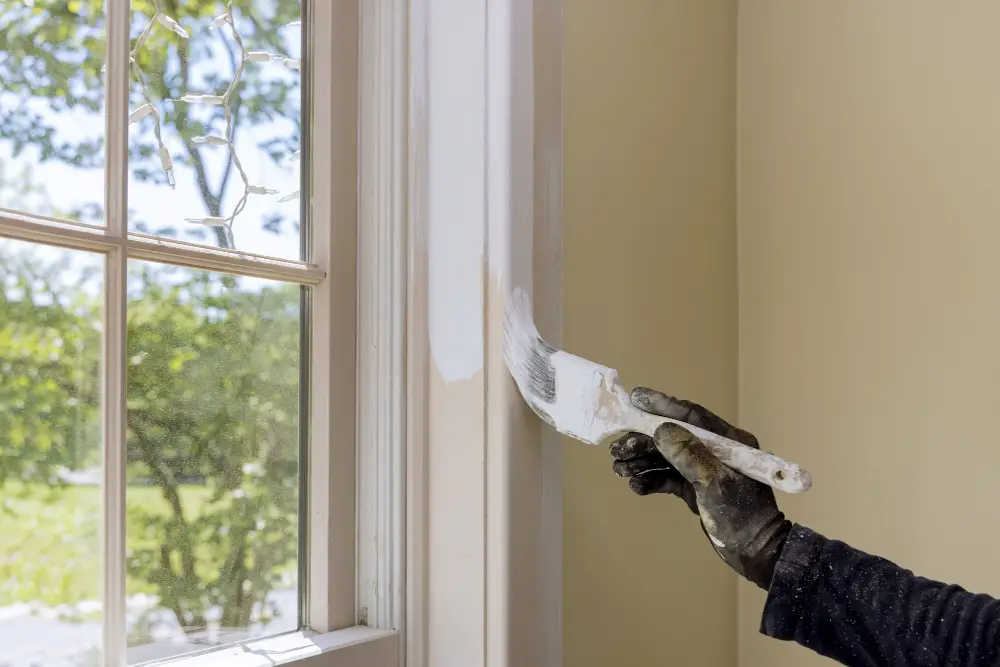
Painting not only adds a finishing touch to your newly reglazed window but also helps protect it from moisture and other elements that can cause damage over time. Before painting, make sure that the glazing compound is completely dry – this usually takes about 7-10 days depending on weather conditions.
To begin painting, use a high-quality brush or roller designed for use with oil-based paints. Start by applying primer to any bare wood areas of the frame and allow it to dry completely before moving on to paint.
When choosing your paint color, consider using an exterior-grade oil-based enamel for maximum durability in all weather conditions. Apply two coats of paint evenly across all surfaces of the window frame including any muntins or dividers between panes.
After you’ve finished painting, allow ample drying time before opening or closing your windows again – typically around 24 hours should suffice. With these simple steps completed successfully you’ll have transformed an old worn-out looking window into one that looks brand new!
FAQ
Can you Reglaze windows yourself?
Yes, you can reglaze windows yourself with practice and proper training, although it requires an artist’s touch to achieve perfection.
Can you Reglaze a window without removing it?
Yes, you can reglaze a window without removing it, as replacing the glazing “bed” is not always necessary during the process.
How much does reglazing window cost?
The cost of reglazing a window ranges from $225 to $500, making it a more affordable option than window replacement for budget-conscious homeowners.
What are the essential tools and materials needed for a successful window reglazing project?
Essential tools and materials for a successful window reglazing project include a putty knife, glazier’s points, window putty, a scraper, and glass cleaner.
What safety precautions should be taken while reglazing a window?
Ensure to wear protective gear like gloves and goggles, secure the area, work with a partner if necessary, and follow proper techniques for removing and applying glazing materials.
How can one identify if a window requires reglazing or complete replacement?
One can identify if a window requires reglazing or complete replacement by assessing the extent of damage or deterioration in the glass, glazing compound, or window frame.
Read More
 Aluminum Window Latch Replacement: A Simple Guide to Security and Style
 Custom Aluminum Window Screens Buying Guide
 Aluminum Window Removal Tool: Easy Steps for a Hassle-Free Window Replacement
 Screw for Aluminum Window Frame: Your Ultimate Fixing Guide
 Replace Aluminum Window Glass: A Beginner’s Guide to a Clearer View
Recap