Discover the simple steps to create a cozy and stylish window seat cushion that will transform your space into an inviting nook for relaxation.
Welcome to my blog, where I share my expertise on all things house windows! Today’s topic is all about creating a cozy and comfortable window seat cushion. Whether you’re looking to add some extra seating space or simply want a spot to curl up with a good book, a window seat can be the perfect addition to any home.
But before you can fully enjoy your new nook, you’ll need to create the perfect cushion. In this post, I’ll be sharing step-by-step instructions on how to make your own custom window seat cushion that will not only look great but also provide ultimate comfort.
So grab your measuring tape and let’s get started!
Key takeaways:
- Benefits of a window seat cushion: extra seating, cozy nook, comfort.
- Measuring your window seat: length, depth, consider protrusions.
- Selecting cushion foam: high-density, memory foam, polyurethane foam.
- Cutting foam to size: measure, mark, cut with care.
- Choosing the right fabric: durable, style, practicality.
Benefits of a Window Seat Cushion
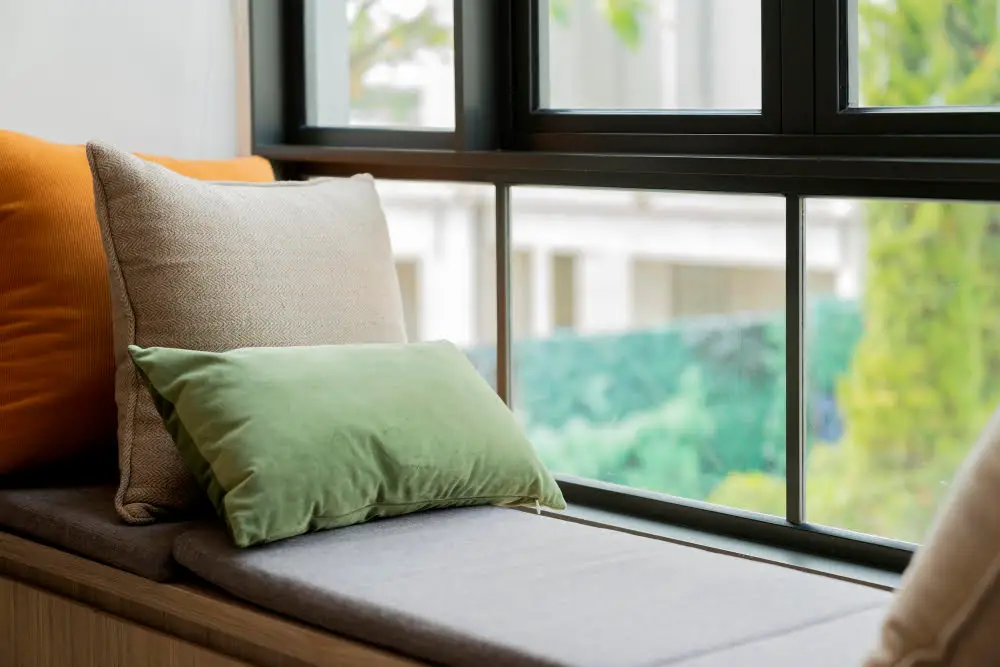
Firstly, it provides extra seating space without taking up too much room in your living area. Secondly, a comfortable cushion can turn an unused or awkward space into a cozy nook for relaxation and reading.
The right type of foam and fabric can provide excellent support for your back and hips while sitting on the window seat.
Moreover, having a custom-made cushion allows you to choose colors that complement or contrast with other elements in the room such as curtains or wall paint. It’s also an opportunity to add decorative elements like piping details or buttons that will make your window seat stand out.
Measuring Your Window Seat
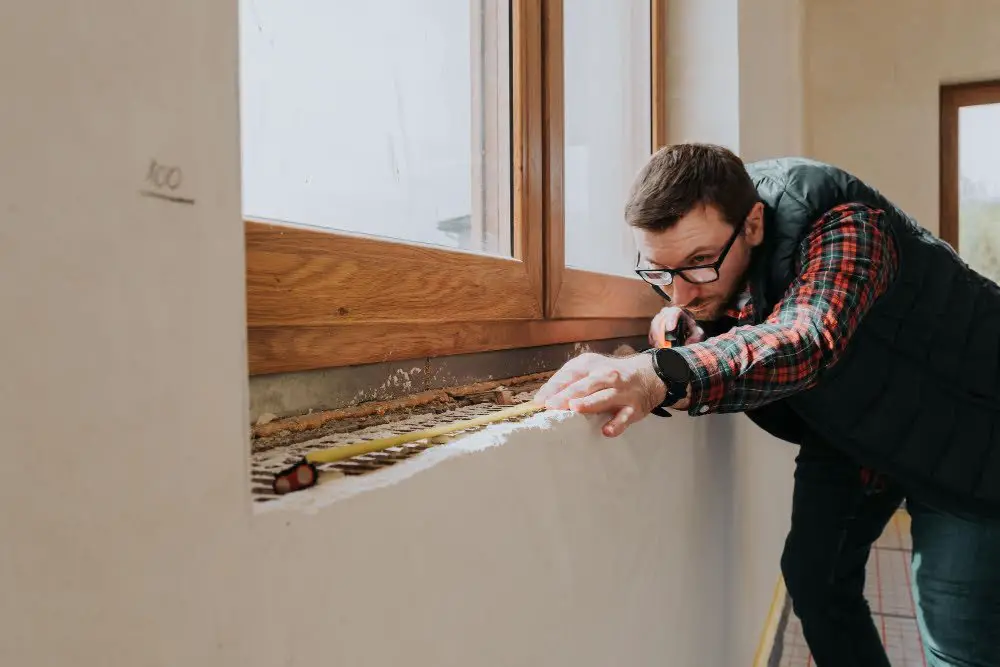
This will ensure that your cushion fits perfectly and looks great in its designated spot. Begin by measuring the length of the seat from one end to another, making sure to account for any curves or angles in the design.
Next, measure the depth of the seat from front to back and note down this measurement as well.
If your window has a sill or trim that protrudes outwards, be sure to take this into consideration when measuring both length and depth so that you can create a custom fit for your cushion.
Once you have these measurements written down on paper (or saved digitally), double-check them before moving onto selecting foam and fabric options.
Selecting Cushion Foam
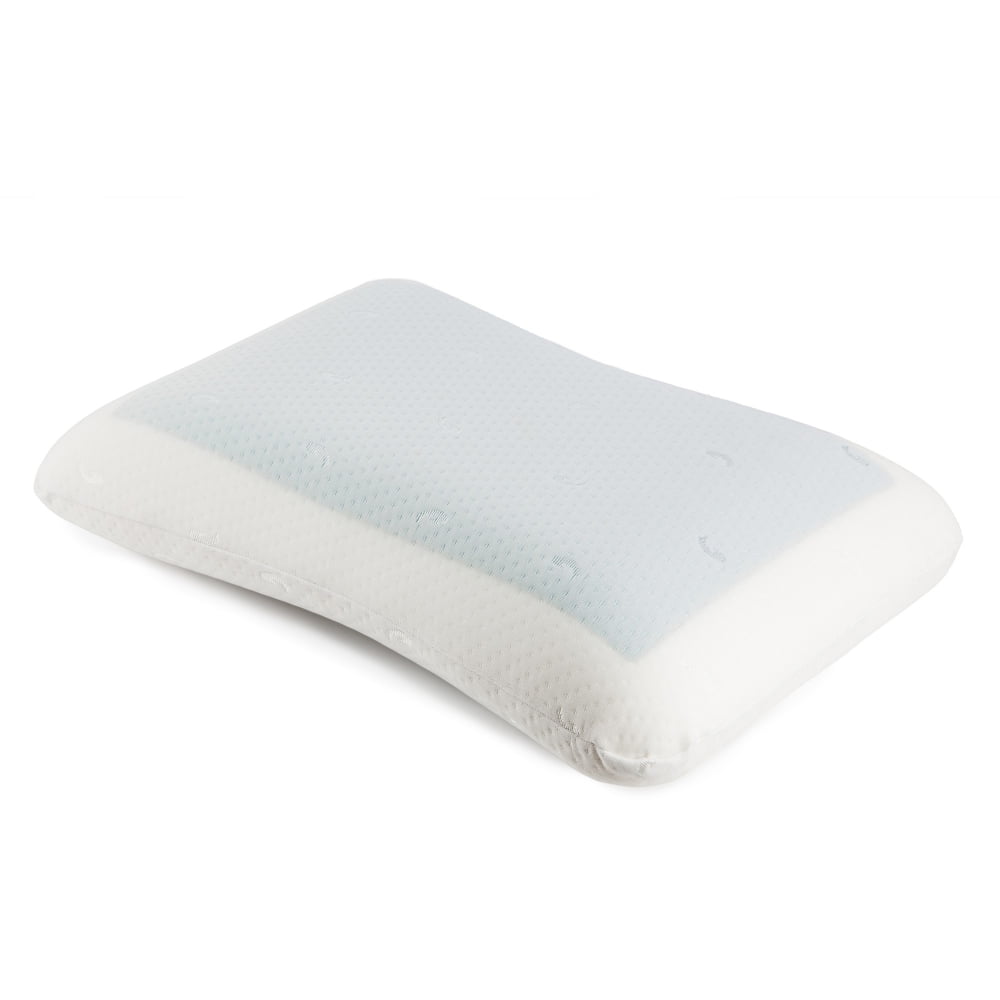
The type of foam you choose will determine how comfortable and durable your cushion will be. There are different types of foam available in the market, including high-density foam, memory foam, and polyurethane foam.
High-density foams are ideal for cushions that receive heavy use as they offer excellent support and durability. Memory foams conform to body shape but can be expensive compared to other options.
Polyurethane foams come in various densities and firmness levels making them a versatile option for most projects.
When selecting cushioning material consider factors such as comfort level desired (soft or firm), budget constraints, durability requirements (heavy or light usage), ease of maintenance/cleaning needs among others.
Cutting Foam to Size
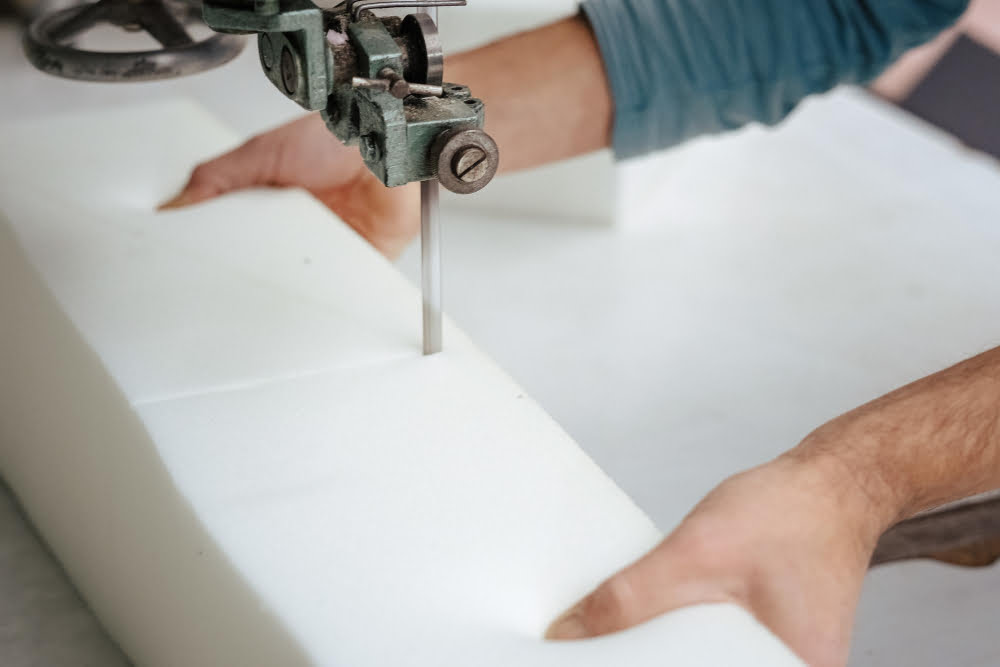
This step is crucial in ensuring that your cushion fits perfectly on your window seat and provides maximum comfort. To begin, measure the length and width of your window seat using a measuring tape.
Then transfer those measurements onto the foam using a marker or pen.
Next, use an electric carving knife or serrated bread knife to carefully cut along the marked lines on the foam. Take care not to apply too much pressure as this can cause uneven cuts or damage to both the foam and blade.
If you’re having trouble cutting through thicker pieces of foam, try making multiple passes with lighter pressure instead of trying to force one deep cut all at once.
Choosing the Right Fabric
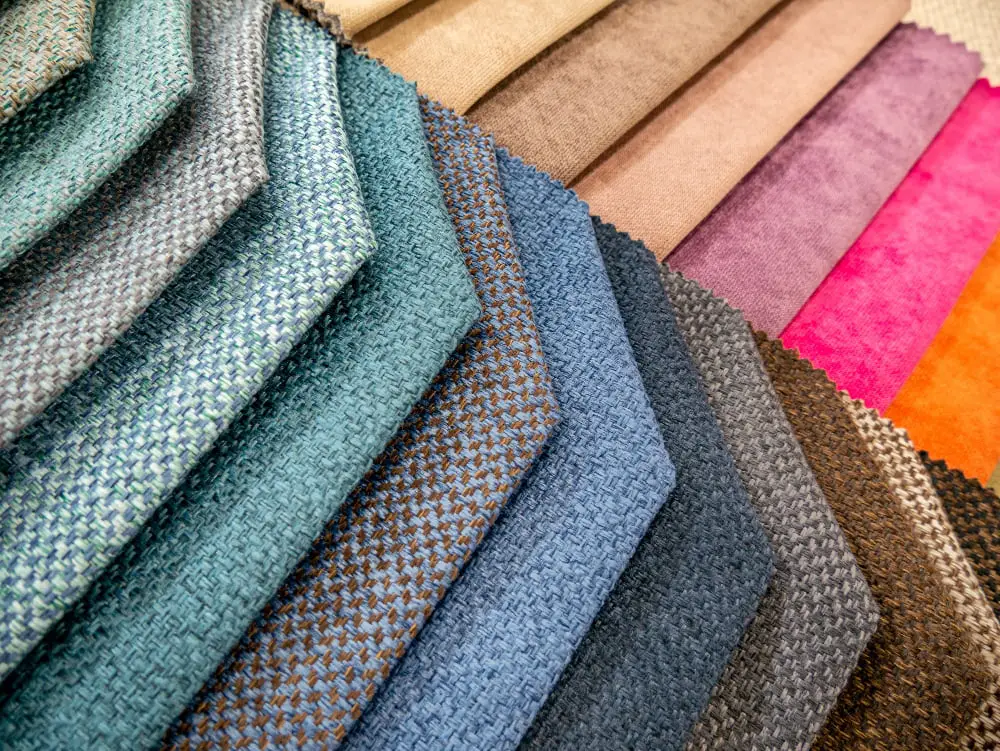
First and foremost, you’ll want to select a durable material that can withstand regular use and potential spills or stains. Look for fabrics with high abrasion resistance ratings or those specifically designed for upholstery.
Next, think about the style of your space and choose a fabric that complements your existing decor. If you’re going for a cozy look, opt for soft textures like chenille or velvet in warm colors such as beige or brown.
For something more modern and sleek, consider using leather-look vinyl in black or white.
Lastly, don’t forget about practicality! If you have pets who love lounging on the window seat too (or kids who tend to make messes), choose fabrics that are easy to clean such as microfiber blends.
No-Sew Window Seat Cushion Method
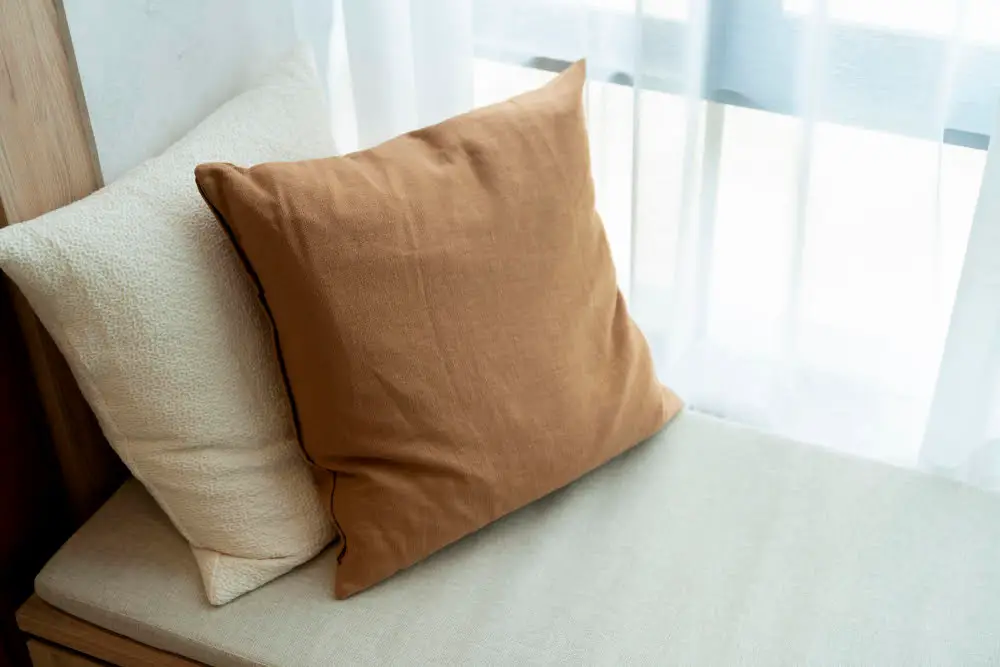
You can still create a beautiful and comfortable window seat cushion using the no-sew method. This technique involves wrapping foam with batting and fabric, securing it with adhesive tape or glue instead of stitching.
To start, measure your foam insert as usual and add an extra inch on all sides for the batting wrap. Cut the batting to size and lay it flat on your work surface before placing the foam in its center.
Next, cut your chosen fabric so that it covers both sides of the cushion plus an additional 2-3 inches around each edge for overlap. Place this over the top of both layers (foam + batting) making sure everything is centered correctly.
Now comes time to secure everything together without any stitches! Use either double-sided adhesive tape or fabric glue along one side at a time until all edges are secured tightly together.
Once dry (if using glue), flip over onto its right side – voila! Your new window seat cushion is ready for use without ever having touched a needle!.
Sewing the Cushion Cover
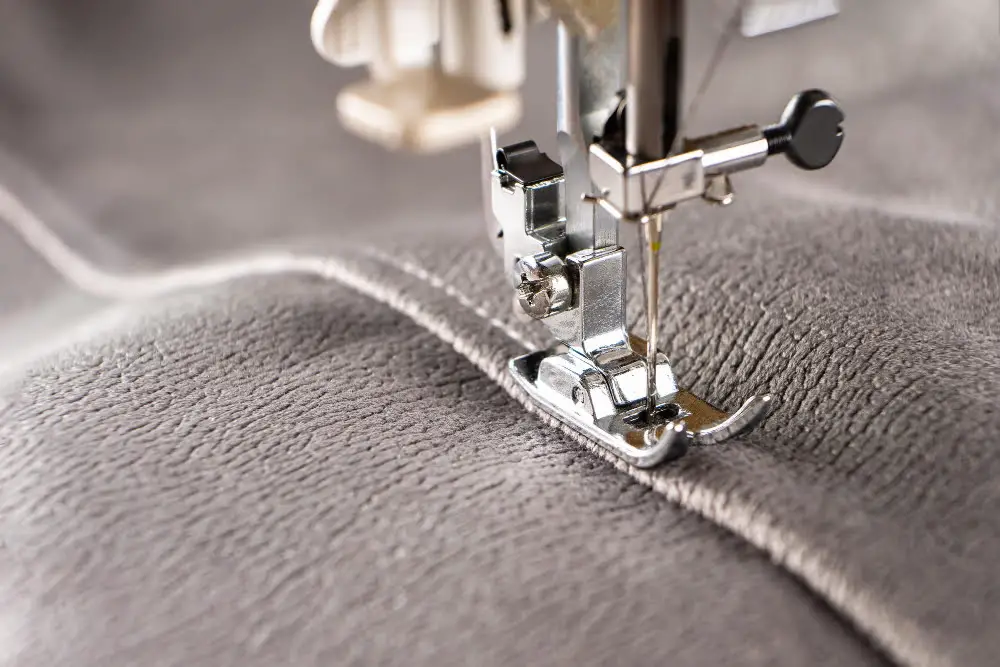
This is where you can really get creative and choose a fabric that complements your home decor. When selecting fabric, keep in mind that it should be durable enough for everyday use and easy to clean.
To begin, measure out the dimensions of your foam cushion and add an extra inch or two on each side for seam allowance. Cut two pieces of fabric according to these measurements – one piece will be used as the top panel while another will serve as the bottom panel.
Next, place both panels together with their right sides facing each other (the wrong sides should be facing outward). Pin them together along three edges leaving one edge open for stuffing in foam later.
Using a sewing machine or needle-and-thread method sew around all three pinned edges using 1/2-inch seam allowance. Once done turn over so that right side faces outside then insert foam into this newly created cover through its open end before closing up by stitching remaining edge shut using same 1/2-inch seam allowance used earlier.
Adding a Zipper or Velcro
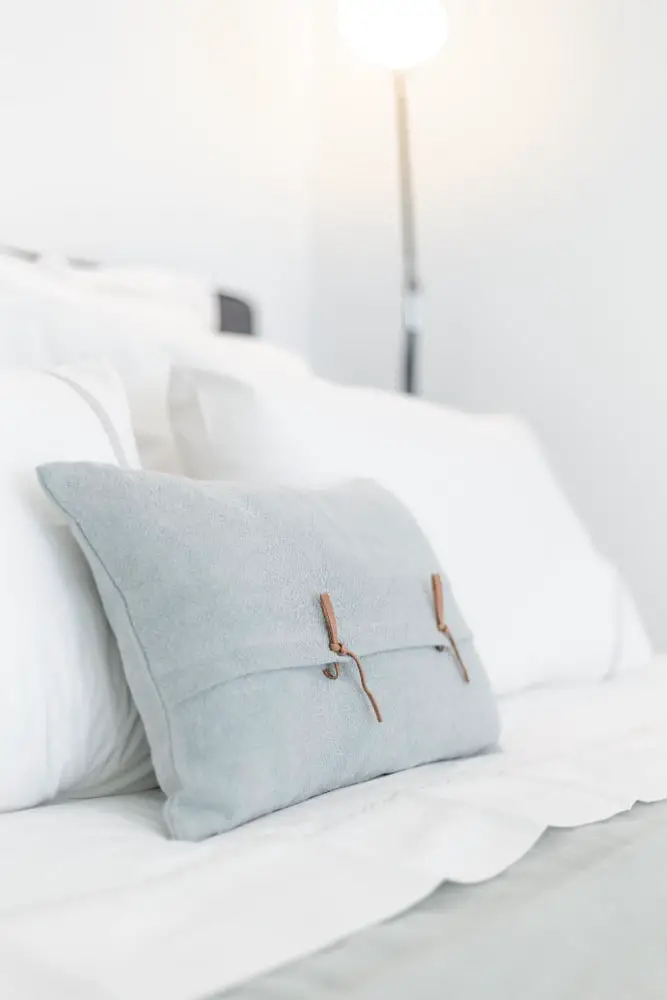
The most common options are zippers and Velcro. Adding a zipper will give your cushion a professional look while Velcro is an easy no-sew option.
To add a zipper, measure the length of one side of your cushion cover and purchase an appropriate size zipper. Pin the two sides of fabric together where you want to place the zipper and use sewing pins to hold them in place.
Sew along both sides using either hand or machine stitching before attaching your chosen type of zip fastener with thread that matches your fabric color.
Alternatively, if you prefer not to sew on zippers or don’t have access to sewing equipment, consider using adhesive-backed strips such as Velcro instead.
Assembling the Cushion
This step is where all of your hard work comes together, so take care in ensuring that everything lines up perfectly.
Firstly, place the foam on top of the fabric with its bottom side facing upwards. Then fold over one edge of fabric onto itself and align it with one edge of foam.
Repeat this process on each side until all four sides are folded over onto themselves.
Next, use a staple gun or sewing machine to secure each folded-over edge in place along its corresponding length using either staples or stitches respectively.
Flip over the cushion so that its right side faces upwards before inserting it into your window seat frame.
Attaching the Cushion to the Seat

There are a few different methods for attaching the cushion, depending on your preference and skill level. One option is to use Velcro strips or adhesive tape along the bottom of the cushion and on top of the seat surface.
This method allows for easy removal and cleaning of both surfaces.
Another option is using screws or bolts with washers that go through both layers (cushion cover + foam) into pre-drilled holes in wooden boards attached underneath each side of your window seat frame.
If you prefer a more permanent solution, consider stapling or nailing directly into place around all edges using an upholstery staple gun/nailer tool which can be rented from most hardware stores if needed.
Optional Decorative Elements

There are many ways you can personalize your cushion and make it stand out in your home decor. One option is to add piping or trim around the edges of the cushion cover for a polished look.
You could also experiment with different fabrics and patterns, such as adding a contrasting fabric on the sides or incorporating fun prints that match your room’s color scheme.
Another way to enhance the look of your window seat is by adding throw pillows or blankets that complement the colors and textures of both the cushion cover and surrounding decor. This will not only provide extra comfort but also create an inviting atmosphere for anyone who wants to relax in this cozy nook.
Consider incorporating other decorative elements into this space such as wall art, plants, curtains or blinds that coordinate with both cushions’ design style while creating an overall cohesive aesthetic throughout all aspects of this area.
Adding Finishing Touches
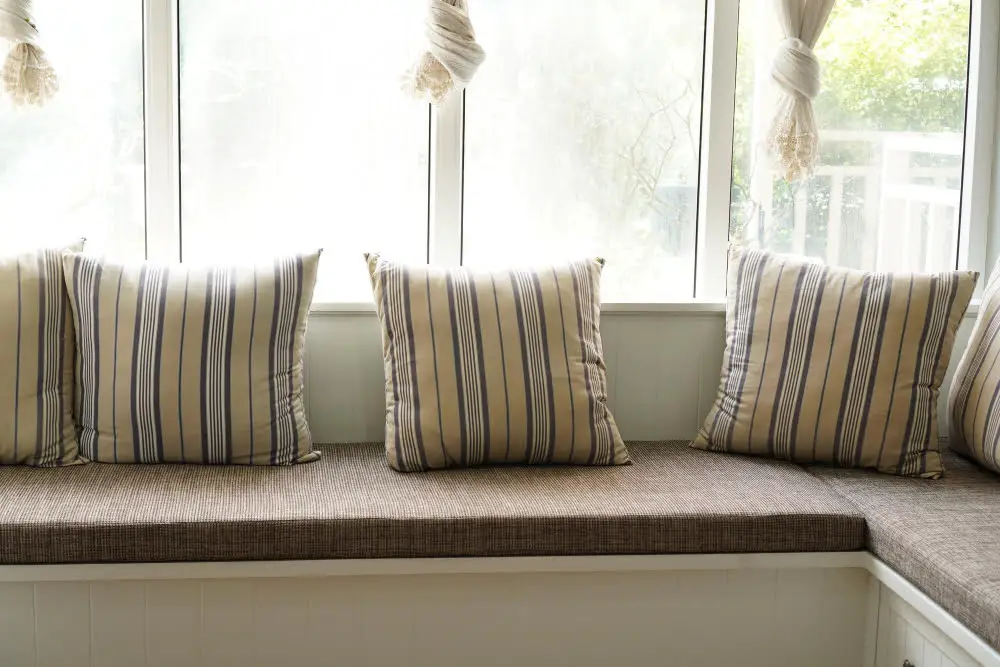
One way to do this is by adding decorative elements such as piping or trim around the edges of the cushion cover. This can help give your cushion a more polished look and tie in with other design elements in the room.
Another option for adding a personal touch is by incorporating throw pillows or blankets that complement your chosen fabric. These accessories not only provide extra comfort but also allow you to switch up the look of your window seat easily.
Consider placing small plants or candles on either side of the window seat for added ambiance and relaxation.
Cleaning and Maintenance
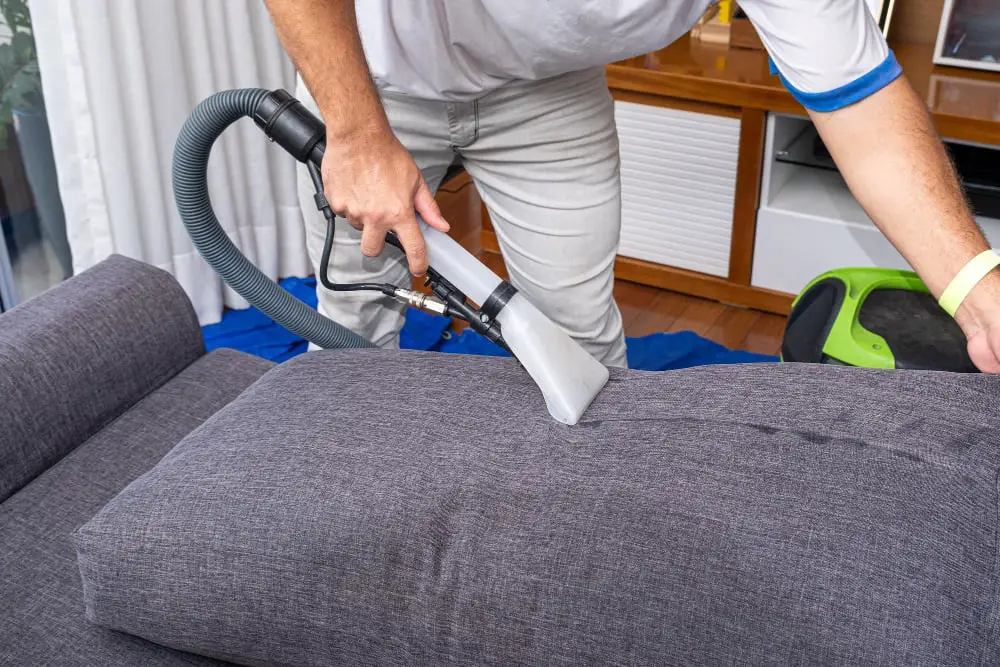
Regular cleaning will not only help extend the life of your cushion but also ensure that it remains comfortable and hygienic for use. The frequency of cleaning will depend on how often the cushion is used, but a general rule of thumb is to clean at least once every three months.
To start, remove any loose debris or dirt from the surface with a soft-bristled brush or vacuum cleaner attachment. For stains or spills, blot immediately with a damp cloth before they set in.
Avoid using harsh chemicals as they can damage both foam and fabric materials.
For deeper cleaning needs such as removing odors or stubborn stains, consider using an upholstery cleaner specifically designed for foam cushions. Always follow manufacturer instructions carefully when using these products.
Lastly, be sure to rotate your window seat cushion regularly so that wear occurs evenly across all areas rather than just one spot over time.
Updating Cushion Designs
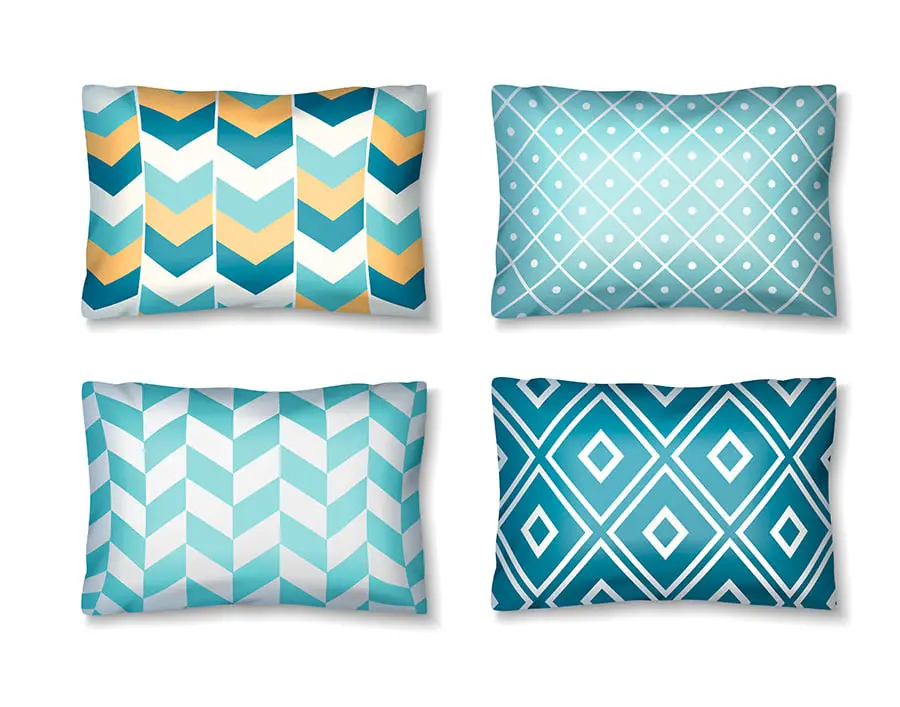
Fortunately, there are many ways to update the design of your cushion without having to start from scratch. One simple way is by changing out the cover fabric for a new pattern or color that complements your decor.
You can also add decorative elements such as piping or trim for an extra touch of style. Another option is adding throw pillows in coordinating colors and patterns on top of the cushion for added comfort and visual interest.
If you’re feeling particularly crafty, consider creating a custom applique design using felt or other fabrics that can be sewn onto the existing cover. Updating your window seat cushion doesn’t have to be complicated – with just a few small changes, you can give this cozy nook an entirely new look!
Troubleshooting Common Issues
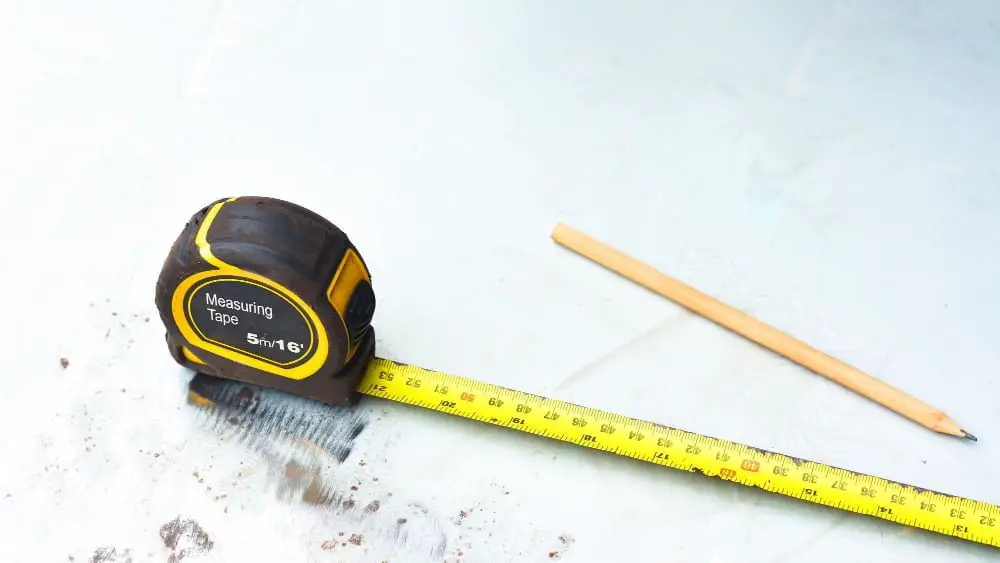
When it comes to making a window seat cushion, there are a few common issues that can arise during the process. One of the most frequent problems is uneven foam or fabric bunching up in certain areas.
This can be caused by inaccurate measurements or improper cutting techniques.
To avoid this issue, make sure you measure your window seat accurately and use sharp tools when cutting your foam and fabric pieces. If you do end up with an uneven cushion after assembly, try adjusting the stuffing inside to redistribute it more evenly.
Another problem that may occur is difficulty attaching your finished cushion to the seat itself due to size discrepancies or awkward angles around corners. In this case, consider using Velcro strips instead of sewing directly onto the surface for easier removal if needed.
Materials List
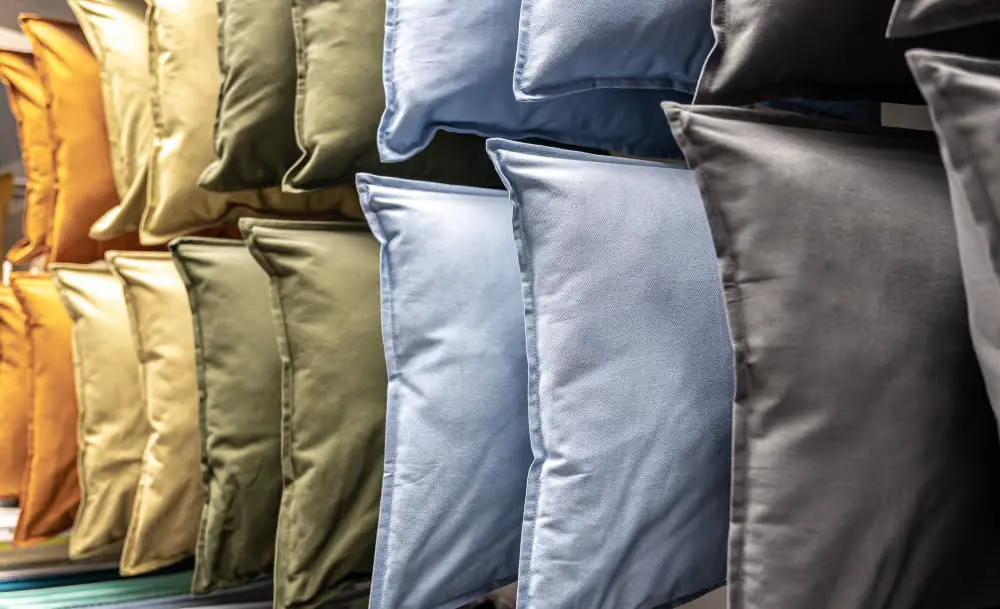
Having all of these items on hand before you begin will make the process much smoother and ensure that your finished product looks and feels great.
Here is a list of materials you’ll need to create your custom window seat cushion:.
- Foam Cushion: This is one of the most important components as it provides comfort and support. You can choose from various types such as high-density foam or memory foam depending on personal preference.
- Fabric: Selecting durable fabric that complements your decor style is essential. Consider factors like color, texture, pattern, durability when choosing fabric.
- Thread: Choose thread in a matching color to sew together pieces of fabric.
- Zipper or Velcro (optional): If you want to be able to remove and wash covers easily then adding zipper or velcro closure would be helpful
- Batting (optional): Adding batting between layers can provide extra softness but it’s not necessary if using thick enough foam
- With these basic supplies in hand, we’re ready to get started!
Tools List
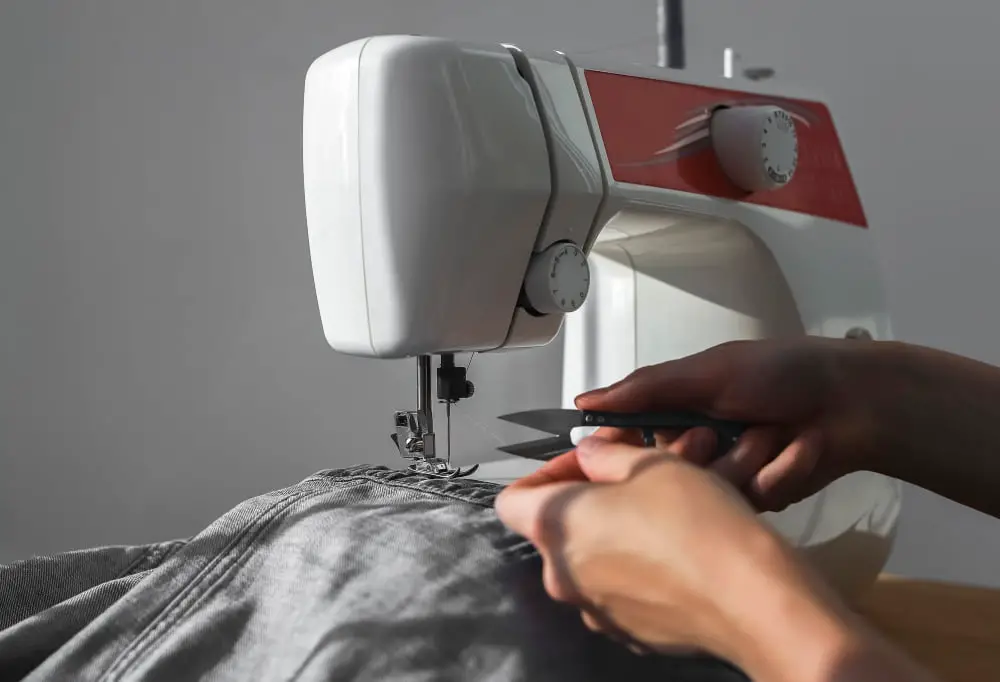
Here’s a list of the essential items you’ll need:.
- Measuring tape
- Scissors or rotary cutter
- Sewing machine (if sewing your own cover)
- Iron and ironing board (if sewing your own cover)
- Fabric pins or clips
- Zipper foot attachment for your sewing machine (if adding a zipper)
Having these tools on hand will make the process much smoother and ensure that you have everything needed to complete the project successfully.
Recommended Products
Here are some recommended products that will help you achieve professional-looking results:.
1. Foam Cutter: A foam cutter is an essential tool for cutting foam to size accurately.
2. High-Density Foam: Choose high-density foam with a thickness of at least 3 inches for maximum comfort.
3. Upholstery Fabric: Select durable upholstery fabric that complements your decor style and is easy to clean.
4. Sewing Machine (Optional): If you’re sewing your own cushion cover, invest in a reliable sewing machine that can handle heavy fabrics like upholstery material.
5. Zipper or Velcro Tape (Optional): Adding zipper or velcro tape makes it easier to remove and wash the cushion cover when needed.
FAQ
What kind of fabric do you use for window seat cushions?
For window seat cushions, it is best to use cotton, synthetic materials like Sunbrella, or leather due to their durability and resistance to UV exposure.
How much fabric do I need for a window seat cushion?
To determine the fabric needed for a window seat cushion, measure the length and width of the cushion, multiply the length by 2 to cover both top and bottom faces, and add 1 inch to both dimensions for the seams.
How thick should foam be for a window seat cushion?
For a window seat cushion, the foam should be at least 75mm thick to ensure comfort.
What are the best types of foam to use for window seat cushions?
“High-density foam and memory foam are the best types of foam to use for window seat cushions.”
How can you properly measure a window seat for a custom cushion?
To properly measure a window seat for a custom cushion, one must measure the length, width, and desired thickness of the seating area, ensuring accuracy for a perfect fit.
What are some popular window seat cushion styles and designs?
Some popular window seat cushion styles and designs include tufted cushions, box-edge cushions, piping details, and custom patterned fabrics.
Recap
