Discover the simple and effective steps to properly clean a window fan, ensuring optimal performance and longevity for your cooling companion.

Have you ever noticed how quickly a window fan can accumulate dirt and grime? It’s no surprise, considering how much air it circulates on a daily basis. But don’t let the thought of cleaning it deter you from enjoying the benefits of fresh, cool air in your home.
With just a few simple steps, you can have your window fan looking and working like new again. In this blog post, we’ll walk you through the process of cleaning your window fan so that it runs efficiently and keeps your home feeling comfortable all summer long.
So grab some cleaning supplies and let’s get started!
Key takeaways:
- Safety Precautions: Unplug fan, wear gloves and mask
- Gather Cleaning Tools: Screwdriver, vacuum with brush attachment, soft-bristled brush, mild detergent or vinegar solution, clean cloth
- Unplug and Remove Fan: Place fan on flat surface
- Disassemble Window Fan: Remove screws and clips, take note of parts
- Vacuum Dust and Debris: Use soft brush attachment, avoid pressure
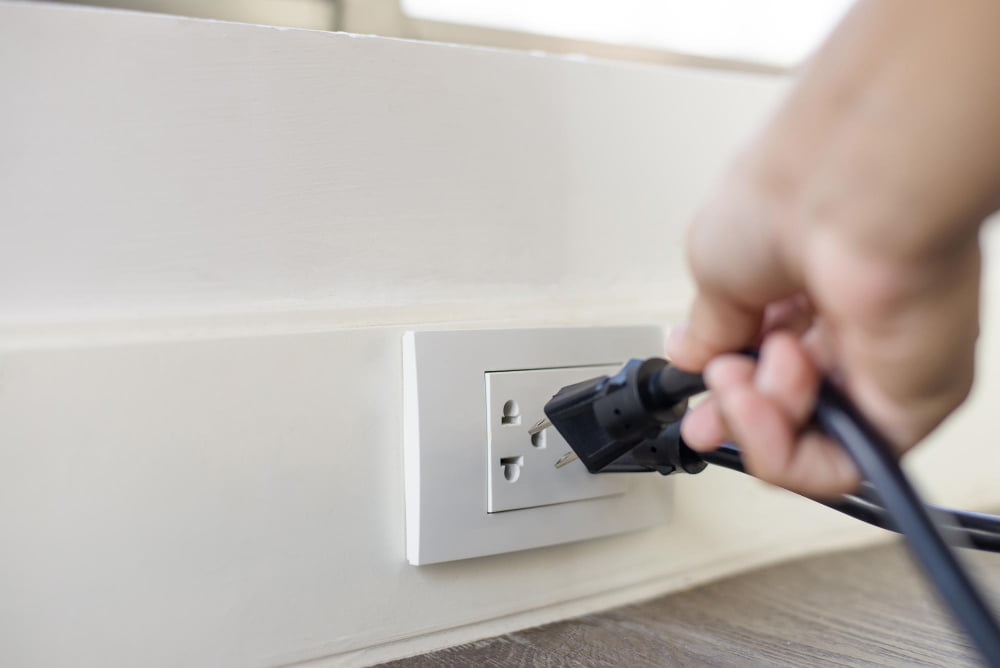
Safety Precautions

First and foremost, make sure your window fan is unplugged before you begin cleaning. This will prevent any electrical accidents from occurring while you’re handling the fan blades or motor.
Wear gloves and a mask to protect yourself from dust and debris that may be released during the cleaning process. If possible, clean your window fan outside or in a well-ventilated area to avoid inhaling any harmful particles.
Gather Cleaning Tools
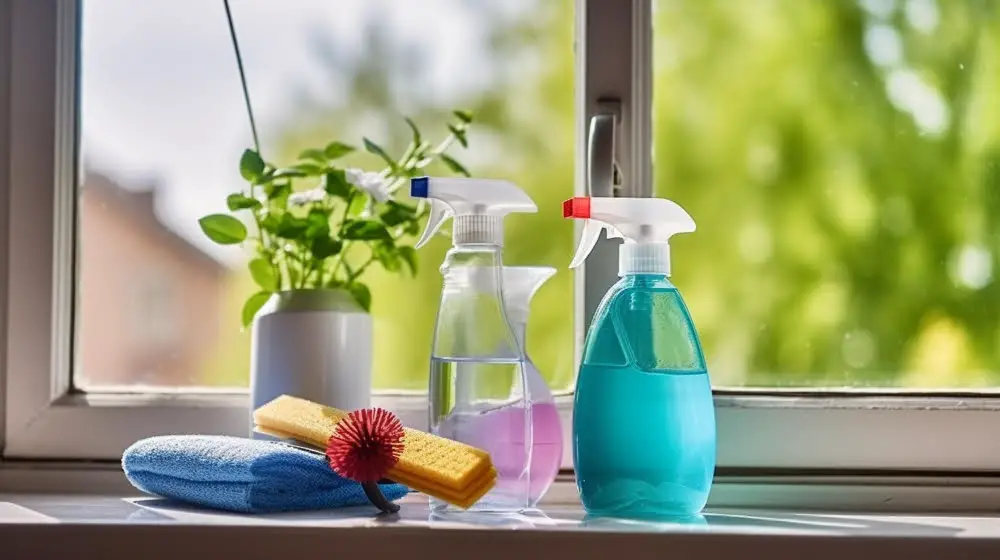
This will make the process much smoother and efficient. Here are some of the items you’ll need:
- Screwdriver – for removing screws that hold together different parts of your fan.
- Vacuum cleaner with a brush attachment – for removing dust from hard-to-reach areas.
- Soft-bristled brush or toothbrush – for scrubbing dirt off blades, grills, and other surfaces.
- Mild detergent or vinegar solution – to clean grill covers
- Clean cloth- For wiping down surfaces after cleaning.
Unplug and Remove Fan
This ensures that you can safely clean all parts of the fan without any risk of electrical shock or damage to your home. Once you have unplugged and removed the fan, place it on a flat surface where you can easily access all sides.
It’s important to note that some fans may require additional disassembly before they can be properly cleaned, so refer to your user manual for specific instructions if needed. With safety precautions taken care of, let’s move on to gathering our cleaning tools!
Disassemble Window Fan
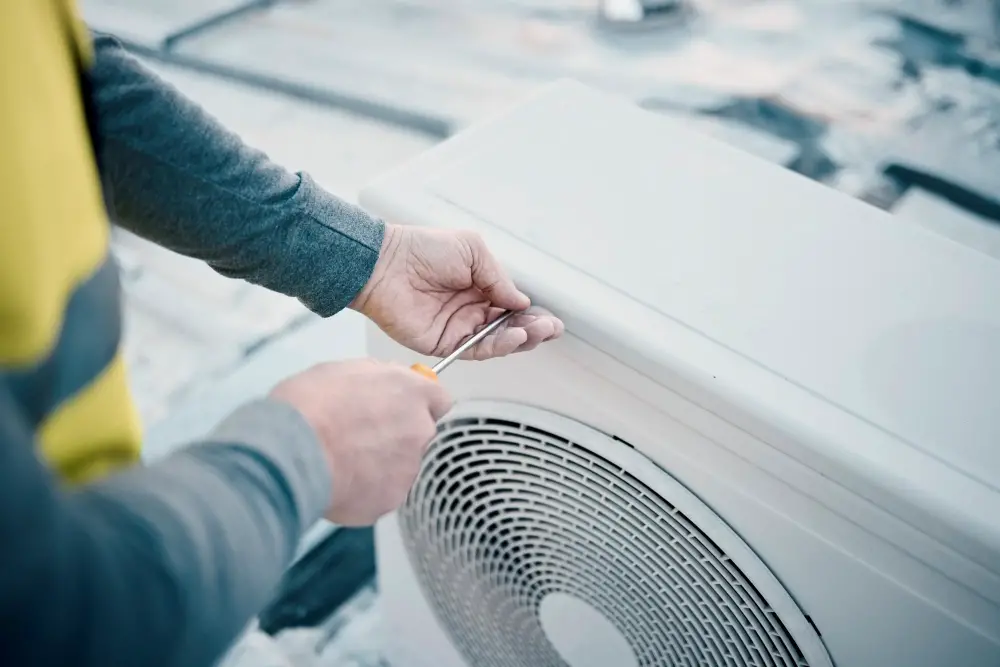
Start by unplugging the fan and removing it from the window. Place it on a flat surface where you can work comfortably.
Next, locate any screws or clips that hold the front grill in place and remove them using a screwdriver or pliers. Carefully lift off the grill and set it aside.
Now, take note of how your fan is put together so that you can easily reassemble later on. Remove any additional screws or clips holding other parts of your fan in place such as blades, motor housing cover etc., depending on your model’s design.
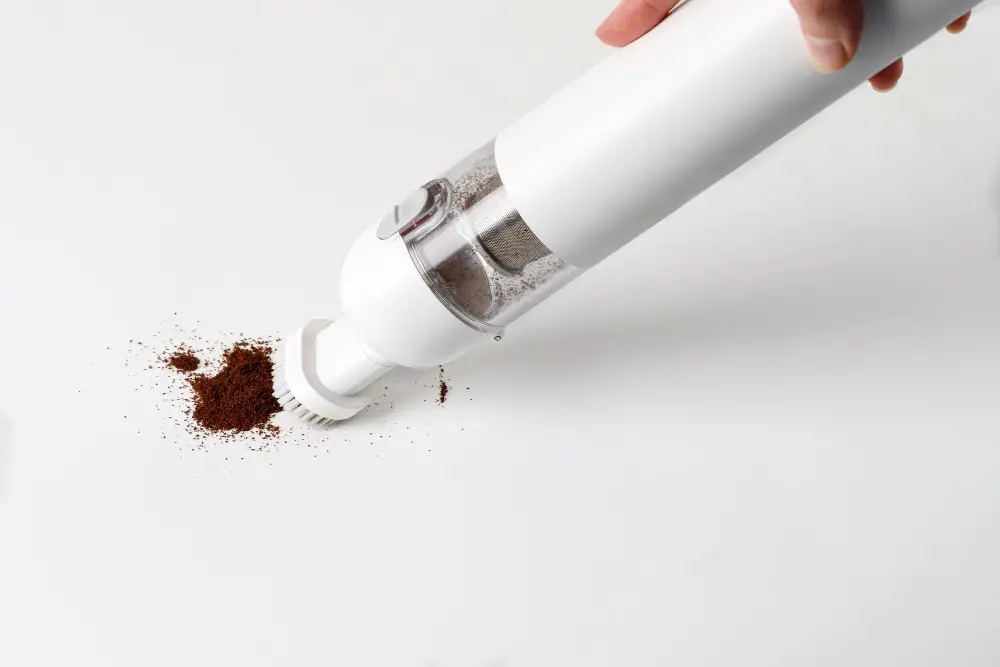
Vacuum Dust and Debris
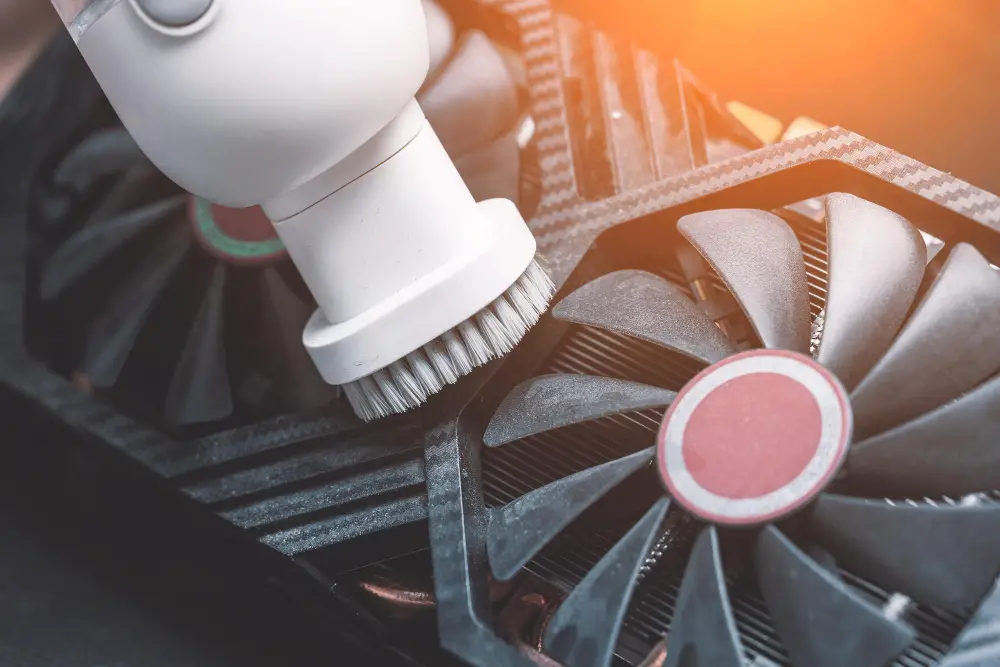
The first step is to vacuum any dust and debris that has accumulated on the blades and inside the housing. Use a soft brush attachment on your vacuum cleaner to gently remove any loose dirt or debris from the blades, motor, and other parts of the fan.
Be sure not to apply too much pressure while using a vacuum as this can damage delicate parts of your window fan. Take extra care when cleaning around electrical components such as wires or switches.
If there are stubborn areas where dirt won’t come off with just a simple brushing action, use compressed air instead of applying more force with brushes or cloths which could cause damage. Compressed air cans are readily available at most hardware stores for this purpose.
Clean Fan Blades
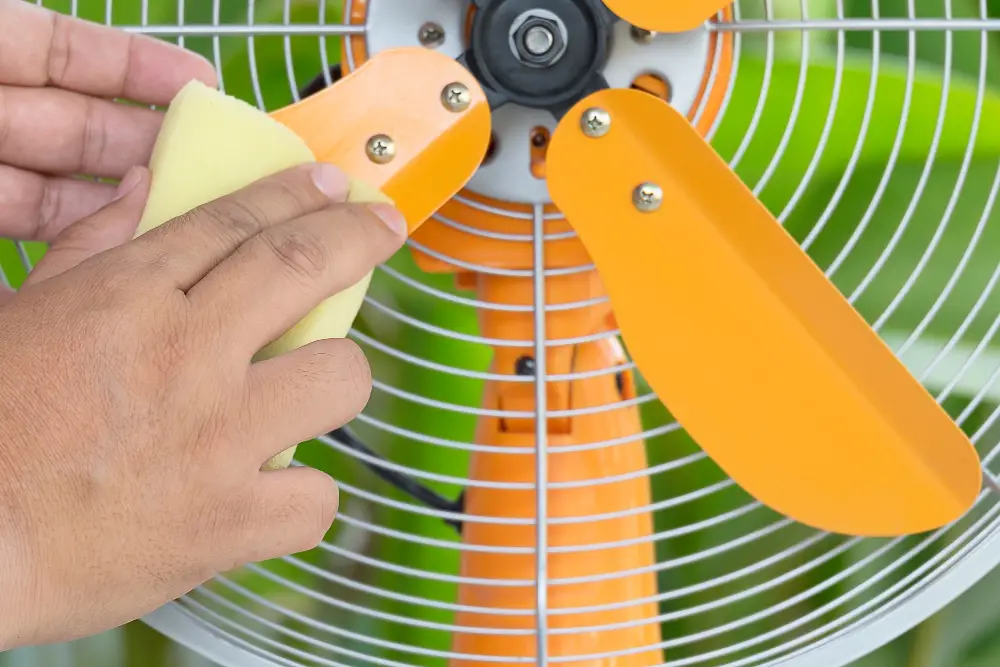
Be sure to remove all visible dust and grime from both sides of each blade. For stubborn stains or buildup, you can use a mixture of warm water and mild dish soap to help loosen the dirt before wiping it away.
Avoid using harsh chemicals or abrasive materials that could scratch or damage the surface of your fan blades. Once you’ve finished cleaning them, take a moment to inspect each blade for any signs of wear or damage that may require replacement.
Cleaning your window fan’s blades is an essential step in maintaining its performance and prolonging its lifespan. By keeping them free from dust and debris buildup, you’ll ensure optimal airflow throughout your home while also preventing potential malfunctions caused by clogged components.
Soak Grill and Blades
These parts can be particularly difficult to clean due to their intricate design, but soaking them in a cleaning solution can make all the difference. Fill a large basin or sink with warm water and add some dish soap or vinegar for added cleaning power.
Carefully remove the grill and blades from your window fan, being sure not to bend them out of shape. Place these parts into the soapy water mixture, making sure they are fully submerged.
Allow them to soak for at least 30 minutes before using a soft-bristled brush or sponge to scrub away any remaining dirt or grime. Rinse thoroughly with clean water until no soap residue remains on either part.
Soaking is an effective way of loosening up stubborn dirt that has accumulated over time on your window fan’s grill and blades without damaging its delicate structure during cleaning.
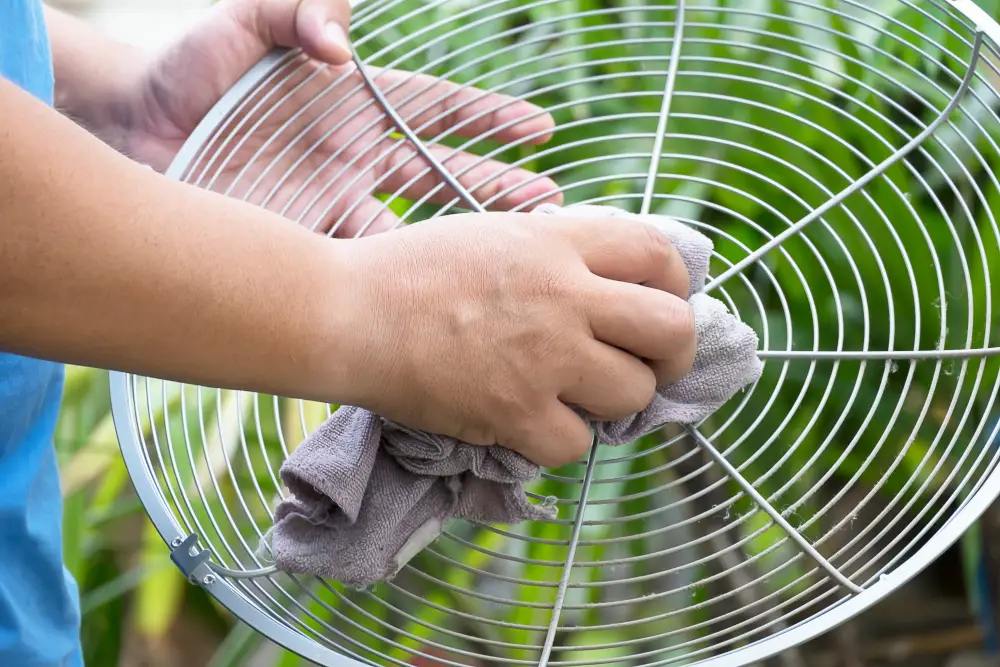
Scrub and Rinse

Using a soft-bristled brush or sponge, gently scrub both sides of the grill and each blade individually. Be sure to pay extra attention to any areas with stubborn buildup.
After you’ve finished scrubbing, rinse off all parts thoroughly with clean water. Make sure there is no soap residue left on any part of the fan as this can cause damage over time.
For tough stains that won’t come off with just soap and water, try using a mixture of baking soda and vinegar instead. This natural cleaning solution is effective at breaking down even the most stubborn dirt without causing damage to your window fan.
Clean Vent Covers
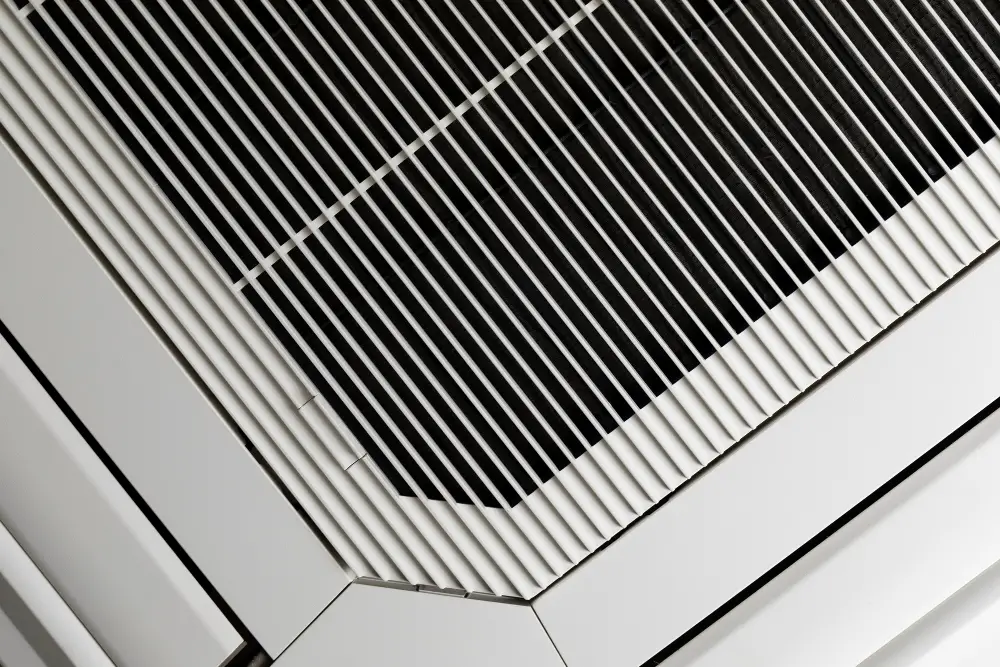
To clean them, start by removing them from the fan. You may need to use a screwdriver or other tool to do this depending on how they are attached.
Once removed, soak them in warm soapy water for about 10 minutes before scrubbing with a soft-bristled brush or sponge. Rinse thoroughly and dry completely before reattaching to your window fan.
Clean Fan Housing

Be sure to get into all of the crevices and corners where dust and dirt can accumulate. If there are any stubborn spots that won’t come off with just water, you can use a mild cleaning solution like dish soap mixed with warm water.
For tougher grime buildup on plastic housings, try using baking soda paste (baking soda mixed with water) as an abrasive cleaner. Apply it gently in circular motions until stains disappear then rinse thoroughly.
Avoid using harsh chemicals or abrasive cleaners on your window fan’s housing as they may damage its surface finish or cause discoloration over time.
Clean Fan Motor
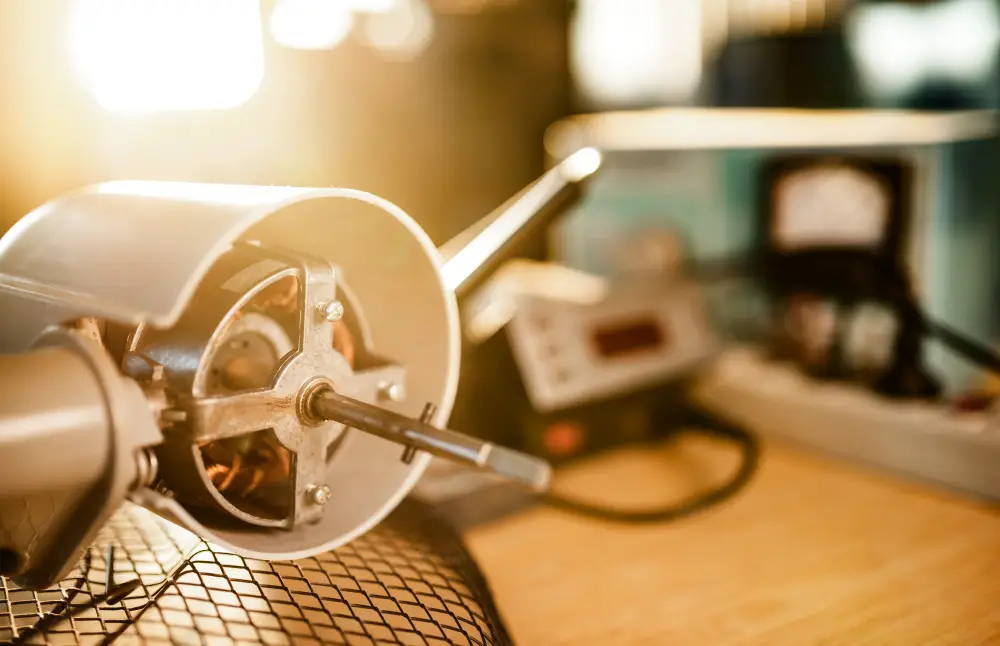
Start by using a soft-bristled brush or compressed air to remove any dust and debris from the motor housing. Be sure not to touch any of the electrical components with your hands or cleaning tools.
Next, use a damp cloth or cotton swab dipped in rubbing alcohol to gently wipe down the exterior of the motor housing and blades. This will help remove any stubborn dirt that may have accumulated over time.
Once you’ve finished cleaning, allow ample time for all parts of your window fan – including its motor -to dry completely before reassembling it and plugging it back in.
Clean Window Sill
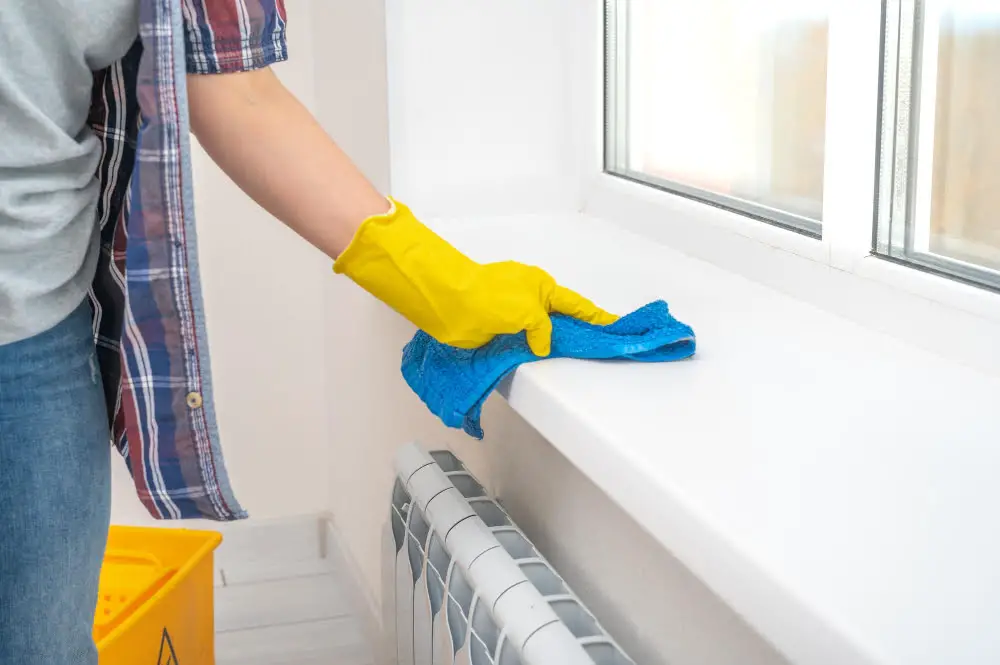
Over time, dirt and debris can accumulate on the sill, which can affect the performance of your fan. To clean your window sill, start by wiping away any loose dirt or debris with a dry cloth or vacuum cleaner attachment.
Next, use a damp cloth to wipe down the entire surface of the sill. For stubborn stains or grime buildup, you may need to use a mild cleaning solution such as dish soap mixed with warm water.
Be sure to avoid using harsh chemicals that could damage your windowsill’s finish or harm nearby plants if you have them on display there. Once you’ve finished cleaning your window sills thoroughly rinse it off with fresh water and dry it completely before reassembling everything back together.
Reassemble Window Fan
Begin by placing the grill back onto the fan and securing it in place with screws or clips. Next, carefully slide each blade back into its slot on the motor shaft and secure them with their respective nuts or clips.
After that, replace any vent covers that were removed during cleaning and ensure they are securely fastened in place. Plug your window fan back into an electrical outlet and test its functionality before returning it to its original position.
It’s important to note that if you encounter any difficulties during reassembly or notice anything out of order when testing your fan’s functionality after cleaning, consult a professional for assistance rather than attempting repairs yourself.
Test Fan Functionality
This will ensure that everything is working properly and that there are no issues with the fan after cleaning. To do this, plug in your fan and turn it on to see if it runs smoothly without any strange noises or vibrations.
If you notice anything out of the ordinary, double-check all connections and make sure everything is securely fastened together.
If your window fan has multiple speed settings or a thermostat control, test these features as well to make sure they’re functioning correctly. You don’t want to put a dirty or malfunctioning fan back into your window only for problems to arise later on.
Weekly Cleaning Routine
This will help prevent dirt and debris from building up again and keep your fan running smoothly.
To start, unplug the fan and remove it from the window as before. Then use a soft-bristled brush or vacuum attachment to gently clean any visible dust or debris on both sides of the blades.
Next, wipe down all surfaces of the grill with warm soapy water using a microfiber cloth or sponge. Rinse thoroughly with clean water and allow everything to air dry completely before reassembling.
Deep Cleaning Tips

Here are some tips to help you achieve a thorough clean:
1. Use an old toothbrush or small brush to reach tight spaces and crevices.
2. For tough stains, use a mixture of baking soda and water as a natural cleaner.
3. Soak the blades in warm soapy water for at least 30 minutes before scrubbing them with a soft-bristled brush.
4. To prevent rusting on metal parts, apply WD-40 or another lubricant after cleaning.
5. If your fan has an odor even after cleaning it thoroughly, try placing activated charcoal near the intake vents overnight to absorb any lingering smells.
Maintain Regular Cleaning
It’s recommended that you clean your window fan at least once a month during the summer months when it’s in constant use. However, if you live in an area with high levels of dust or pollen, you may need to clean it more frequently.
To maintain regular cleaning, create a schedule that works for you and stick to it. Set reminders on your phone or calendar so that you don’t forget.
Make sure to follow the steps outlined in this article each time so that no part of the fan is overlooked.
Avoiding Future Dirt Buildup
One of the easiest ways to do this is by regularly cleaning and maintaining your fan. Make sure to wipe down the blades and grill at least once a week with a damp cloth or sponge.
You can use an air compressor or canned air to blow out any dust that may have accumulated in hard-to-reach areas.
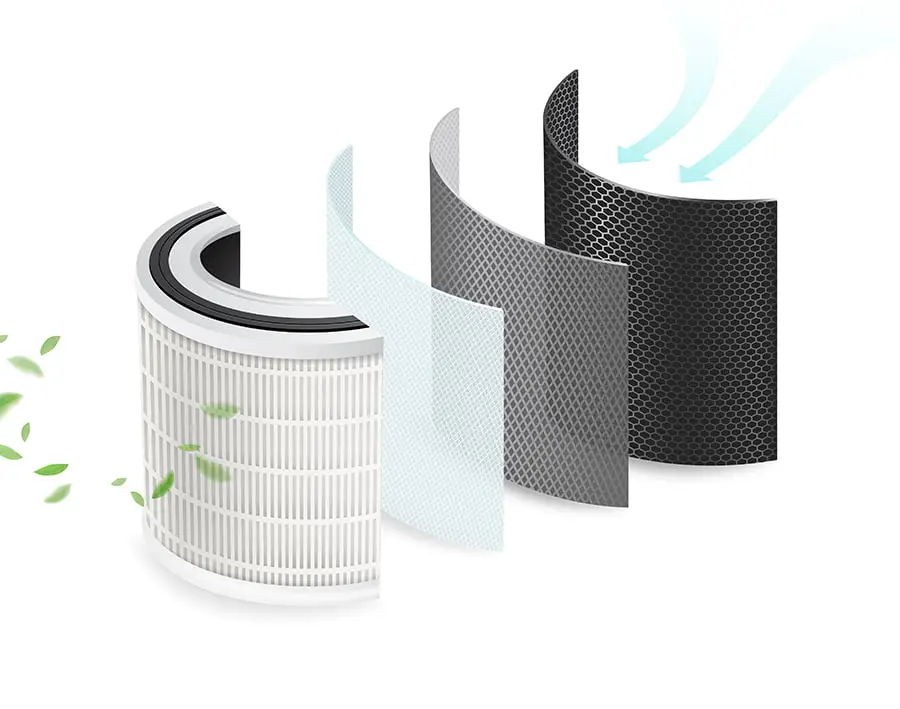
Another way to prevent dirt buildup is by using high-quality air filters in your home’s HVAC system. These filters will trap airborne particles before they have a chance to settle on surfaces like your window fan.
Lastly, consider placing an air purifier near your window fan for added protection against dust and allergens.
FAQ
Can I hose down a window fan?
You can hose down a window fan, but avoid getting the motor or motor housing wet, and ensure the fan is off, unplugged, and its cover or blades are detached.
What is the safest method to clean a window fan without damaging its components?
The safest method to clean a window fan without damaging its components is to unplug it, remove the grilles or covers, and gently clean the blades and components with a soft brush or cloth, and mild soapy water.
How often should one clean a window fan for optimal performance and maintenance?
Clean a window fan every two months for optimal performance and maintenance.
Are there any specific cleaning solutions or tools recommended for cleaning a window fan?
For cleaning a window fan, it is recommended to use a soft brush, a vacuum with brush attachment, and a mild soap solution.
Read More
 Aluminum Window Latch Replacement: A Simple Guide to Security and Style
 Custom Aluminum Window Screens Buying Guide
 Aluminum Window Removal Tool: Easy Steps for a Hassle-Free Window Replacement
 Screw for Aluminum Window Frame: Your Ultimate Fixing Guide
 Replace Aluminum Window Glass: A Beginner’s Guide to a Clearer View
Recap