Learn how to remove aluminum windows effectively with the right tool and a straightforward approach.
So, you think you’re ready to undertake the noble quest of removing an aluminum window? Brace yourself, brave DIYer! This comprehensive guide has got your back, covering everything from the necessary tools and materials, safety precautions (because, you know, fingers are useful), and how to identify your aluminum window type. You’ll learn to remove those pesky window screens, loosen the frame, and even deal with rebellious glazing points. We’ll show you how to detach the sash without losing your cool and tackle lingering caulk and sealant like a pro. Finally, you’ll get tips on how to dispose of the old window parts without making your garage look like a scrap yard. Ready to become a window wizard? Let’s go!
Key takeaways:
- Use a utility knife for caulk removal.
- Identify window type before starting.
- Wear gloves and safety glasses.
- Detach sash gently to avoid damage.
- Recycle aluminum and dispose of glass safely.
Necessary Tools and Materials

Ready for some tool talk? You don’t need to be Bob the Builder to tackle aluminum window removal. Just make sure you have these essentials on hand:
A sturdy utility knife – Lifesaver for slicing through caulk and sealant. Plus, you’ll feel like a master chef for windows.
Flat pry bar – The flat pry bar is your best friend for easing the frame away from the wall. Think of it as the gentle giant in your toolkit.
Screwdriver set – Phillips or flat-head, doesn’t matter. You’ll need both. Those aluminum windows aren’t coming out without a fight, and screws are usually the hidden ninjas.
Gloves – Ever tried wrestling an aluminum window with bare hands? Don’t.
Safety glasses – No one looks good with caulk in their eyes. Channel your inner superhero and suit up.
Heavy-duty trash bags – Because, let’s face it, the debris isn’t going to tidy itself.
Safety Precautions

First things first, let’s keep all fingers, toes, and eyebrows intact.
Wear gloves. Aluminum edges seem to be friendly but can surprise you with sharpness.
Goggles are a smart move. You never know when a piece of debris might decide to fly at your face.
Don’t forget a dust mask. Breathing in decades-old dust and tiny glass particles is a bad idea, even if you want to invent a new way of coughing.
Make sure your ladder is stable if you’re working up high. We don’t need any acrobatic performances here.
Lastly, disconnect any power sources to avoid an impromptu electrical show if your window has built-in electronic components. Safety first, showmanship later.
Identifying the Type of Aluminum Window

Different aluminum windows come with different personalities, like people but less chatty. Knowing which one you’re dealing with can save you time and maybe a headache or two.
First, look at the frame. Older aluminum windows often have a chunkier frame, while more modern ones are sleek and slender. This will help you figure out how they’re held together.
Next, check the hardware. If you see visible screws or fasteners, you’re in luck. Some windows hide these sneaky little things behind rubber seals or trim pieces.
Also, take a peek at the glazing. Single-pane windows usually have a different removal process compared to double-pane windows.
Lastly, some aluminum windows use a slider mechanism. If yours does, slide the window open and closed to determine how the sash fits into the frame. A smooth operator means a simpler removal.
Identifying these aspects lets you plan your attack (or gentle removal, if you’re into the whole “gentle” thing).
Removing Window Screens
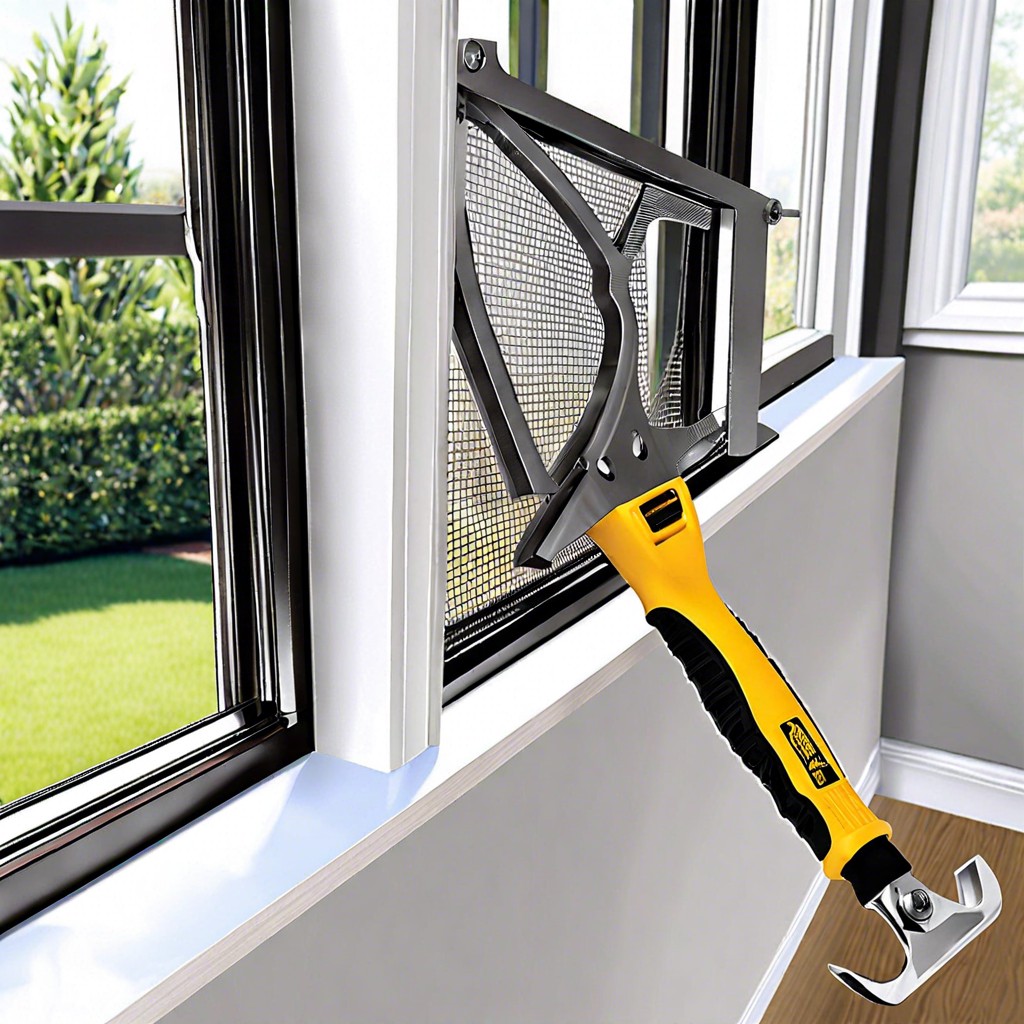
First things first, take a closer look at your screens. Most aluminum window screens are held in by simple hardware like clips or tension springs. If you’ve got clips, just pop them out gently.
Use a flat-blade screwdriver to pry them loose if they’re stubborn, but try not to send the screen flying across the room. Enjoying unexpected flight? Maybe not today.
With tension springs, just compress the springs by pushing the screen towards the frame side with the springs. This should free the opposite side so you can either slide or lift it out. Be gentle; aluminum screens might look tough, but they can bend easier than a gymnast on a yoga retreat.
Once removed, store the screens in a safe place. You don’t want your hard work undone because someone tripped over them. Trust me on this one.
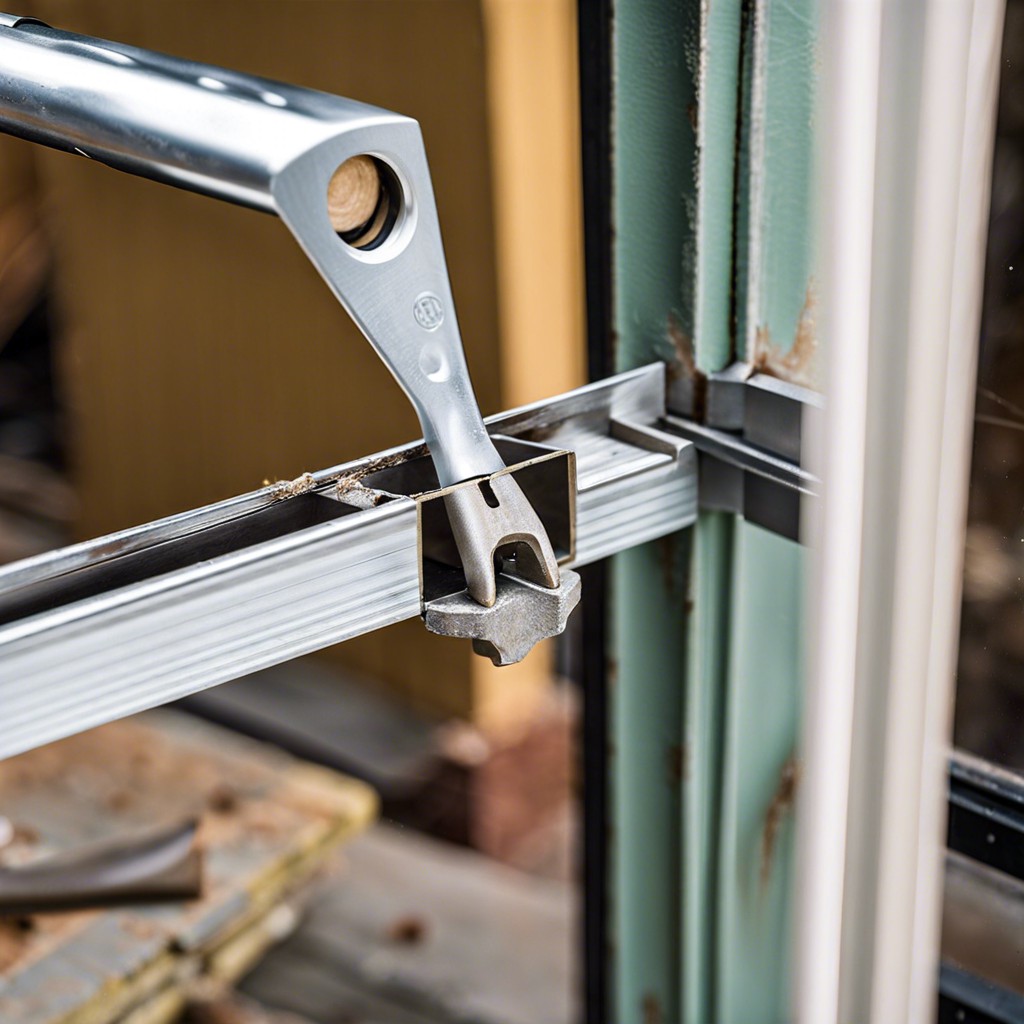
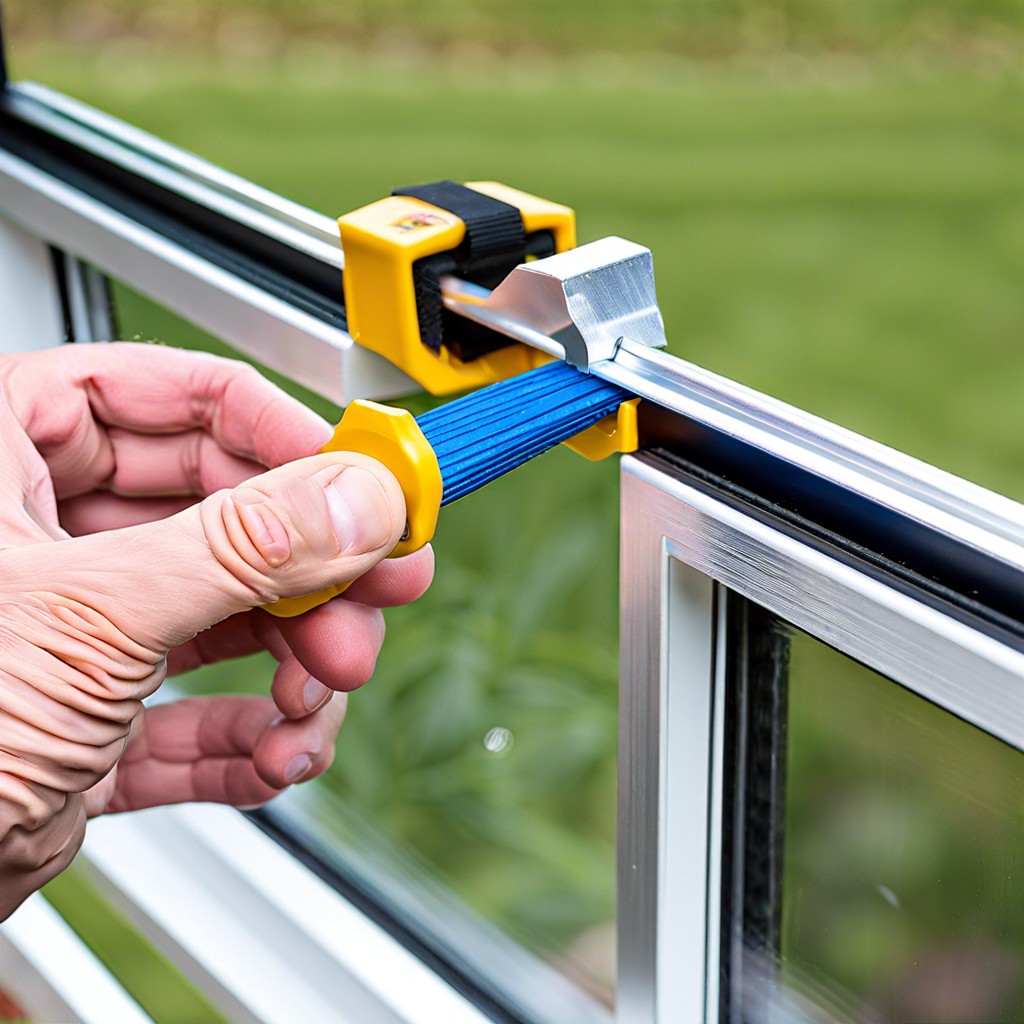
Loosening the Window Frame
First thing’s first, you’ll want to grab your trusty screwdriver. If you don’t have one, you might have to befriend your neighbor. Once equipped, it’s time to get to work.
Start by removing any visible screws around the frame. These little devils love to hide, so keep your eyes peeled.
Check for any clips or fasteners. Some aluminum window frames come with sneaky little clips that need a gentle nudge.
Use a putty knife to gently pry the frame away from the wall. Remember, it’s a window, not a barn door—no need for brute strength.
If the frame feels stuck, inspect for hidden screws or stubborn caulk. Give it a gentle tug and if it resists, go back to searching for what’s holding it.
Keep a firm grip to avoid dropping the frame. Nobody wants a smashed window, trust me.
Following these steps will help you make progress without damaging your walls or scaring the cat.
Extracting the Glazing Points
Watch out for those devilish little metal triangles known as glazing points. They’re the keepers of your glass, nestled sneakily between the glass and the frame. Ready to take them on? Here’s how:
- Tools Are Your Friends: Grab a glazing tool or a putty knife. This is not the time for improvising with butter knives!
- Gently Does It: Slide the tool between the glazing point and the frame. Pry gently—this isn’t a wrestling match.
- Wiggle Out the Points: Move the tool back and forth to loosen the glazing point. The key is finesse, not force.
- Collect Your Loot: As each glazing point is freed, collect them. Feel free to mutter, “Gotcha!” with each successful extraction.
- Repeat: Move on to each point around the frame. Consistency is king here.
Get ready to enjoy the sweet, sweet sight of your hard-earned progress.
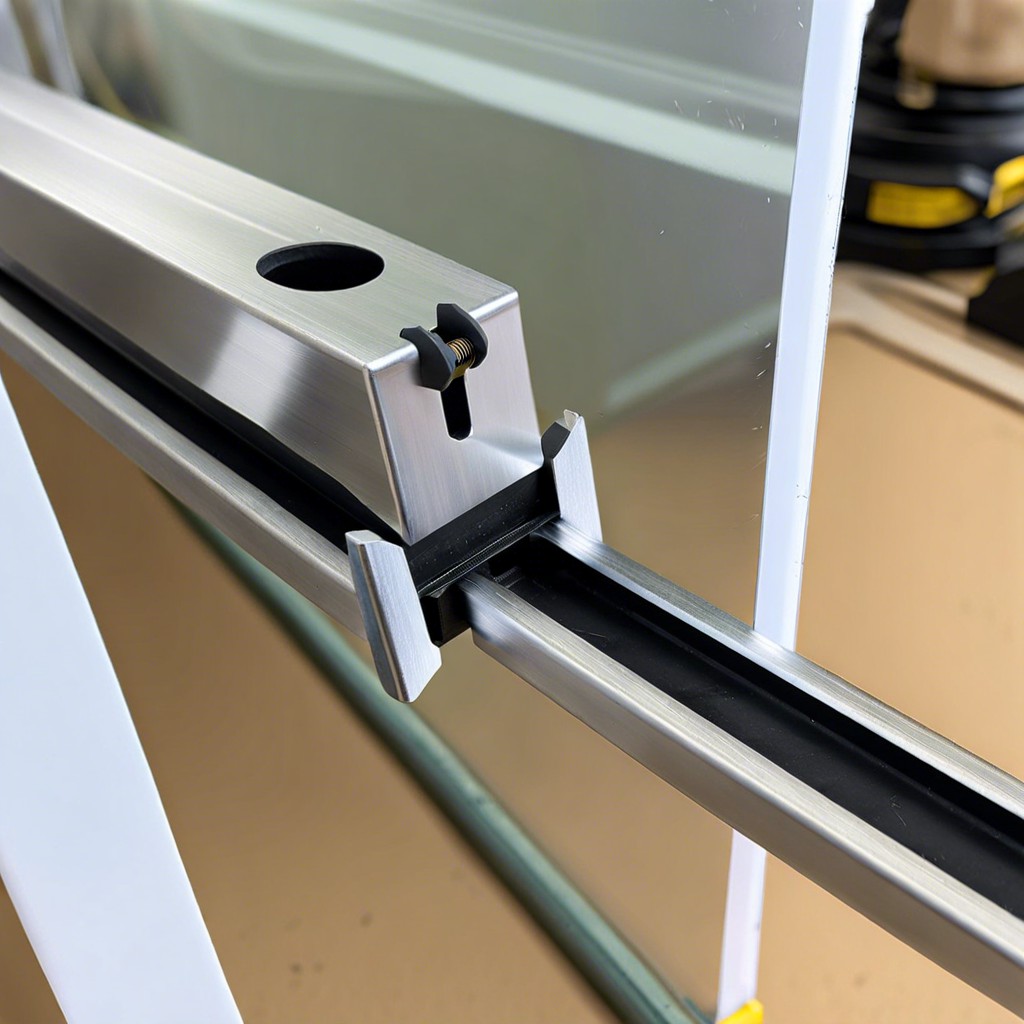
Detaching the Sash
Slide the sash upward slightly to release it from the window frame. Most aluminum windows come with sash release mechanisms—typically latches or tabs at the top or bottom. Press or pull these mechanisms to free the sash.
Once released, tilt the top of the sash inward toward the room. This will allow you to lift the sash out of the frame entirely.
Keep your grip firm but gentle. Aluminum may be light and feels friendly in your hands, but it can betray you with sudden bends if handled too roughly. And you don’t want your window to flop around like a pasta noodle.
Have a helper? Fantastic. If not, you might grow an extra arm (kidding, but keep those muscles ready). Maneuvering large sashes can feel like wrestling an octopus.
Remember, slow and steady wins the race. A hasty yank is more likely to lead to damage—and perhaps even a dramatic DIY fail video on social media. Not that we don’t love a good chuckle, but let’s keep it safe.
Handling Residual Caulk and Sealant
The remnants of caulk and sealant cling to the frame like a clingy ex, but don’t let them get the best of you. Time to show them who’s boss!
First things first, grab a utility knife. Carefully slice through any stubborn sealant. Remember, finesse beats force; we’re not auditioning for a lumberjack contest here.
Next, a putty knife or a scraper works wonders. Gently pry off what you’ve loosened. It’s kind of like peeling an orange—only less delicious and more sticky.
For the truly stubborn bits, a heat gun softens them up. Just a few gentle passes, not a full-on roast!
Lastly, a bit of rubbing alcohol on a cloth can wipe away the last traces, leaving the frame clean as a whistle. Feel like a DIY ninja yet? You should.
Safely Disposing of the Window Parts

Dispose of your aluminum window parts properly to keep things eco-friendly and your space clutter-free. Here’s how:
- Separate Materials: Aluminum, glass, and old caulk need to be separated. Recycling centers love a good sort.
- Recycle the Aluminum: Most community recycling programs accept aluminum. If you’re feeling heroic, take it to a scrap metal recycler for some extra cash. Cha-ching!
- Glass Disposal: Handle glass carefully to avoid accidents. Check local waste guidelines; some areas offer special glass recycling.
- Old Caulk and Sealant: This stuff can be pesky. Most household hazardous waste programs will take it off your hands. Alternatively, seal it in a bag and toss it with regular trash if your area allows it.
- Recycling Centers: A quick online search will show you the closest centers. Some places even offer pick-up services, so wave that goodbye!
Simplify your life and help the planet. It’s a win-win.
Read More
 Aluminum Window Latch Replacement: A Simple Guide to Security and Style
 Custom Aluminum Window Screens Buying Guide
 Screw for Aluminum Window Frame: Your Ultimate Fixing Guide
 Replace Aluminum Window Glass: A Beginner’s Guide to a Clearer View
 15 Ideas for Sliding Aluminum Window Repair
Recap