Learn how to replace an aluminum window latch with ease, ensuring your home’s windows work effortlessly and securely.
Got a pesky aluminum window latch that’s decided it’s done with its duty and is now auditioning for the role of a paperweight? Fear not! This guide will whip your windows back into shape. From tools that make you feel like a DIY warrior to troubleshooting like a pro, we’ve got every step and chuckle covered. You’ll soon be waggling a replacement latch like a pro, testing its worthiness against the draftiest of breezes.
Key takeaways:
- Replace latches for enhanced window security and style.
- Use proper tools: screwdriver, tape measure, gloves.
- Measure existing latch for accurate replacement.
- Test functionality after installation for security.
- Regular maintenance extends latch lifespan significantly.
Tools and Materials Needed for Replacement
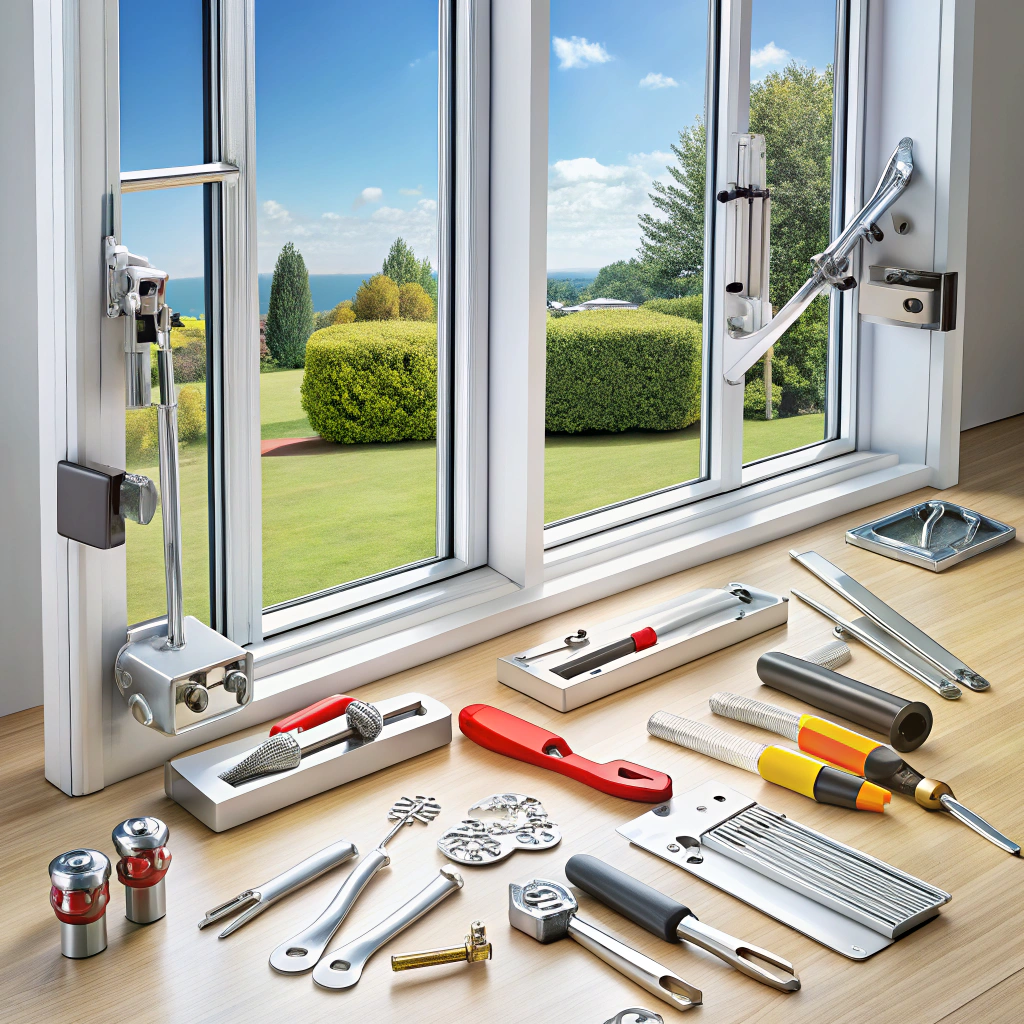
Grab your toolbelt, because we’re about to dive into the magical world of window latch replacements. Don’t worry, no wizardry required. Here’s what you’ll need:
First up, a trusty screwdriver. It’s the wand of the DIY world, pivotal for unscrewing the old latch and securing the new one. Channel your inner handyman!
Next, a tape measure. Precision is key, unless you enjoy a latch that’s as wobbly as a newborn fawn. Measure twice, mess up not.
You’ll also need a replacement latch. Shocking, right? Make sure it matches your window’s specifications. Otherwise, it’s like trying to fit a square peg in a round hole.
Don’t forget safety goggles and gloves. Because losing an eye or a precious finger might ruin your day. Safety first, handyman pride second.
Finally, a little patience. For those moments when the screws seem to have their own agenda. Patience – your secret weapon to cranky screws.
And there you have it, your toolkit to transform windows from foes to friends!
Identifying the Type and Size of the Aluminum Window Latch
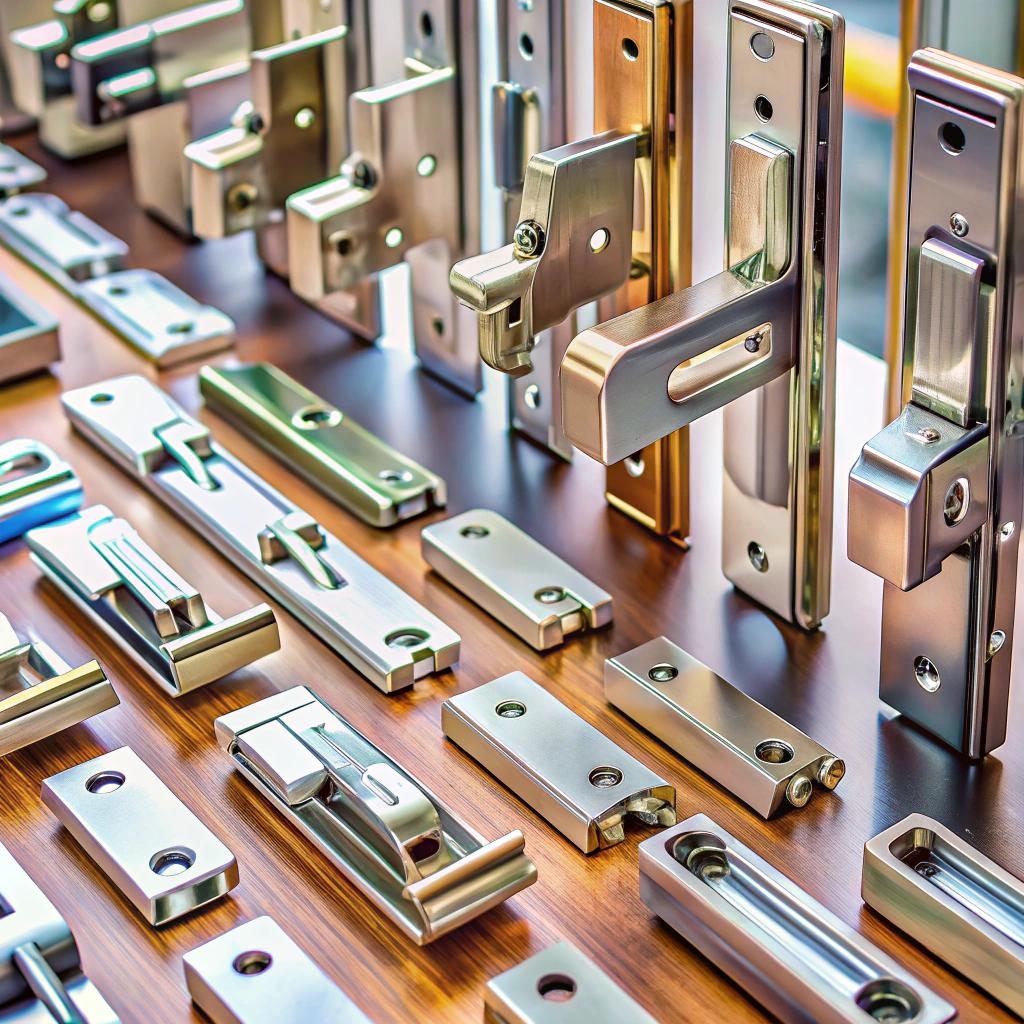
First things first—channel your inner detective. There’s more variety in window latches than in a bakery’s donut selection, so closely inspect your current latch. A little sleuthing goes a long way.
Consider these points when scrutinizing your aluminum window latch:
Measure the latch size accurately. Channel your inner mathematician and use a ruler. Height, width, and depth matter here—no fudging the numbers.
Take note of the latch style. Is it a snazzy cam latch, a lever of sophistication, or a humble slide-lock? Visual identification is key to matching or upgrading.
Observe the mounting style and hole placement. Compatibility is the name of the game. Jot down the specifics so you don’t end up square-peg-round-holing a new latch into place.
Pop quiz, hotshot: what’s the latch made of? While stealthily blending into the aluminum frame, it might just be aluminum too. Material twins make for a better match.
Like finding the perfect avocado, patience is crucial. If in doubt, bring the latch—or a detailed photo—to the hardware store. It’s like show-and-tell, but with metal bits.
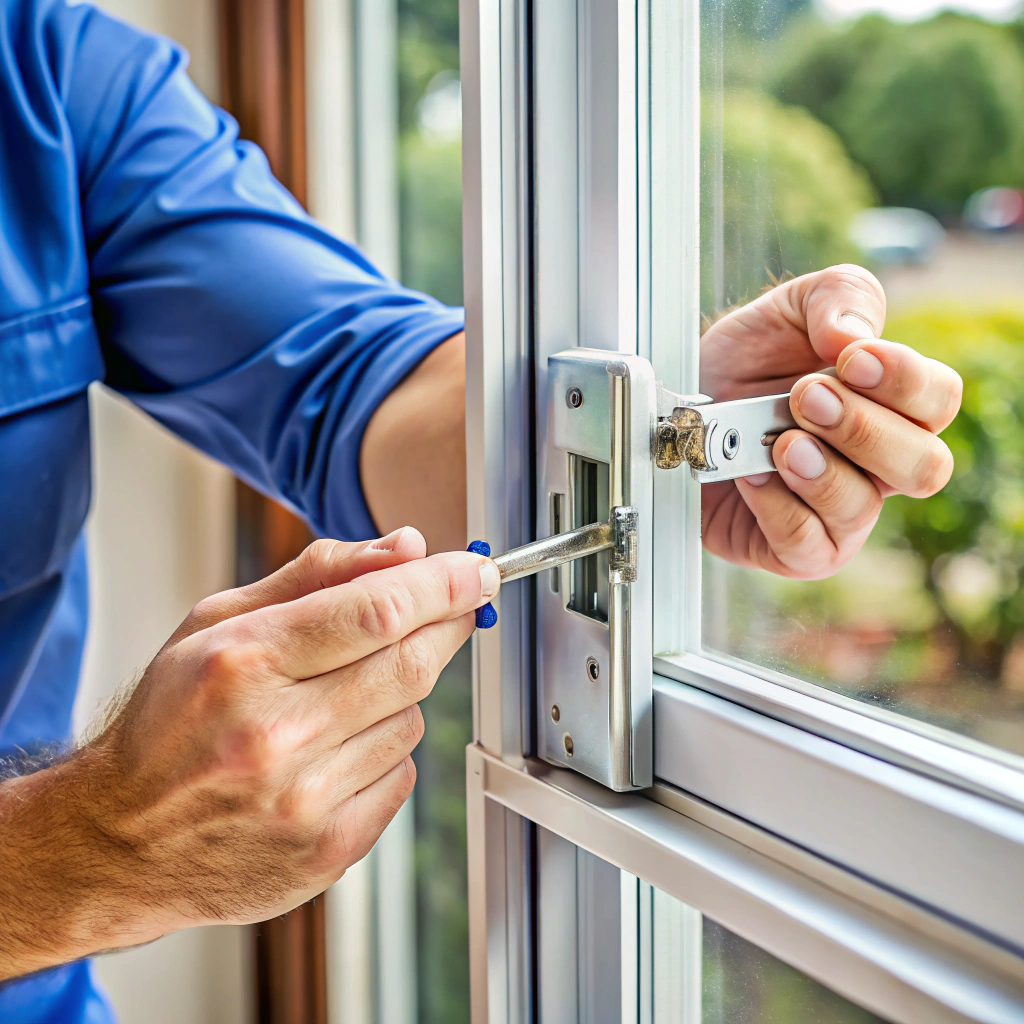
Steps to Safely Remove the Old Latch
Start by confidently wielding a screwdriver, channeling your inner DIY hero. Ensure the window is open to avoid any unintended Beethoven-like finger symphonies. Safety first, folks. Remove any visible screws holding the latch in place, keeping a watchful eye on those sneaky ones that love to hide.
Once the screws are out, gently pry the latch away while humming a happy tune to keep your spirits high. If the old latch clings on like it’s auditioning for a drama, coax it with a flathead screwdriver inserted beneath its edges.
Remember, this process isn’t a wrestling match, so no need for brute force. Our goal is removal, not window destruction. Keep all screws and parts in a safe place, since hunting for lost hardware ranks low on our fun scale.
Preparing the Window Frame for Installation
Grab those cleaning gloves, it’s time to prep the frame. First, ensure the area where the new latch will sit is squeaky clean. Dust and dirt are like clingy exes—they just get in the way. Give the area a good wipe-down with a damp cloth, leaving it as fresh-faced as your first crush.
Next, inspect for any damage or irregularities. A smooth surface is your best friend; it helps the new latch sit pretty and function like a pro. If you’ve got any stubborn old latch residue hanging around, use a putty knife or scraper to gently persuade it to move on.
Check the alignment. Uneven surfaces can cause a sassy new latch to misbehave. Sand lightly if needed to achieve a flat spot fit for a latch debut. Ensure the frame is completely dry before installing the new part. An unprepared, wet window frame is a latch’s worst nightmare.
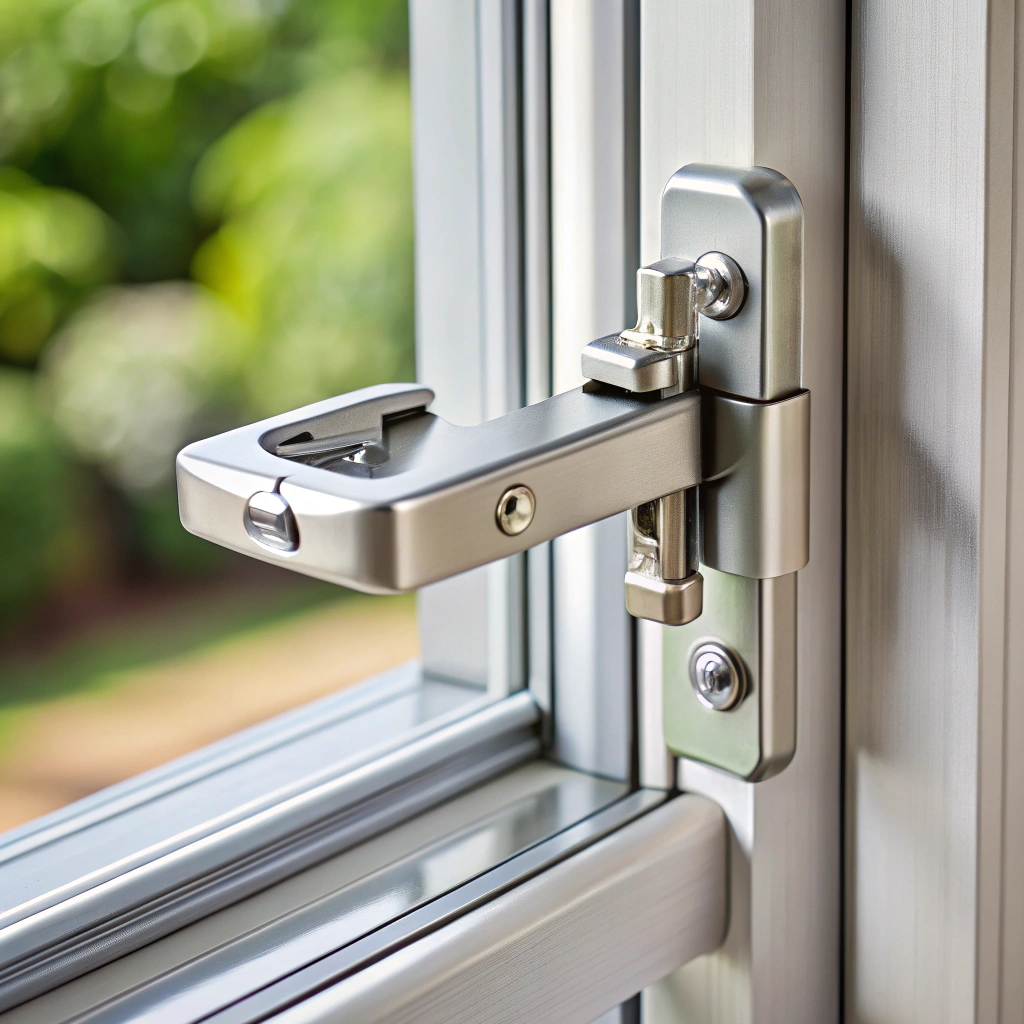
Positioning the New Latch Correctly

Imagine you’re guiding a spaceship into port. Precision is key. Similarly, when positioning the new latch, consider these points:
Set the latch to align with the existing holes in the window frame. This approach keeps you from making Swiss cheese of your frame. If the holes don’t match, measure twice because drilling thrice indicates you’re in for trouble.
Ensure the latch is in a position where it effectively secures the window. Measure using the scientific method: eyeballing. Adjust carefully until it holds the window snugly.
Keep an eye out to confirm the lock slides effortlessly. If it needs Herculean strength to operate, you’ve got a problem, not a workout regime.
Lastly, remember gravity is your friend. Let the latch naturally find its resting place before securing. Otherwise, it might surprise you by playing Houdini.
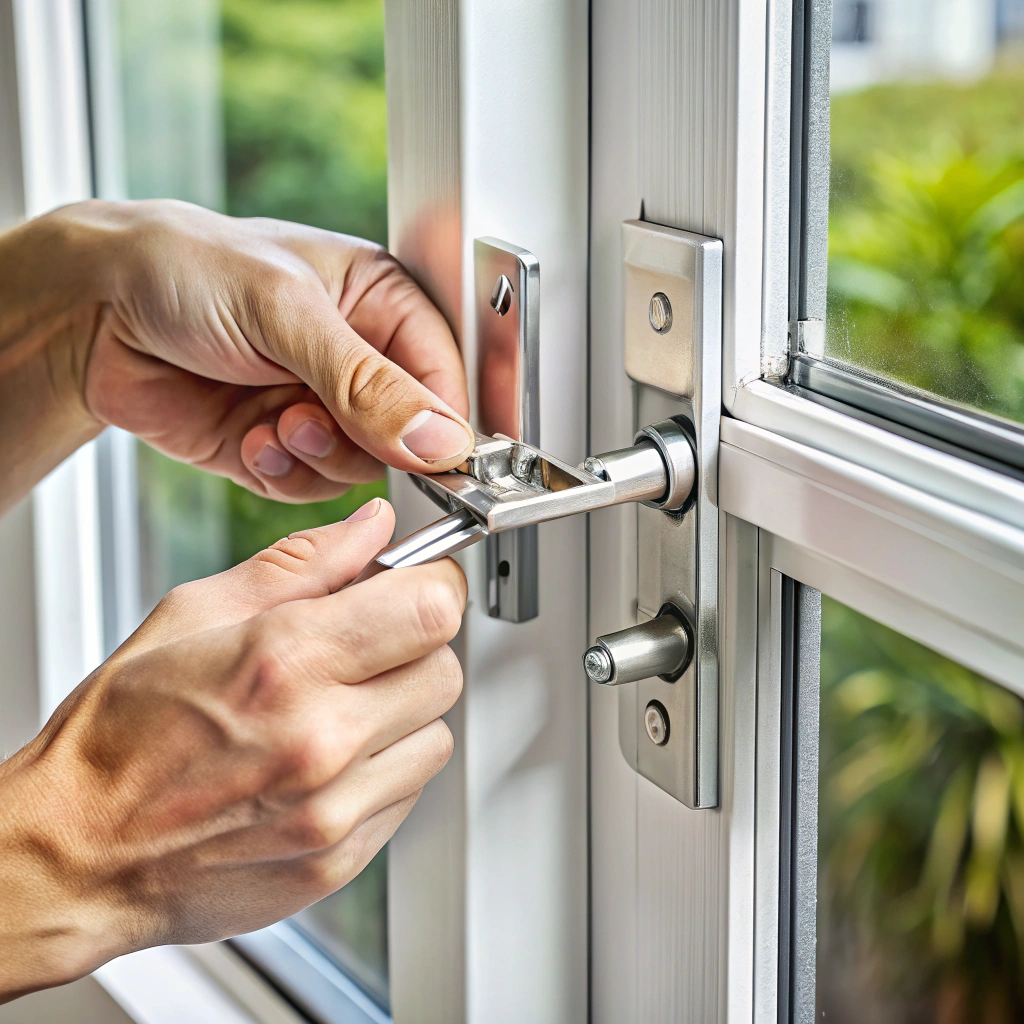
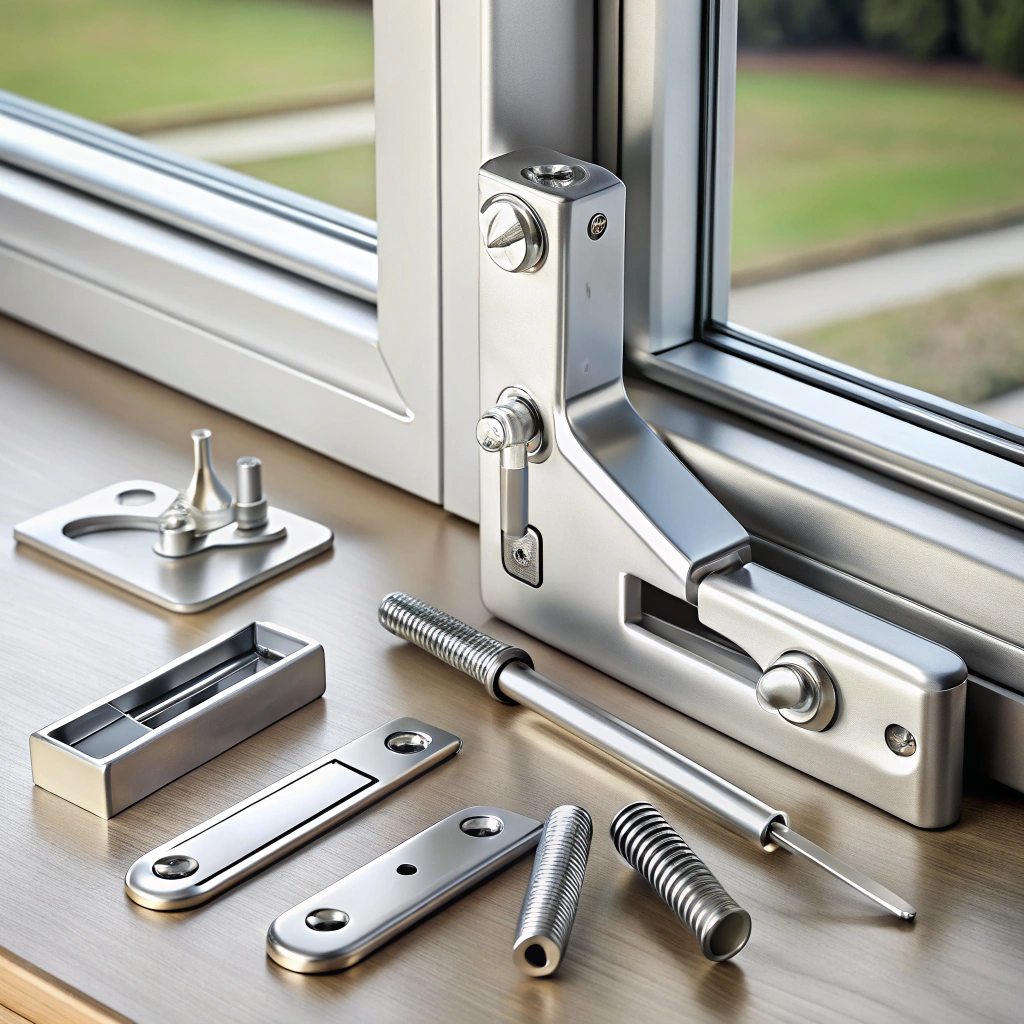
Installing the New Latch Securely
Got the new latch? Fantastic, let’s make it the MVP of your window!
Double-check alignment with the screw holes. Nobody wants a crooked latch – it’s the leaning tower of Pisa without the charm. Use a screwdriver that’s not just holding a grudge against screws. The screws should be snug, but not like skinny jeans snug – give them some breathing room!
Once screwed in, test for stability. A shaky latch isn’t worthy of your aluminum window’s affections. Check the functionality to ensure it securely locks. If it requires superhuman strength to engage, something’s amiss. Remember the wise words: if it looks right, feels right, and works right, it’s probably right.
Testing the Functionality of the New Latch
Once the shiny new latch is in place, it’s time to see if it plays nice. Follow these simple steps to ensure your window is secure and ready to handle whatever the weather—or the neighbor’s overenthusiastic cat—throws at it.
First, open and close the window a few times. Listen closely for any mysterious squeaks or rattles—unless they’re coming from your stomach, in which case, breakfast might be a higher priority.
Next, lock and unlock the latch repeatedly. It should glide smoothly without any force. If it acts like a teenager getting out of bed, some adjustments might be in order.
Grab the window—not too tightly, we’re not turning this into a wrestling match—and try to wiggle it while locked. A securely installed latch won’t allow much movement, so if it’s rock-steady, give yourself a deserving pat on the back.
Lastly, double-check that the latch lines up perfectly when engaged. Misalignment can cause headaches later, much like a bump on the head.
And that’s why they say testing is the last step before your window’s encore!
Troubleshooting Common Issues
When life gives you lemons, make lemonade. But when your newly replaced window latch struggles, make adjustments! Here are a few hiccups you might encounter:
If the latch won’t align, check if screws are properly tightened. Too tight, and the latch might play hide and seek with its spot. Too loose, and it’ll flap like a weathered flag.
Is the latch sticking? A little lubrication goes a long way. Avoid overenthusiastic oiling unless you fancy windows sliding around like they’re on a grease runway.
If you hear a squeak loud enough to wake the neighbors, it might be a misalignment symphony. Adjust the position until harmony prevails.
When the latch refuses to latch, consider the temperature. Extreme temperatures can cause metal to expand or contract, turning your latch into a grumpy roommate.
With these fixes, give your new latch a pep talk and watch it perform like a loyal sidekick. Now you’re all set, and remember: no stress, it’s all part of the latch life!
Maintenance Tips for Longevity of the New Latch

Regular maintenance can significantly extend the life of your aluminum window latch. First, keep it clean. Dirt and debris are like unwanted houseguests, breaking everything—without ever lending a hand. Wipe the latch with a damp cloth periodically to keep it shiny and functioning.
Lubrication is key. A little squirt of silicone-based lubricant every few months works wonders. It’s like a spa day for your latch, reducing friction and wear.
Check alignment now and then. If it feels like it’s giving you attitude during operation, it might be misaligned. Adjusting it ensures smooth sailing, or rather, sliding.
Tighten loose screws. Screws can wiggle loose over time, much like your dancing at family gatherings. Make it a practice to tighten them occasionally.
Lastly, be gentle! Slamming or forcibly closing windows can damage latches. Treat them like you would a delicate vase, minus the dusting.
Read More
 Custom Aluminum Window Screens Buying Guide
 Aluminum Window Removal Tool: Easy Steps for a Hassle-Free Window Replacement
 Screw for Aluminum Window Frame: Your Ultimate Fixing Guide
 Replace Aluminum Window Glass: A Beginner’s Guide to a Clearer View
 15 Ideas for Sliding Aluminum Window Repair
Recap